Configure the Security Onion Virtual Machine
Complete Base OS Installation on the Security Onion Virtual Machine
Just as with OPNsense, the first phase of setting up Security Onion is booting the virtual machine and running the installation media contained in the ISO file.
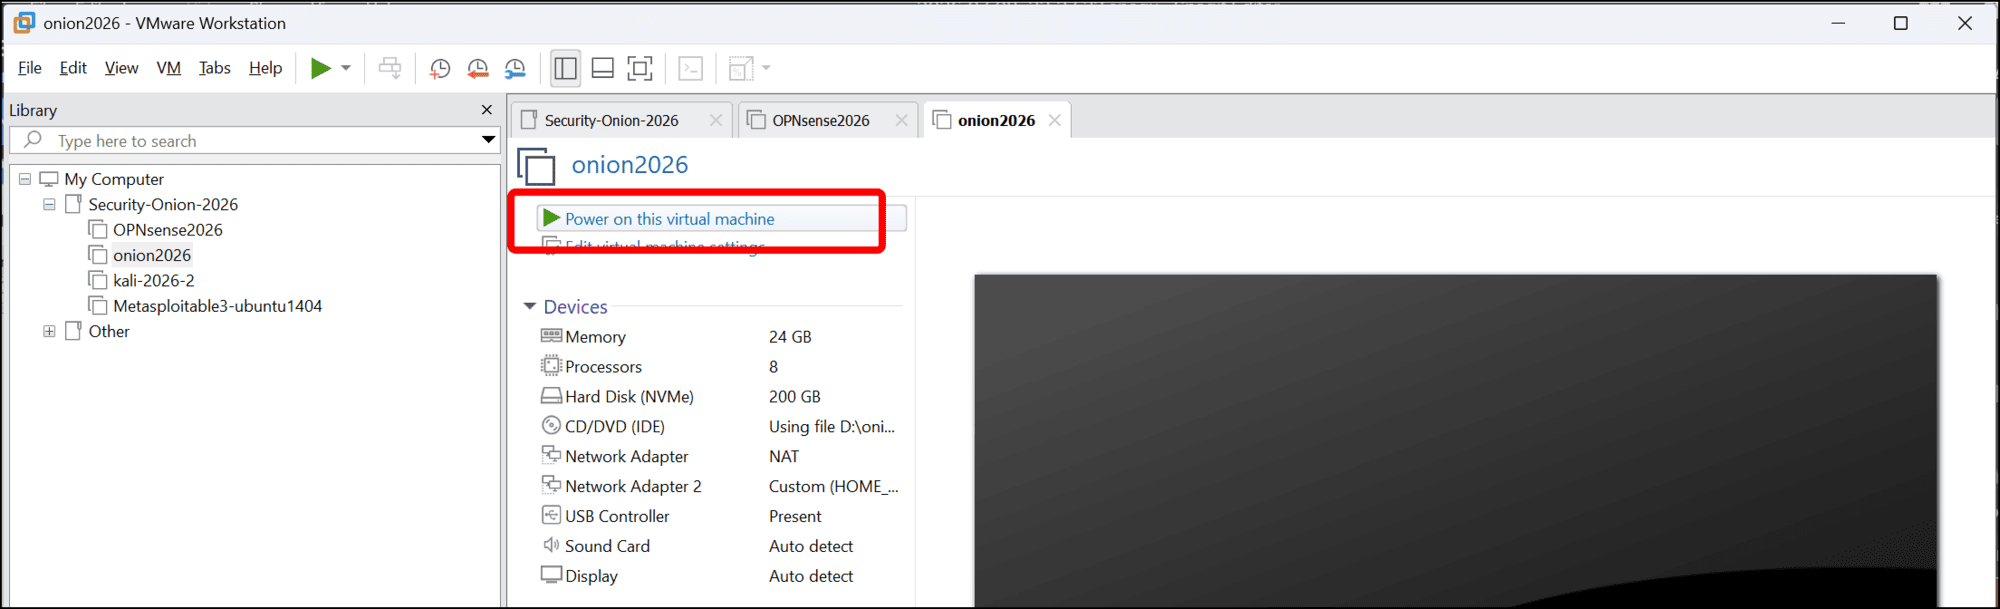
- Click the play icon to run the virtual machine (VM) in the VMware Workstation Pro menu bar. (You can also select the Virtual Machine menu and click Power on this virtual machine.)
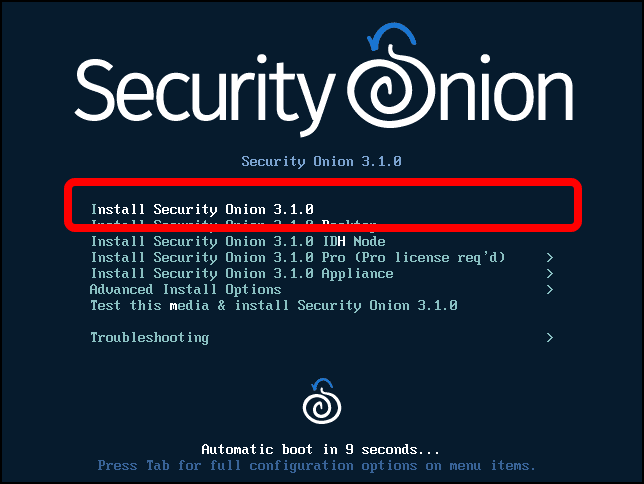
- Select Install Security Onion <version> when the Security Onion prompt screen loads.
- If you are prompted to begin installation, press
Enter. - There is a drive-erasure warning. Type
yesand pressEnter.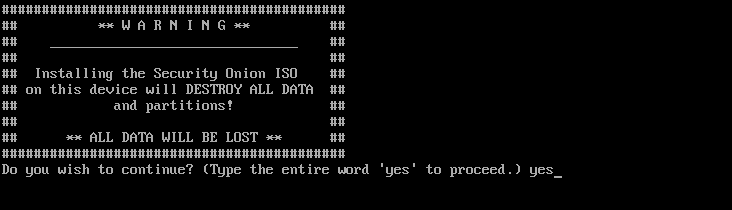
- You will be prompted to create an administrative user for the Oracle Linux 9 operating system that will run Security Onion. Enter a username and press
Enter.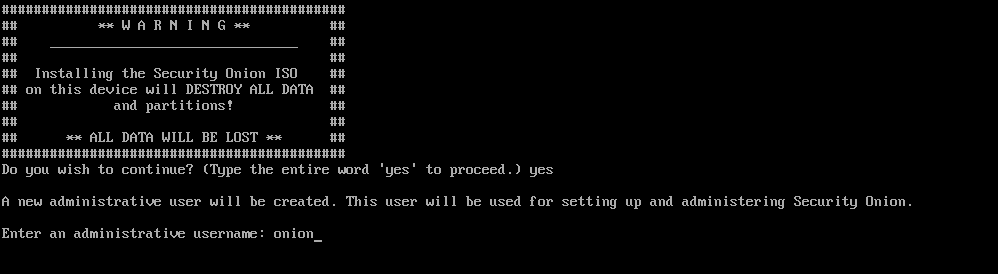
- Set an administrative password and press
Enter.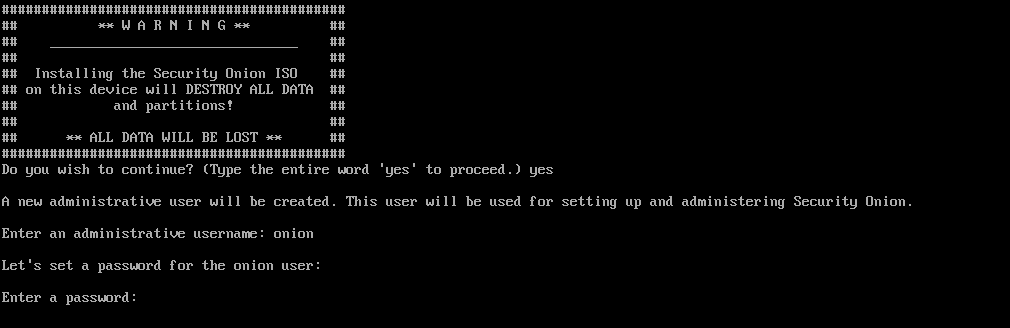
- Re-enter the administrative password and press
Enter.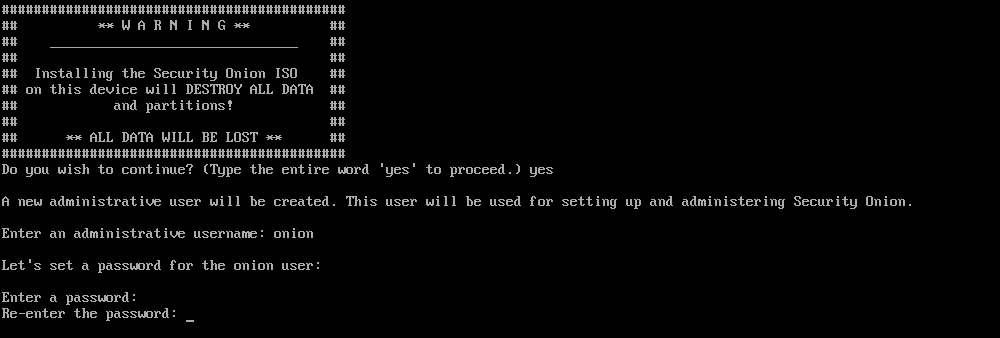
- The output represents the installation of the base Oracle Linux 9 operating system. When I took these screenshots, the installation ran for over 20 minutes, even with the 24GB of RAM and four dual-core virtual processors. When you see the
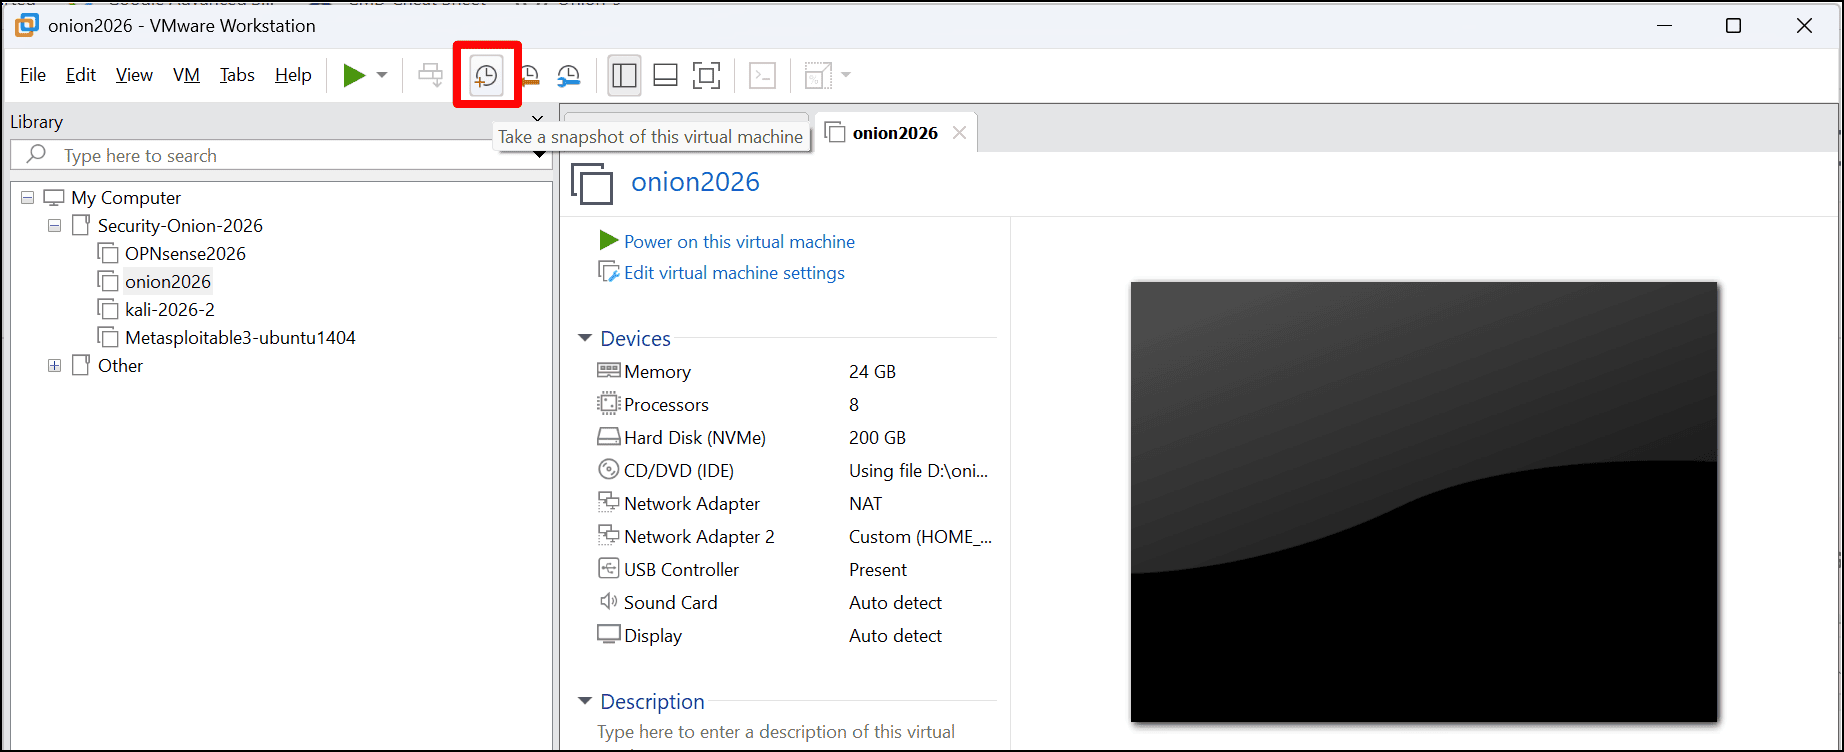
Initial Install Completeprompt, pressEnter. - When the reboot is complete, shut down the VM and take a snapshot.
Install Security Onion
- Restart the Security Onion VM. When the
localhost loginprompt displays, enter the username and password you just set for the VM.
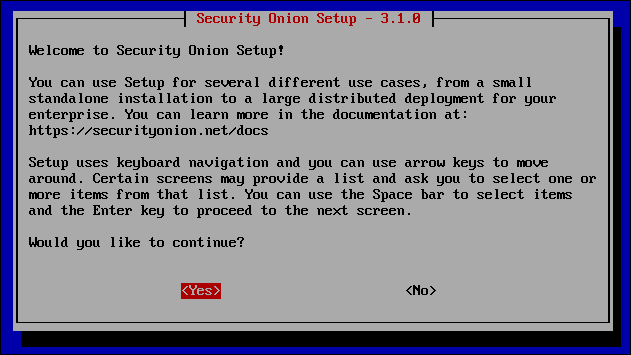
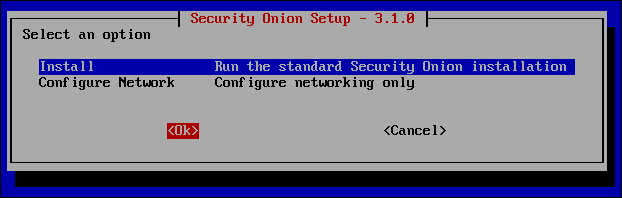
- The setup wizard should start automatically. Select Yes to continue.
- Leave Install Run the standard Security Onion installation and use the tab key to select Ok then press
Enter.
-
IMPORT is selected by default. Use the down arrow key to select STANDALONE, which is a production installation of a single Security Onion host, then use the
Tabkey to select Ok and pressEnter.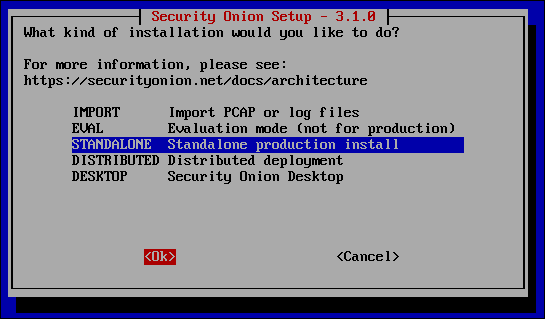
- Note: If you have been taking snapshots of your virtual machine, you can roll it back or create clones of the virtual machine, or both, to explore each type of installation and the different configurations.
- Type
agreeto agree to the terms of the Elastic license, then select Ok.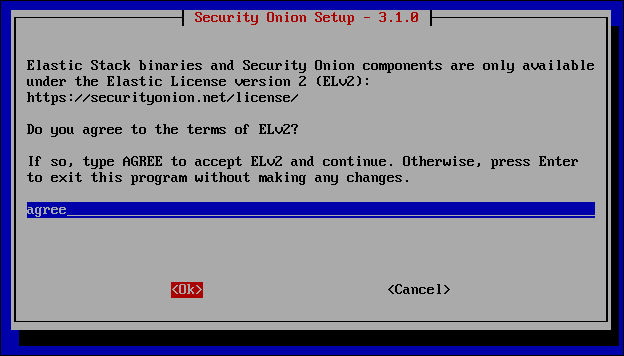
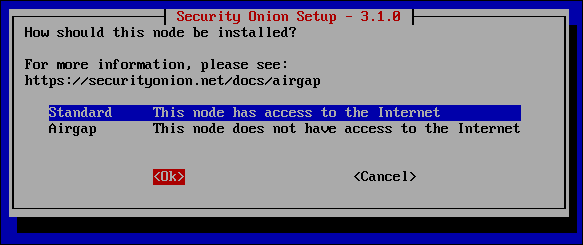
- You are not air-gapping this system or this network. Leave Standard selected and select Ok.
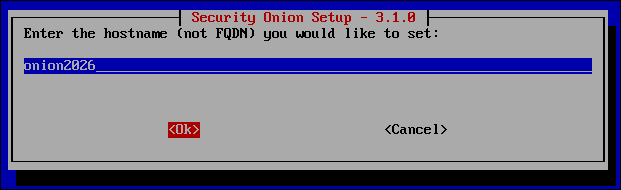
- Give your Security Onion deployment a name and select Ok.
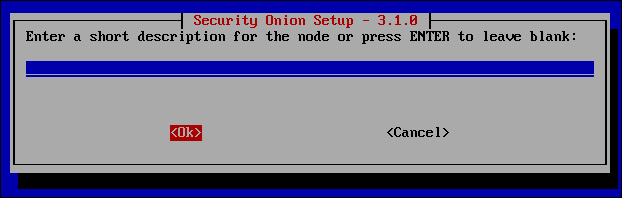
- You can also enter a short description for your Security Onion, or just leave it blank, select Ok and press
Enter.
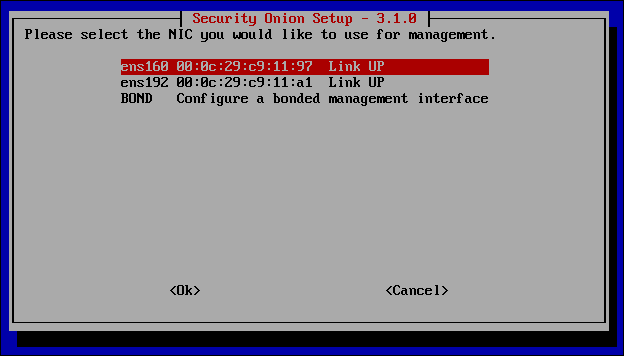
- You are prompted to select the NIC you would like to use for management.
- Open the Virtual Machine Settings for the Security Onion VM in VMware Workstation Pro, select your first network adapter on the Device list and click Advanced. Note the MAC Address in the Network Adapter Advanced Settings dialog. In this example, the MAC address ends in 11:97.
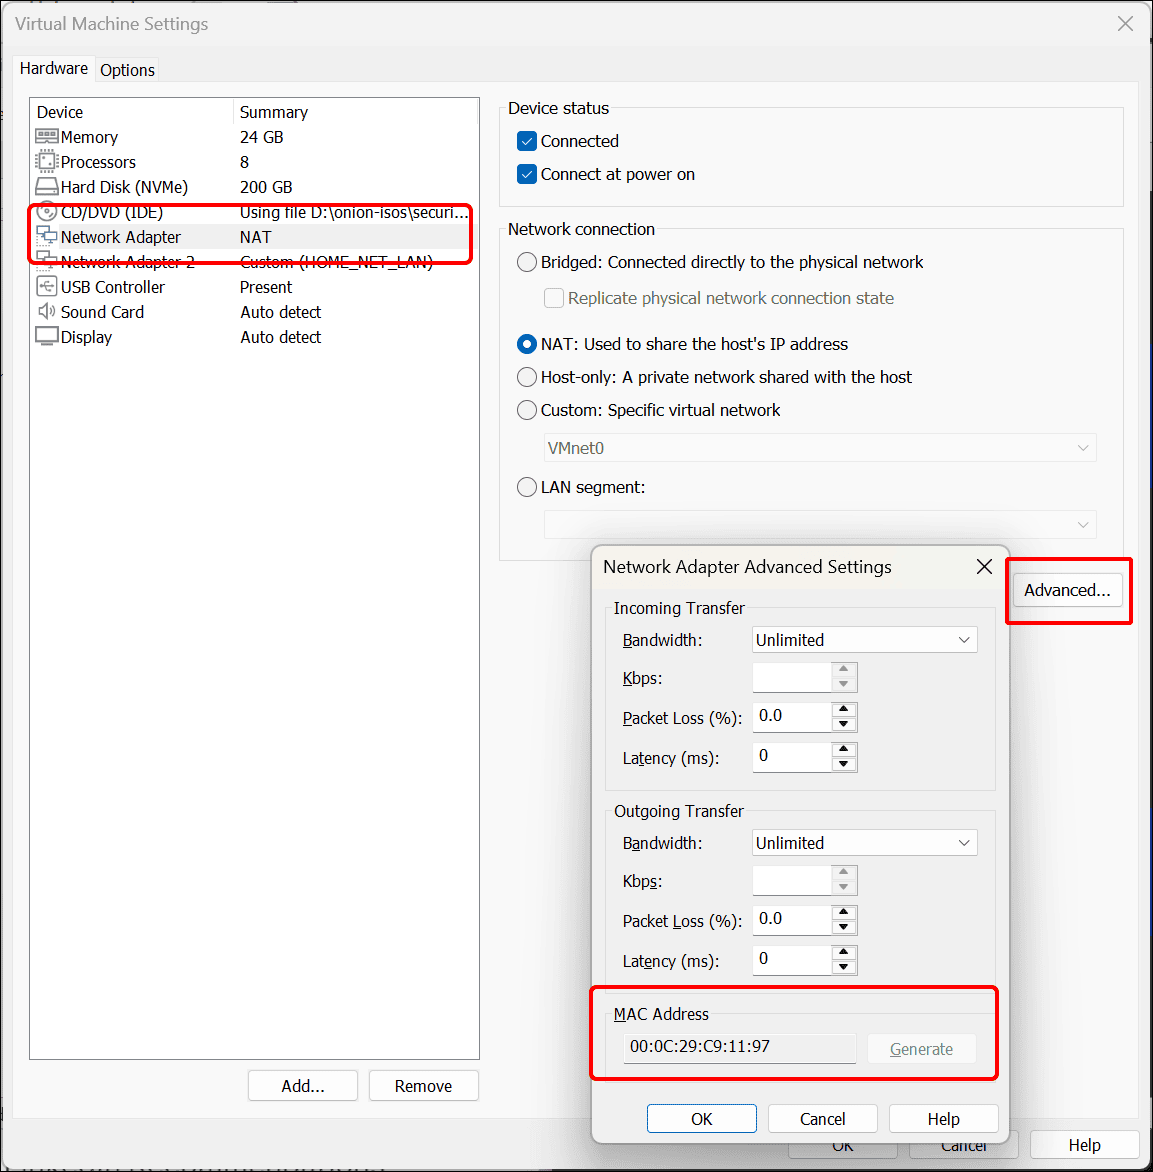
- In this example, ens160 has the MAC address ending in 11:97 that matches the virtual network adapter connected to my NAT network, which is what I want as the management interface. Use the down arrow key and spacebar to select DHCP and then select Ok.
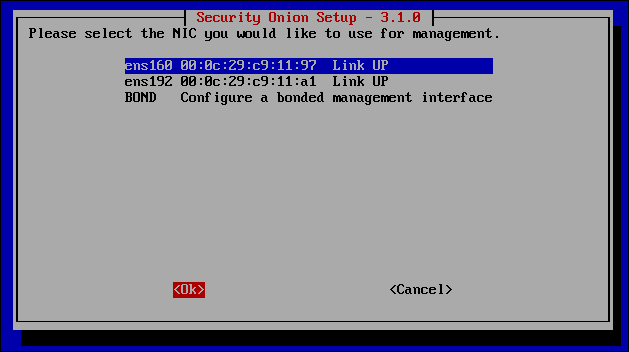
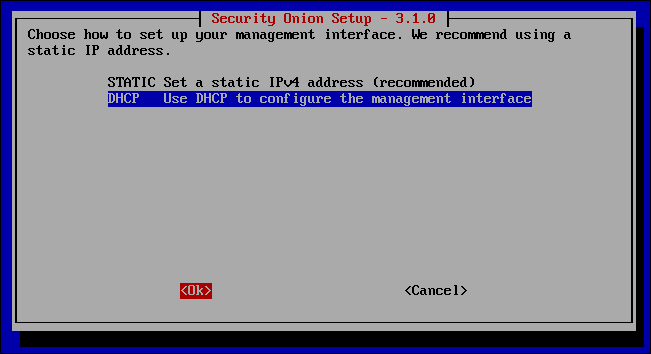
- I am connecting the management interface to VMware Workstation Pro’s default NAT network which already uses DHCP addressing. Use the down arrow key to select DHCP and then select Ok.
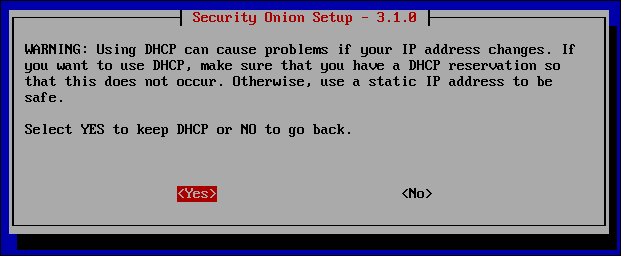
- When you select DHCP, you will get a warning from Security Onion reminding you that a DHCP-assigned address could change, and you might have problems connecting to the management interface of Security Onion. For this virtual lab, it should not be an issue. Select Yes to keep DHCP.
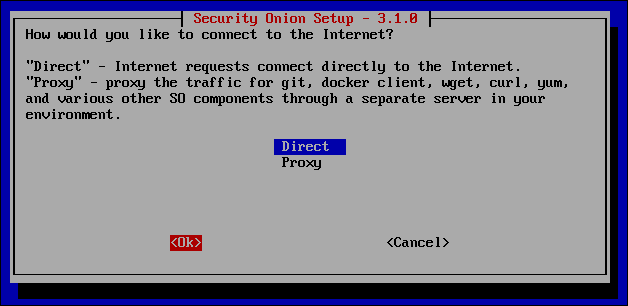
- When asked How would you like to connect to the Internet?, select Direct, then Ok.
- Select Yes to keep the default Docker IP range.

- When asked to add NICs to the Monitor Interface, there is only one option.
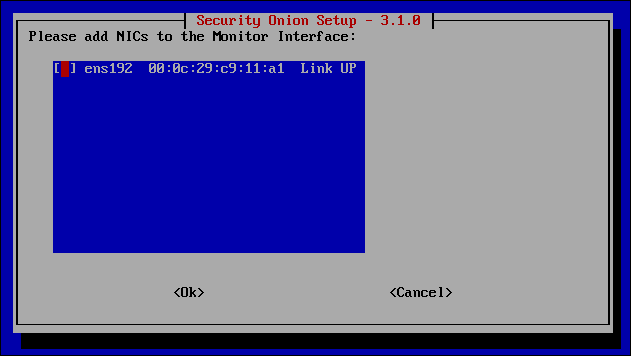
- Check the MAC address of the VM’s second network adapter connected to the HOME_NET_LAN, which ends in 11:a1.
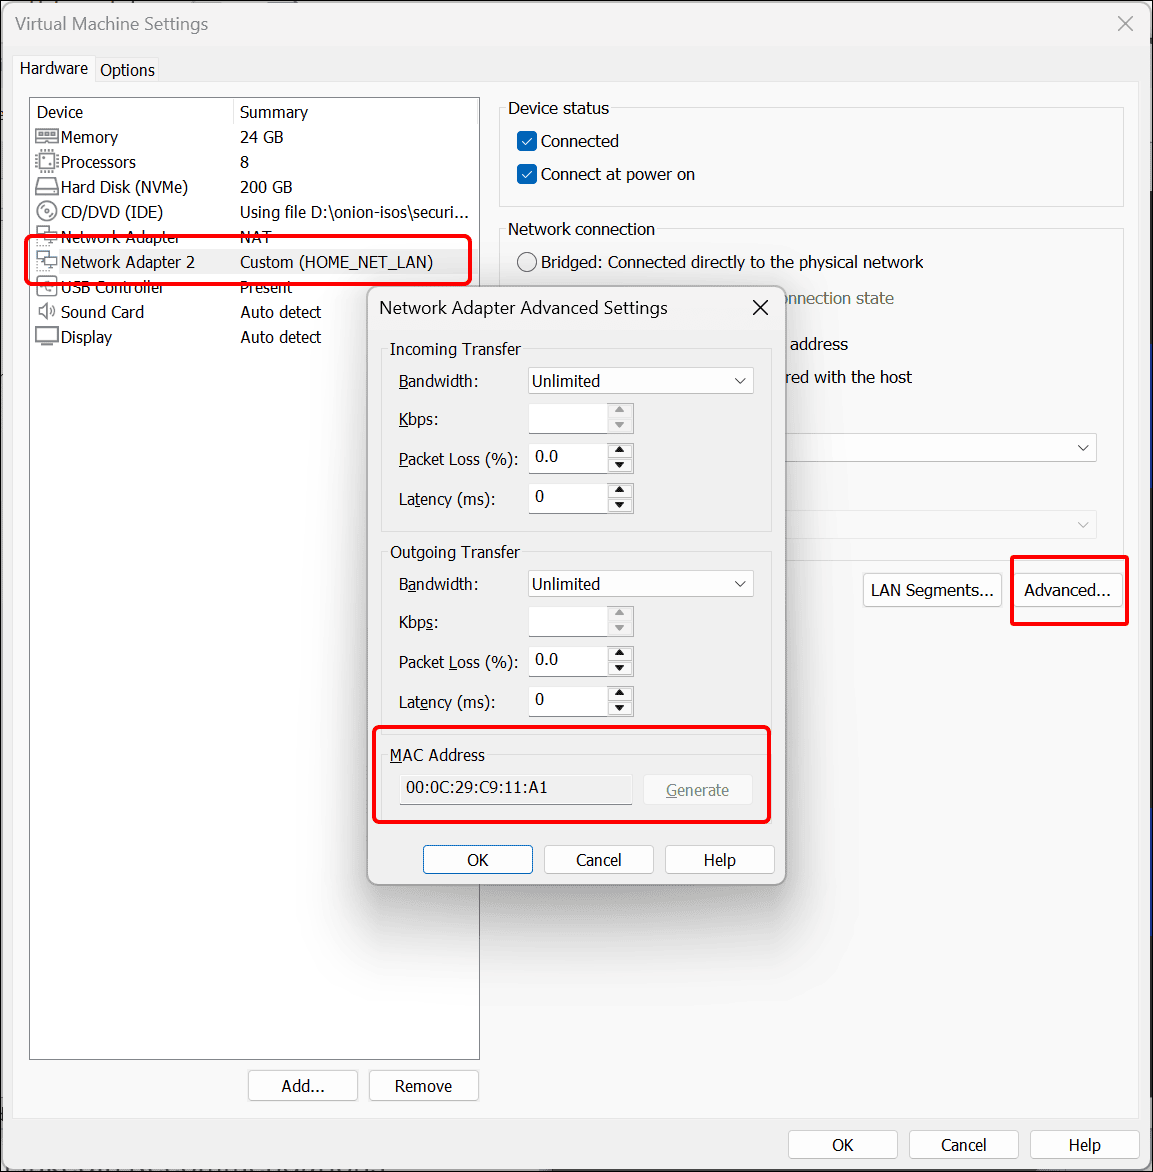
- This MAC address matches that displayed in the wizard, ens192. Press the spacebar to select it, use tab to select Ok and press
Enter.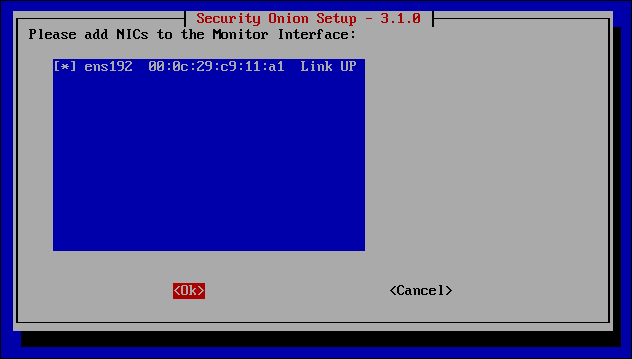
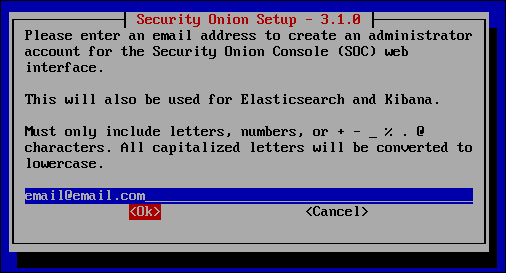
- Enter an email address. The email address only acts as the username for the account that you will use to log in to the Security Onion web interface. It will not send emails to this address. So you can use email@email.com.
- Enter a password for this Security Onion account.
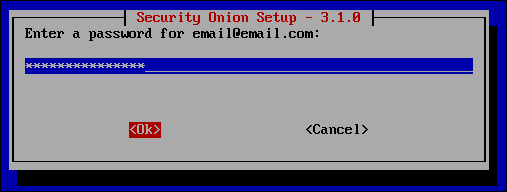
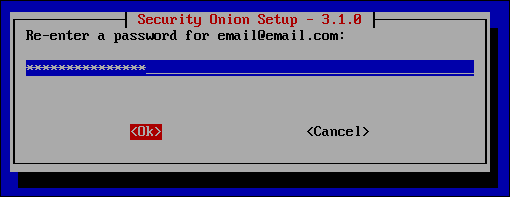
- Enter the password again.
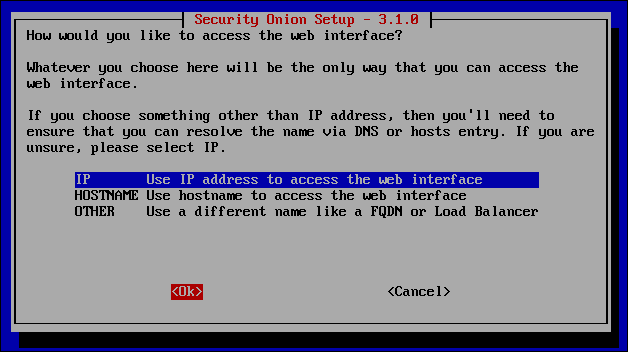
- The wizard asks if you want to use an IP address or a hostname to navigate to the Security Onion Console. Since you have assigned the management interface to the VMware NAT network, which is assigning an address using DHCP, leave IP selected and then select Ok.
- You are asked if you want to allow access to the Security Onion through its web management interface. Select Yes and press
Enter.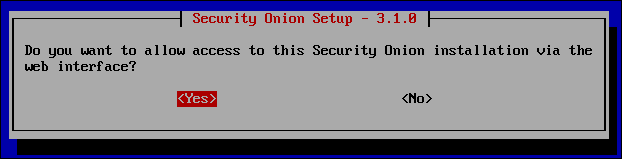
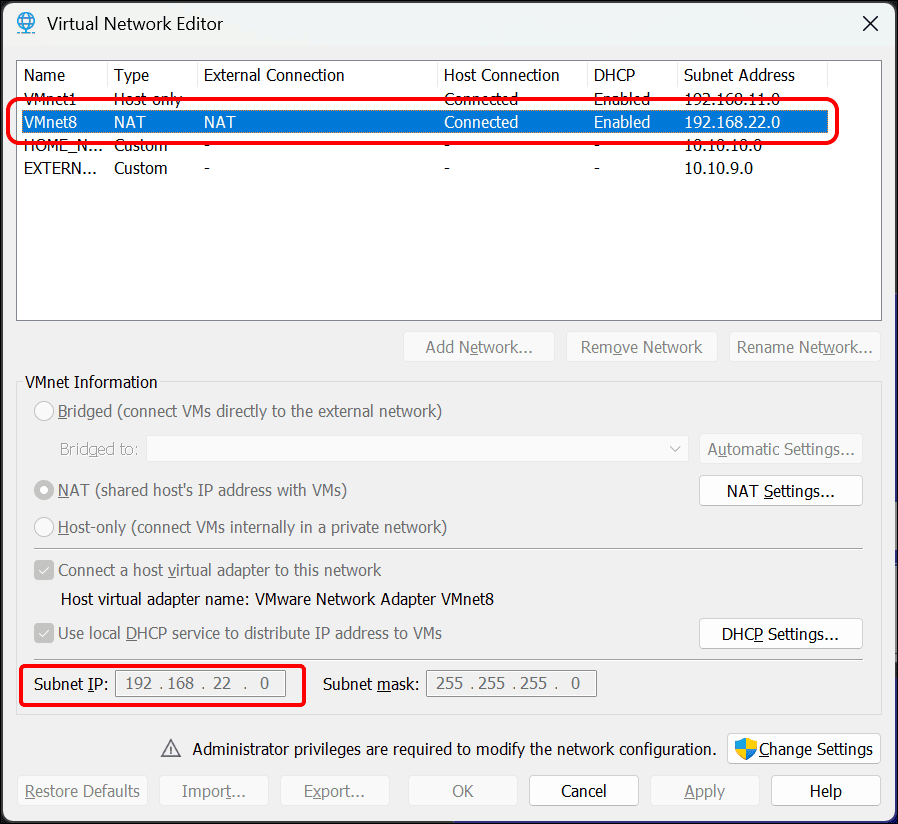
- This example uses VMware’s NAT network as the “management network.” Check the NAT network’s IP address range in the VMware Virtual Network Editor. In this case, it is 192.168.22.0.
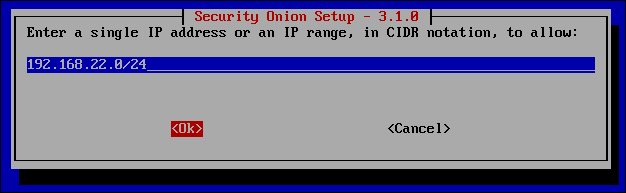
- Enter 192.168.22.0/24 in CIDR notation so that devices on that network can navigate to the Security Onion web management interface and select Ok.
- The next prompt asks if you want to share usage data from your Security Onion deployment, or “SOC Telemetry,” with the Security Onion. Select No and press
Enter.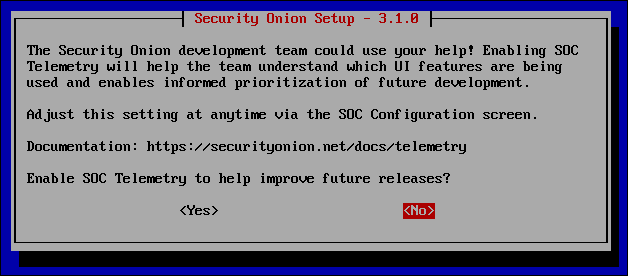
-
A summary screen shows the configuration items you have selected. As instructed, use the
Tabkey to select Yes and pressEnterto complete the installation process.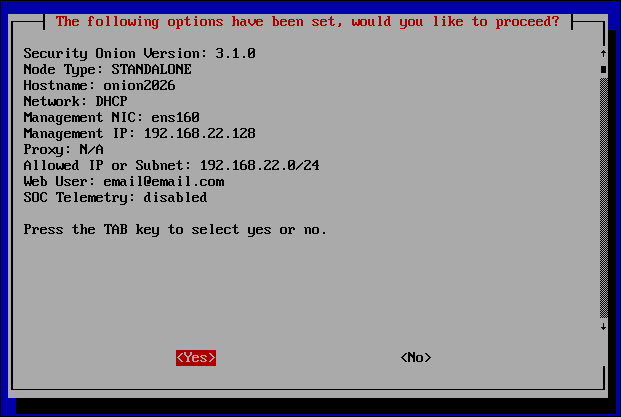
When I performed this installation and configuration of Security Onion version 3.1.0 in mid-2026, it took over two hours for this installation to complete, even with 24GB of memory and eight processor cores assigned to the VM. From looking at the Windows Task Manager for the host machine running VMware Workstation Pro, it did not even appear that the VMware processes were constrained in any way.
- You will see a lot of text output on the command line throughout the installation process: downloading and installing Linux packages, container images, Salt state configuration, and more.
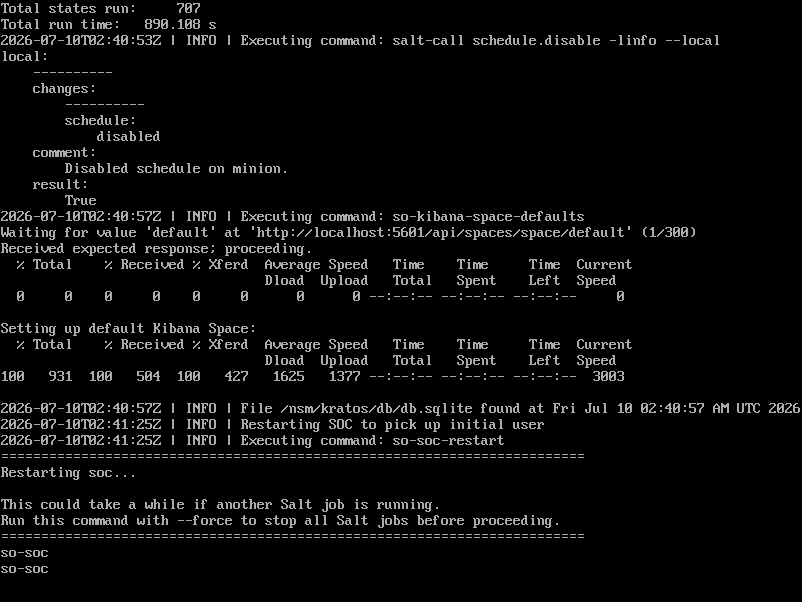
- After the installation is complete you will see the wizard screen again, confirming what IP address can be used to access the web interface and your username. When you use the
Tabkey to select Yes and pressEnterto exit, you will see the command line returns to the bottom of the screen.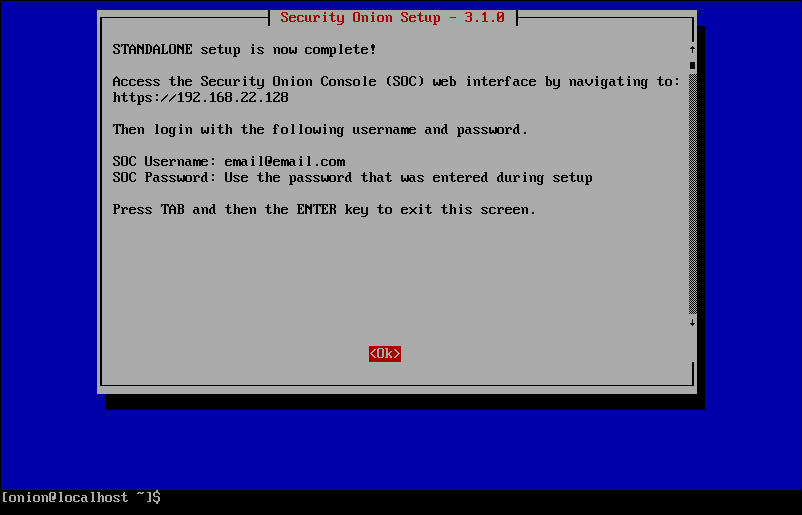
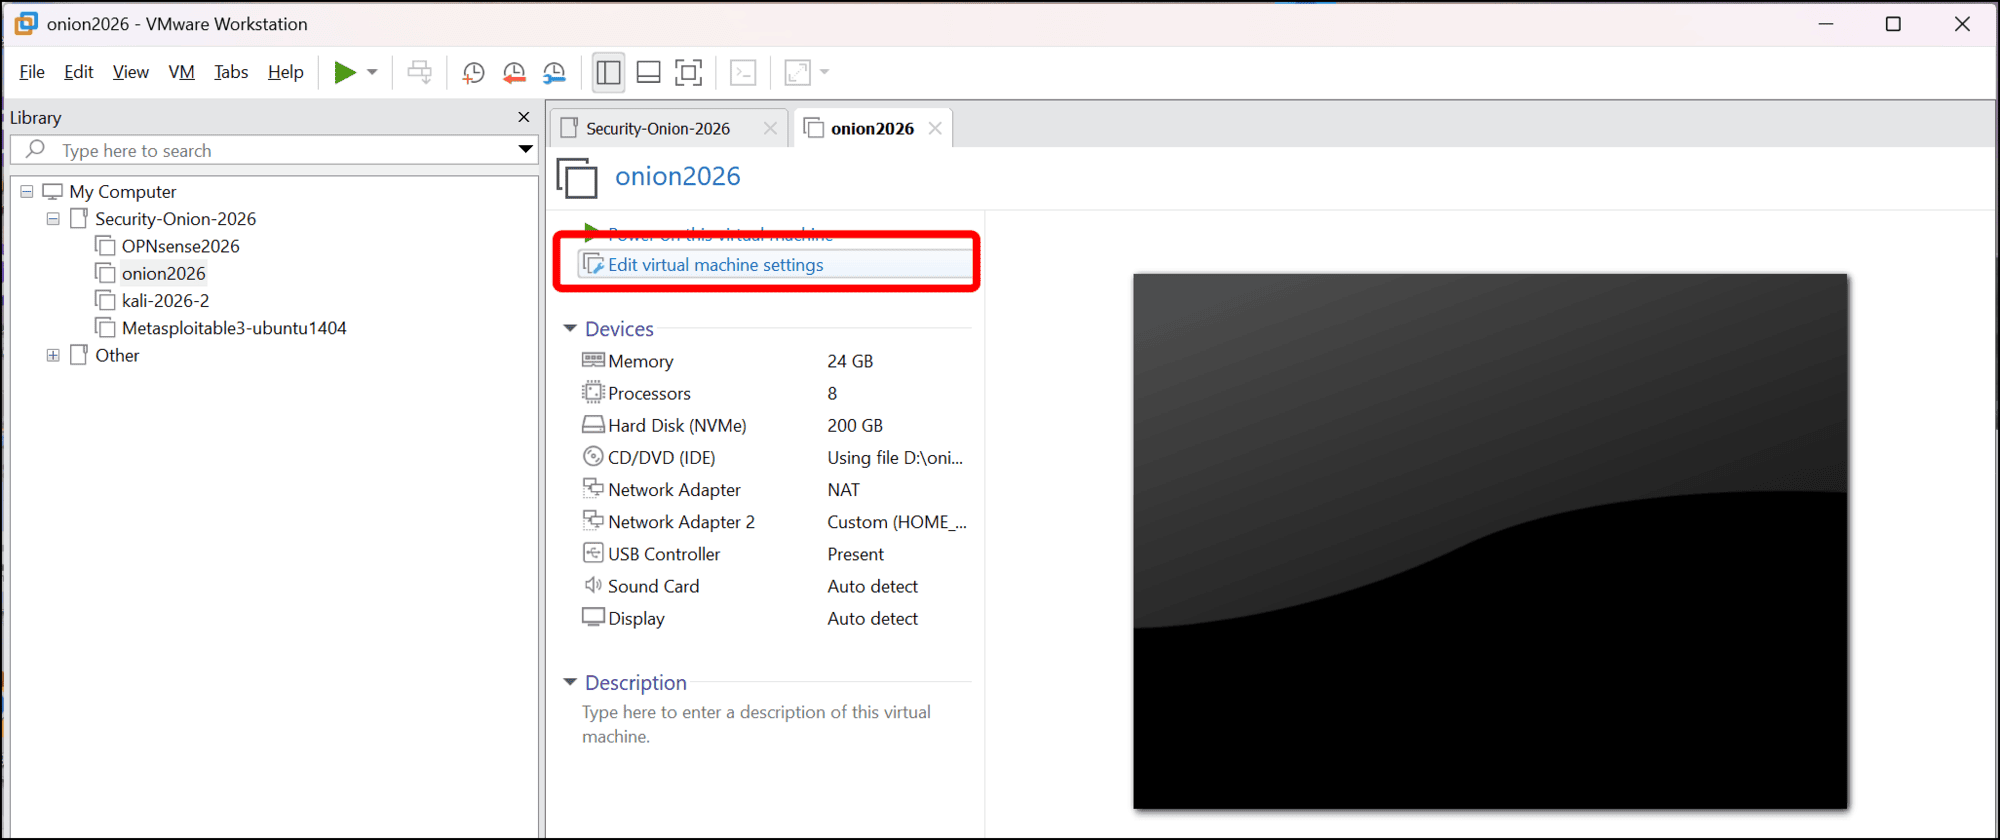
- Shut down the VM. In VMware Workstation Pro, click Edit virtual machine settings.
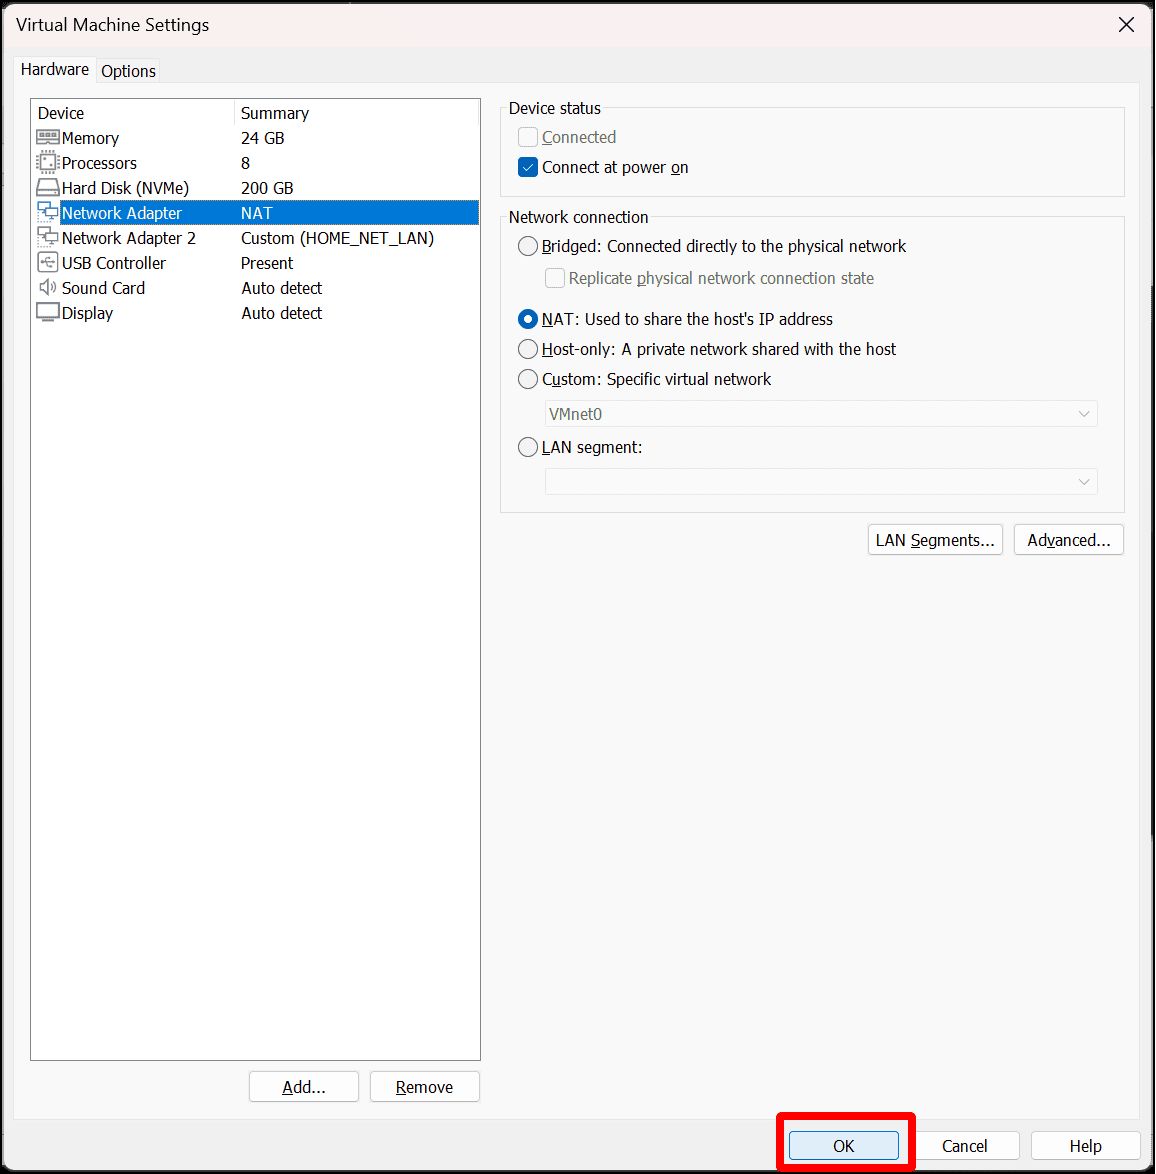
- Select the CD/DVD (IDE) drive on the Device list and click Remove. Just as with the OPNsense VM, you have installed the software and don’t need the drive. Removing the drive prevents the possibility of it booting from the installation media.
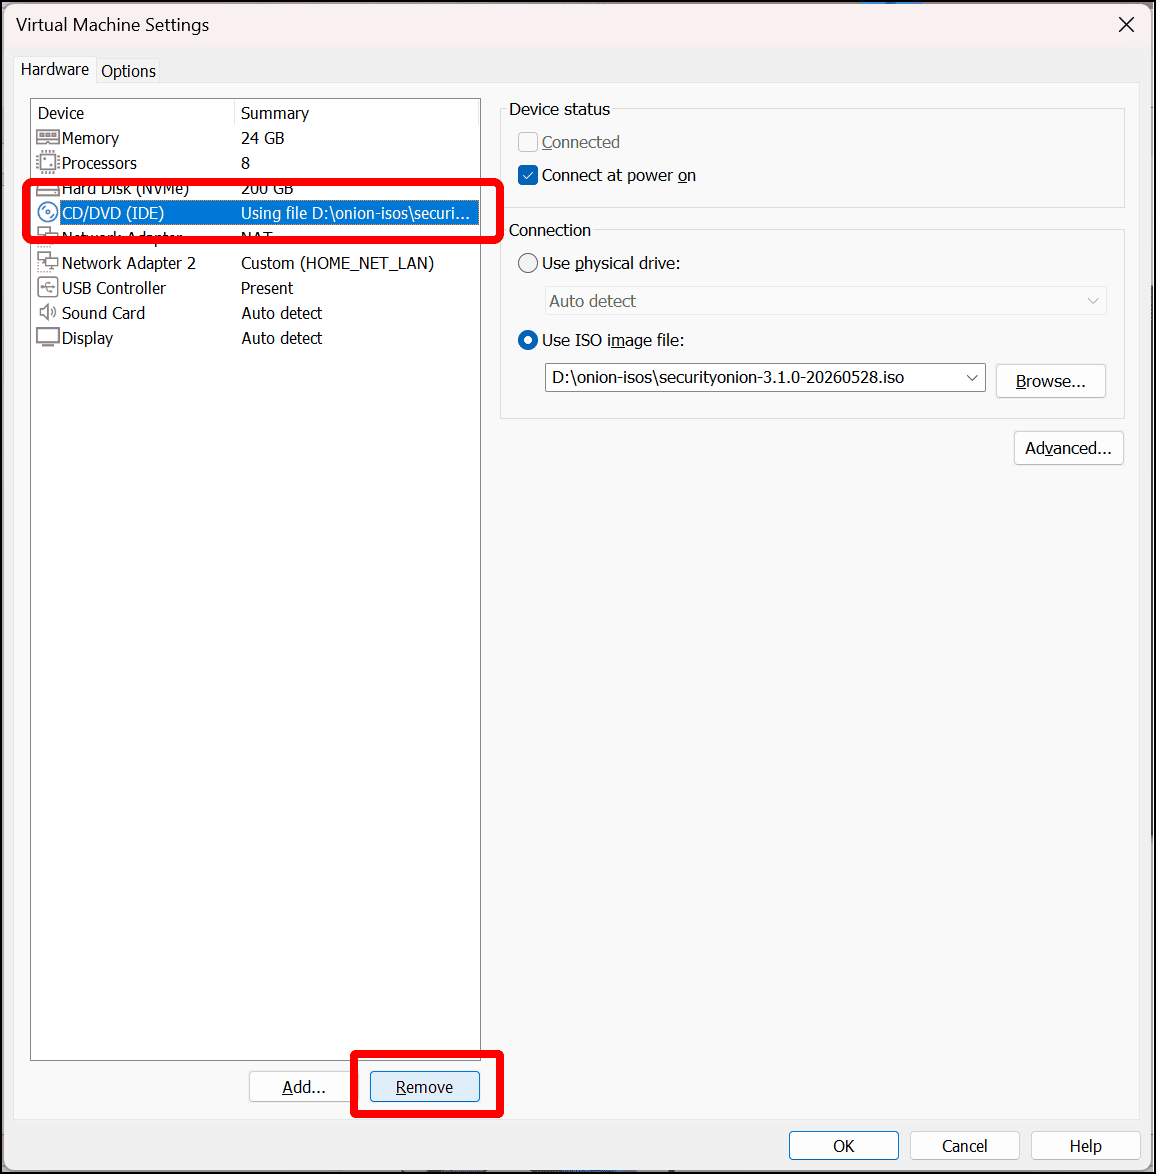
- Click Ok to close the Virtual Machine Settings window.
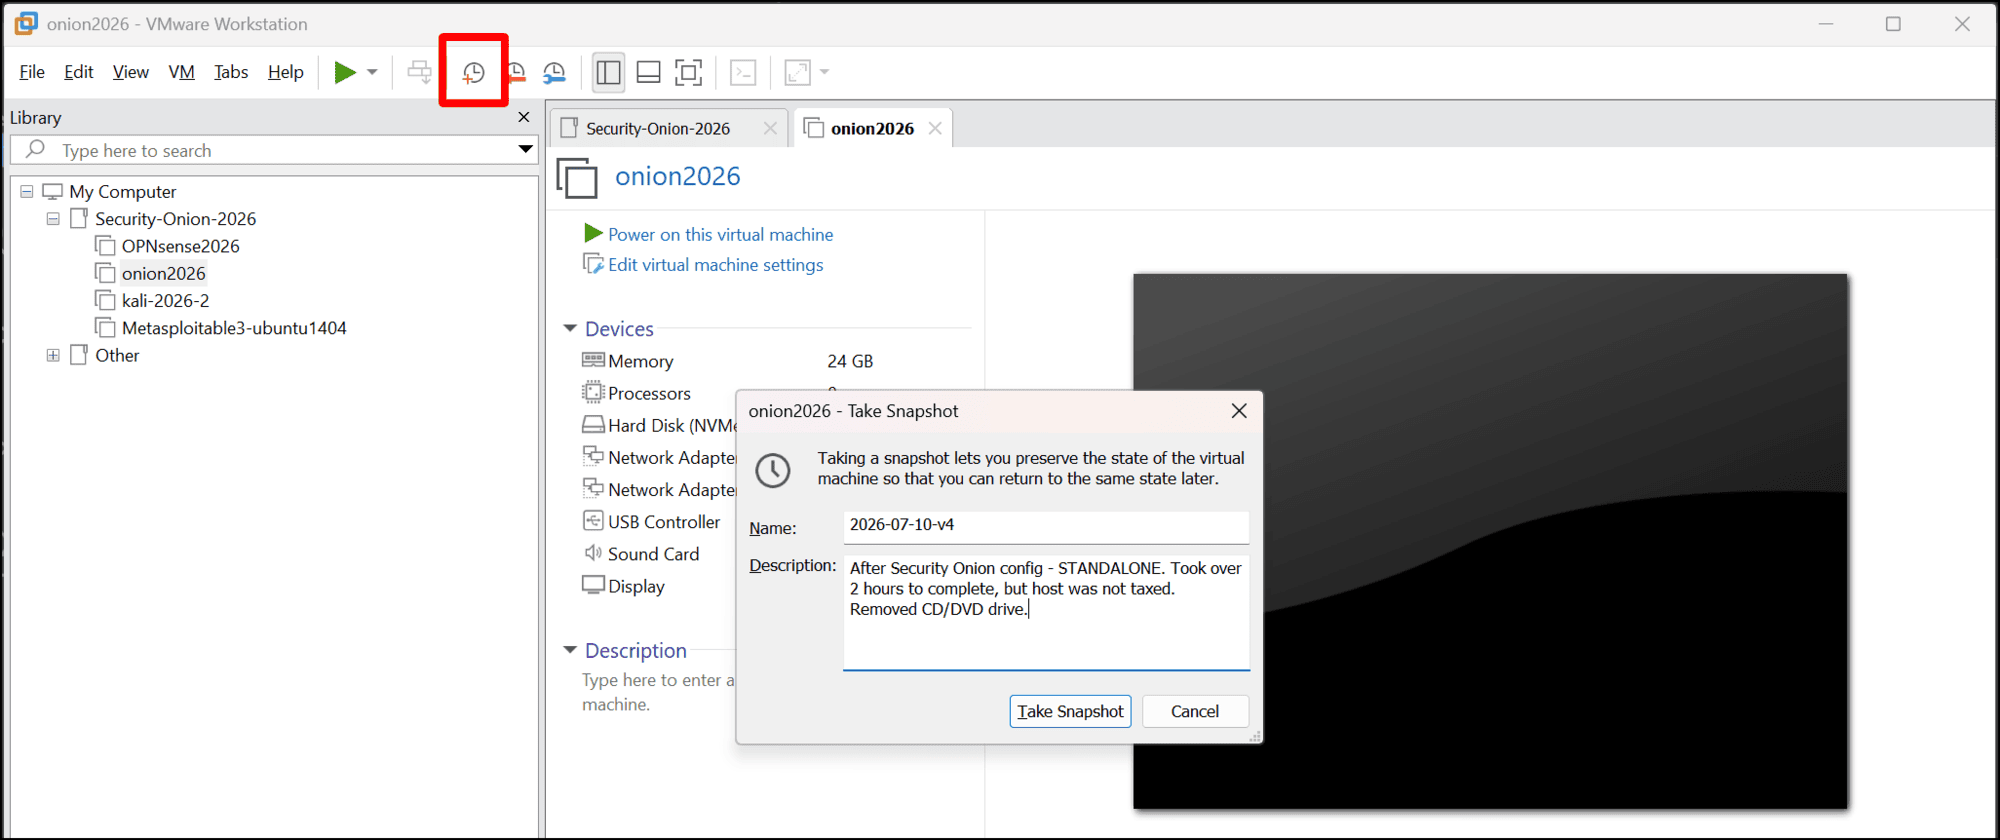
- A lot of work went into getting this far. Make sure you take a snapshot of the VM and notate it. In this example I added some notes saying that installation took over two hours but the PC I am running VMware Workstation Pro on did not seem to be particularly affected.
This completes the creation of the virtual lab where you will operate OPNsense, Security Onion, and your other virtual machines. Now you can start using Security Onion.