Configure the Security Onion Virtual Machine
- Start the VM by clicking the playhead icon or from the Virtual Machine menu.
- Select Install Security Onion <version> when the Security Onion prompt screen loads.
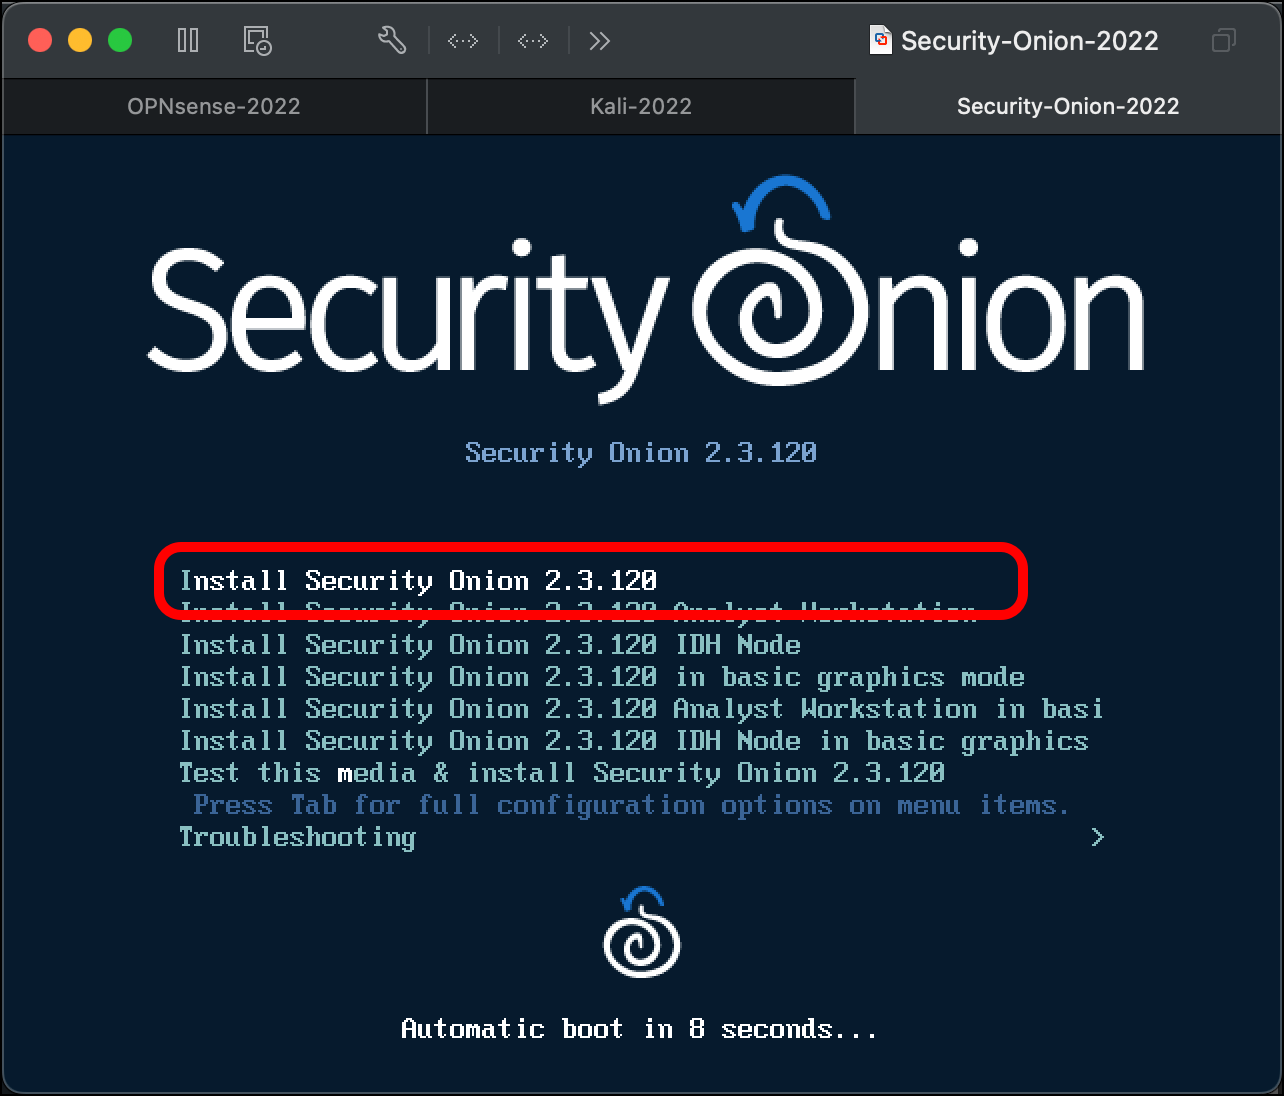
- Press
Enterat the prompt to begin installation.
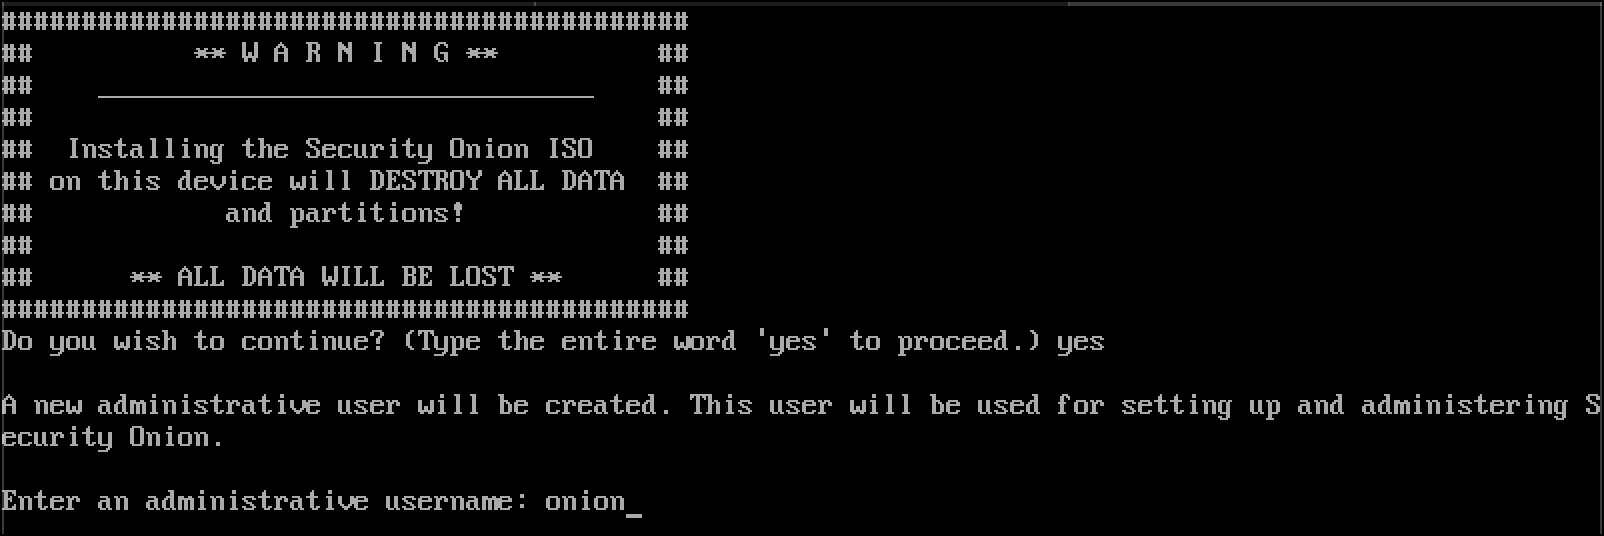
- There is a drive-erasure warning. Type
yesand pressEnter.
- Enter an administrative username for the CentOS 7 operating system that will run Security Onion.
- Set an administrative password and press
Enter.
- Re-enter the administrative password and press
Enter.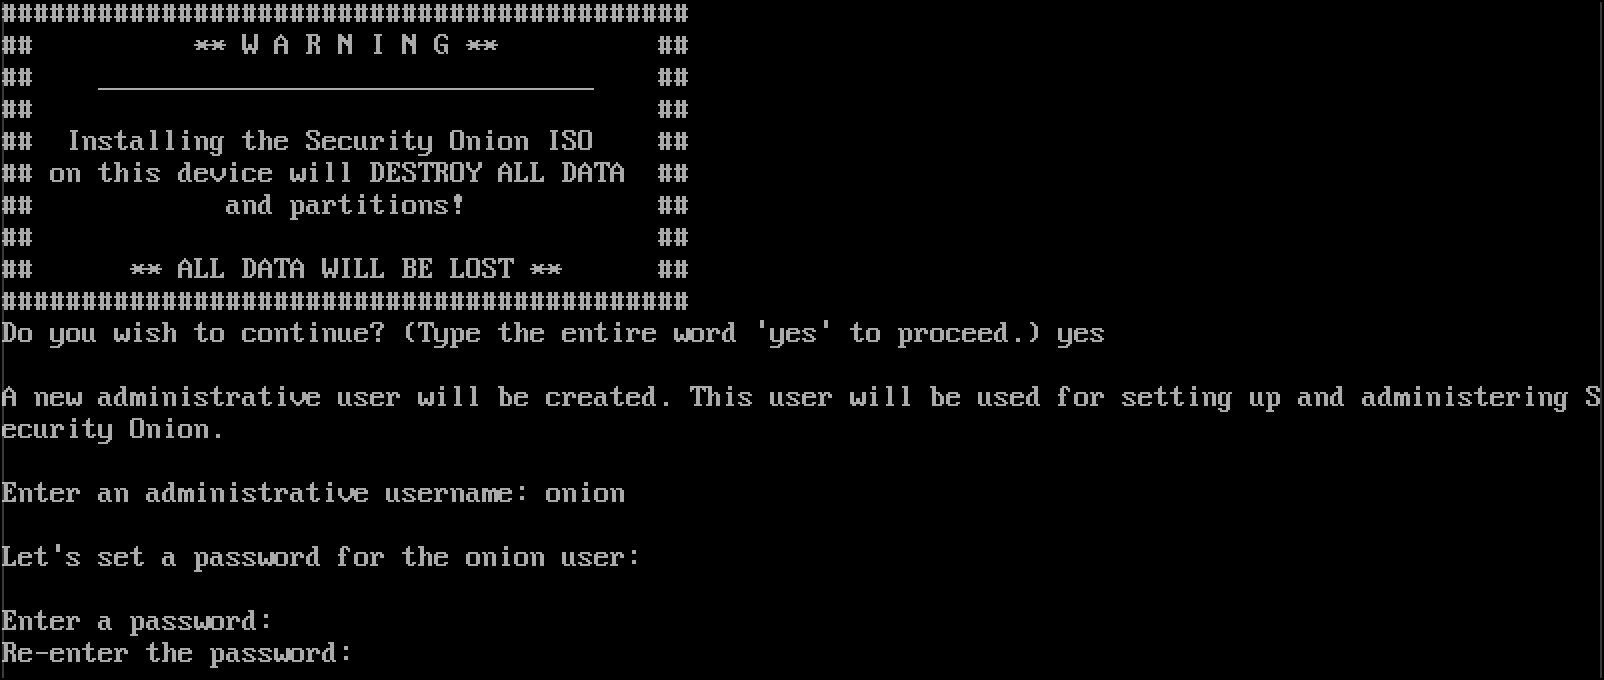
- The output represents the installation of the base CentOS 7 operating system. It will take about 10 minutes. When you see the
Initial Install Completeprompt, pressEnter.
- When the VM comes online, log in with the new credentials you created for the VM.

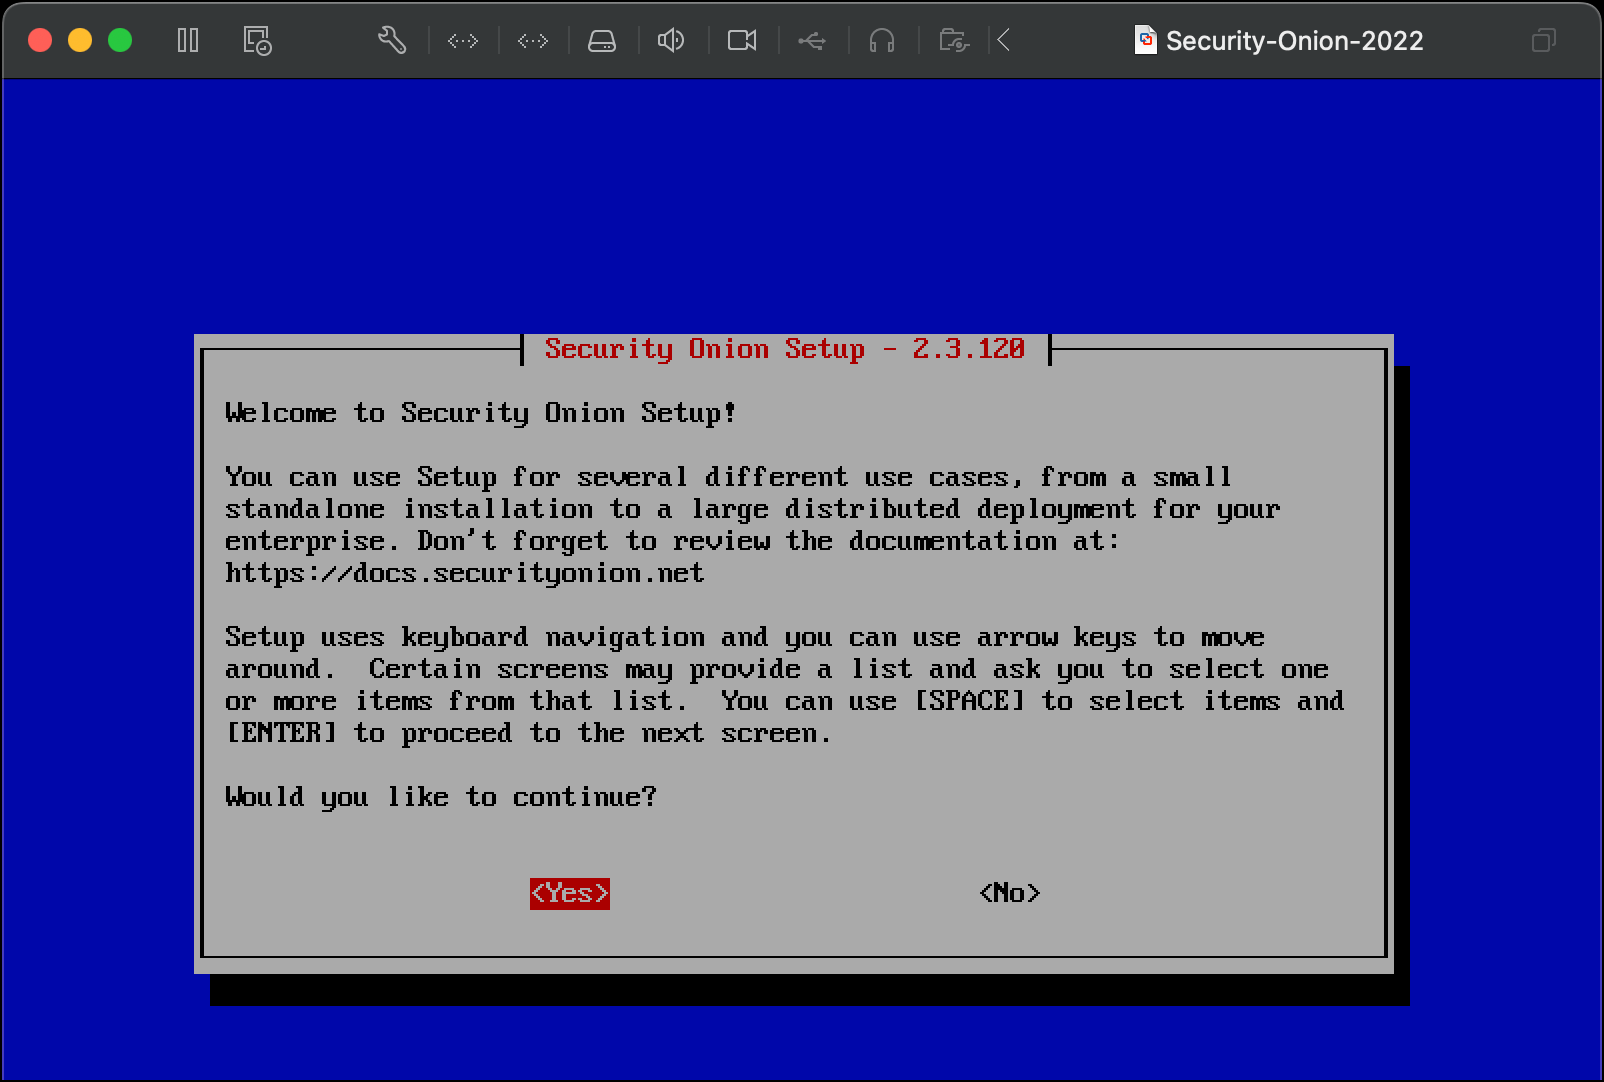
- The setup wizard should start automatically. Select Yes to continue.
- Leave Install Run the standard Security Onion installation and use the tab key to select Ok then press
Enter.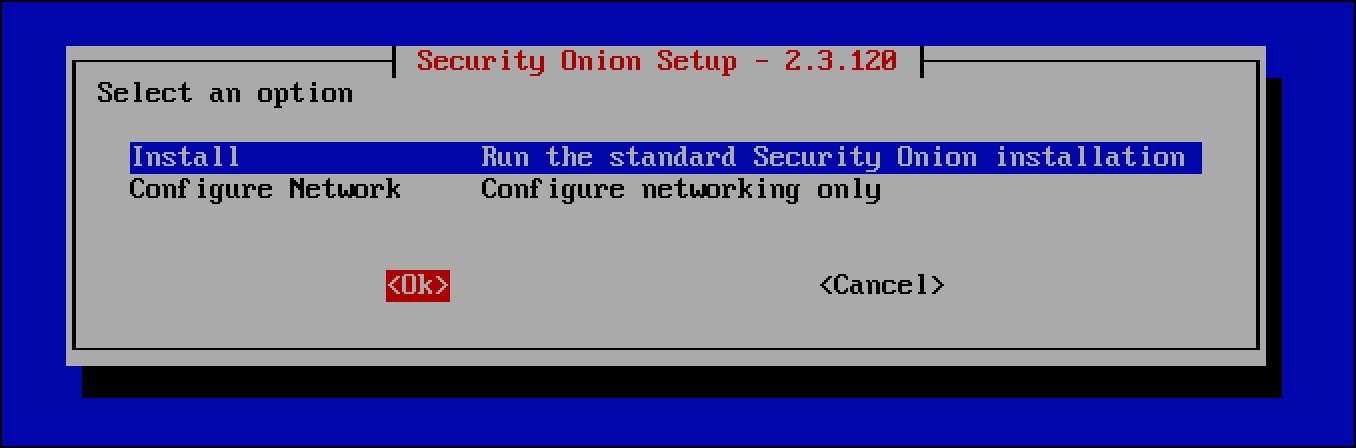
- EVAL is selected by default. While the evaluation installation should work for the defined use case, use the down arrow key to select STANDALONE, which is a production installation of a single Security Onion host, then select OK and press
Enter.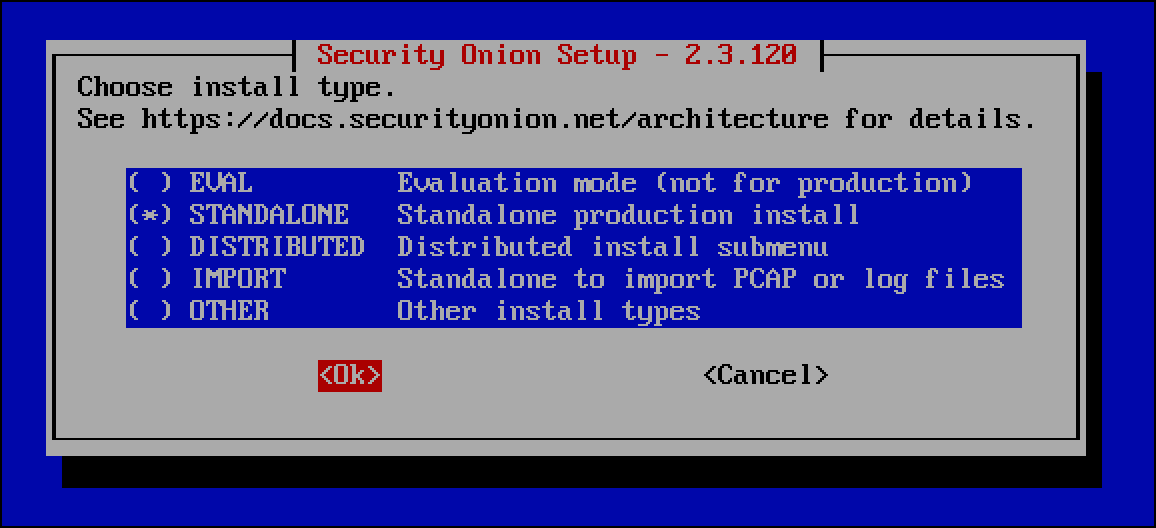
- Type
agreeto agree to the terms of the Elastic license, then select OK.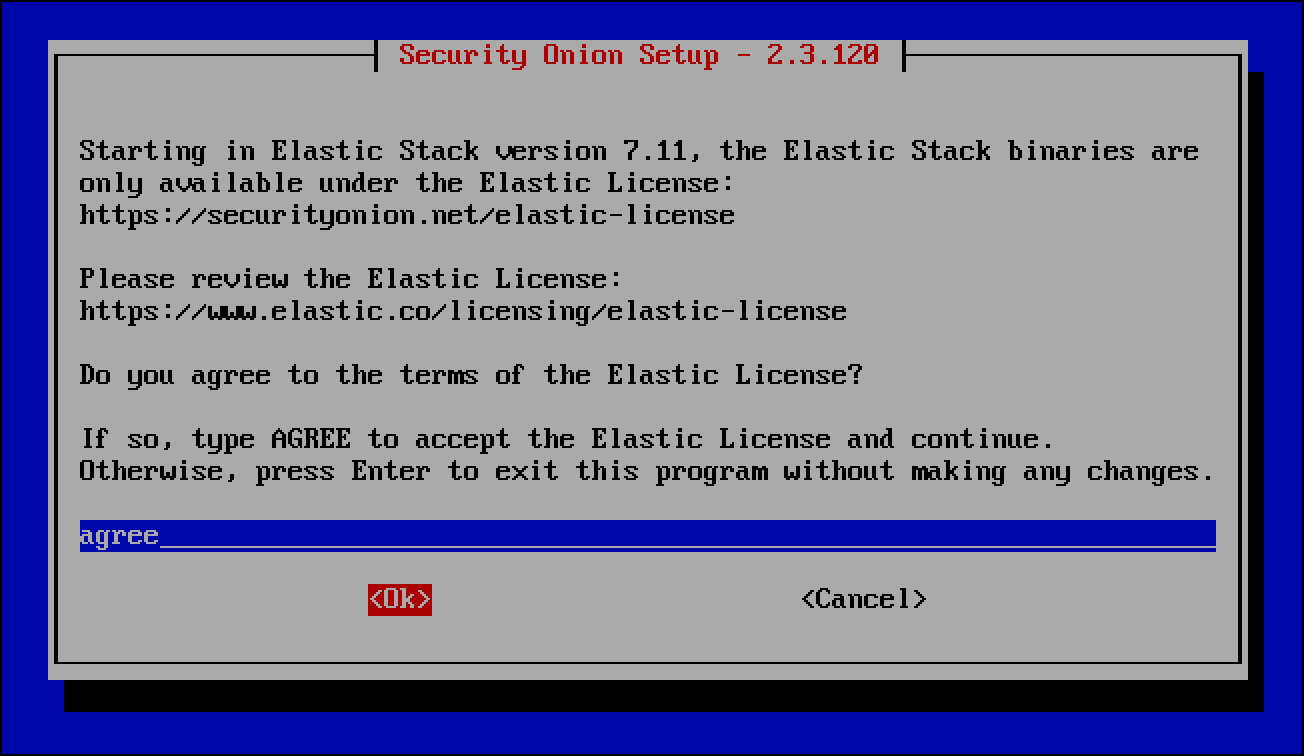
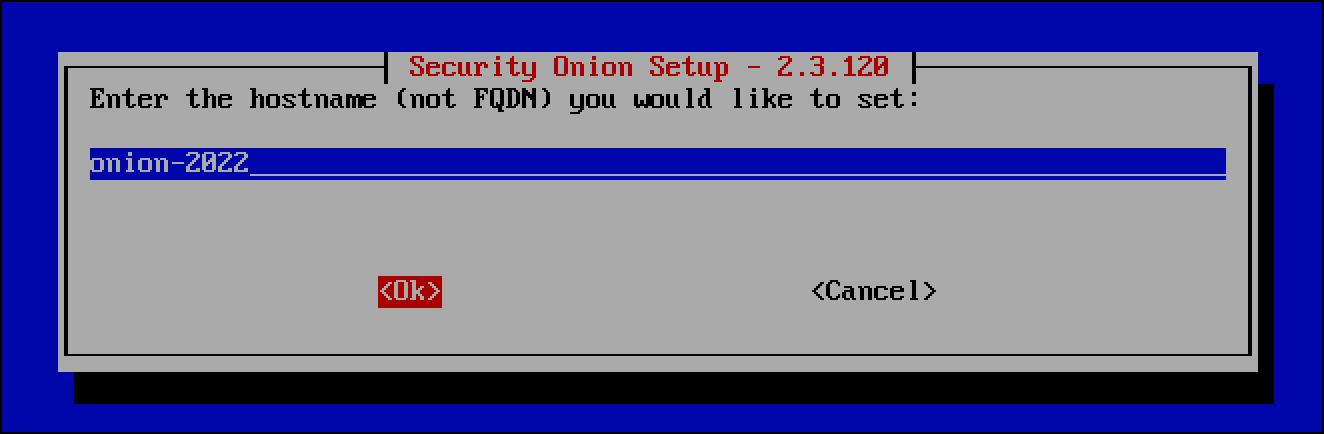
- Give your Security Onion deployment a name and select OK.
- You can also enter a short description for your Security Onion, or just leave it blank, select OK and press
Enter.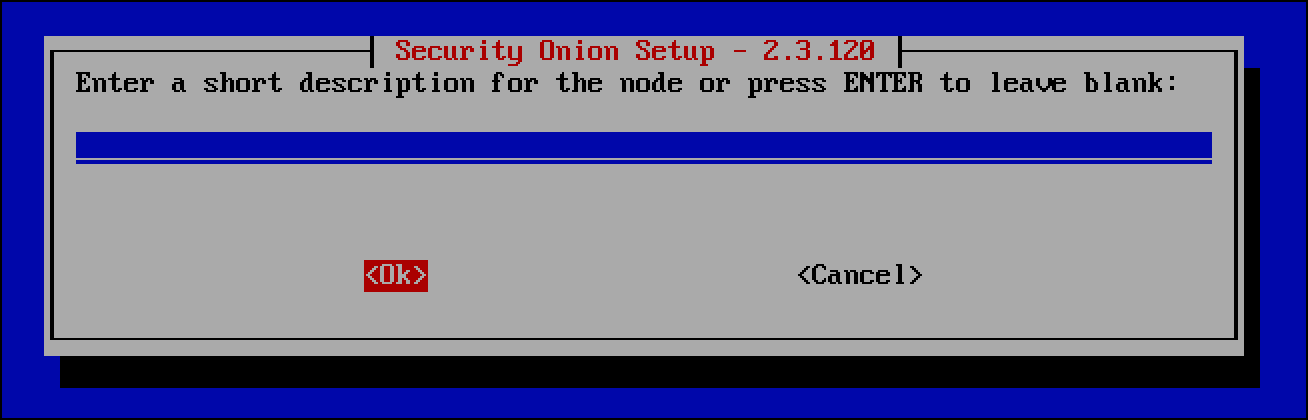
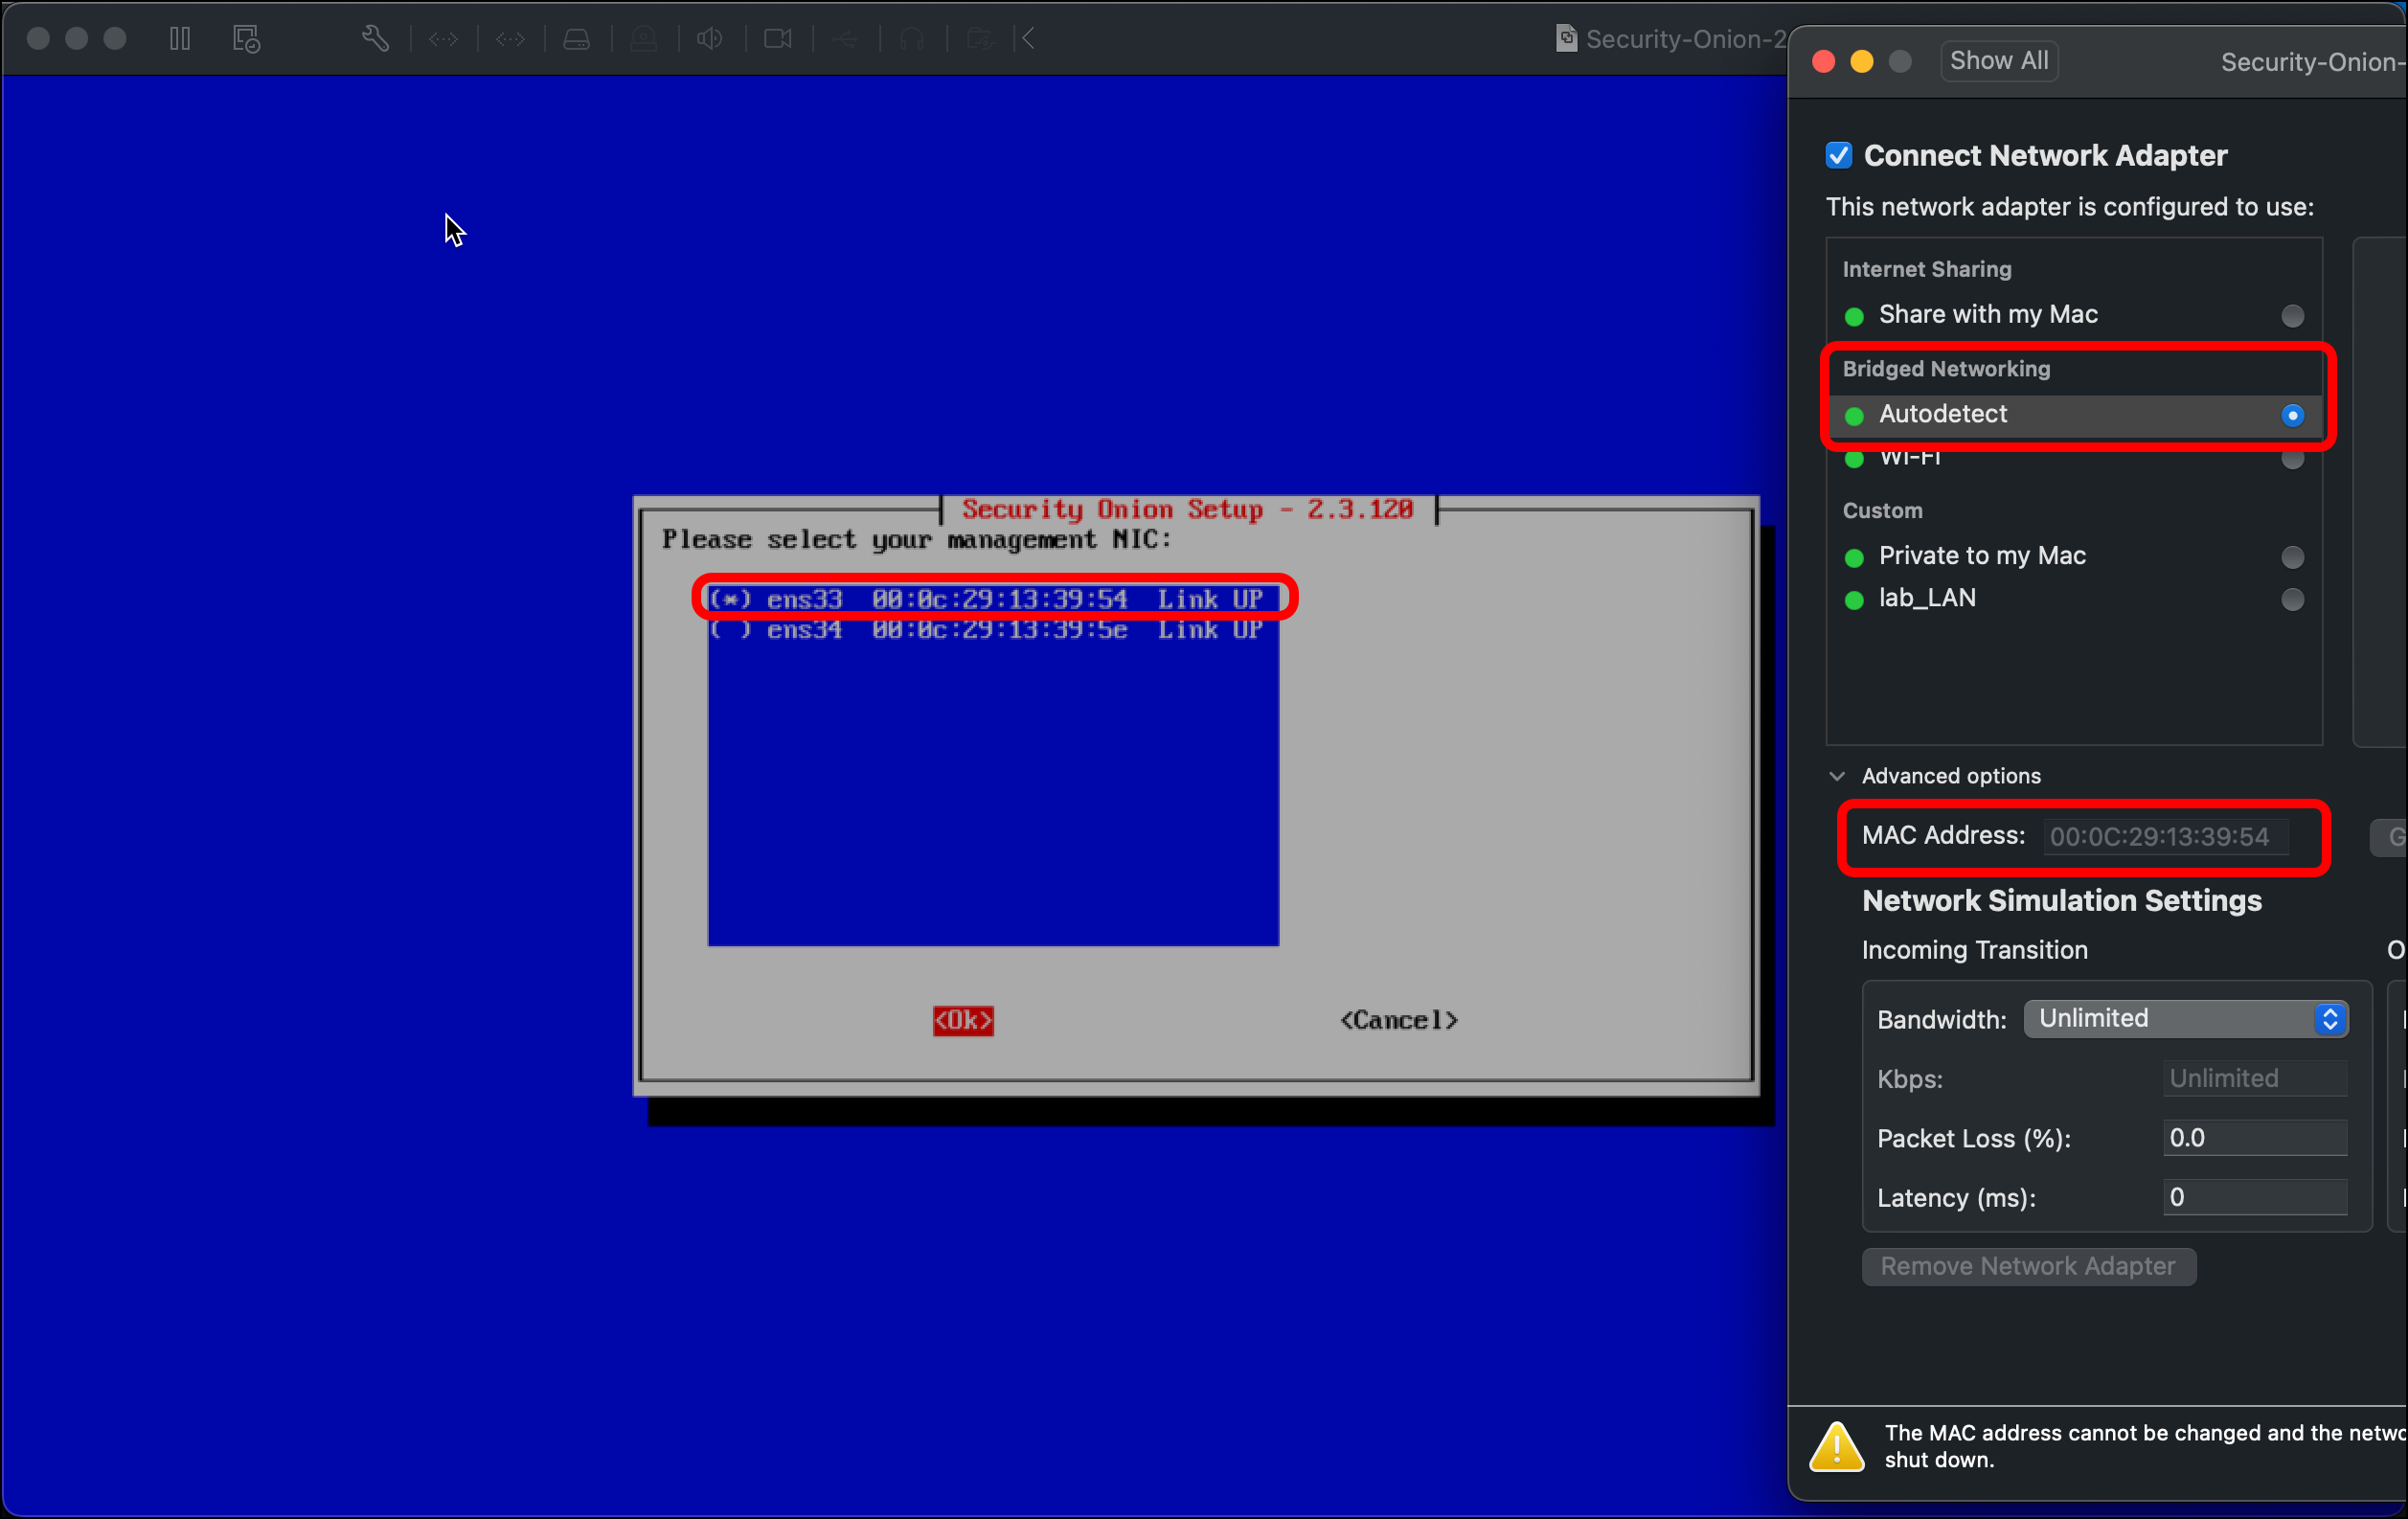
- You are prompted to select the management NIC. As we did with the OPNsense VM, use the VM’s Network Adapter settings to confirm the MAC address for the correct network adapter. In this case, I am choosing ens33, which has a MAC address ending in 39:54, which matches the first network adapter on the VM, which I have in bridged mode. In the Security Onion setup wizard, use the spacebar to select ens33, then select OK.
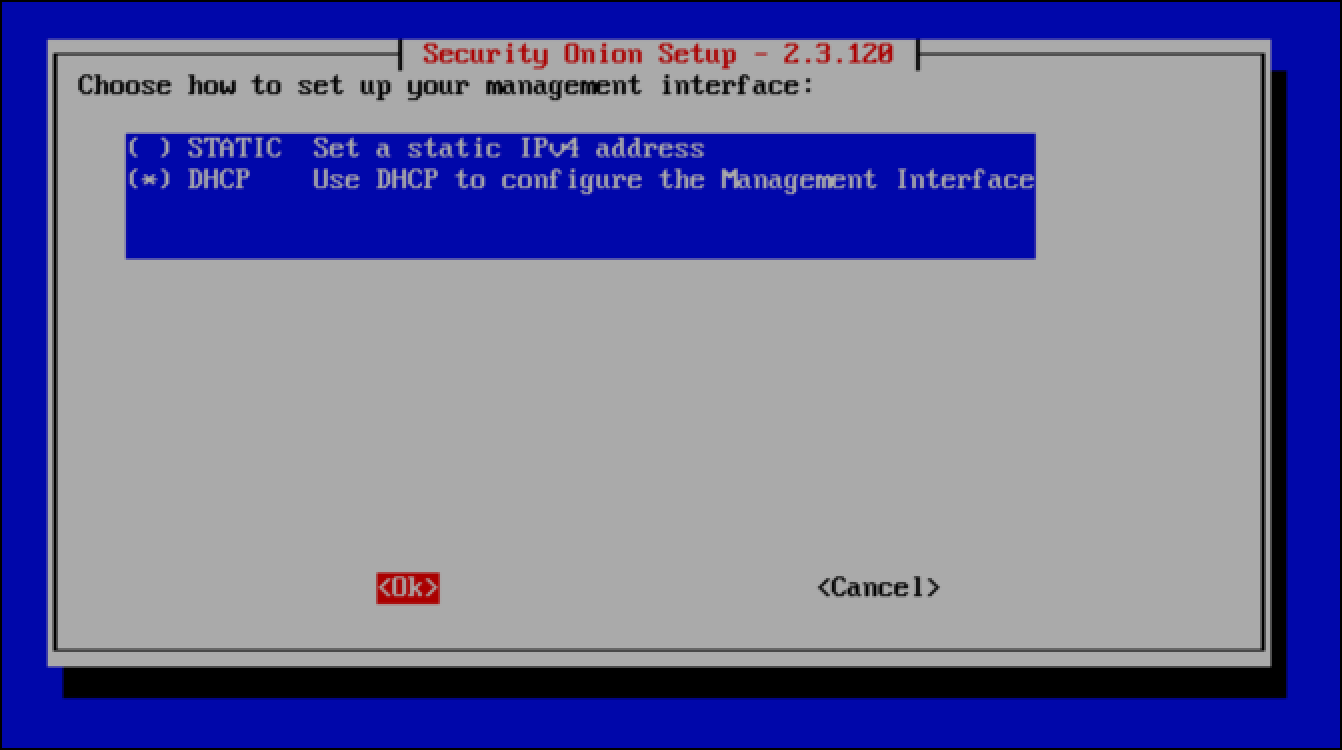
- Because I don’t have a real management network and I am connecting the management interface to my home, physical network which already uses DHCP addressing, I use the down arrow key and spacebar to select DHCP and then select OK.
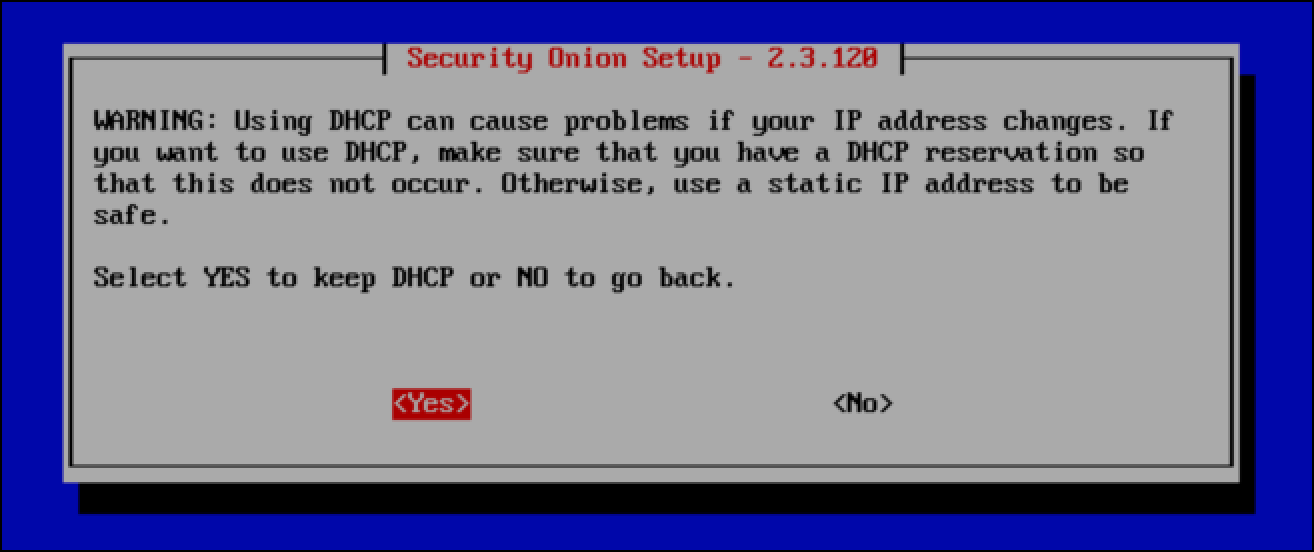
- If you select DHCP, you will get a warning from Security Onion reminding you that a DHCP-assigned address could change, and you might have problems connecting to the management interface of Security Onion. This is not an issue in my case, so I select Yes to keep DHCP.
- Select OK when you see Setup will now initialize networking and press
Enter.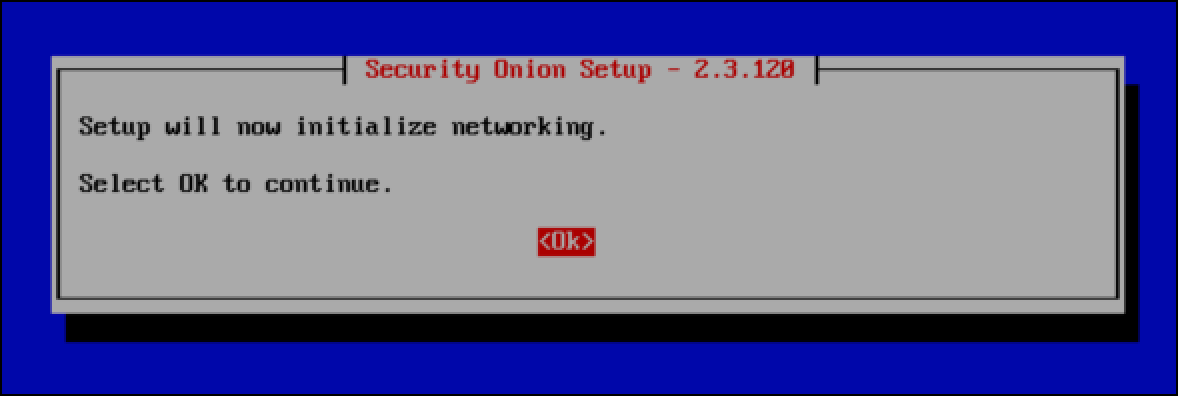
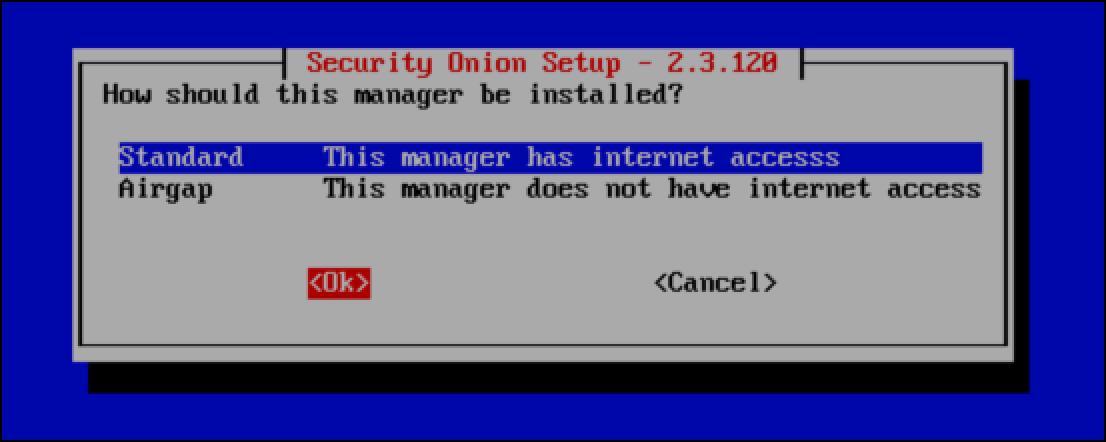
- Since we are not airgapping this system or this network, leave Standard selected and select OK.
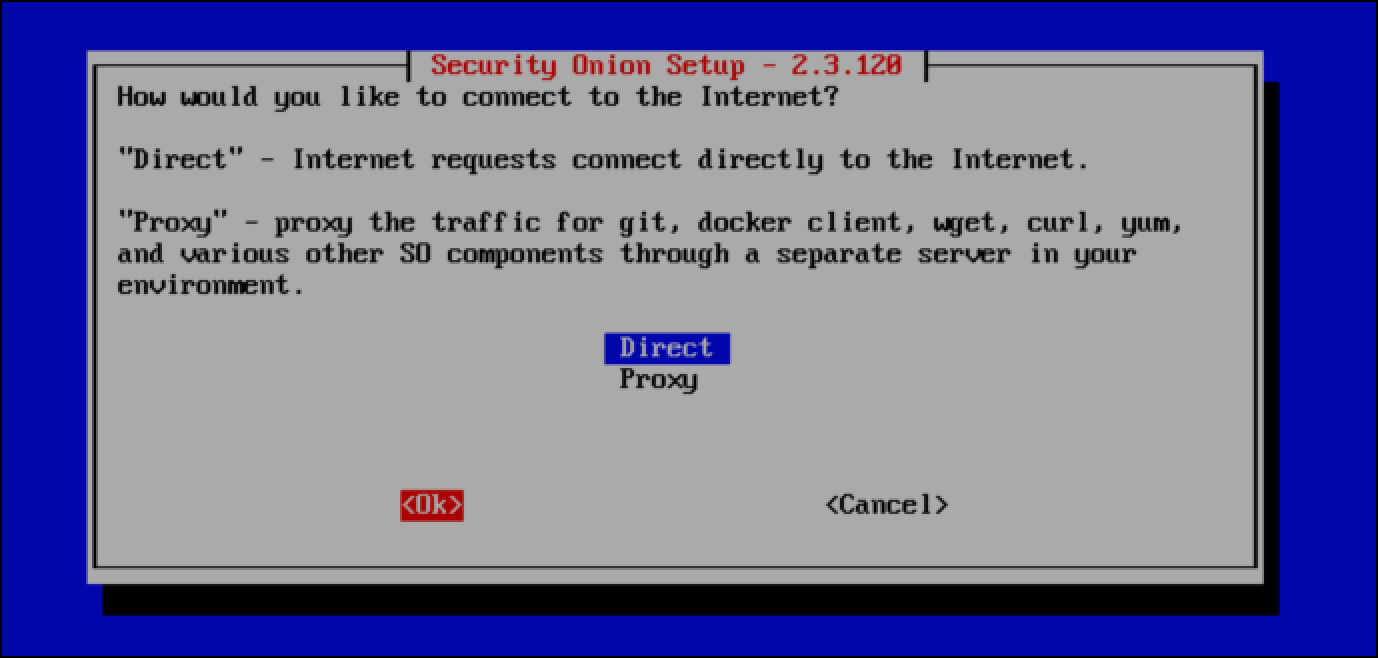
- When asked How would you like to connect to the Internet? I select Direct since I am not using a proxy.
- A progress bar displays.

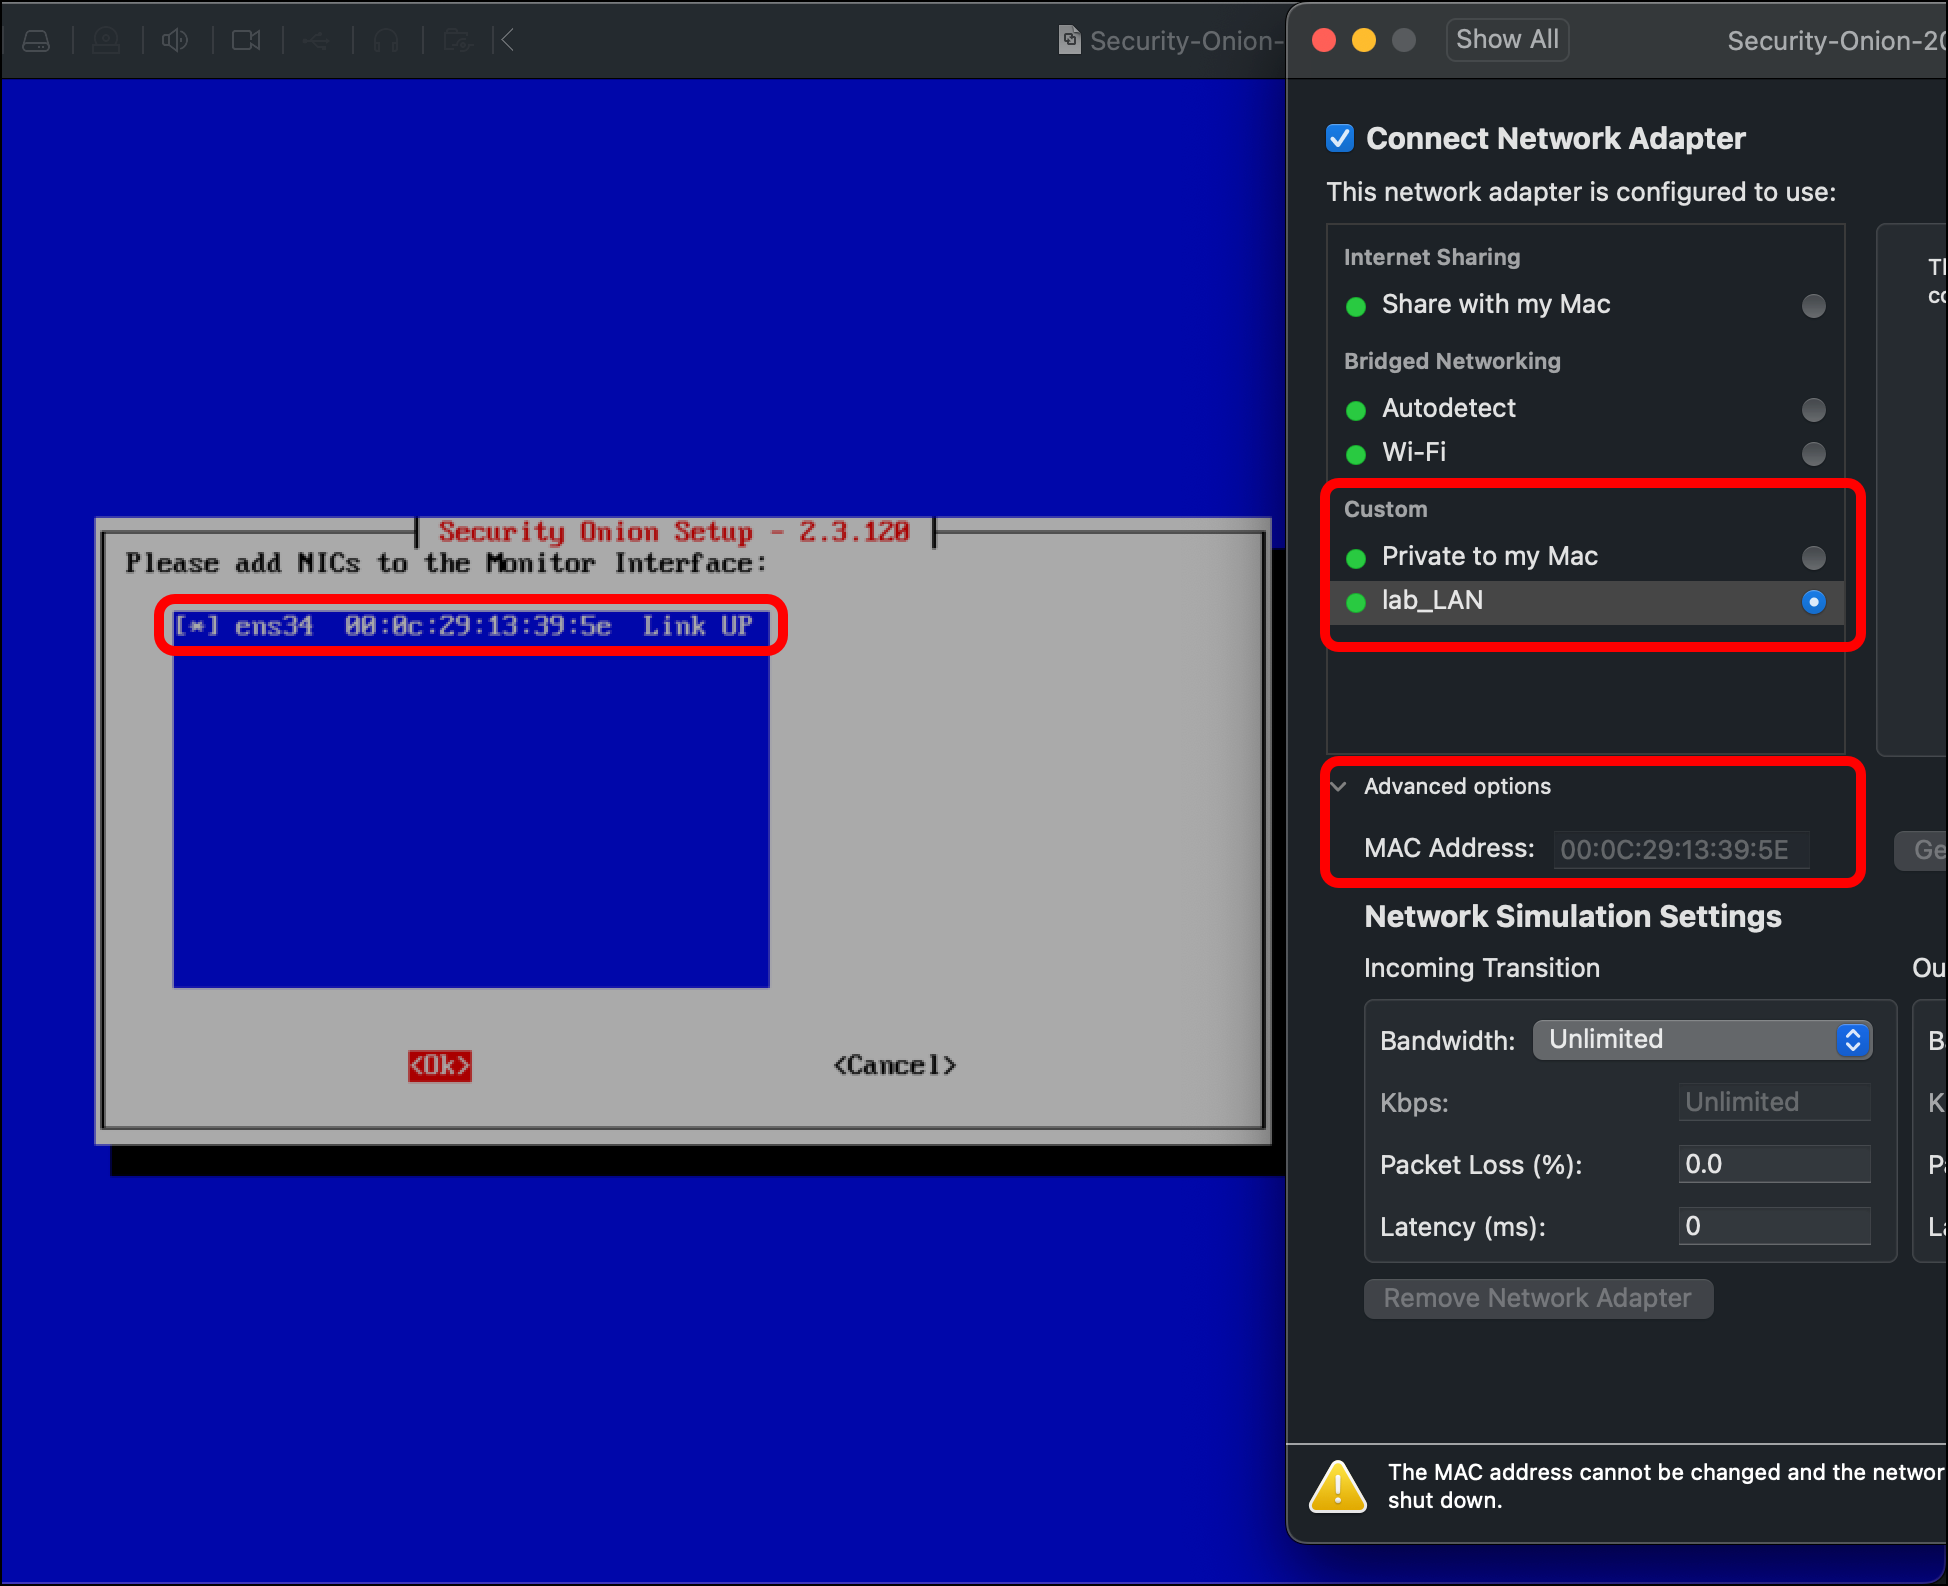
- When asked to select the Monitor Interface, I only have one option, which matches with the VM network adapter connected to the HOME_NET_LAN. This is what I want, so I select ens34 and proceed.
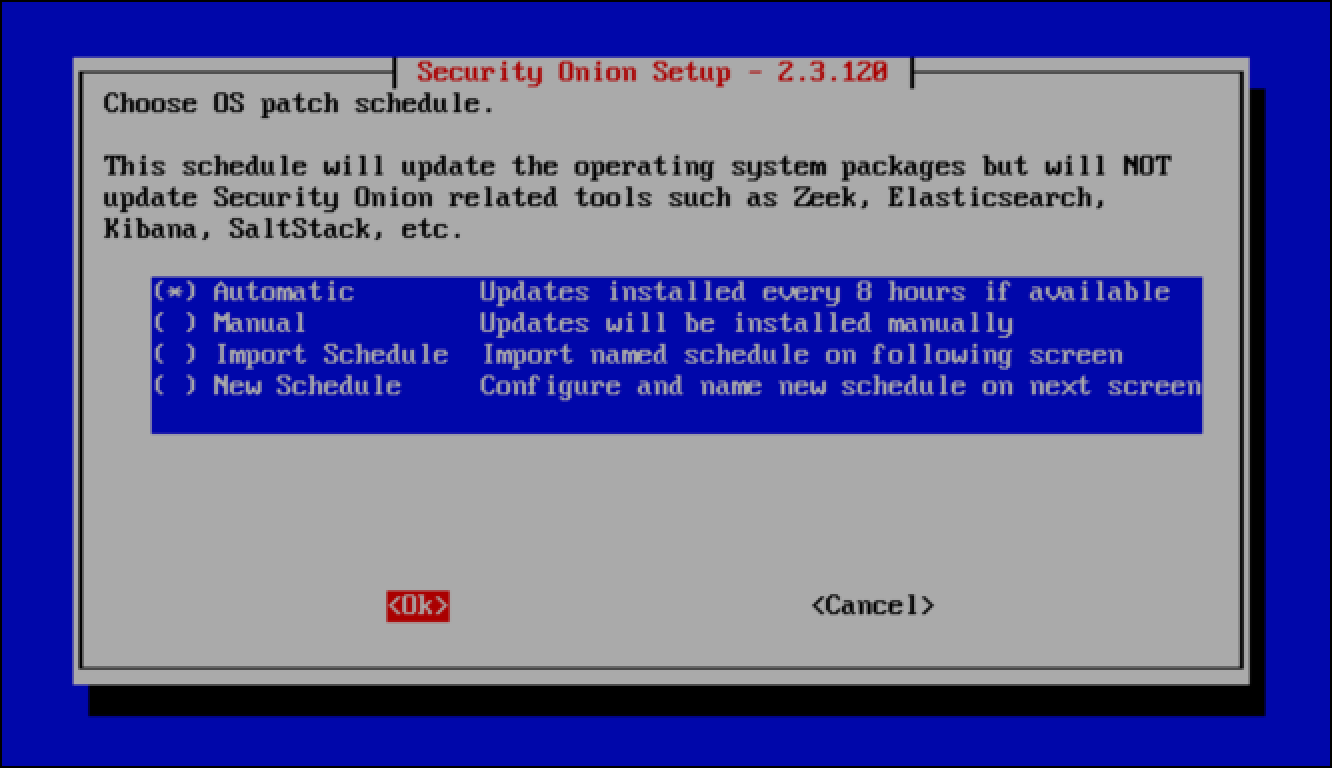
- For Choose OS patch schedule, leave Automatic selected and select OK.
- The field for your home network(s) is prepopulated with RFC1918 IP addresses using CIDR notation. Since this Security Onion will monitor a single network created with VMware Fusion Pro and the OPNsense VM, HOME_NET_LAN, clear the default values. (You can use
Control+u.) Then enter the IP address range for the HOME_NET_LAN using the correct CIDR notation: 10.10.10.0/24, select OK and pressEnter.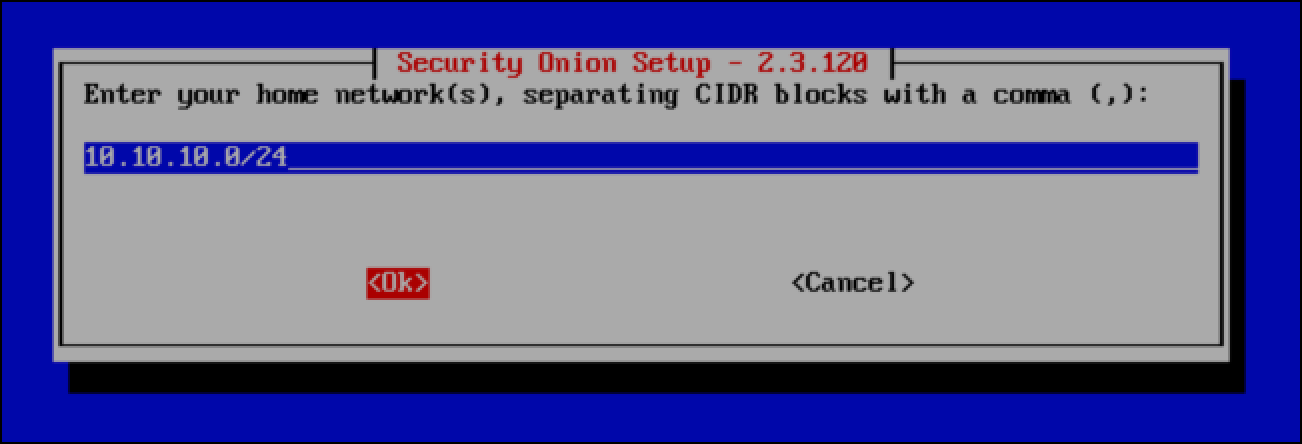
- Keep the default manager type, Basic, selected, select OK and press
Enter.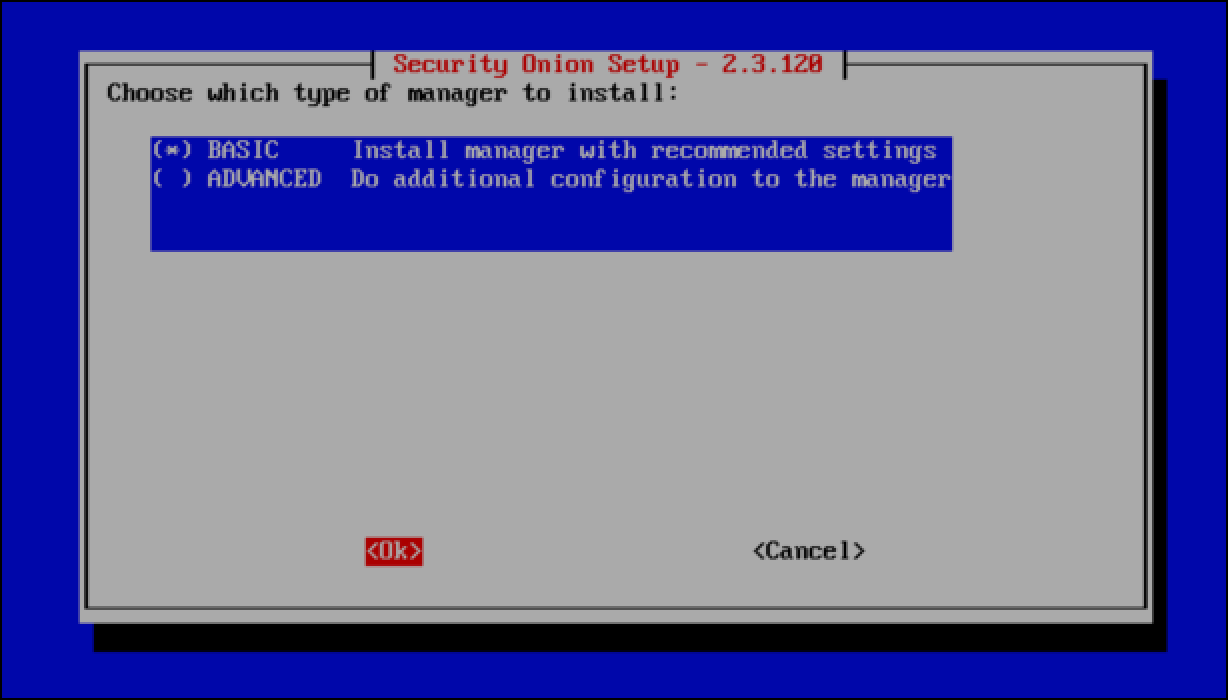
- When you are prompted for which tool you want to generate metadata, keep Zeek selected, select OK and press
Enter.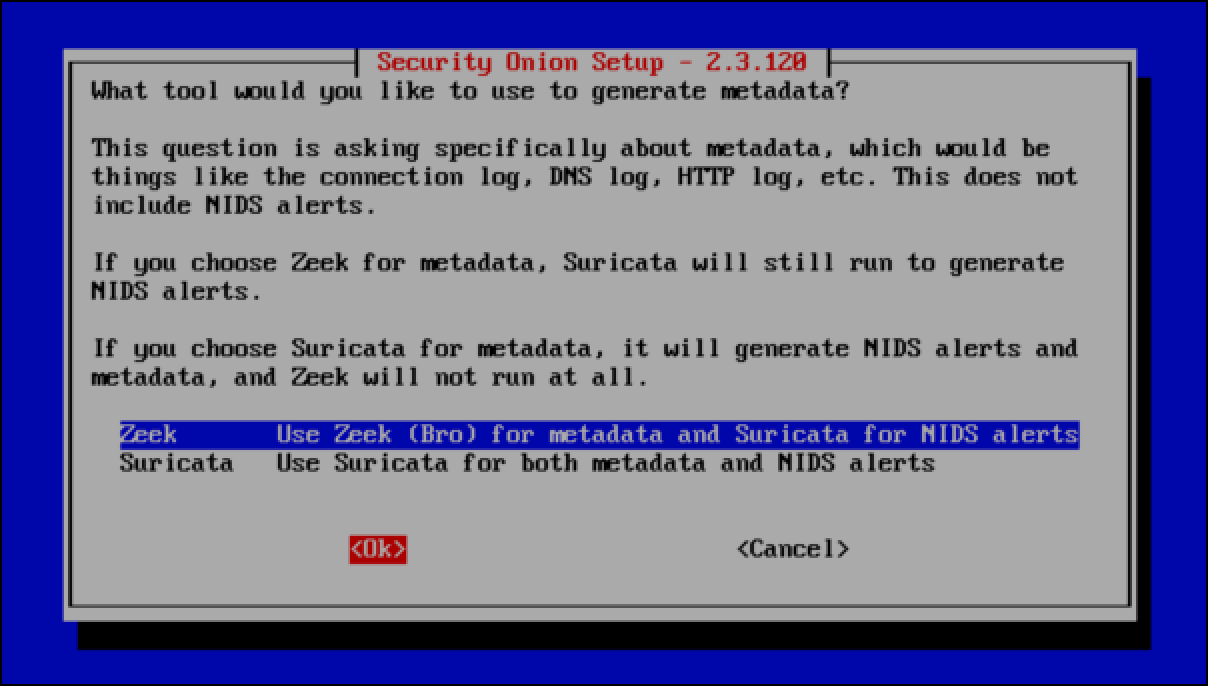
- You are asked to select the ruleset that Suricata will use to detect malicious activity on the network. Keep ETOPEN selected since it is a free, open-source ruleset, then select OK and press
Enter.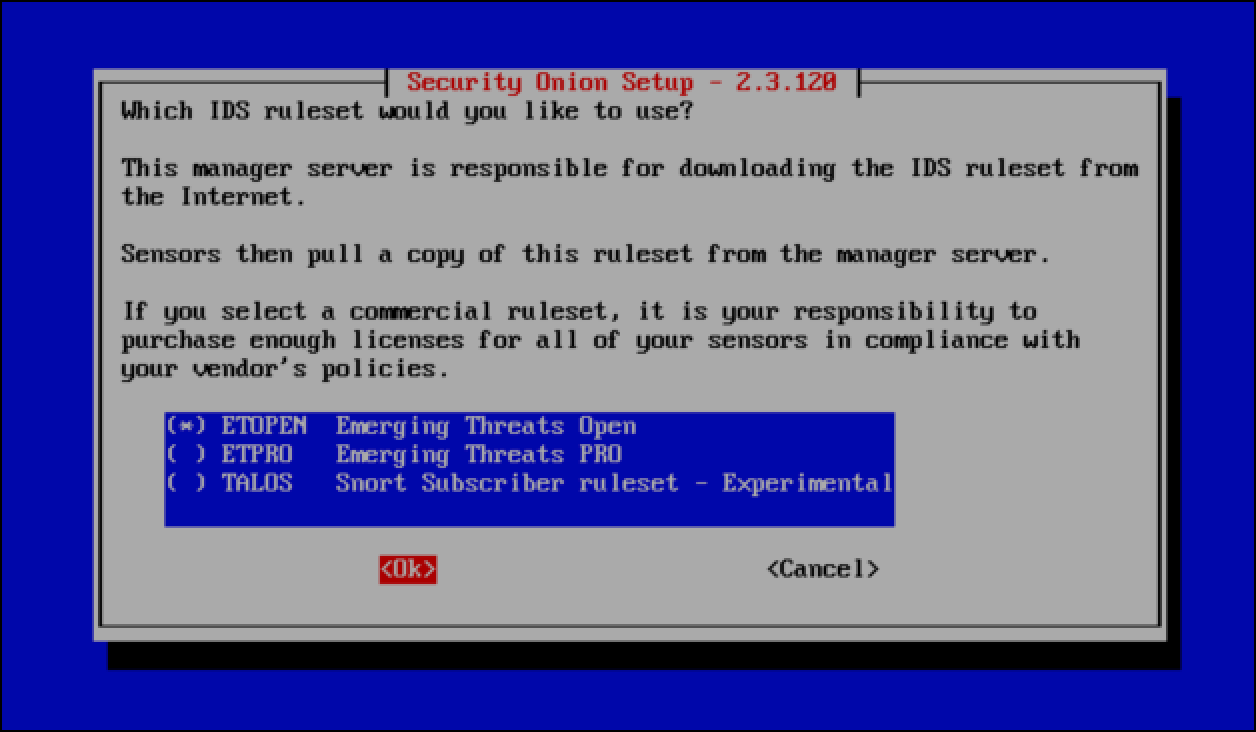
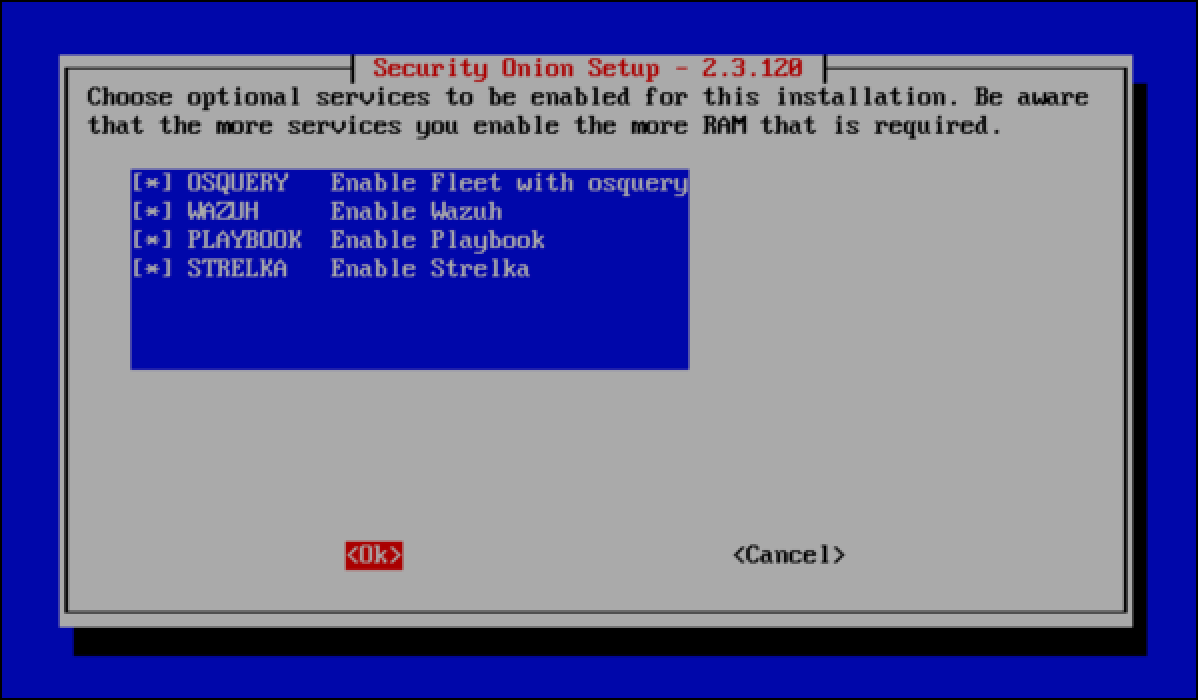
- Security Onion lets you choose whether or not you want to run additional, optional services. The understanding is that more services use more RAM, and you can deselect some of the services to conserve resources. All items are selected by default. You can use the spacebar to unselect items, then select OK.
- Select Yes to keep the default Docker IP range.

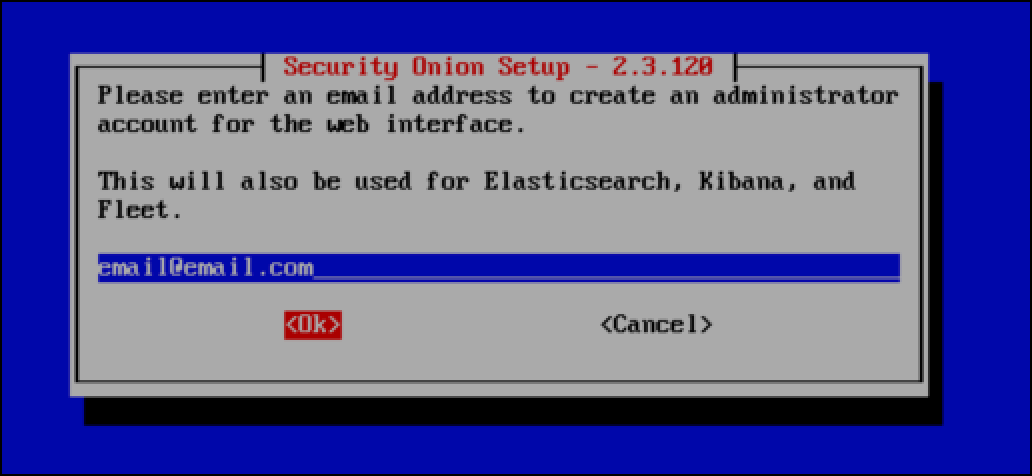
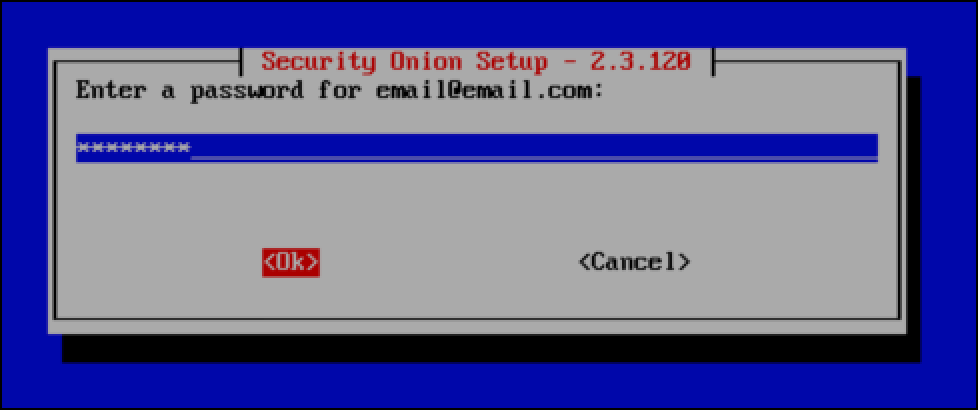
- Enter an email address. The email address only acts as the username for the account that you will use to log in to the Security Onion dashboard. It will not send emails to this address. So you can use email@email.com.
- Enter a password for this Security Onion account.
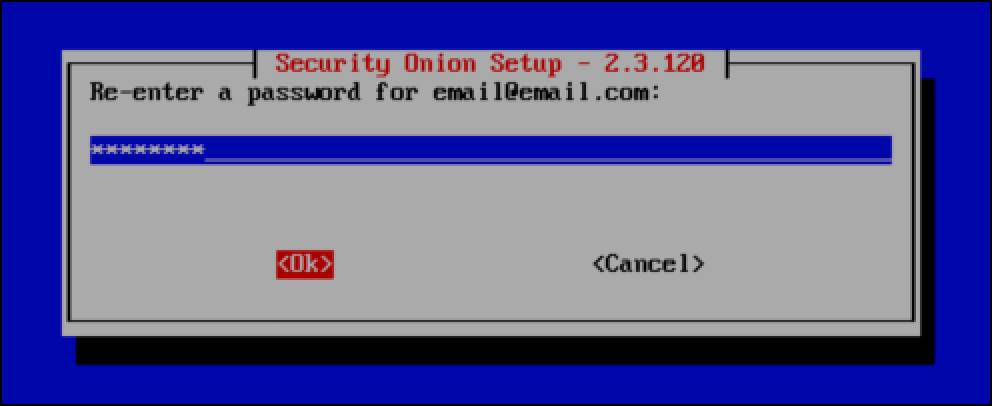
- Enter the password again.
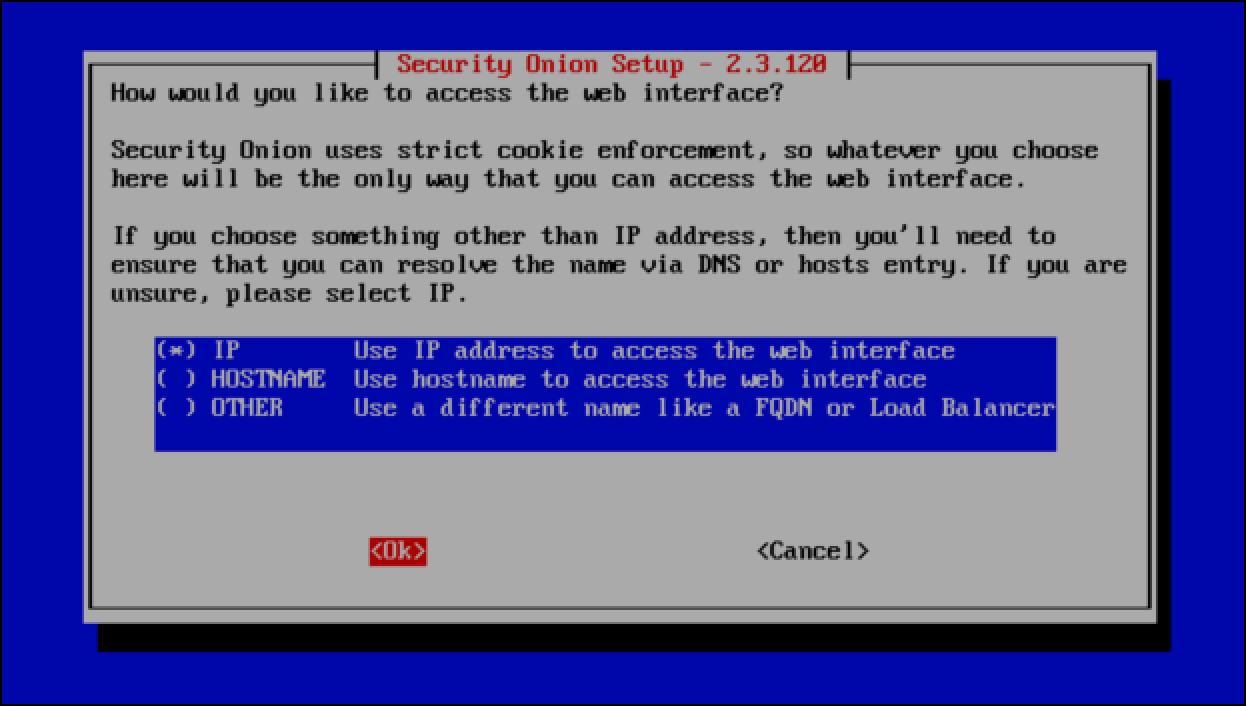
- The wizard asks if you want to use an IP address or a hostname to navigate to the Security Onion Console. This example skips the management network approach and am assigns the Security Onion management NIC an IP address on my home network, so I leave IP selected and then select OK.
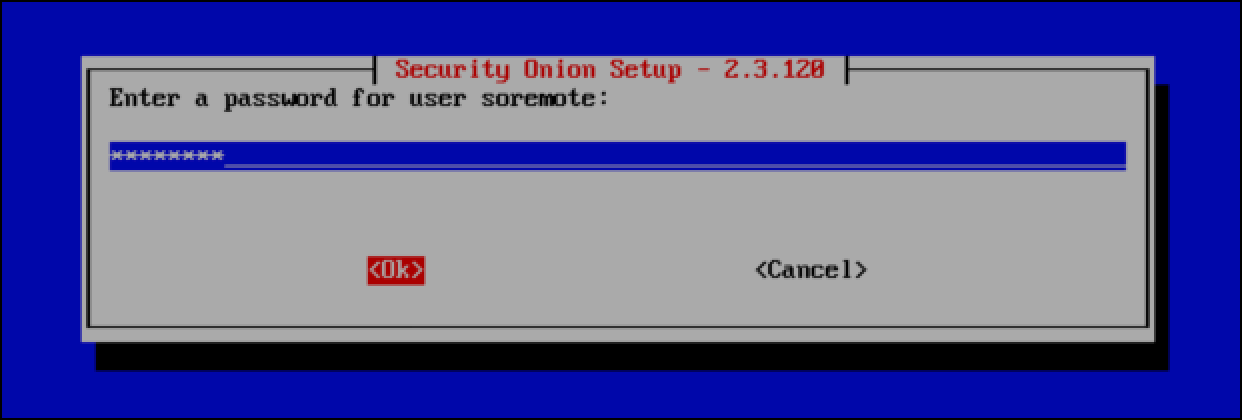
- You are prompted to set a password for the soremote user, which you would use in a distributed deployment of multiple Security Onion hosts. Select OK.
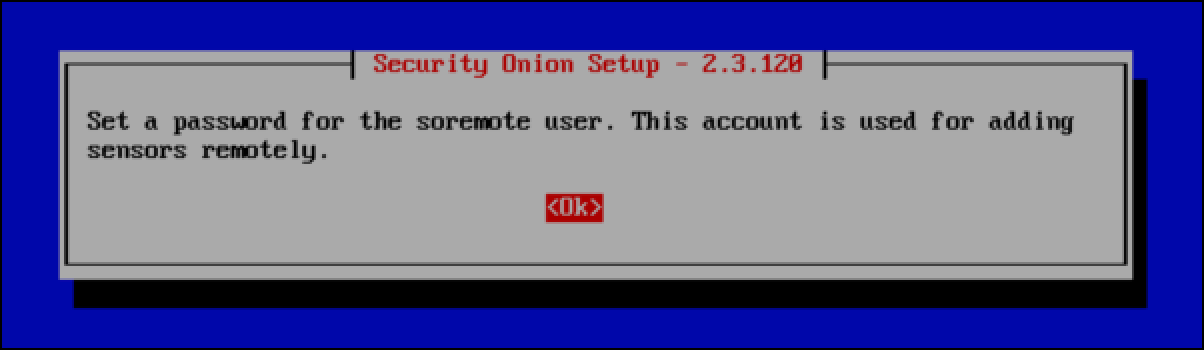
- Enter a password for the soremote account.
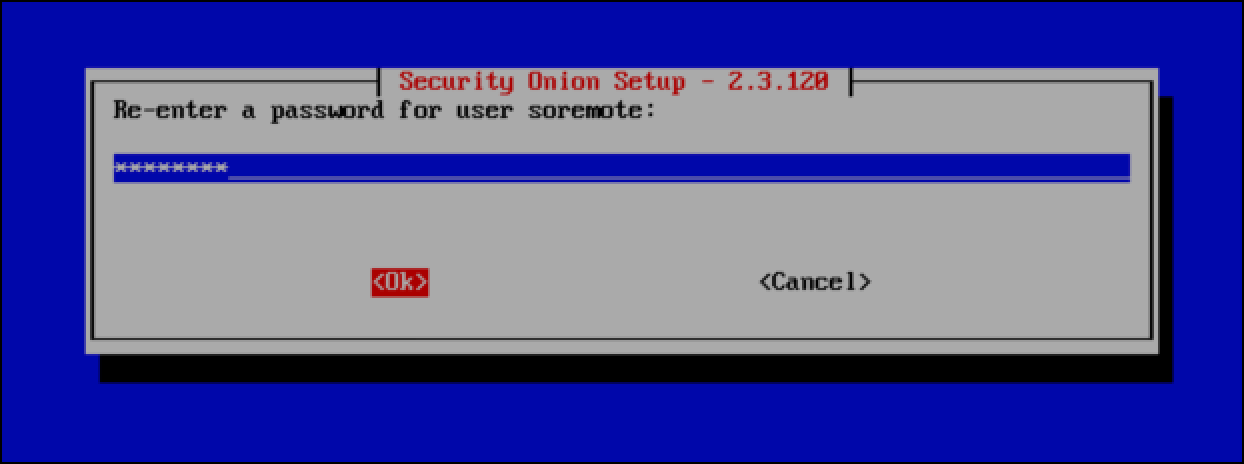
- Enter the password again.
- When asked for the type of configuration you want for you Security Onion deployment, keep Basic selected, then select OK and press
Enter.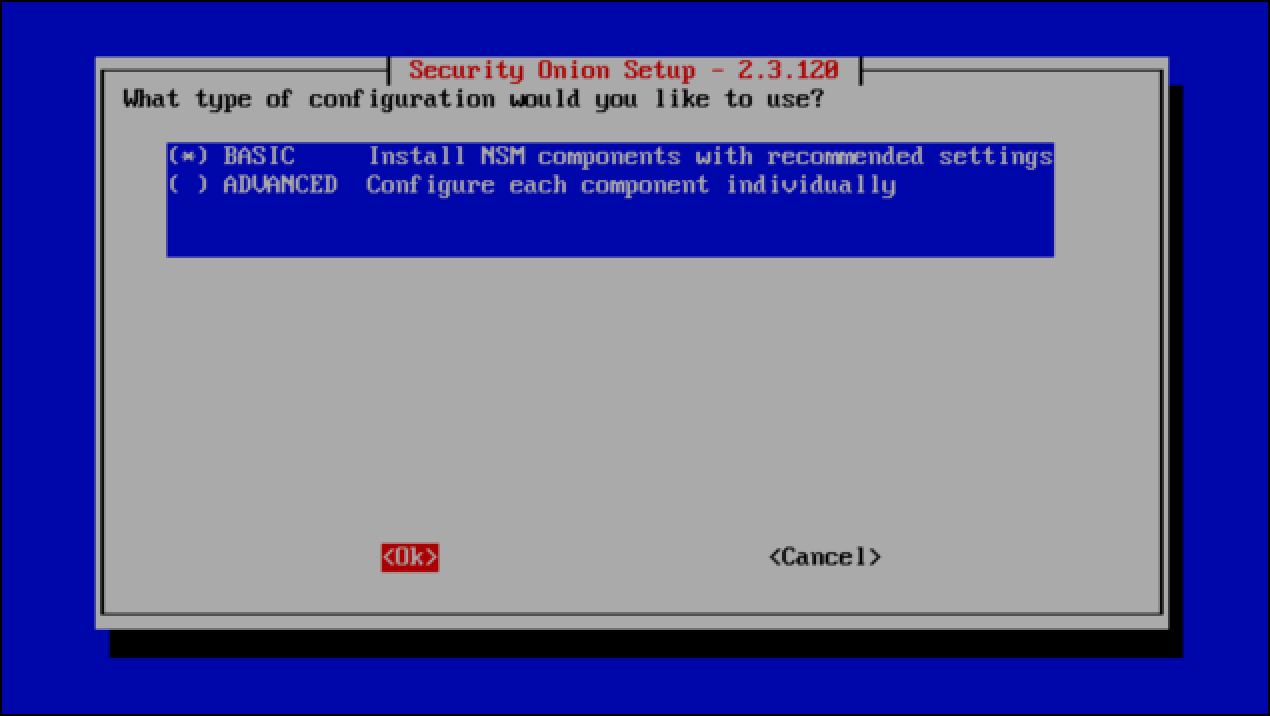
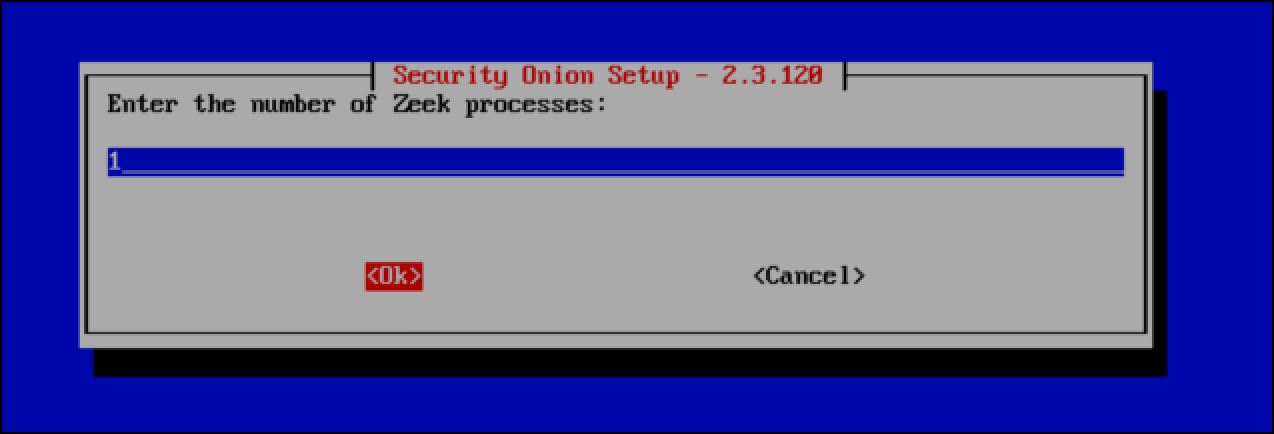
- You are prompted for the number of Zeek processes that you want running. Because this is for demonstration and I don’t want it to consume too many resources, I leave the default of 1.
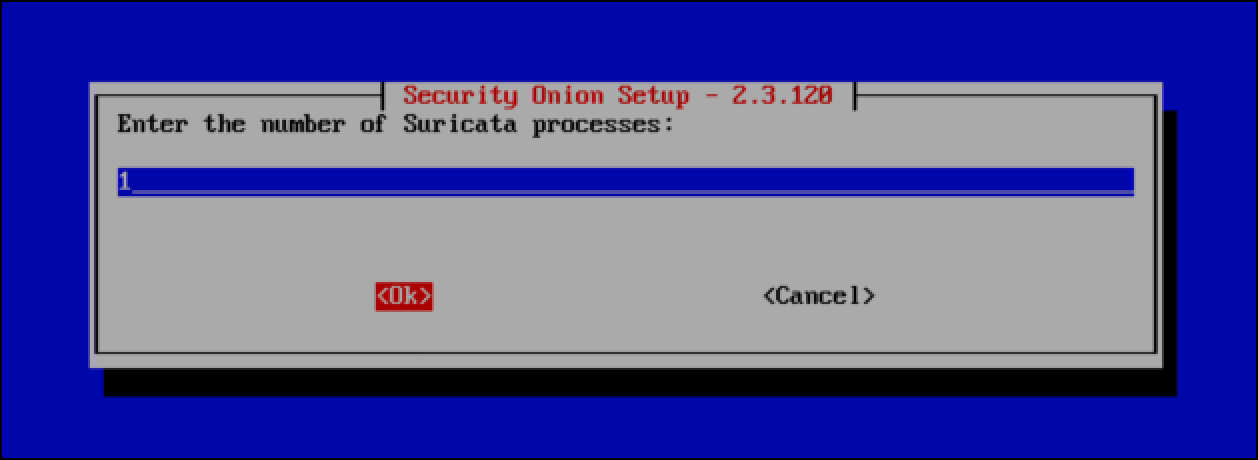
- Leave the number of Suricata processes at 1.
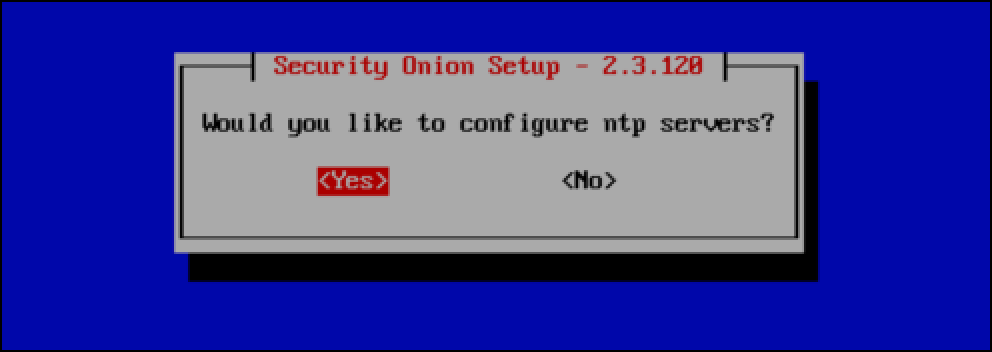
- Select Yes to configure ntp servers.
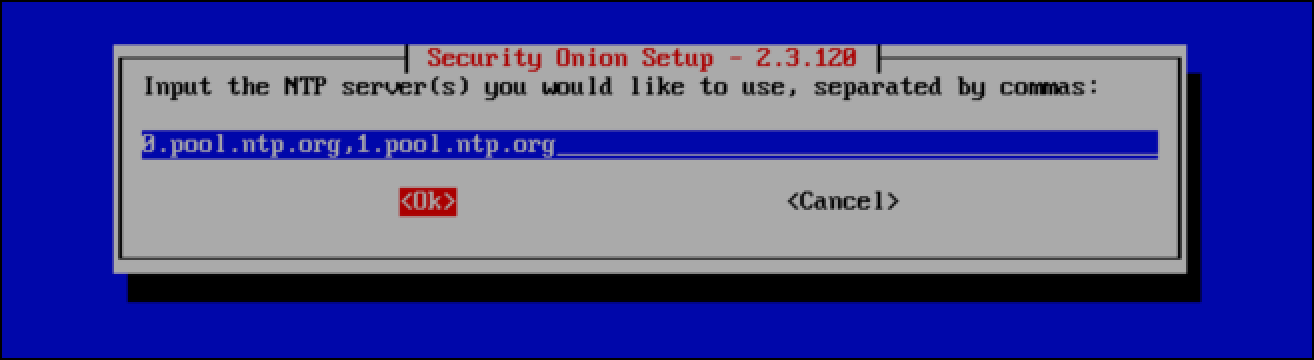
- Leave the default NTP servers and select OK,
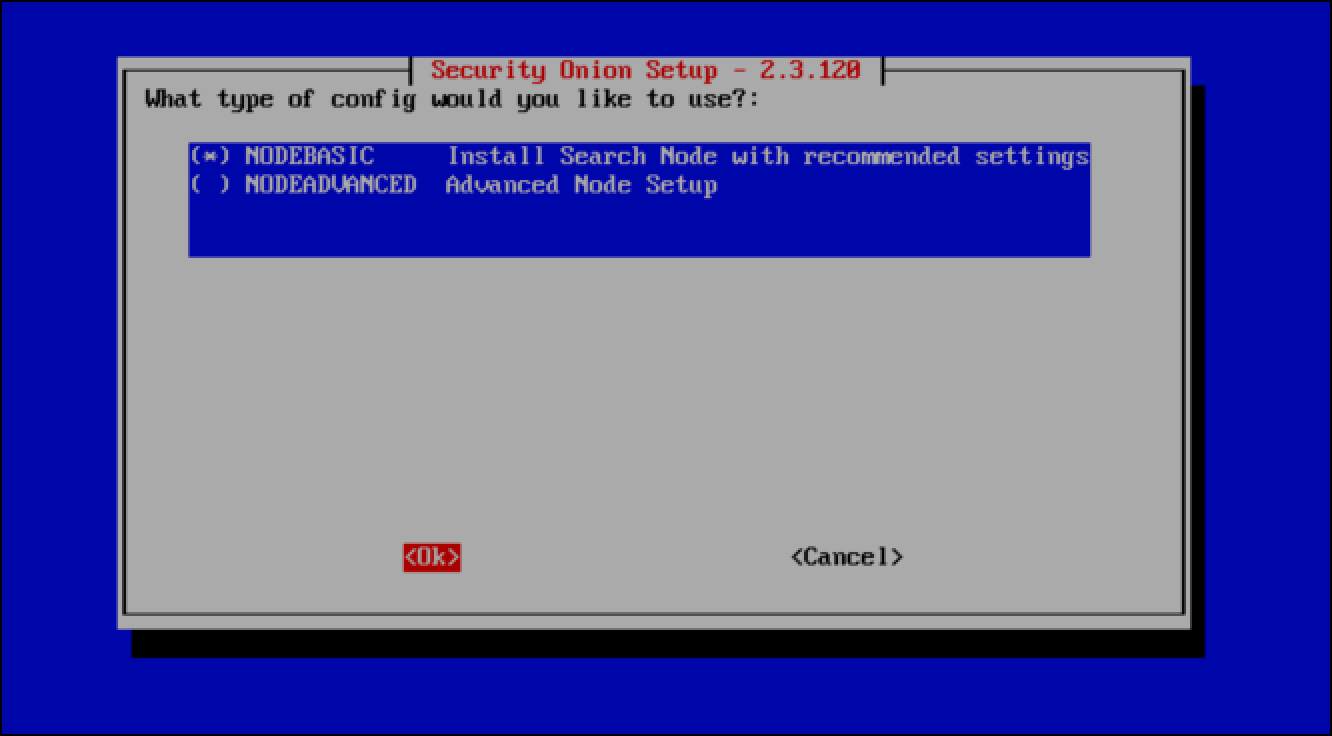
- Leave the config type of NODEBASIC Install Search Node with recommended settings defaults and select OK.
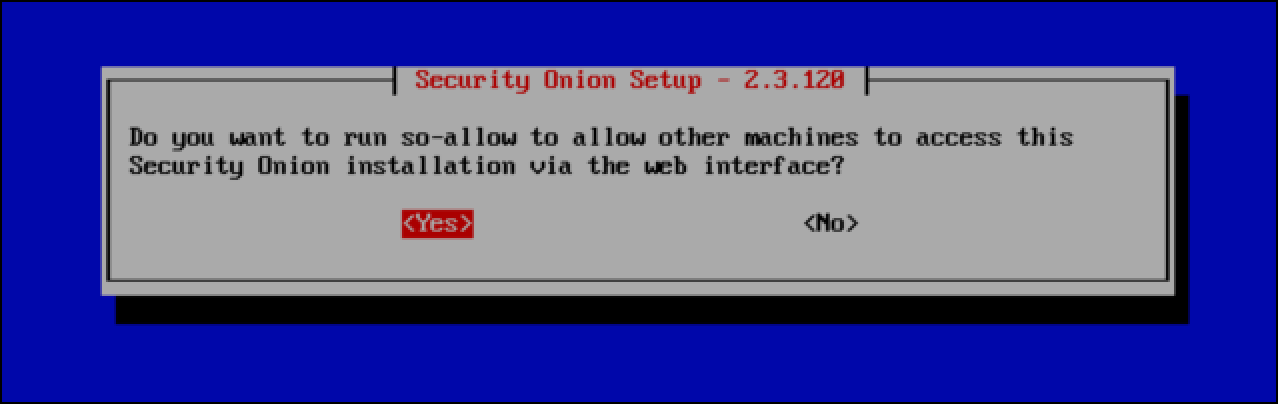
- The so-allow command opens up the management interface of your Security Onion installation to an IP address range from which clients can navigate to the web management interface or connect over SSH. Select Yes.
- Because I am using my home network as the “management network,” I enter 192.168.1.0/24 in CIDR notation so that devices on that network can navigate to the Security Onion web management interface.

- The final pane summarizes all of the options you have configured and gives you the choice to accept these configurations and proceed.
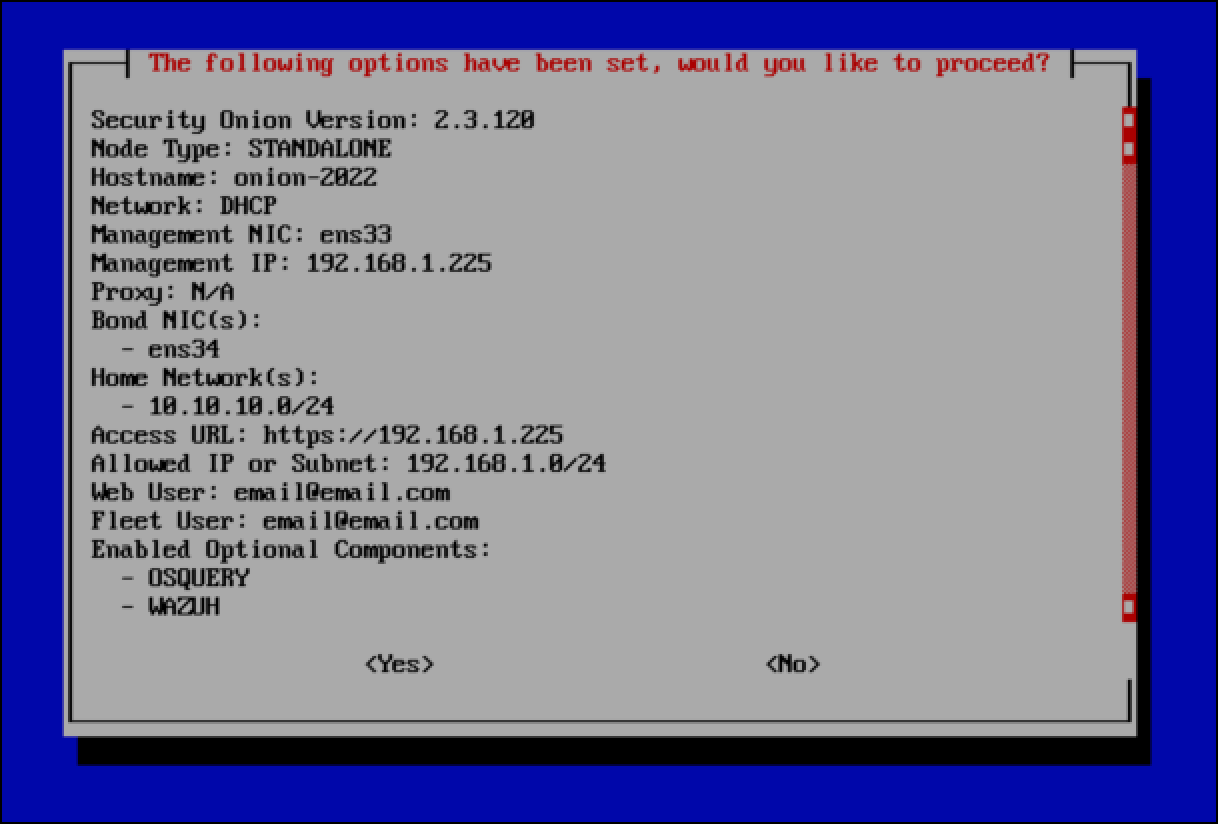
- Use the down arrow key if you want to scroll to the bottom of the pane to see all of the information. When you are done, use the
Tabkey to select Yes and pressEnterto complete the Security Onion installation.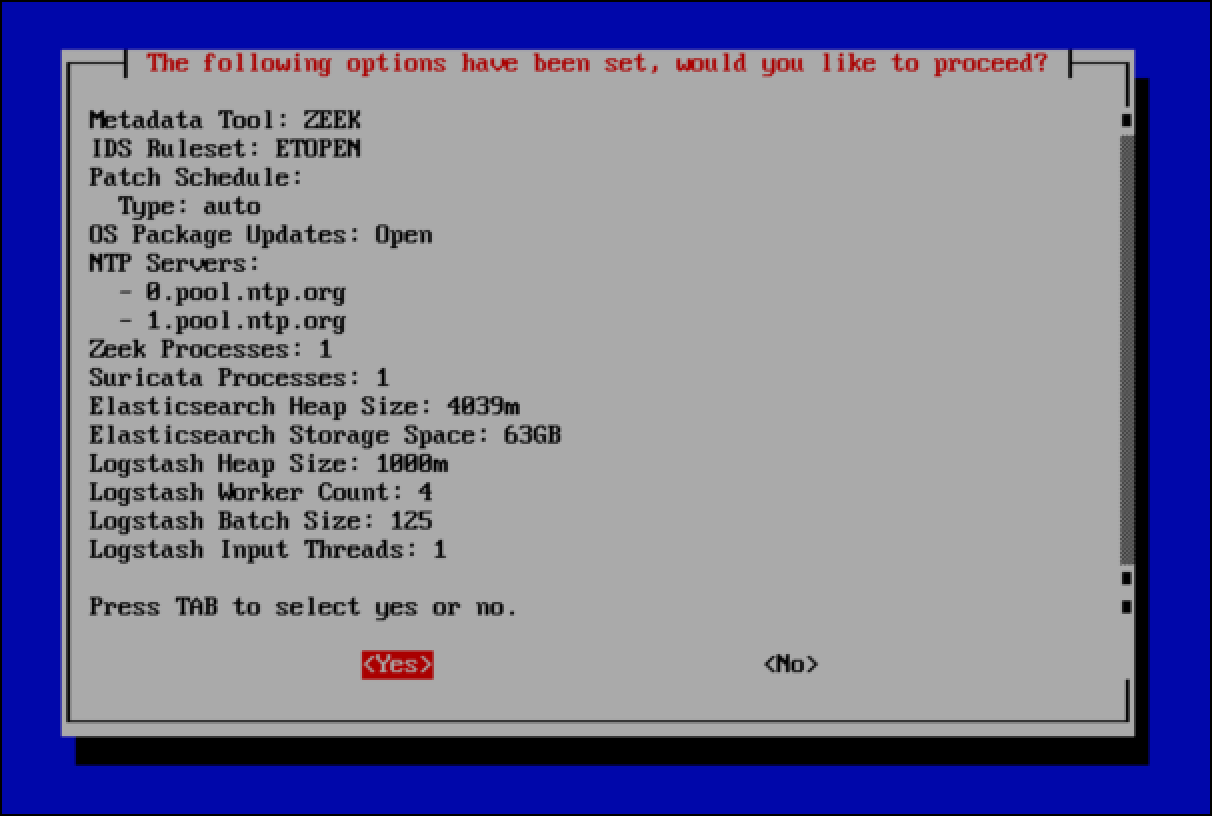
- A progress bar displays Security Onion installation phases. In my experience, the process takes at least 20 minutes to complete, depending on host system resources.

- When the process is complete, you see a confirmation message saying that the installation succeeded. It also provides the URL you use to access the Security Onion Console. Press
Enterto select OK and reboot the VM.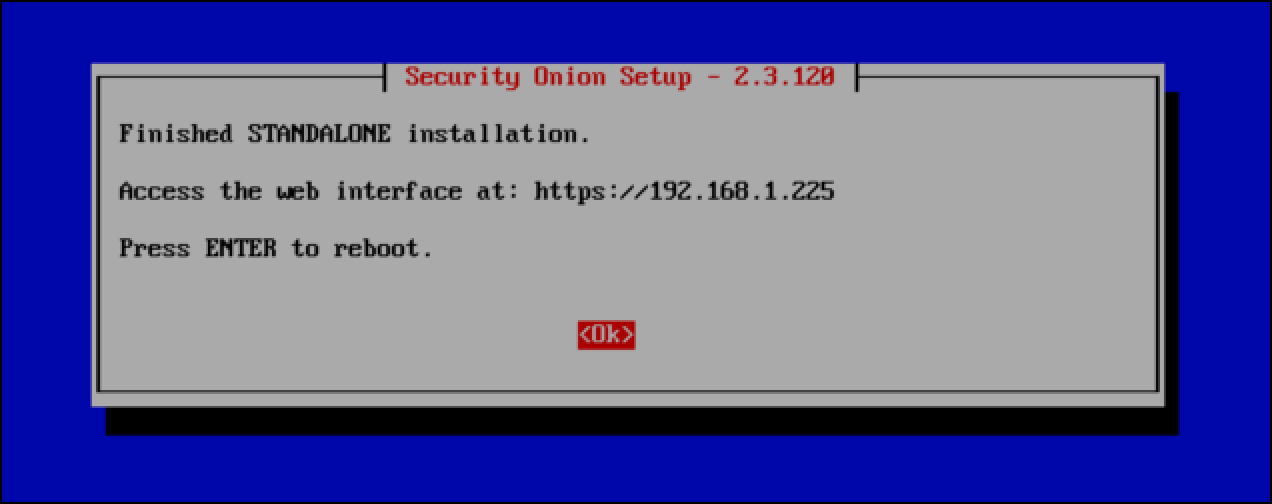
Note: Consider shutting down the Security Onion VM and taking a snapshot.