Create the OPNsense Virtual Machine
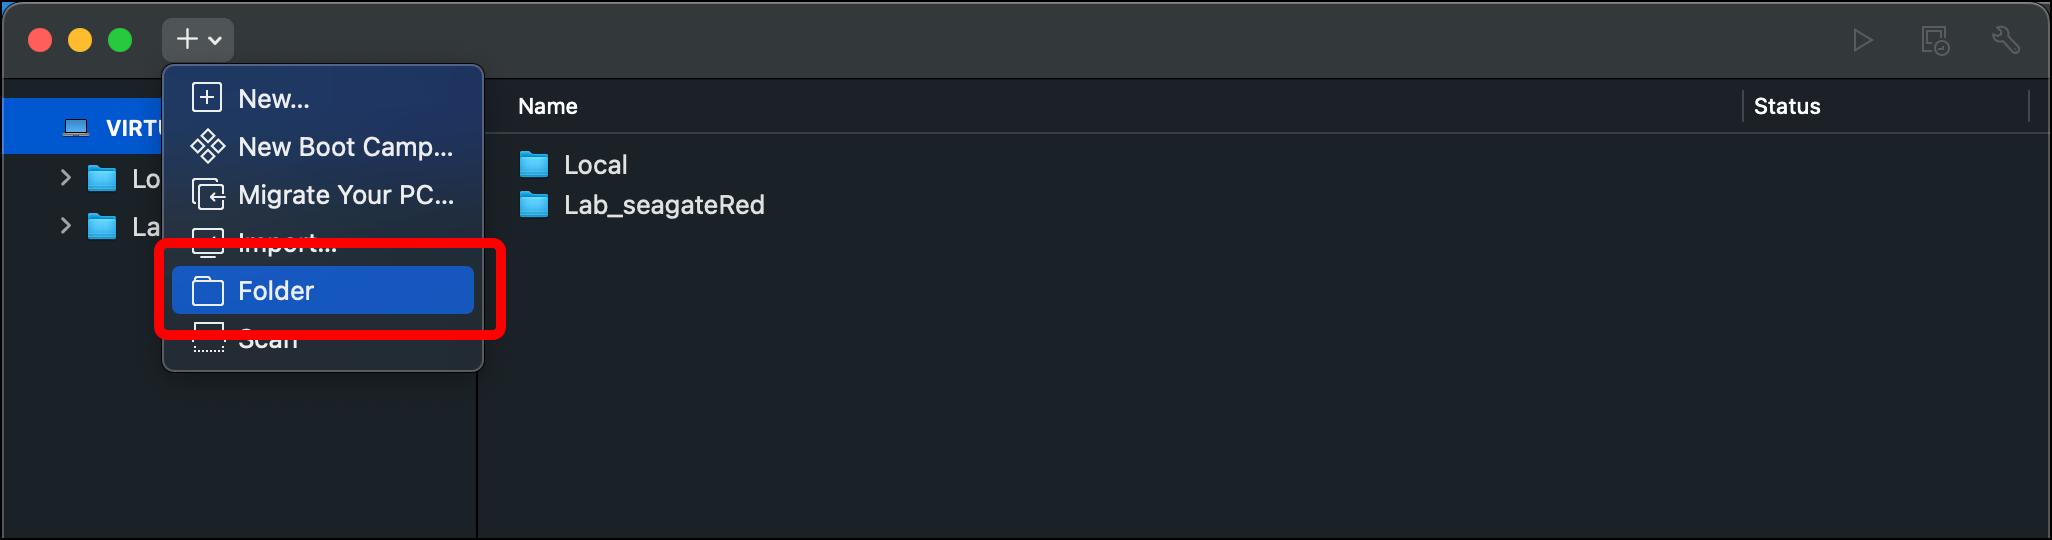
- For this tutorial, I will create my virtual machines (VMs) in a folder called localLab. Click the plus icon in the top-left corner of VMware Fusion and select Folder.
- Enter the folder name (localLab) and press
Enter.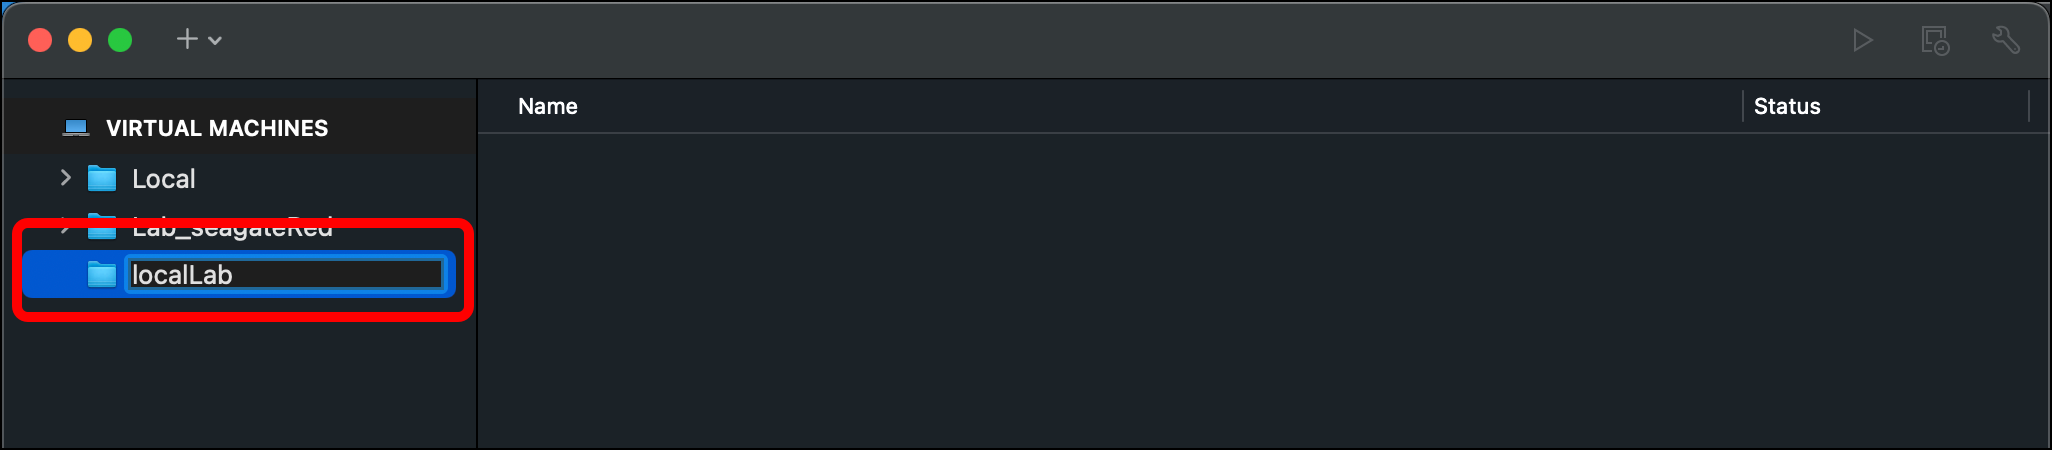
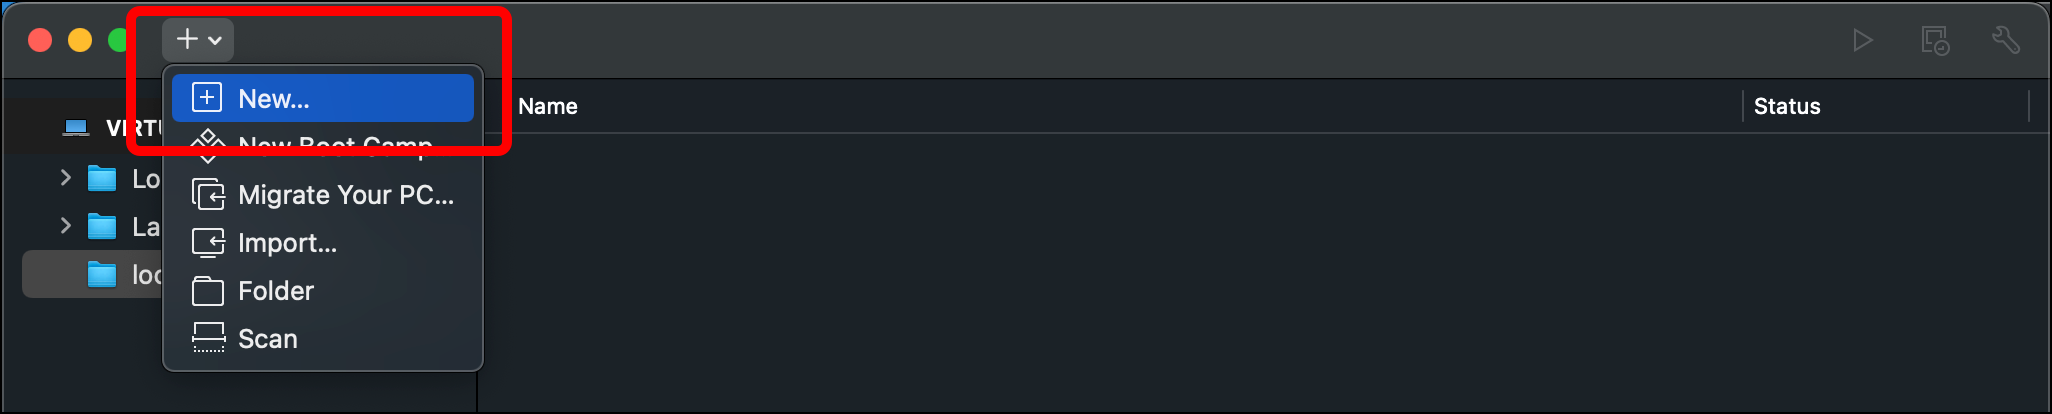
- Click the plus icon and select New….
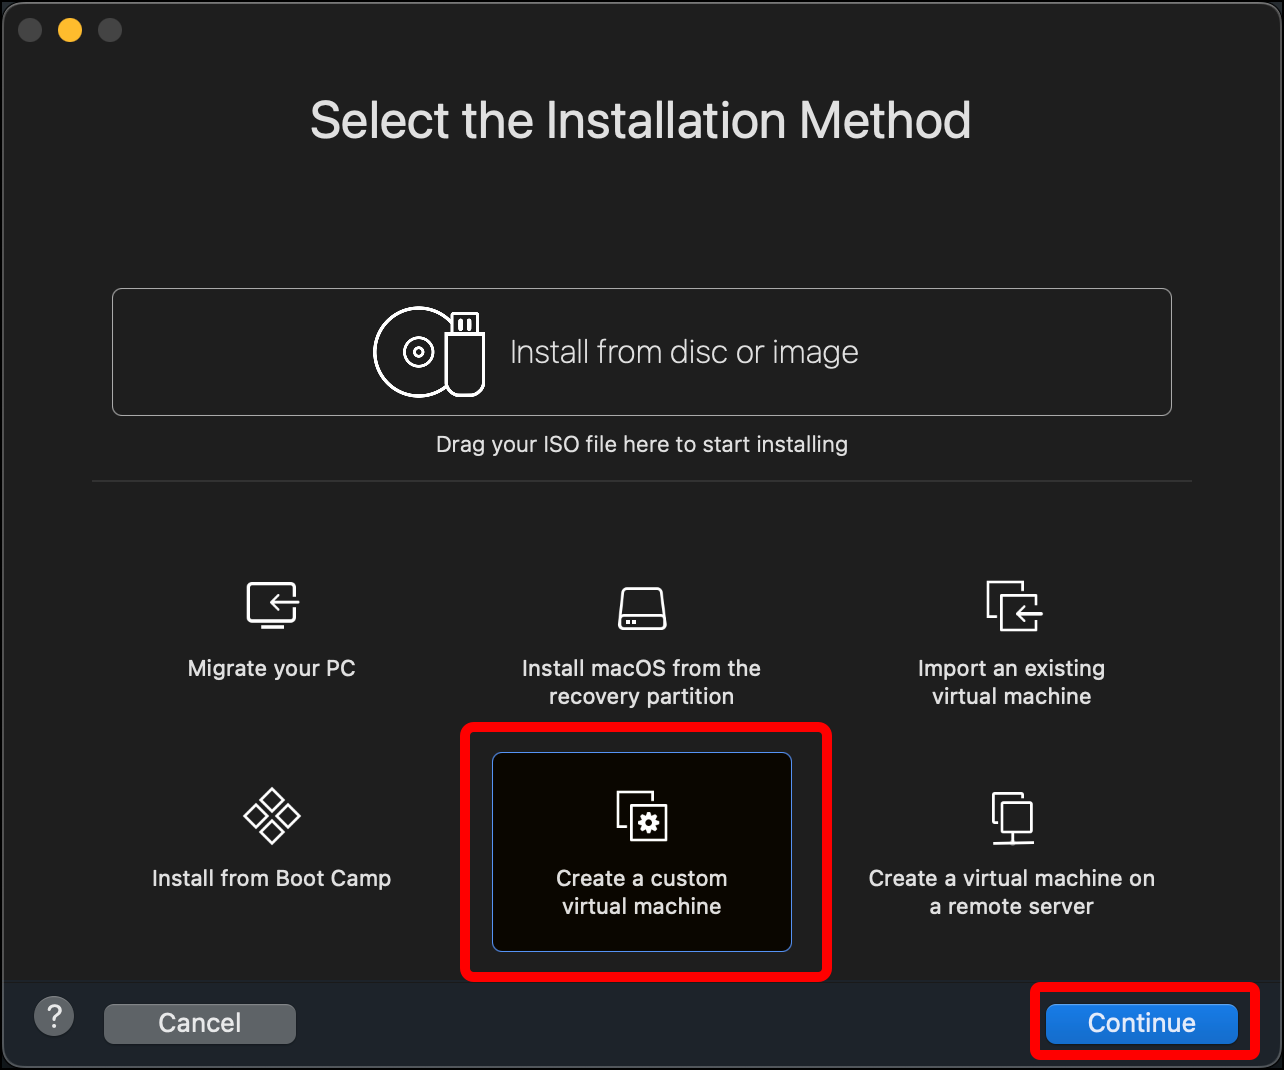
- Select Create a custom virtual machine, then click Continue.
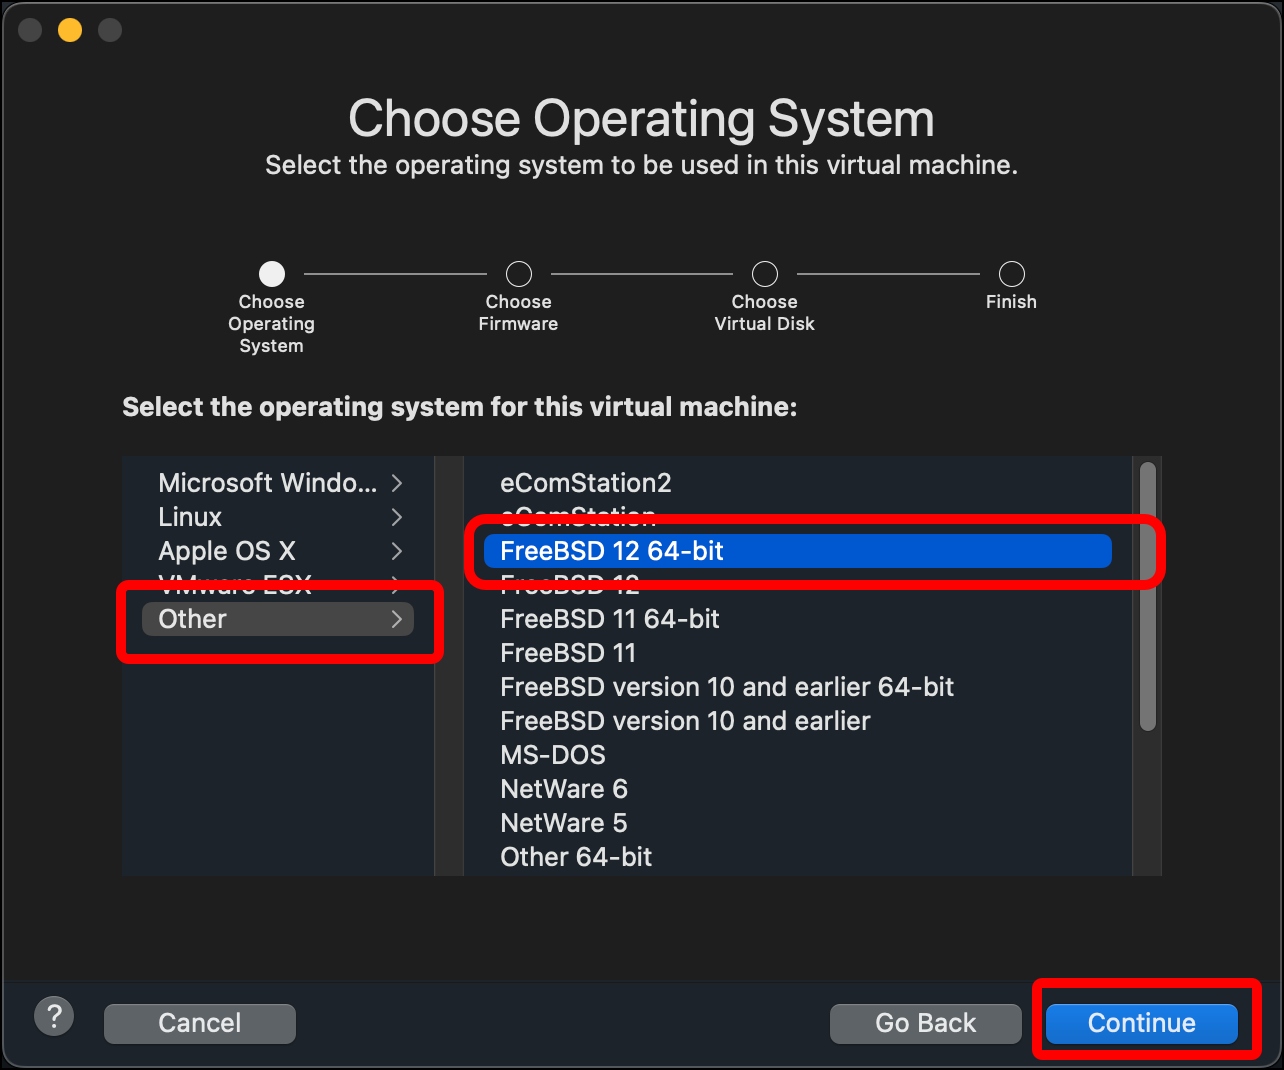
- In the Choose Operating System dialog, select Other, then select FreeBSD 12 64-bit and click Continue.
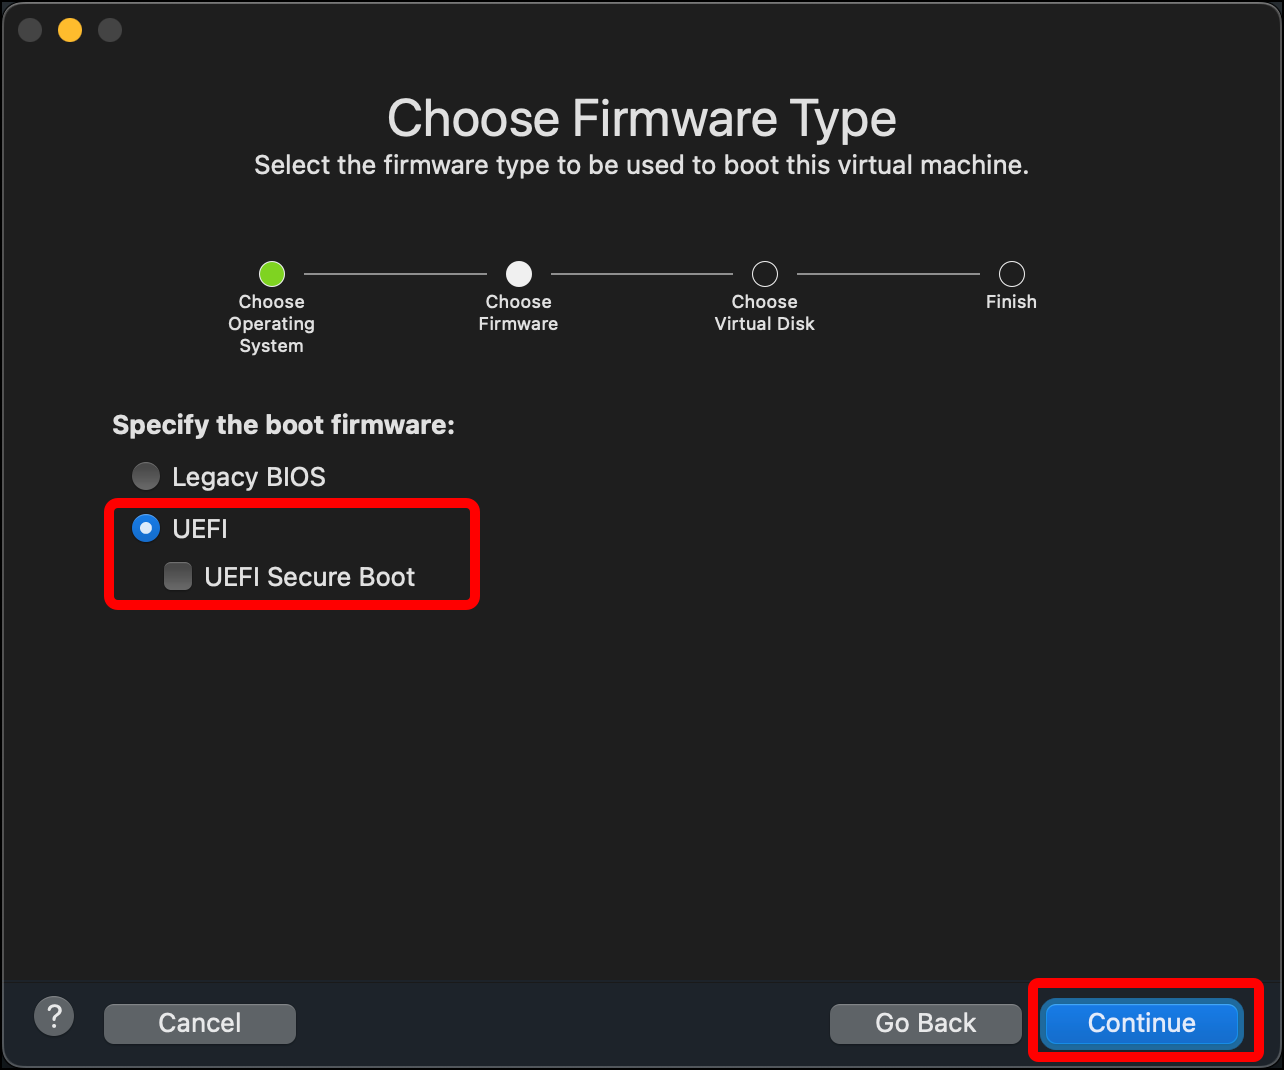
- In the Choose Firmware Type dialog you can leave the default of Legacy BIOS, but OPNsense’s amd64 architecture supports UEFI, so I am selecting that. Click Continue.
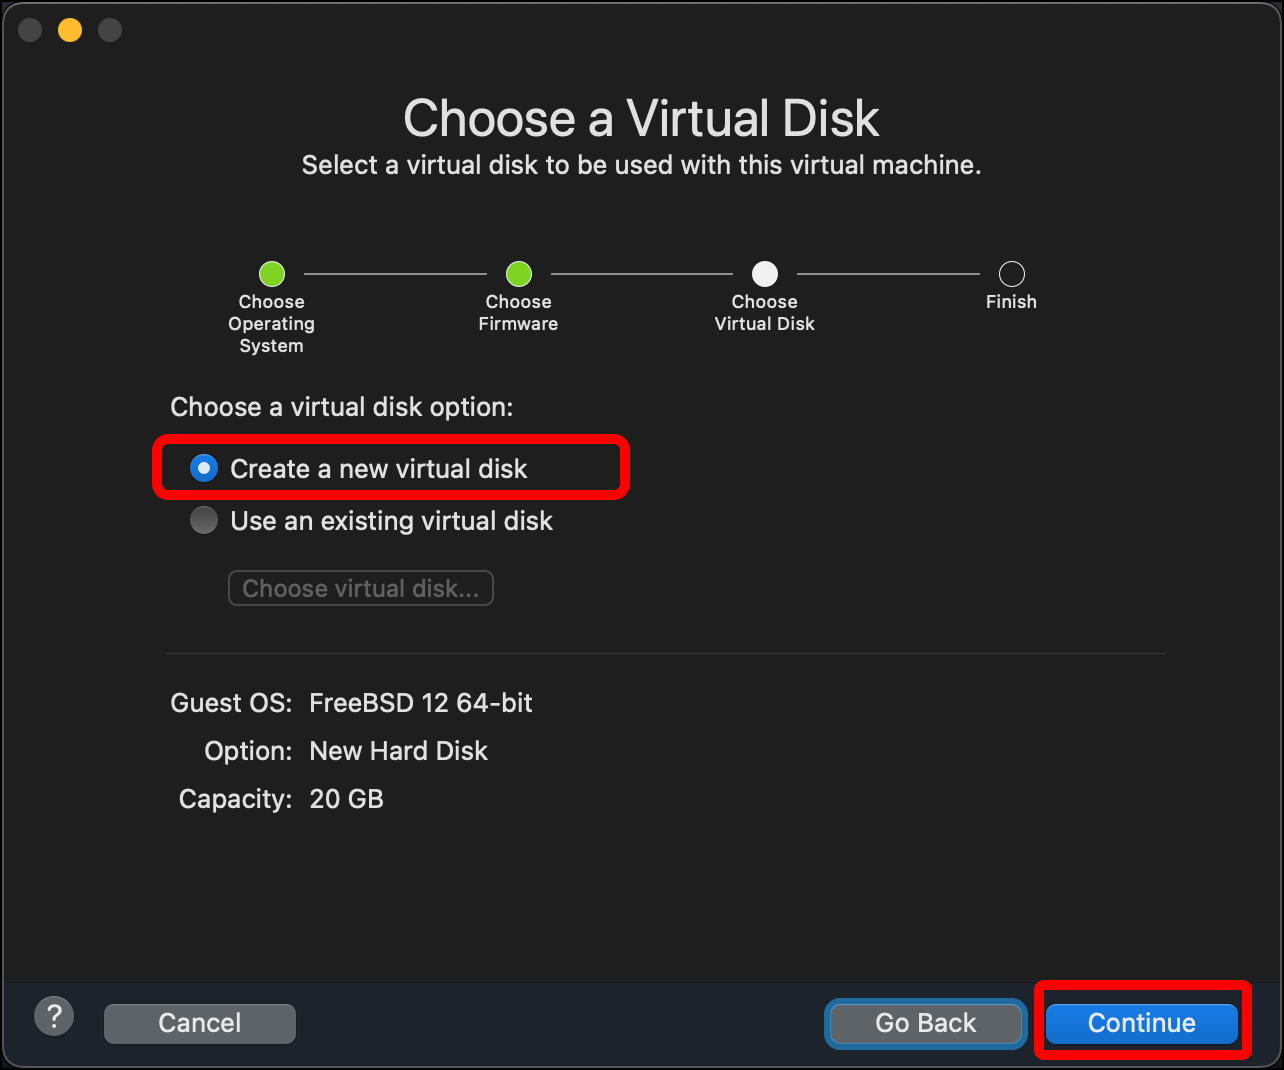
- In the Choose a Virtual Disk dialog, leave the radio button set to Create a new virtual disk and click Continue.
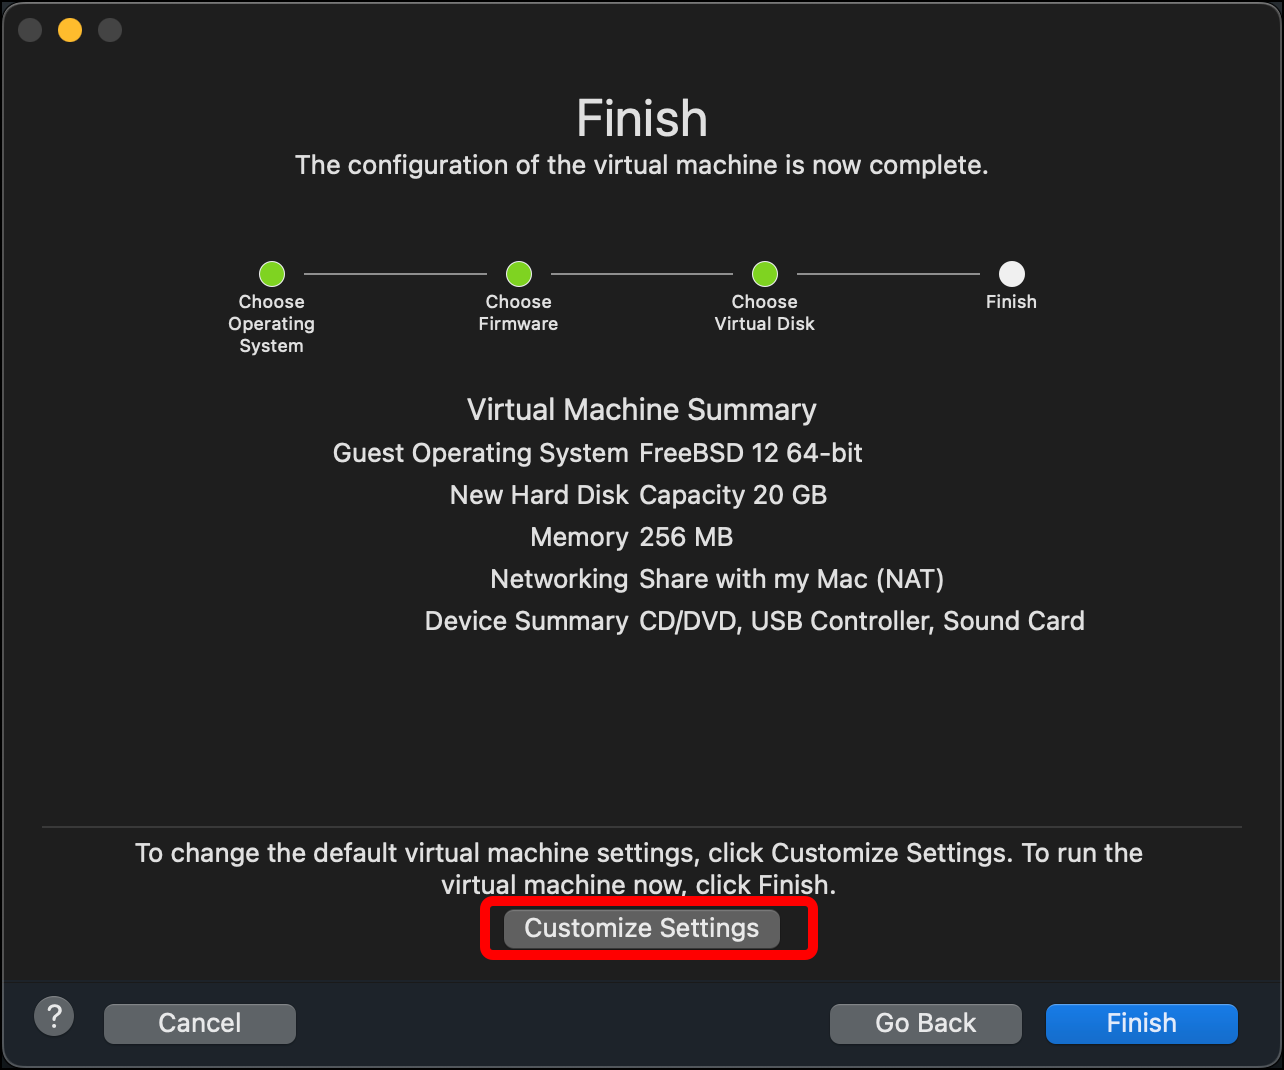
- On the Finish dialog, click Customize Settings.
- Change the name of the virtual machine file to something that indicates what it is (such as
OPNsense-2022) and click Save to save it with your other VMware Fusion virtual machines.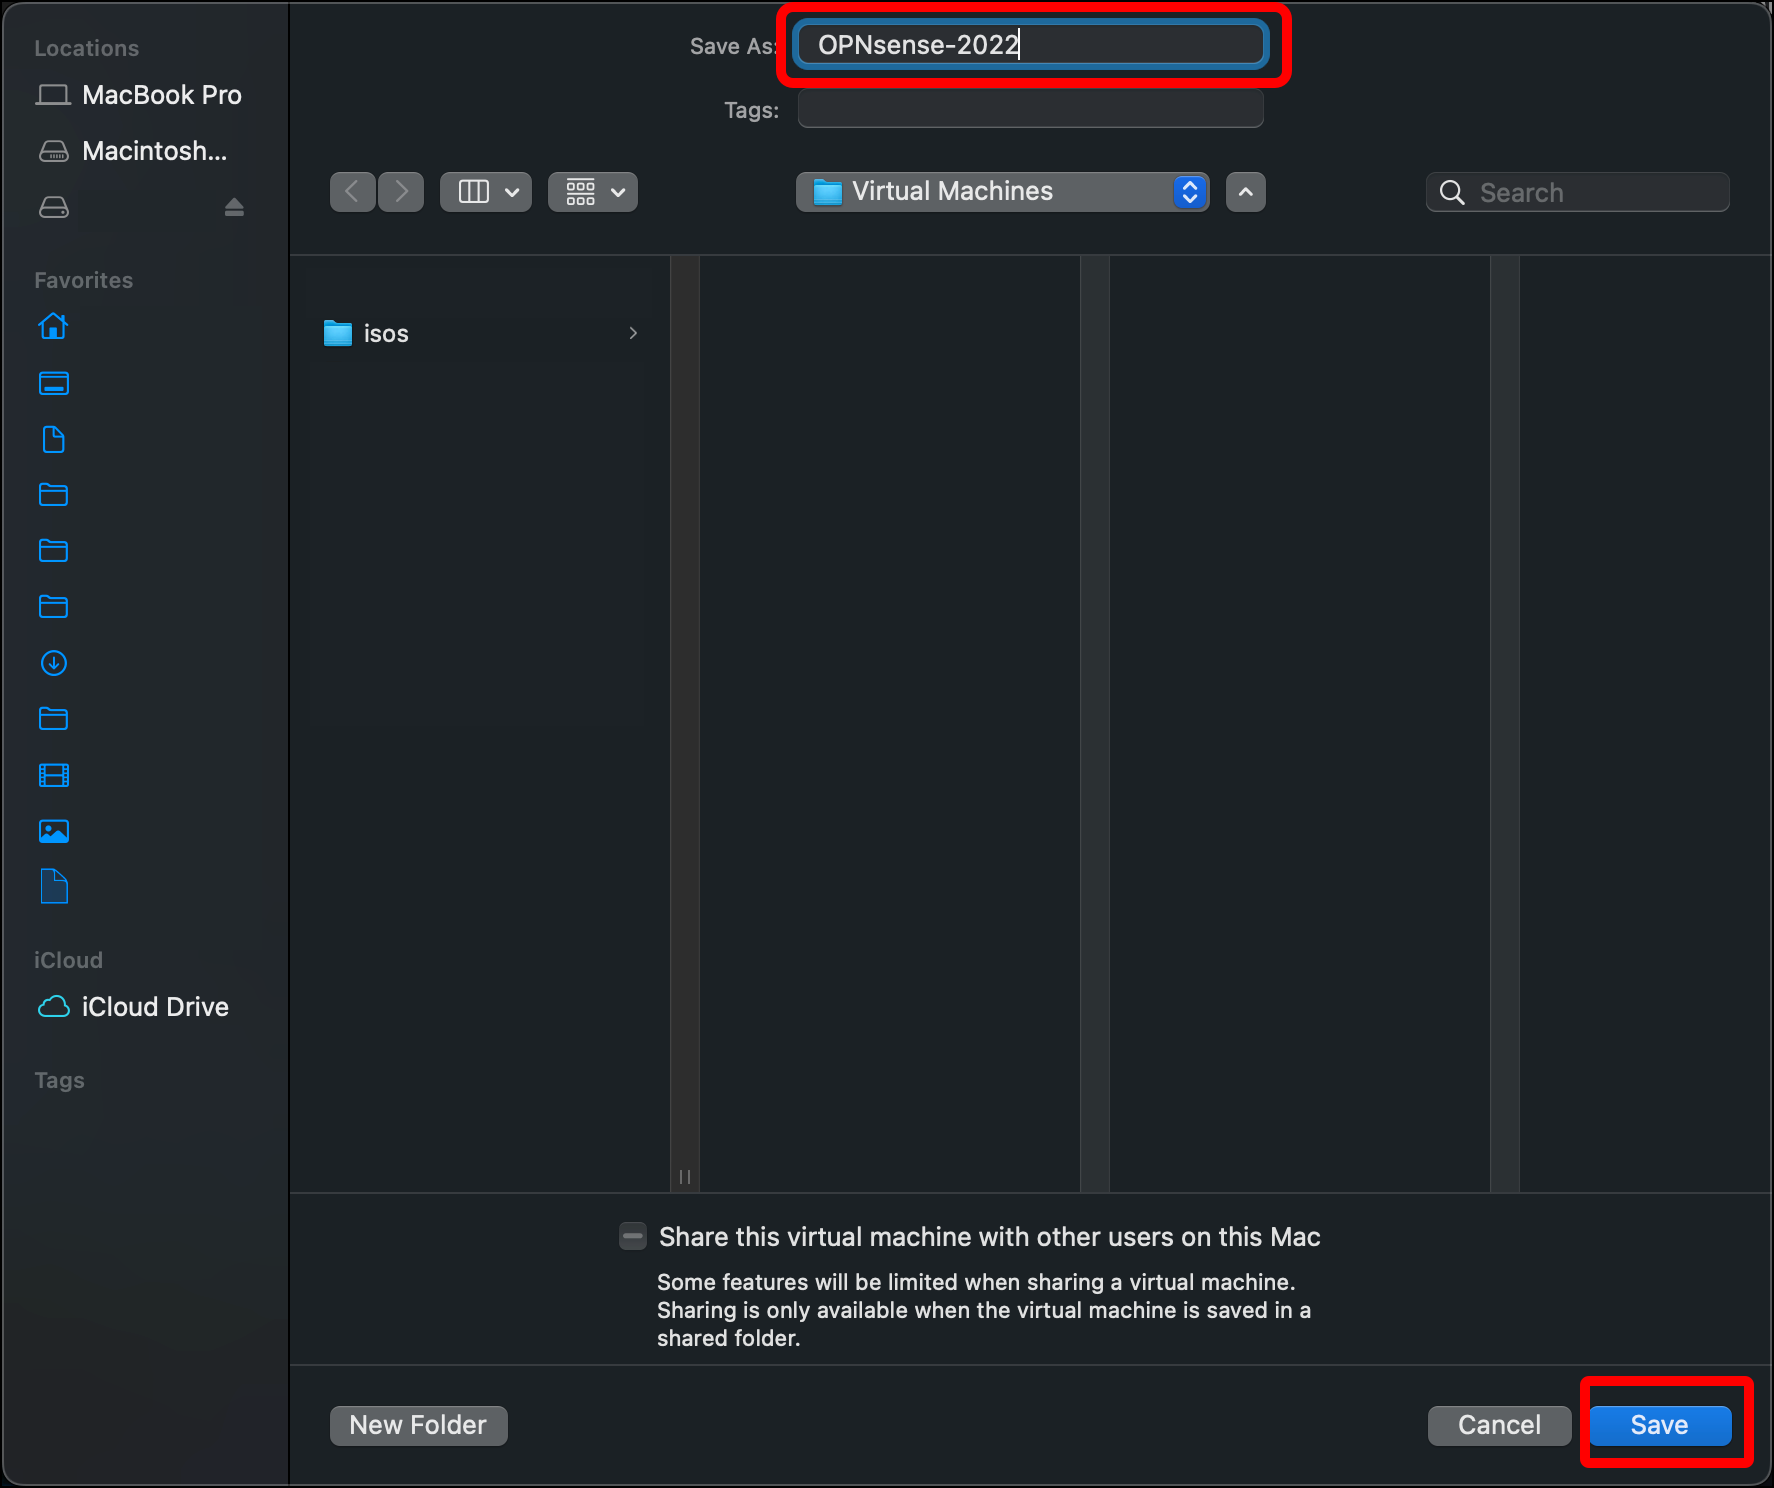
- A window for the VM itself and its Settings window should open. If the Settings window does not open, open it with
Command + Eor click the wrench icon that displays at the top of the window.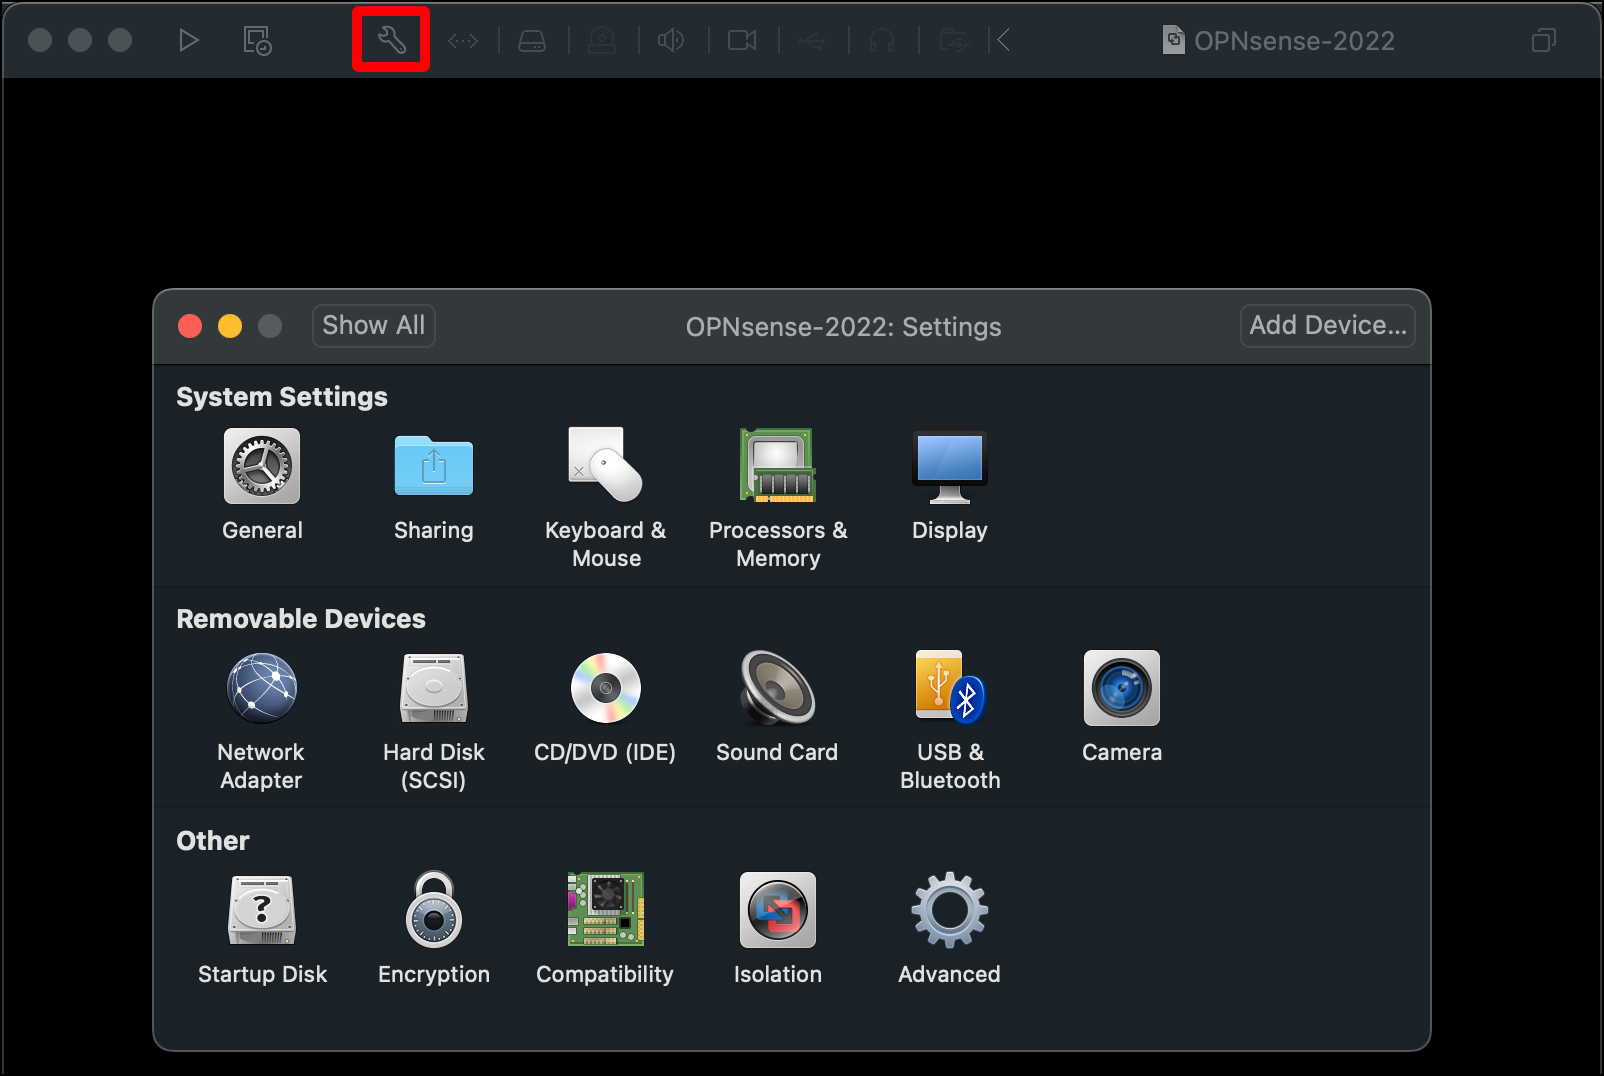
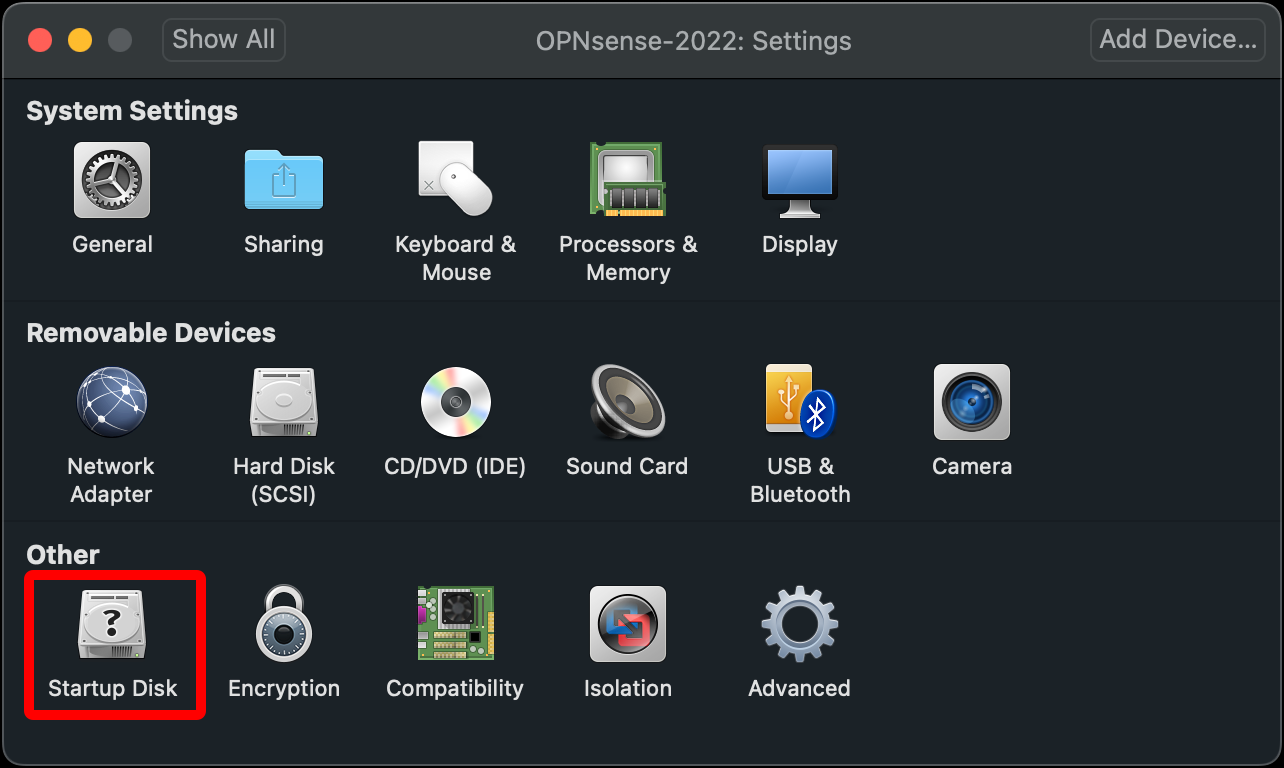
- Click Startup Disk.
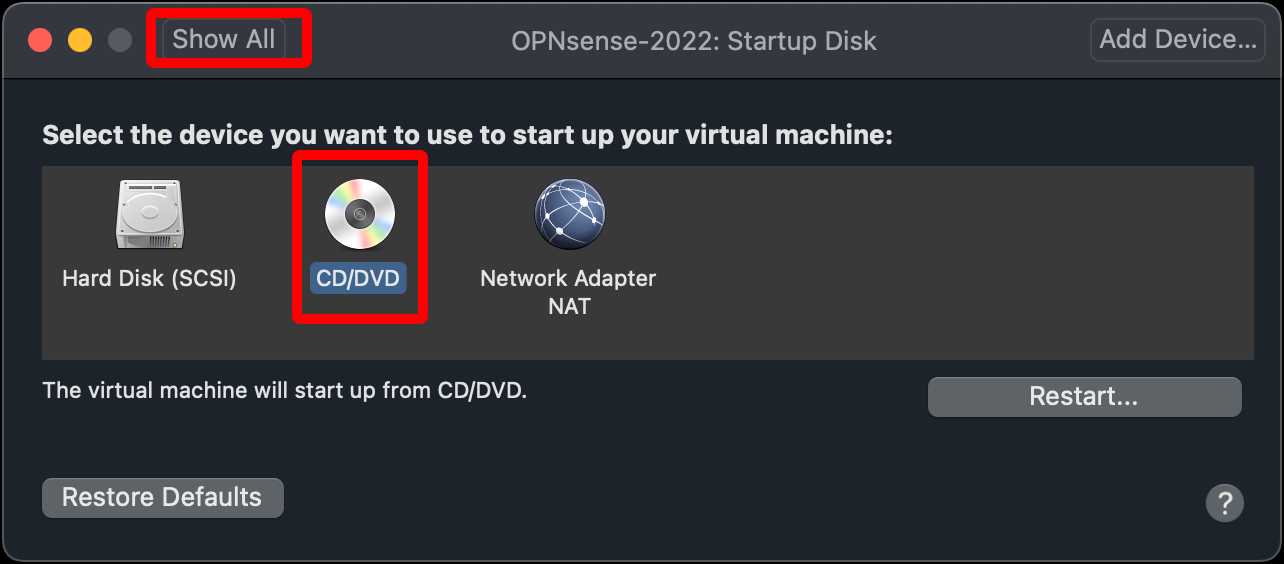
- Select CD/DVD. This means that when the VM starts, it will use the installation media in the virtual CD/DVD drive. Click Show All.
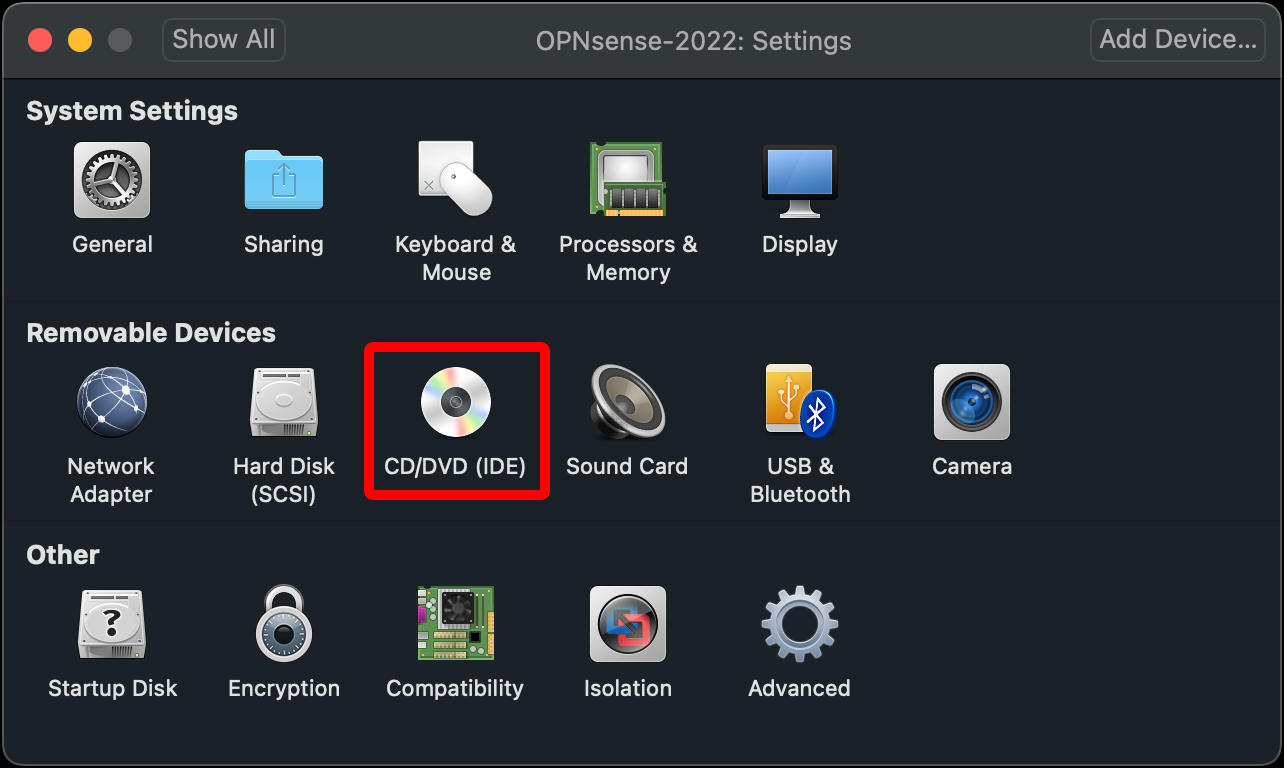
- Click CD/DVD (IDE).
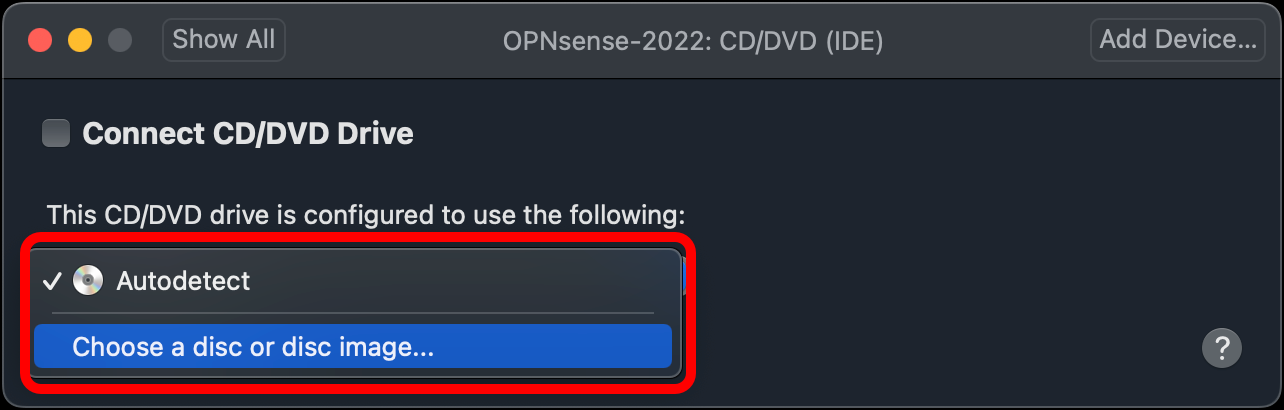
- Click the drop-down menu and select Choose a disc or disc image.
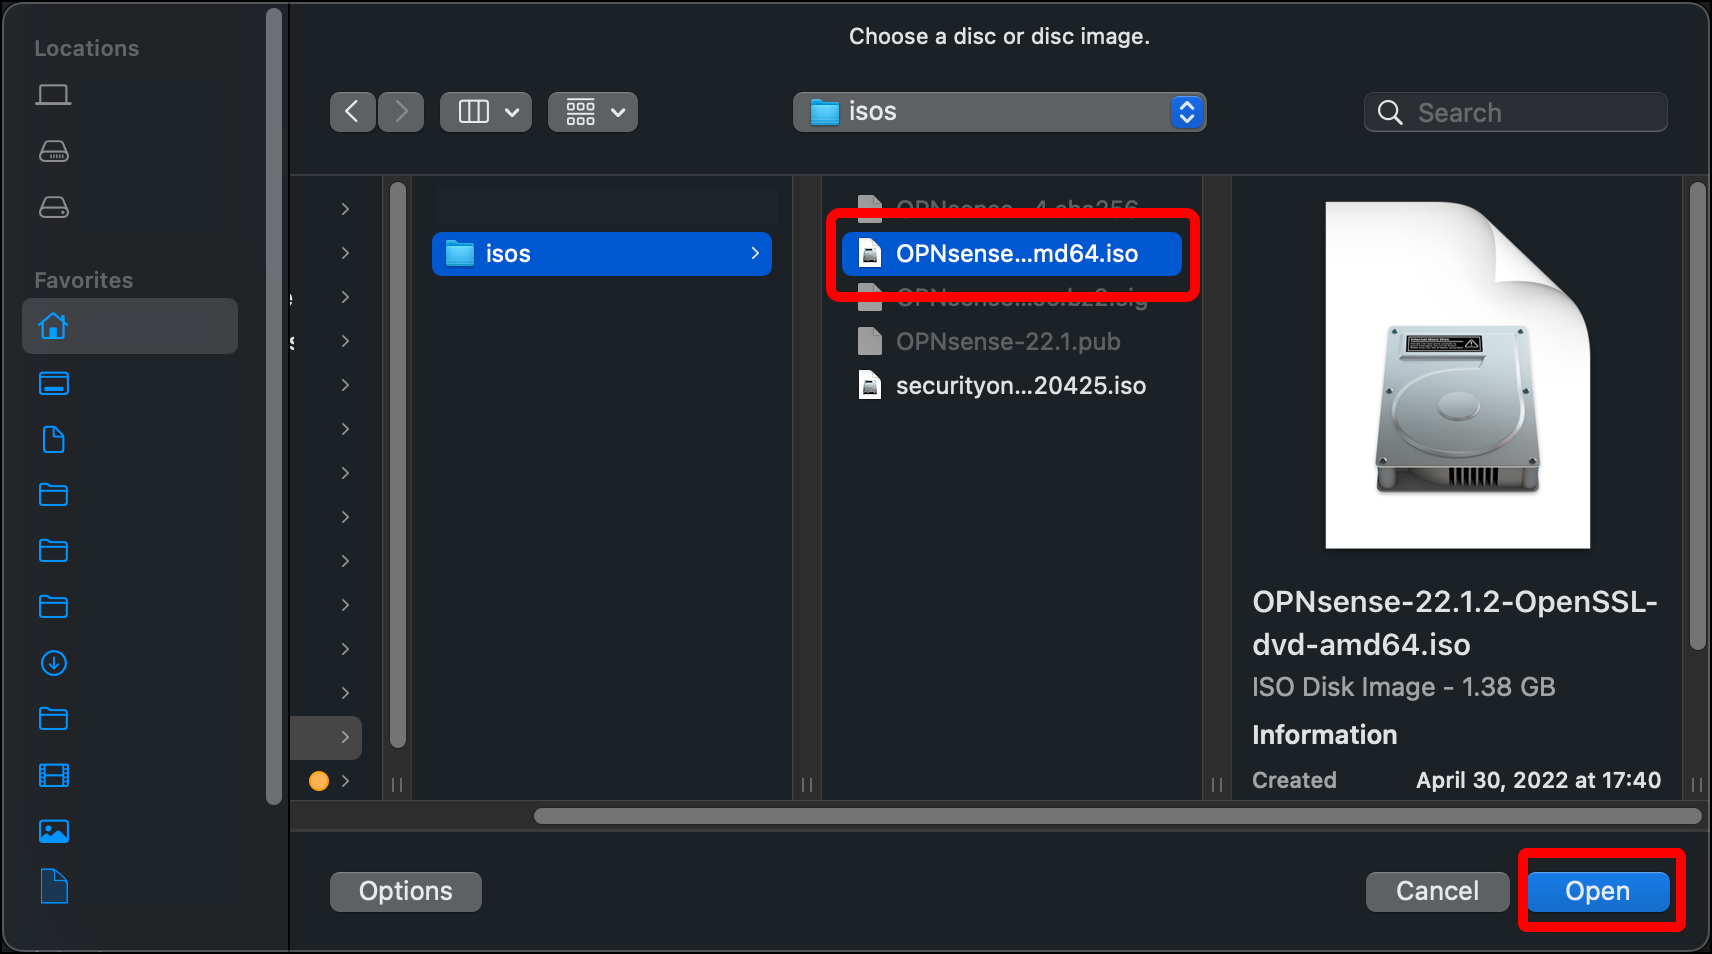
- Navigate to your unzipped OPNsense ISO file in the isos directory, select it so that the VM will boot from it, and click Open.
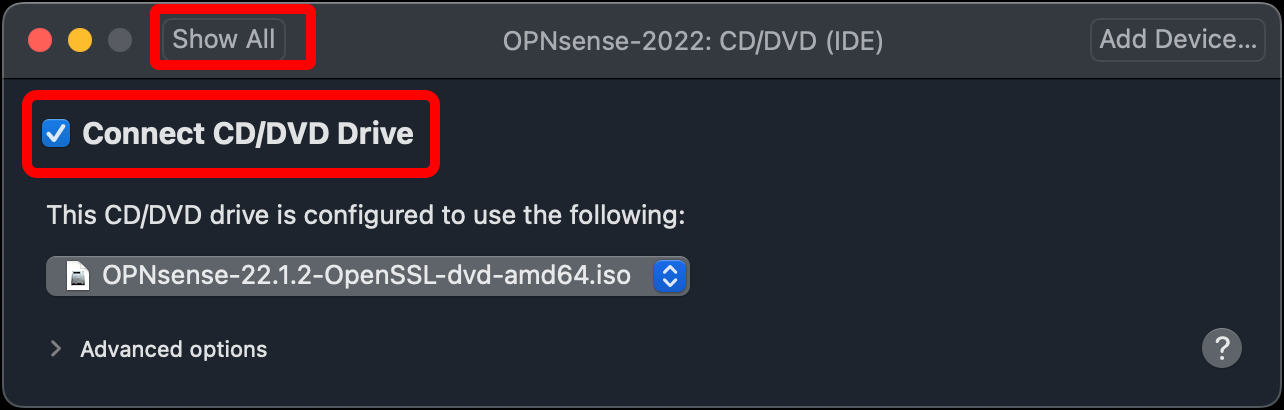
- Make sure Connect CD/DVD Drive is selected and click Show All.
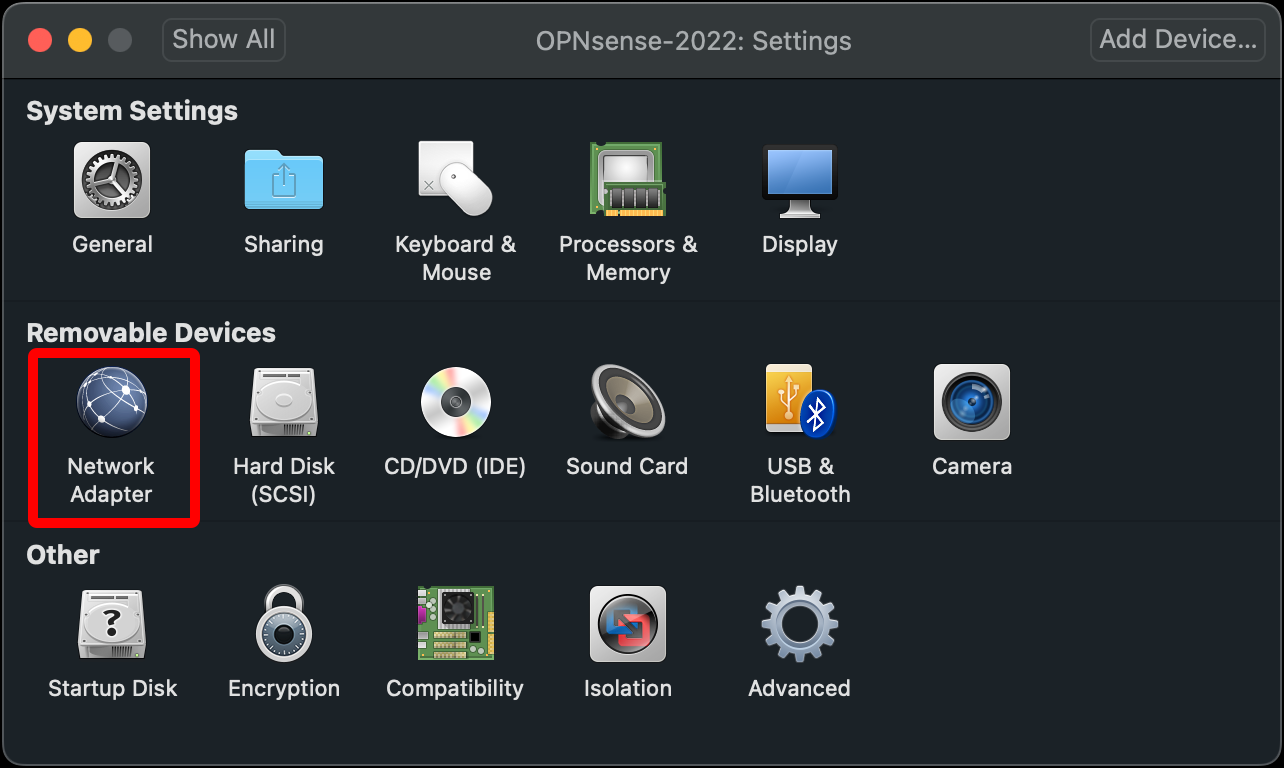
- Click Network Adapter.
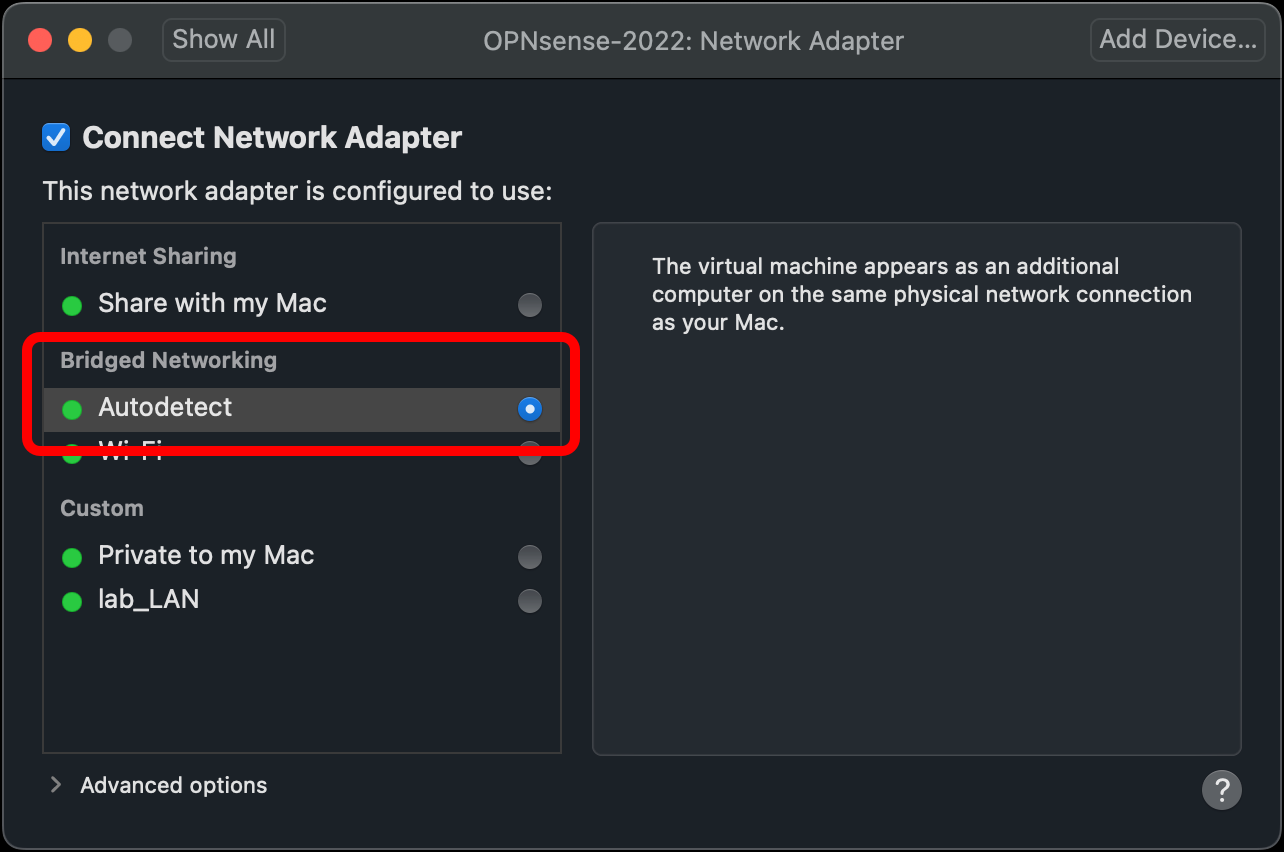
- Select Bridged Networking > Autodetect so that your OPNsense VM can connect to the internet through the host operating system’s internet connection.
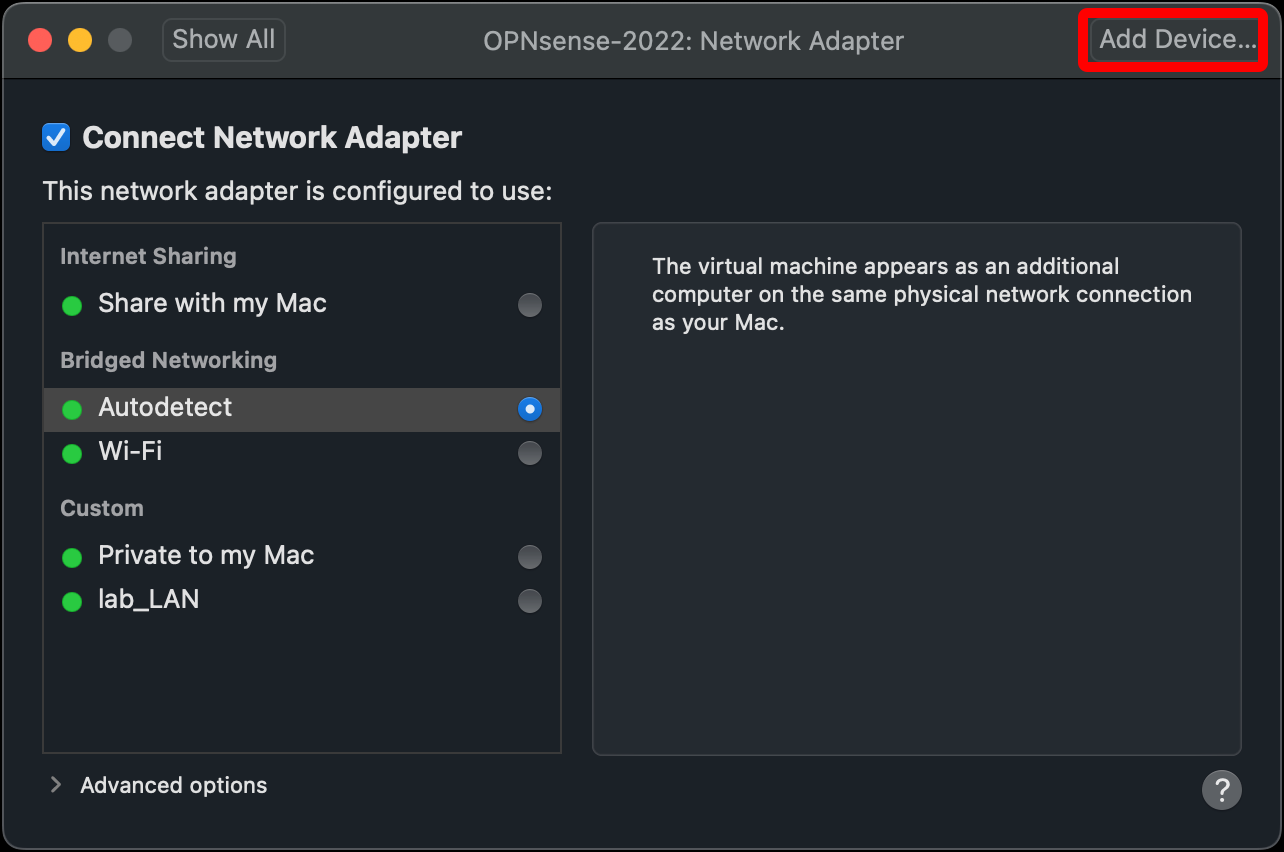
- Click Add Device….
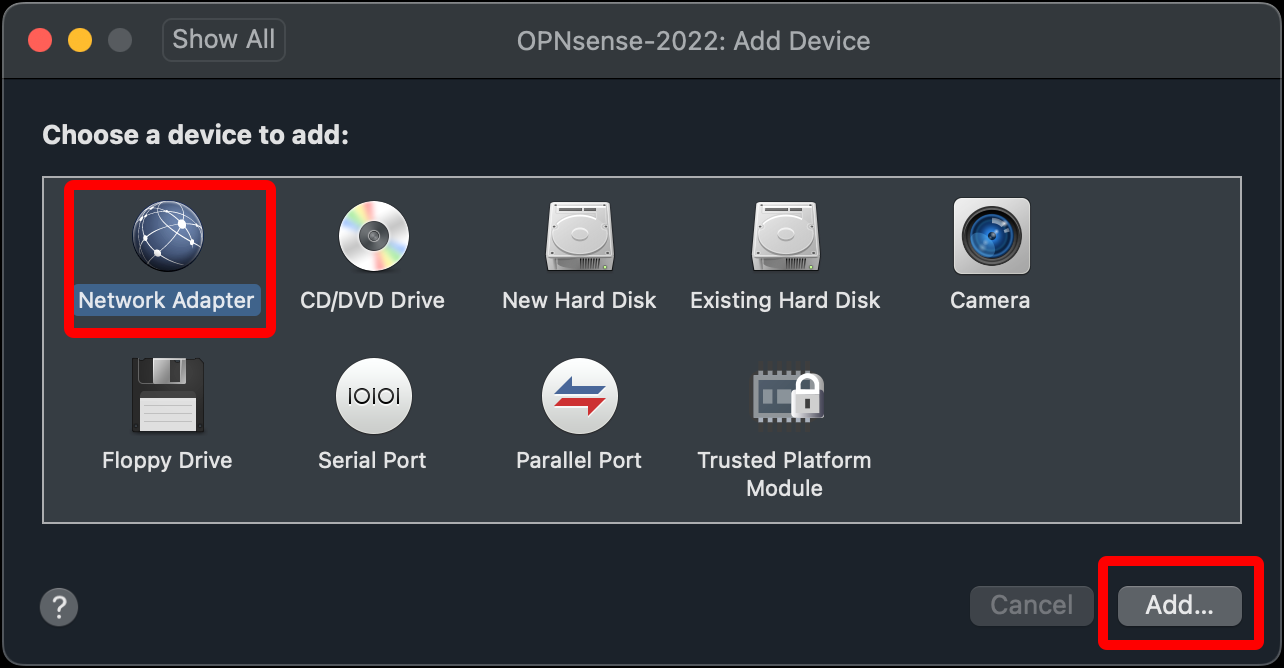
- Click Network Adapter and click Add….
-
A dialog for Network Adapter 2 displays. Under Custom, select EXTERNAL_NET_LAN, then click Add Device….
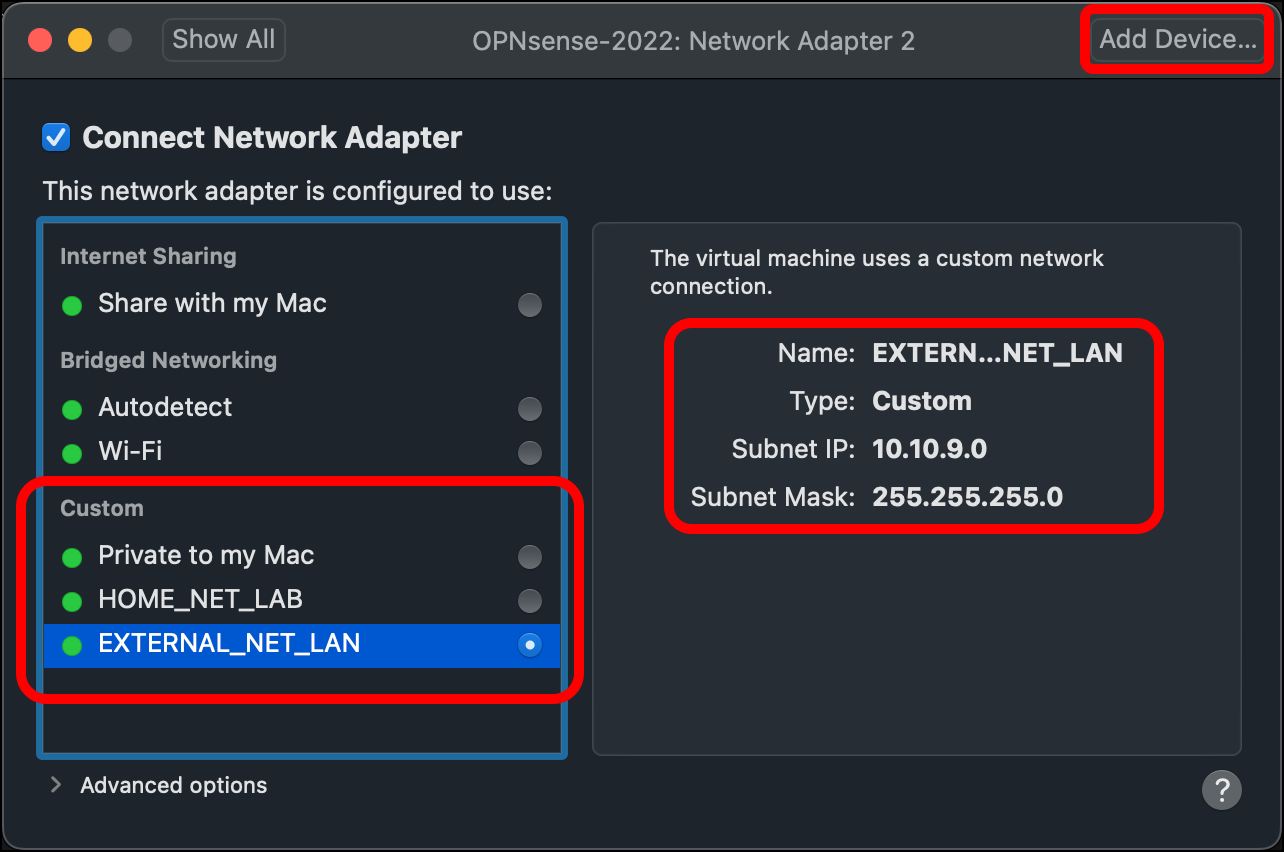
- Note: EXTERNAL_NET_LAN is the network you will access OPNsense’s web interface for management, and also use Kali to send malicious traffic to HOME_NET_LAN.
- Add a third network adapter by clicking Network Adapter, then Add….
-
A dialog for Network Adapter 3 displays. Under Custom, select HOME_NET_LAN, click Add Device…, then click Show All.
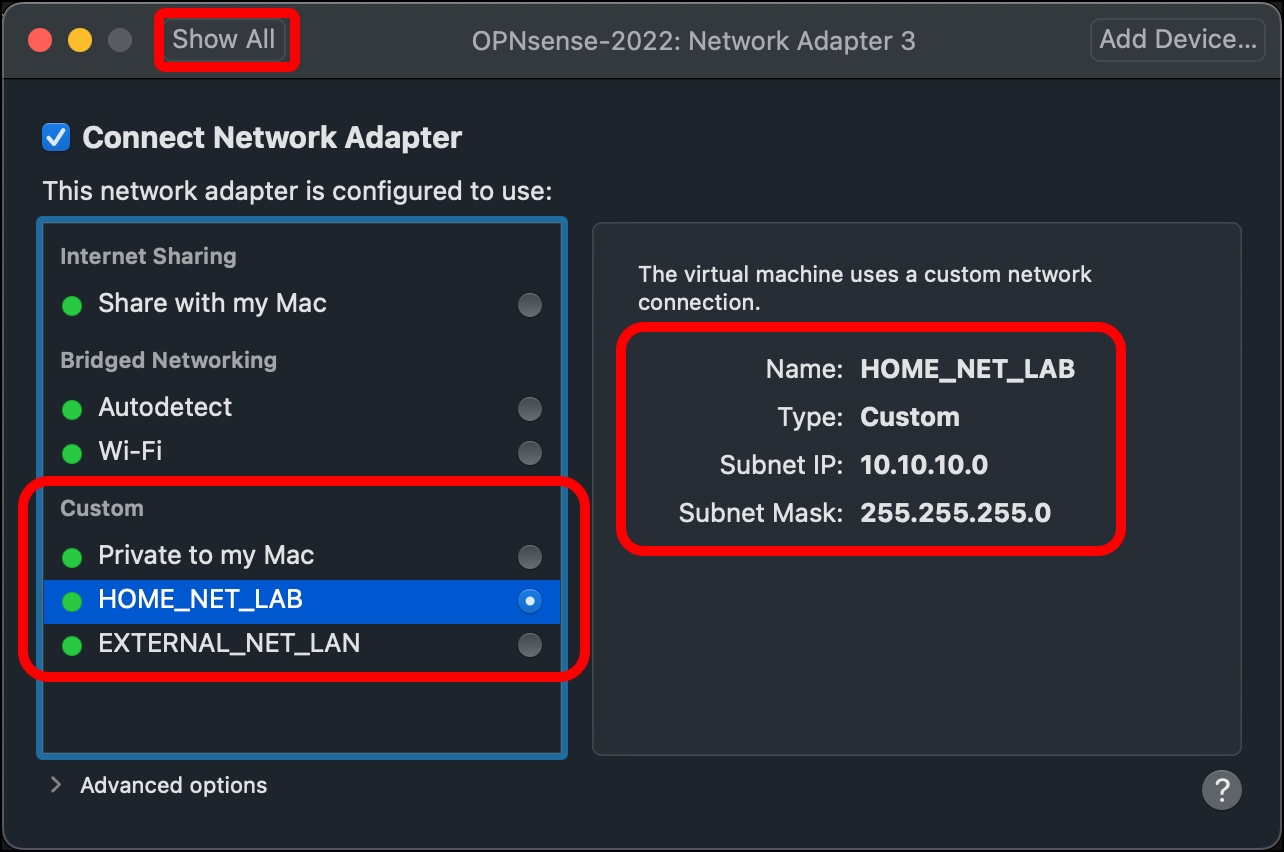
- Note: HOME_NET_LAN is the network where you will deploy Security Onion.
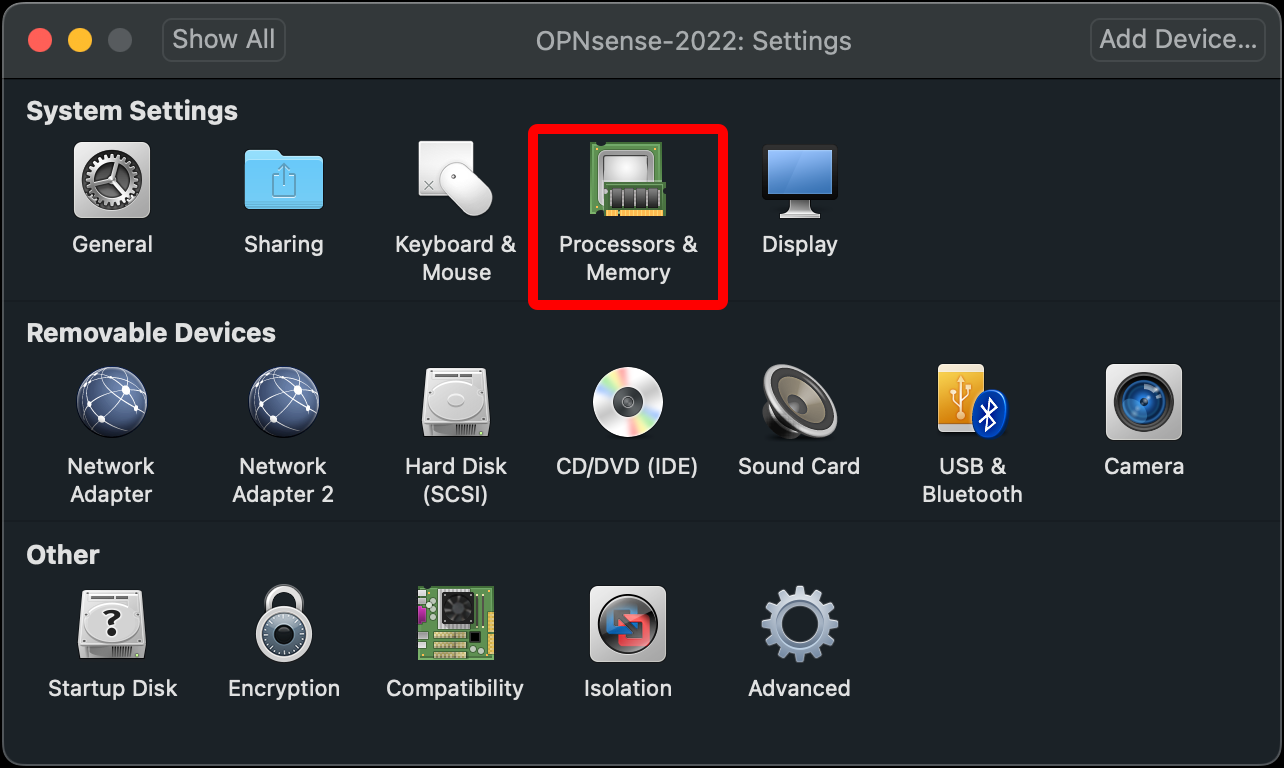
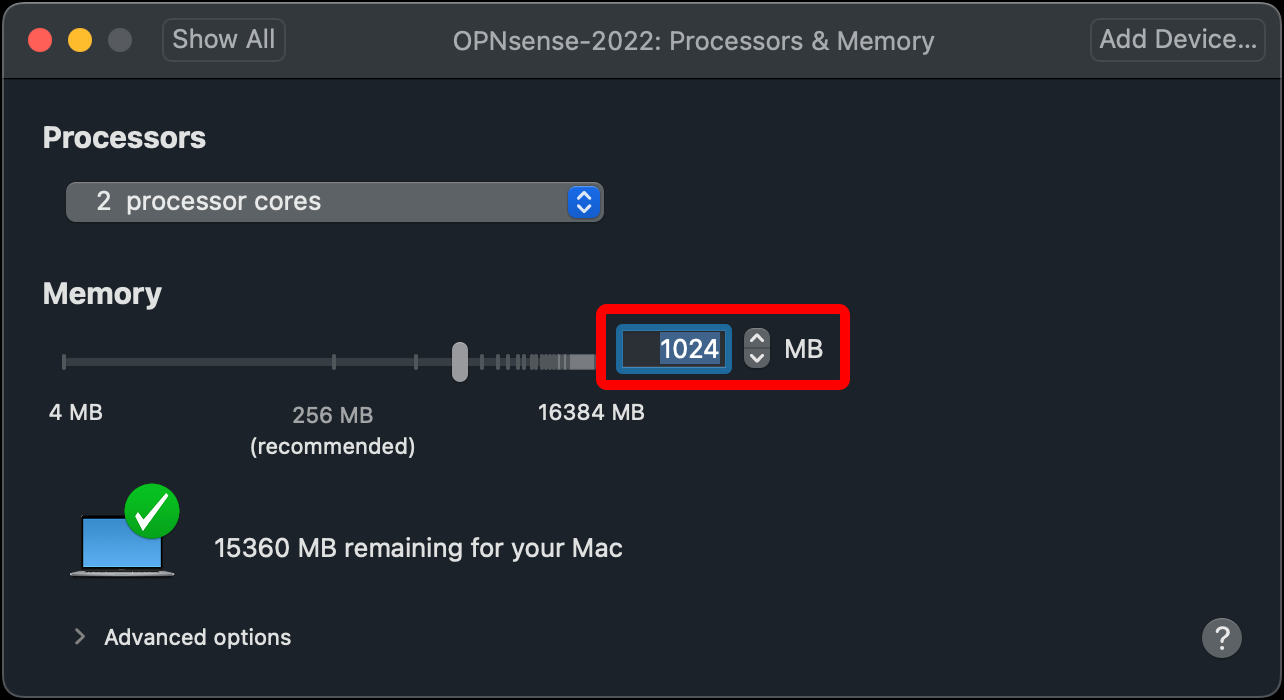
- Click Processors & Memory.
- Because this is a small virtual network on the host Mac and we will have only a few VMs and not a lot of traffic, you can use less processing power for the OPNsense router. (You will need it for the other VMs.) Click Processors and select 2 processor cores.
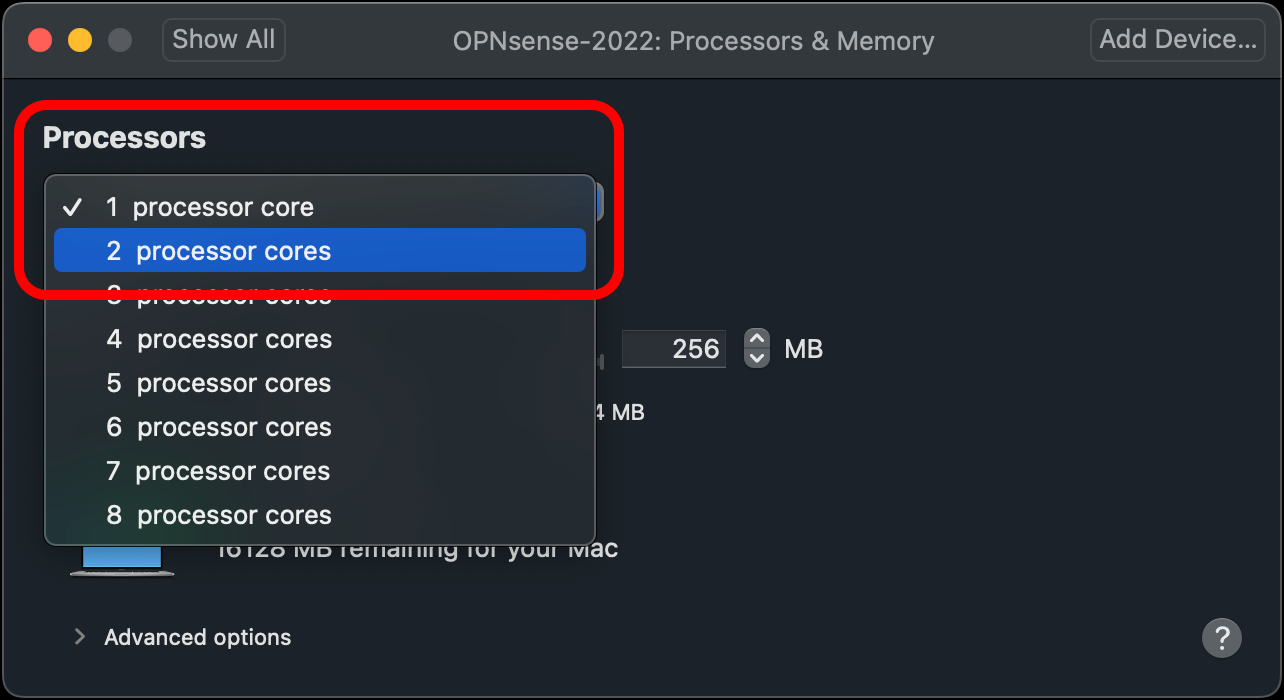
- Change the Memory to 1024.
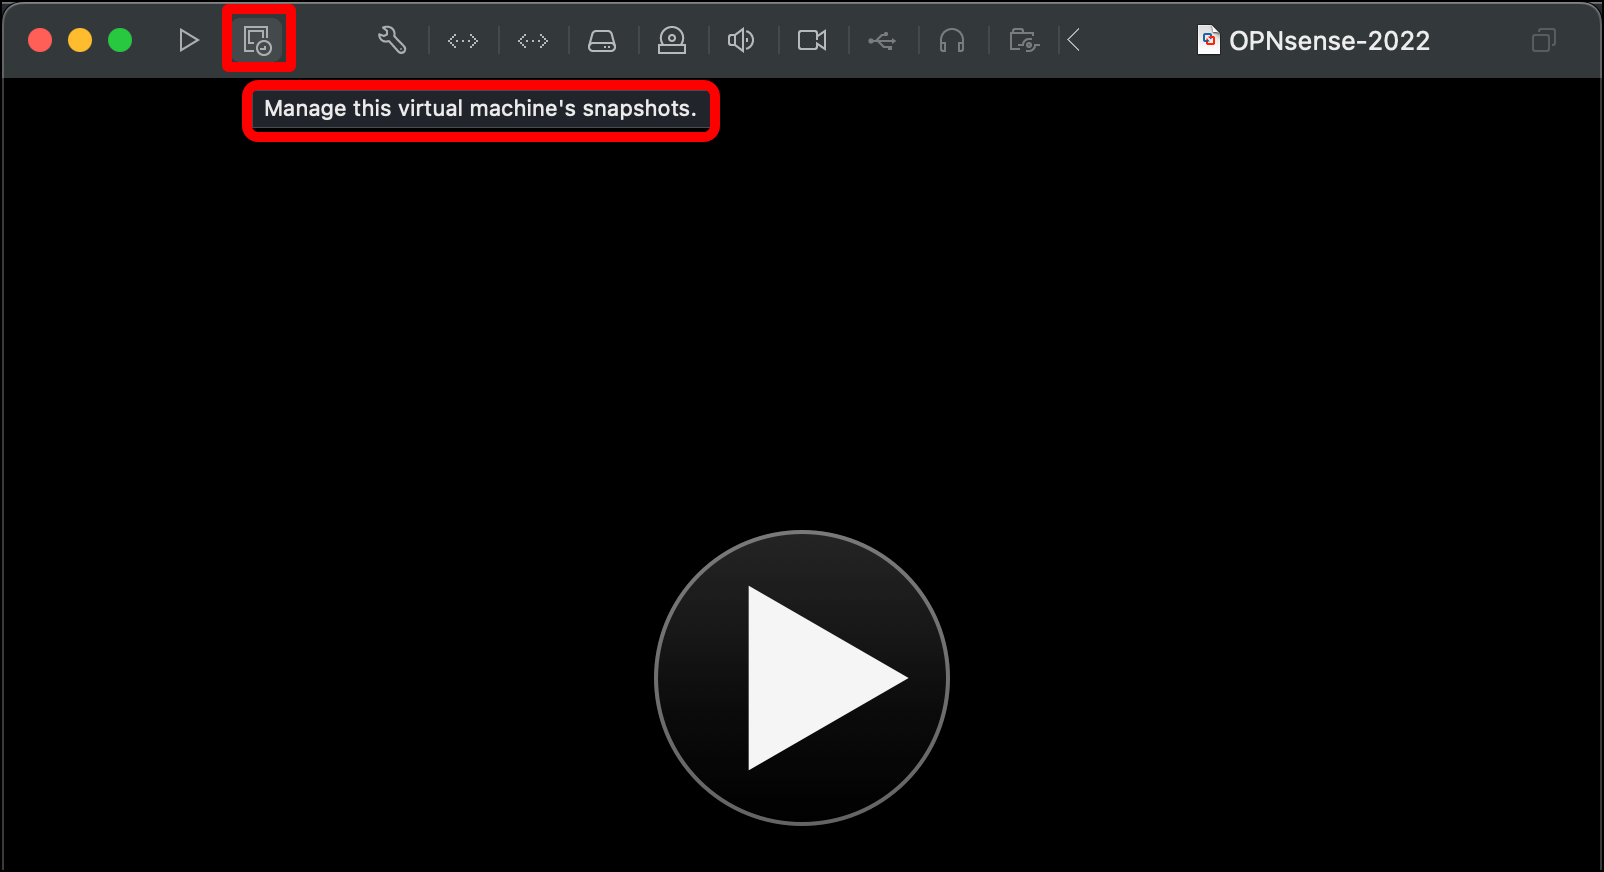
- You are done configuring your OPNsense VM. You can close the Settings window. In the window for the VM itself (the window will be labeled with what you named the VM when you saved it), click the icon next to the playhead in the top-left corner of the window. (If you hover over the icon, it will display the text Manage this virtual machine’s snapshots.
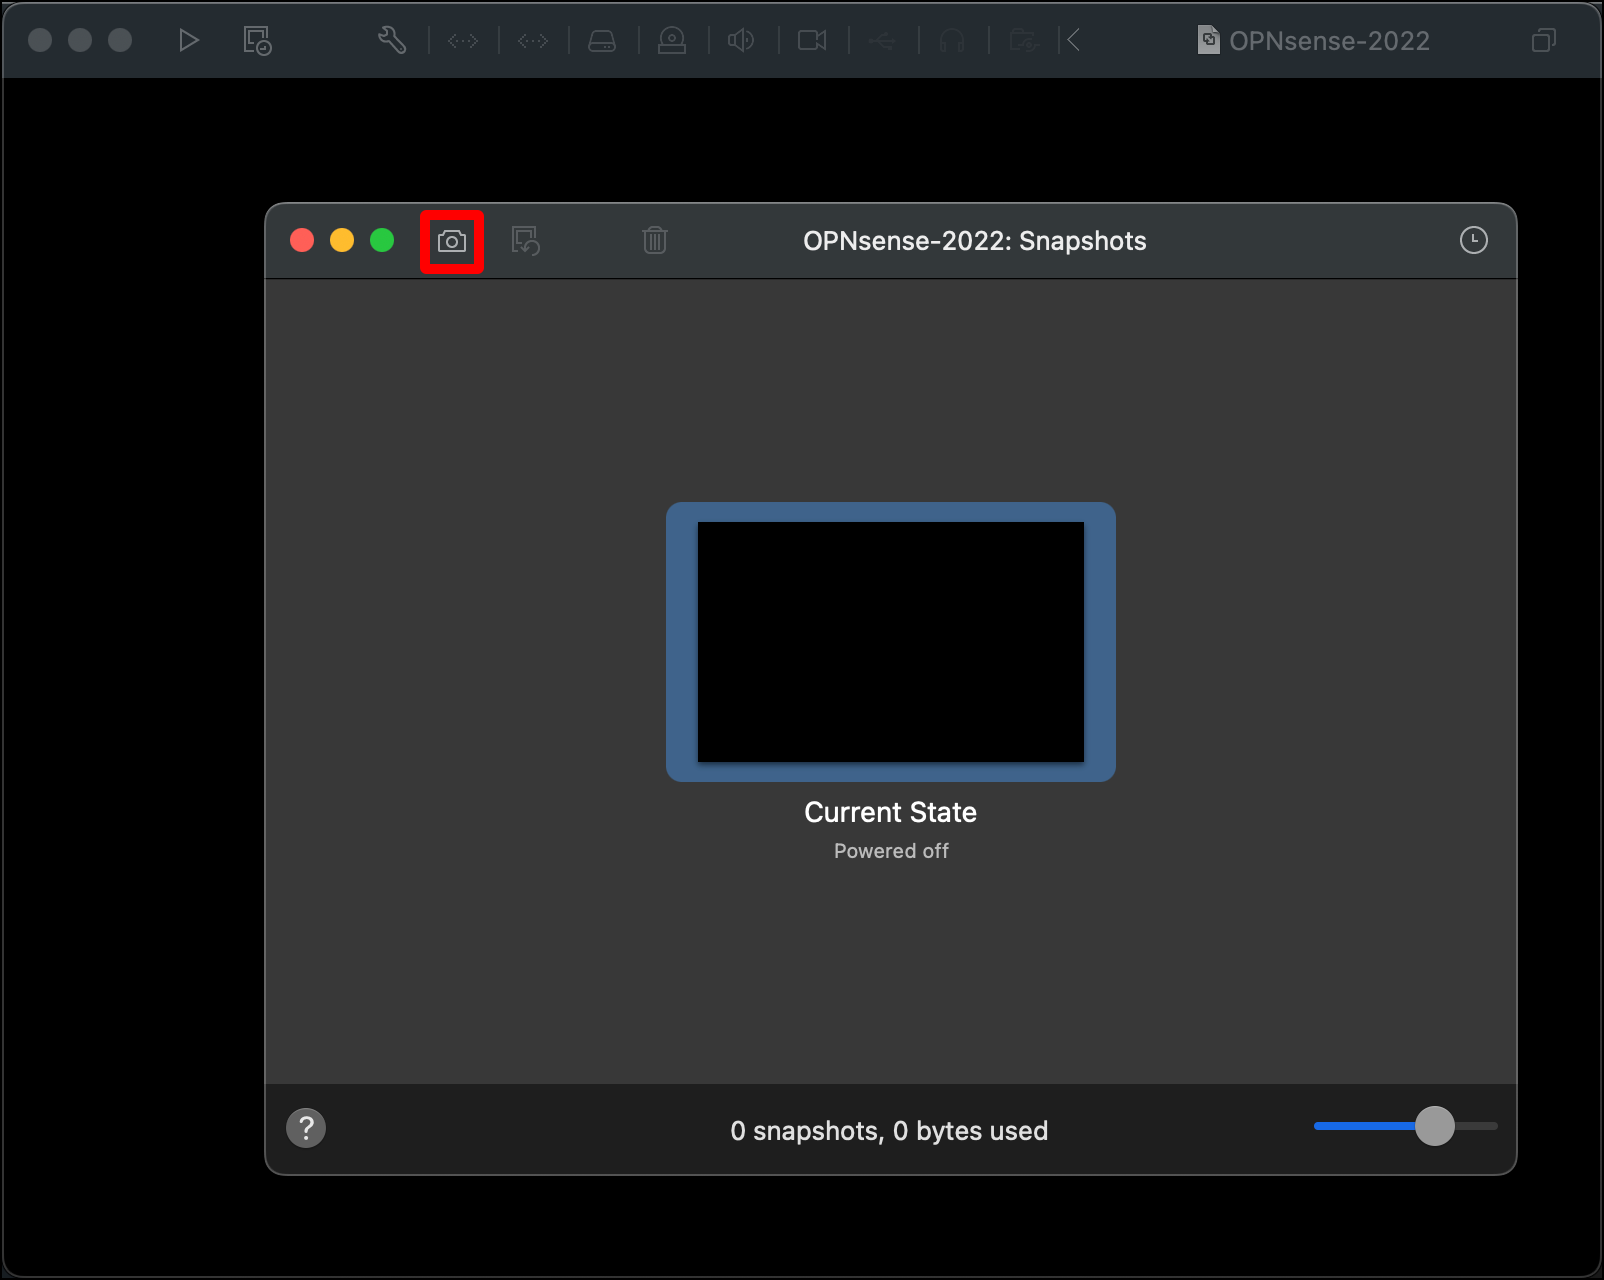
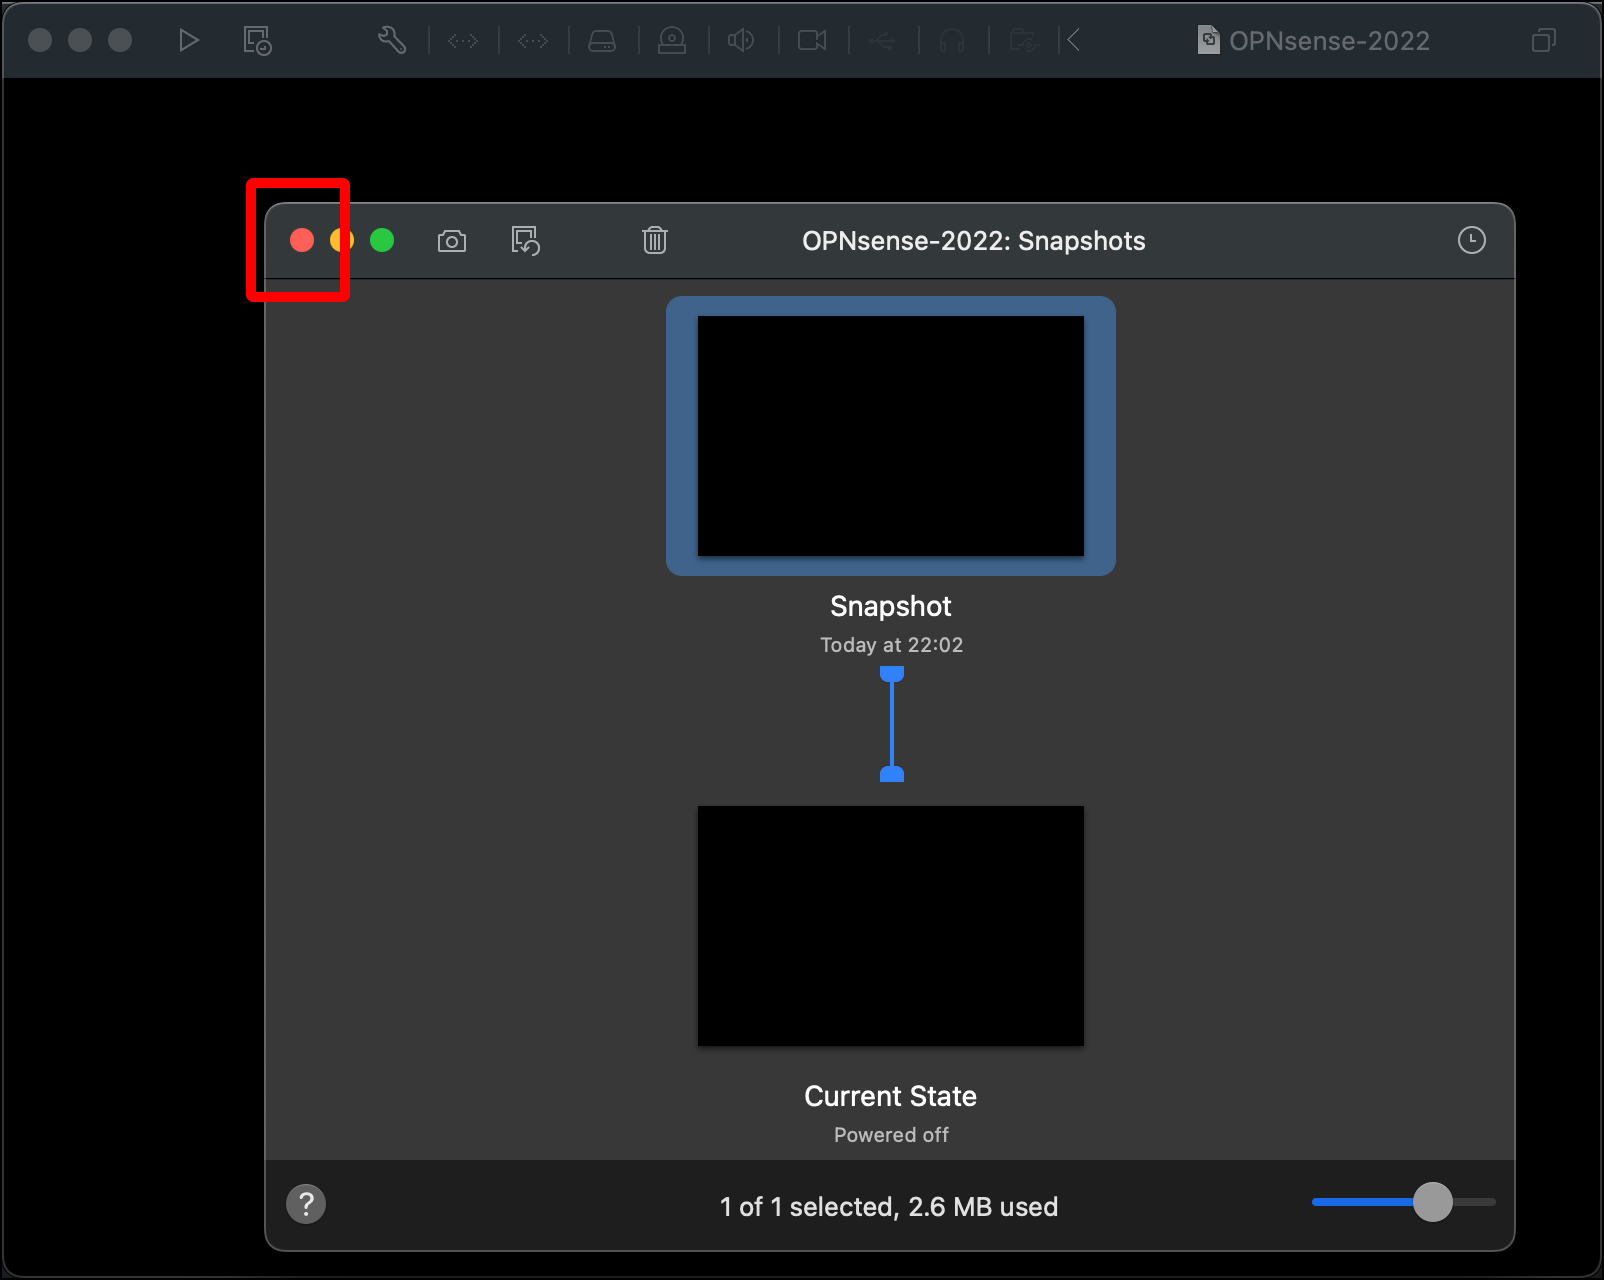
- In the Snapshots window, click the camera icon towards the top-left corner.
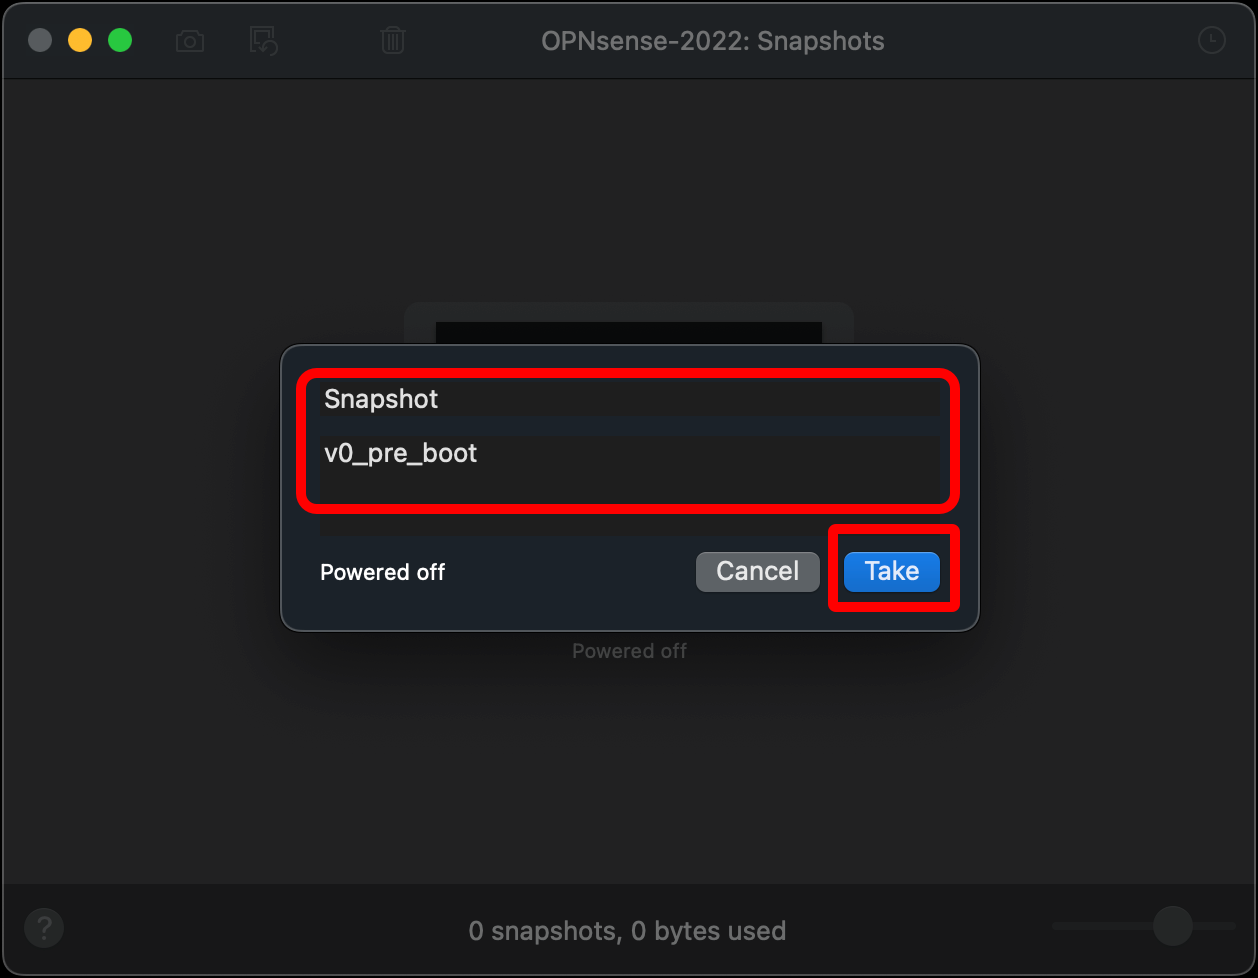
- Give your snapshot a name and description (for example, v0_pre_boot) and click Take. A snapshot allows you to roll back to the VM’s state at the time of the snapshot. If anything goes wrong, you can roll back to this snapshot and start over but still skip the above steps.
- When you are done you can close the Snapshots window.
- In your Virtual Machine library, select your OPNsense VM and drag it into the localLab folder.
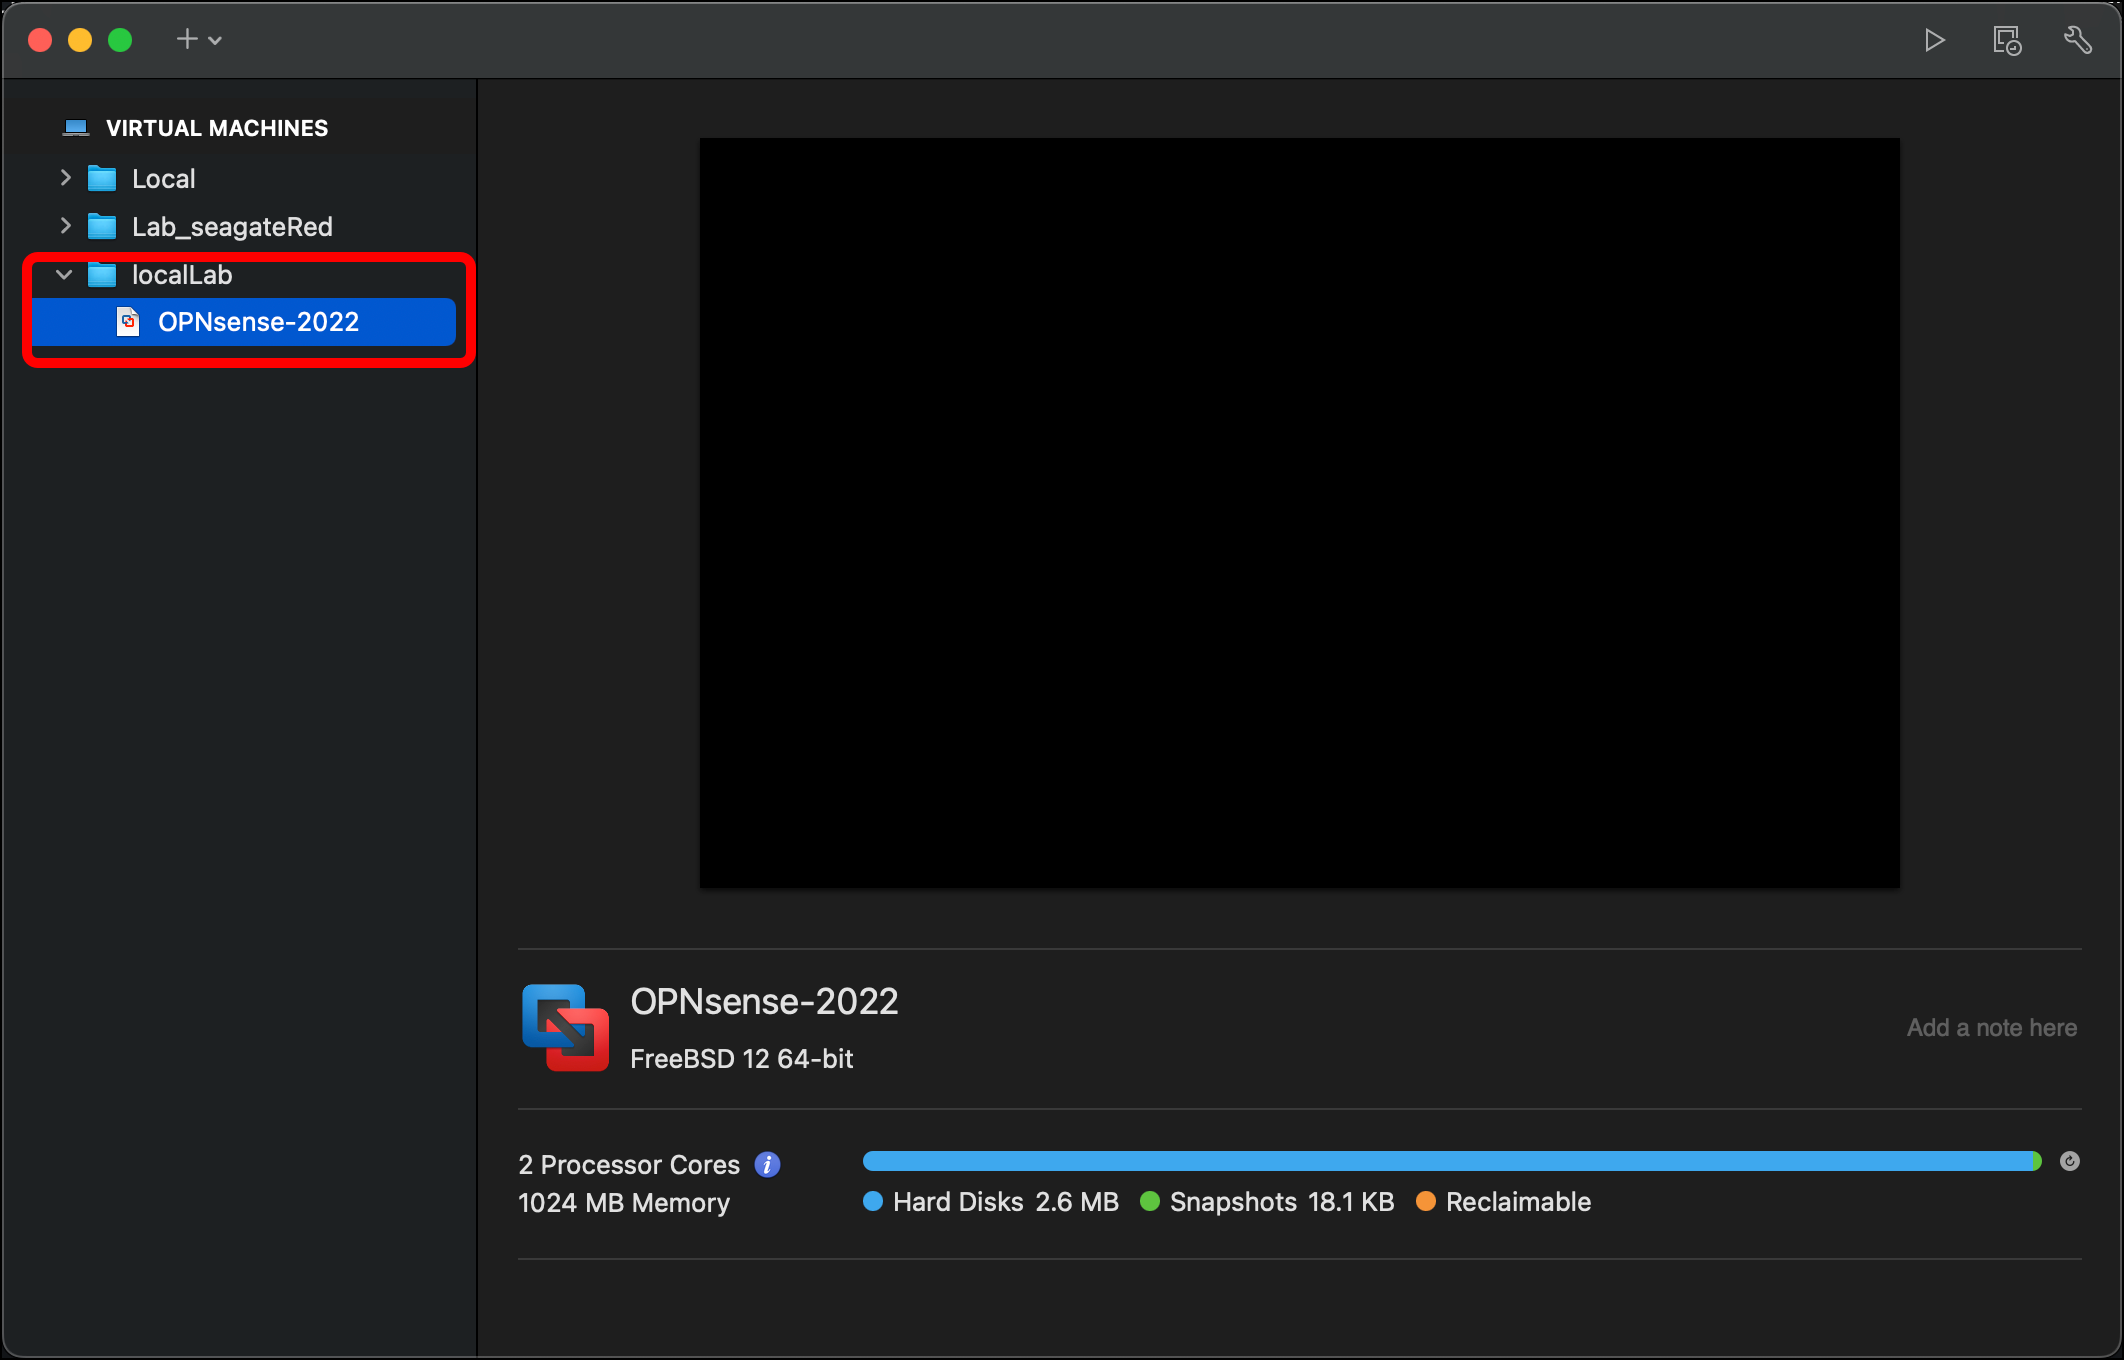
You are ready to boot your OPNsense router VM and configure it to handle the traffic for your local lab.