Configure the OPNsense Virtual Machine
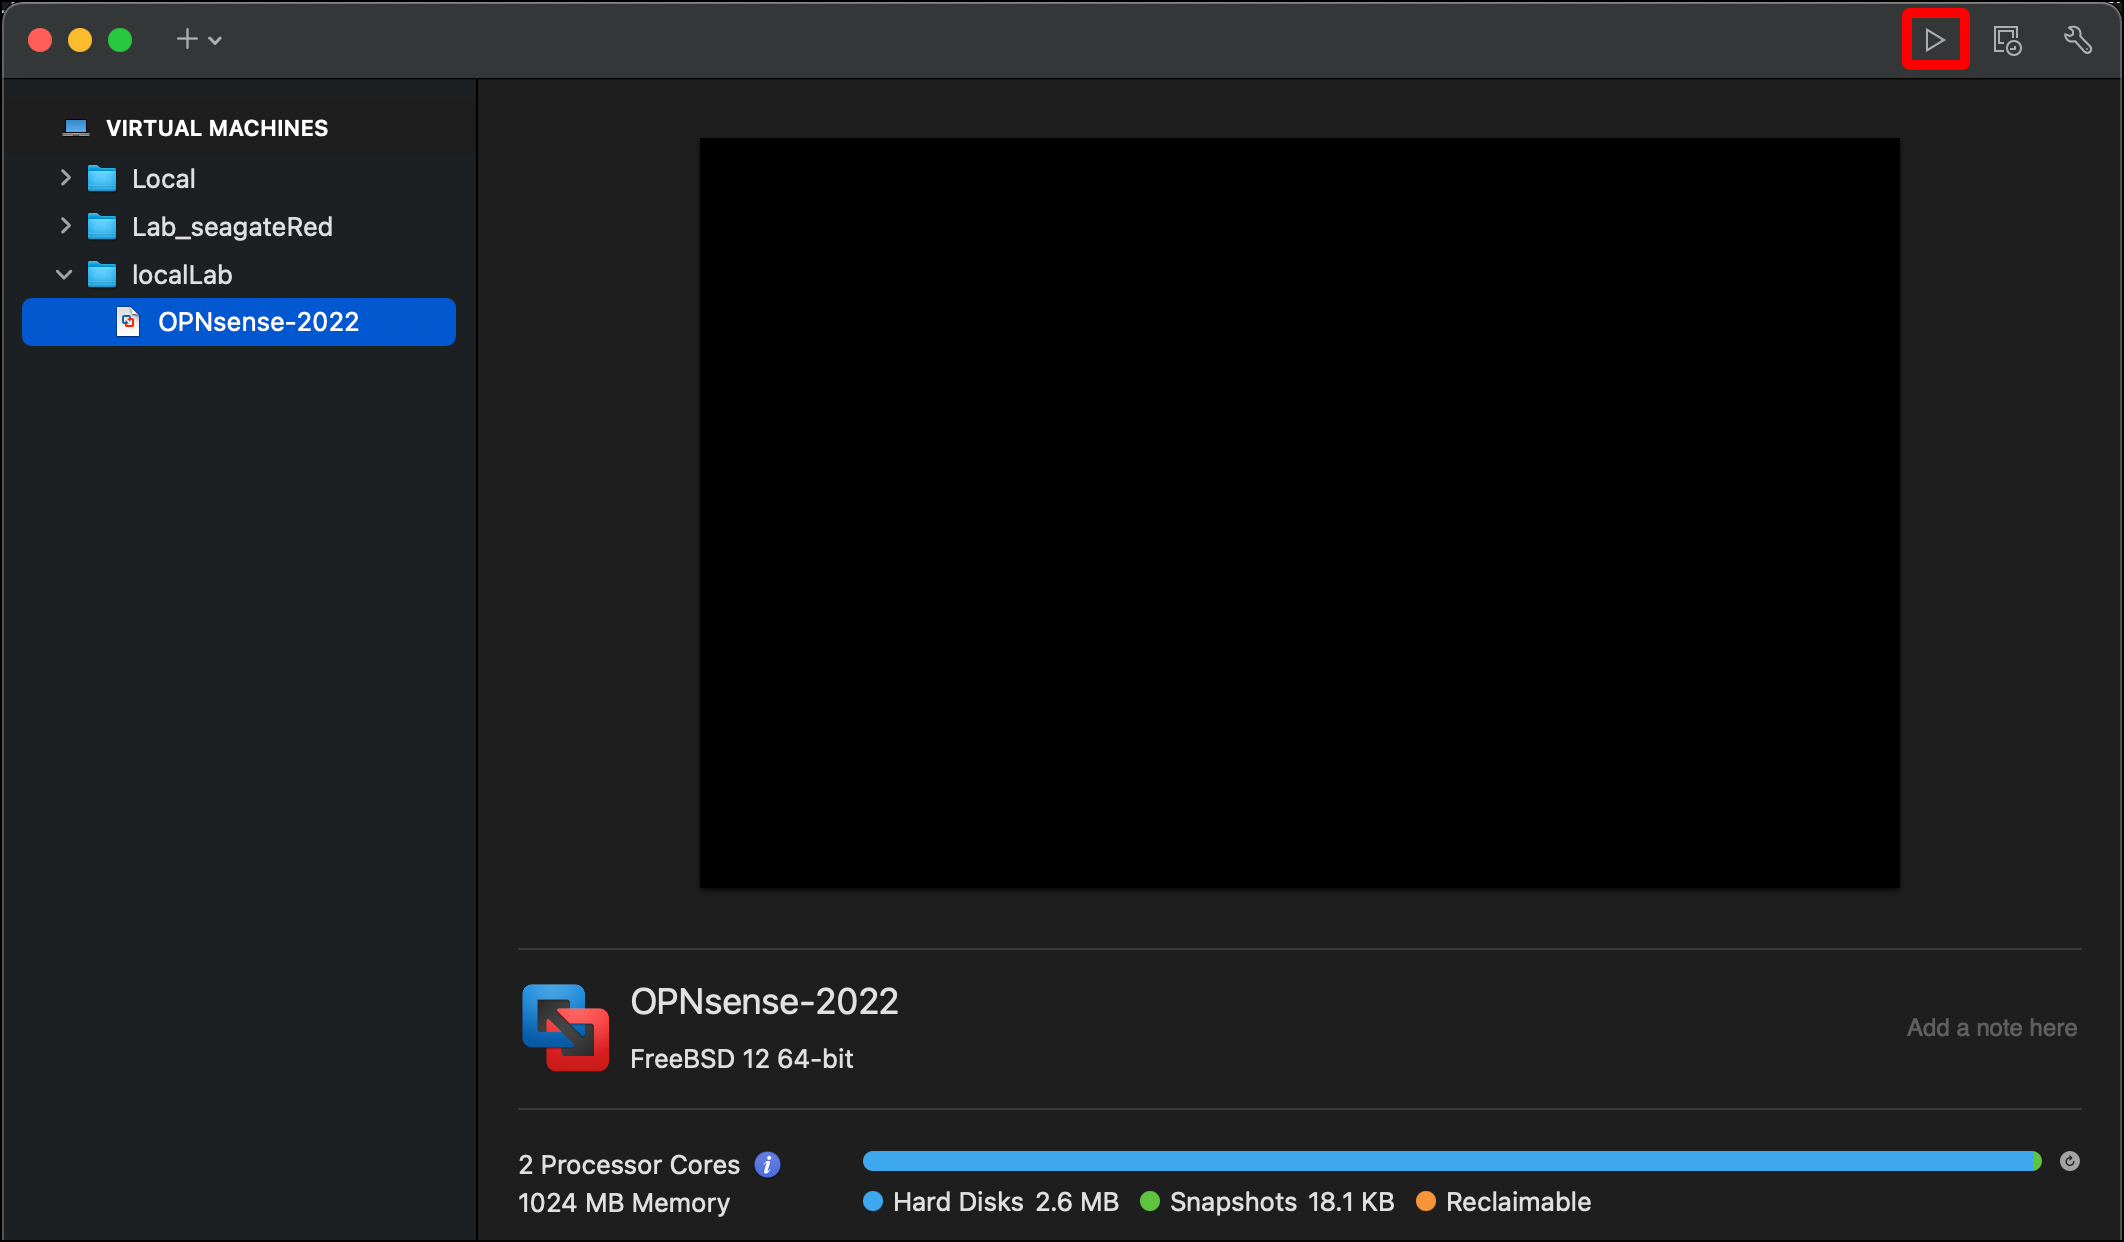
- Now click the play icon to run the virtual machine (VM). (You can also select the Virtual Machine menu and click Start.)
-
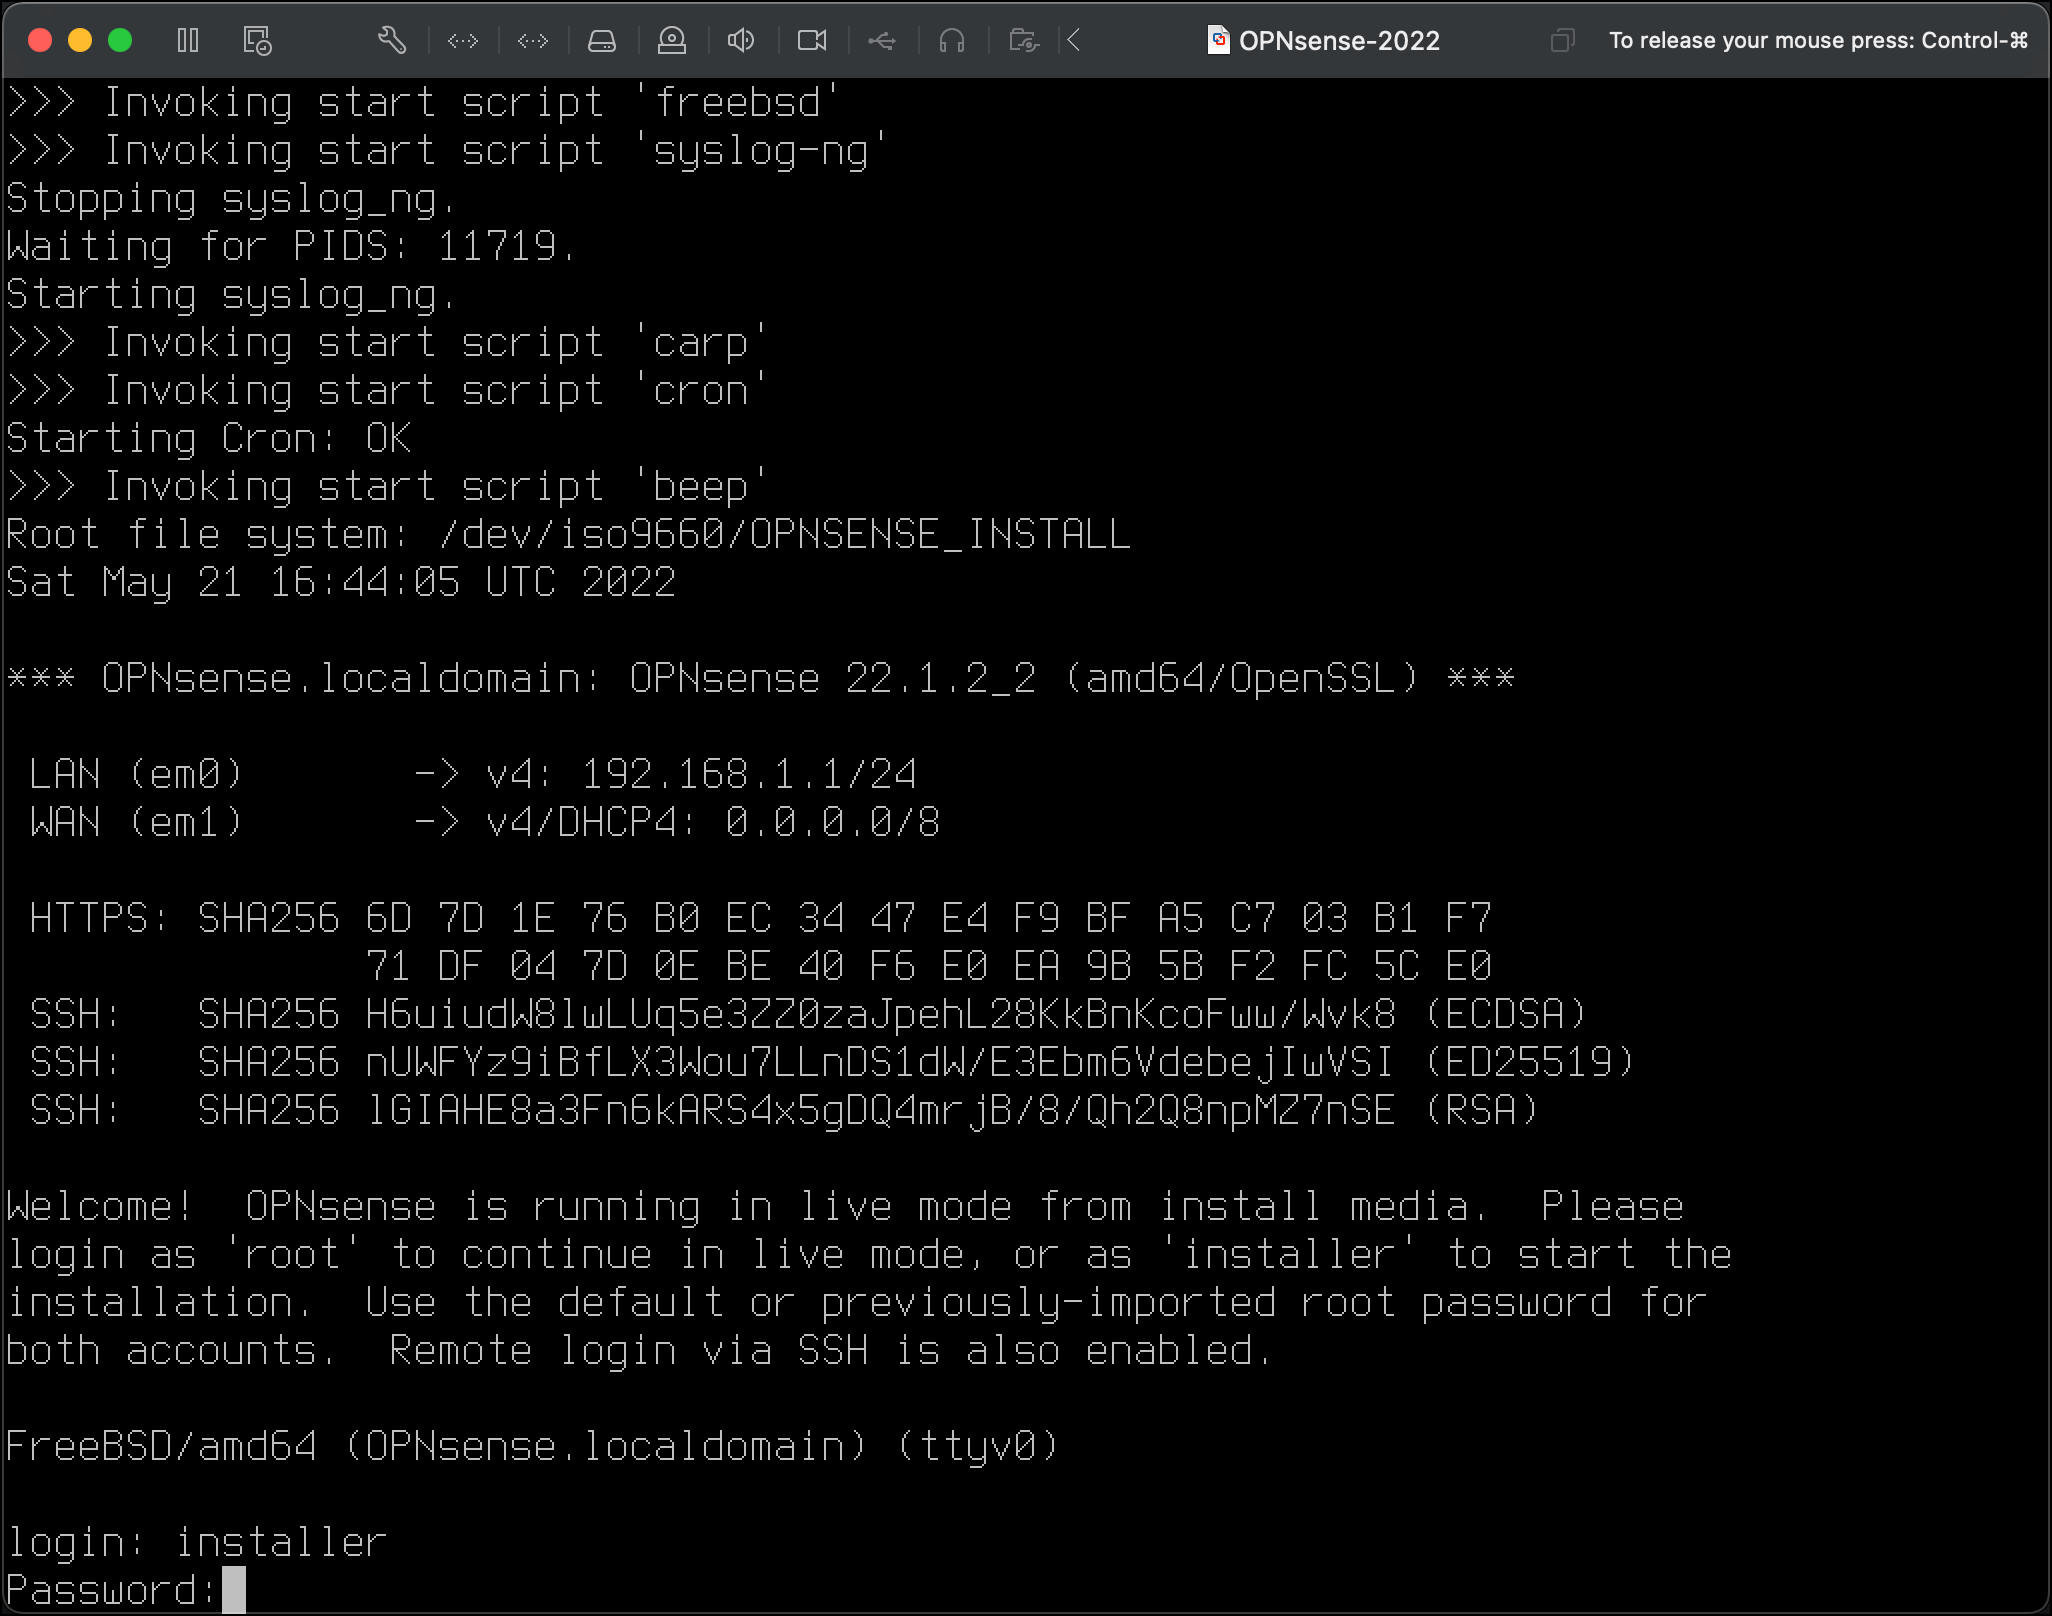
When you see the login prompt after the VM starts, use the credentials for installation:
- Username: installer
- Password: opnsense
- On the Keymap Selection pane, leave the default option Continue with default keymap and press
Enterto choose the Select option.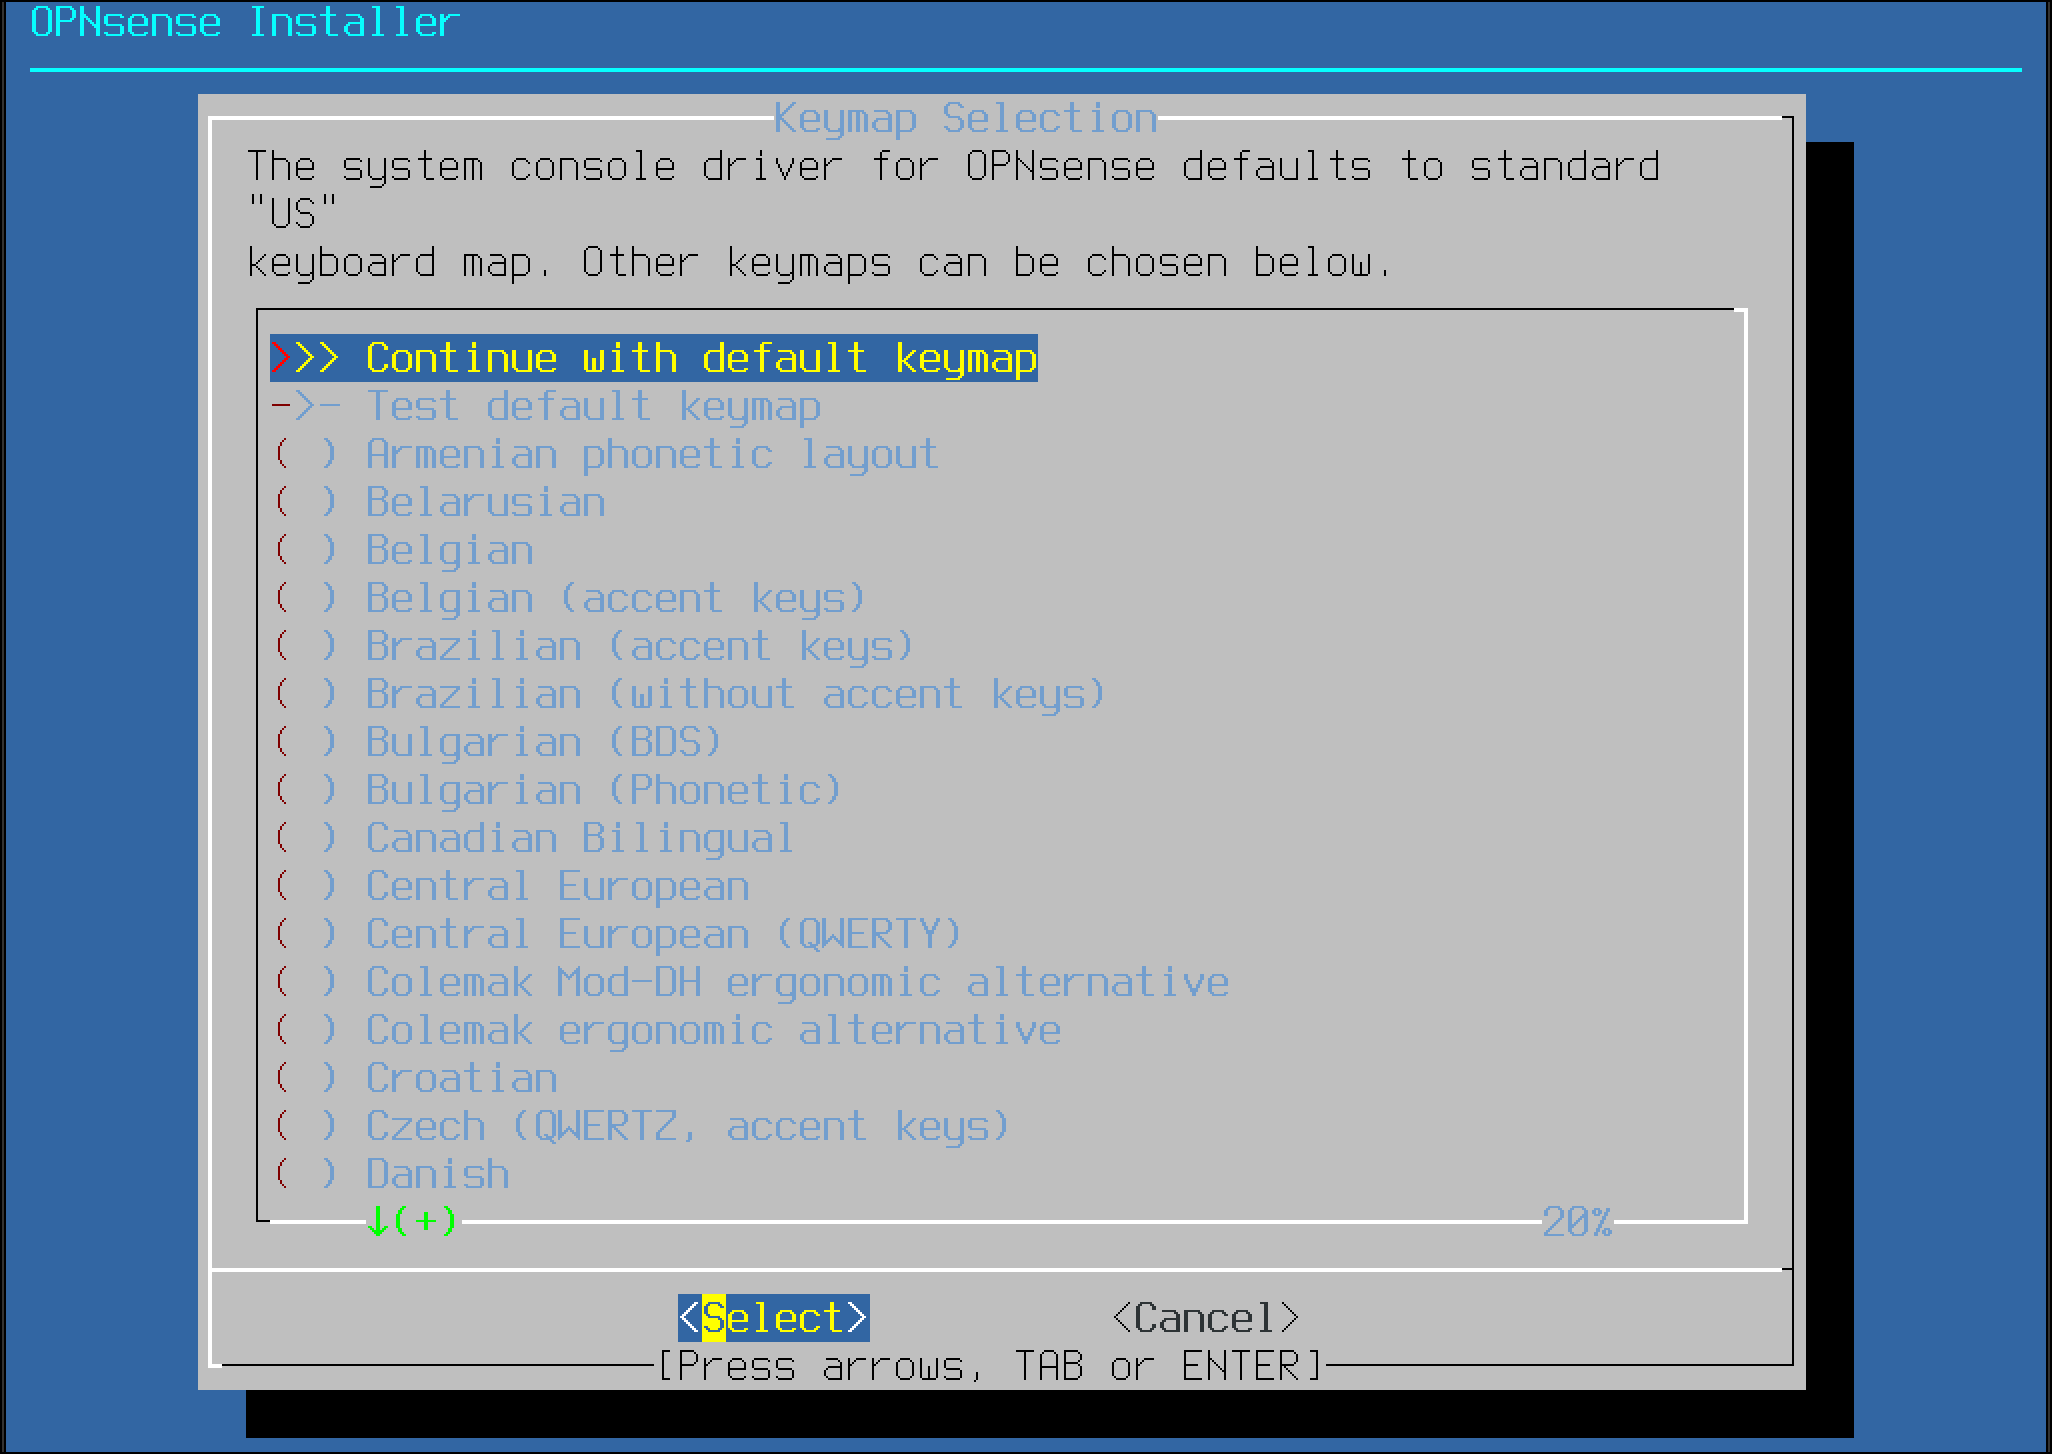
- Leave the Install (UFS) option and press
Enterto select OK.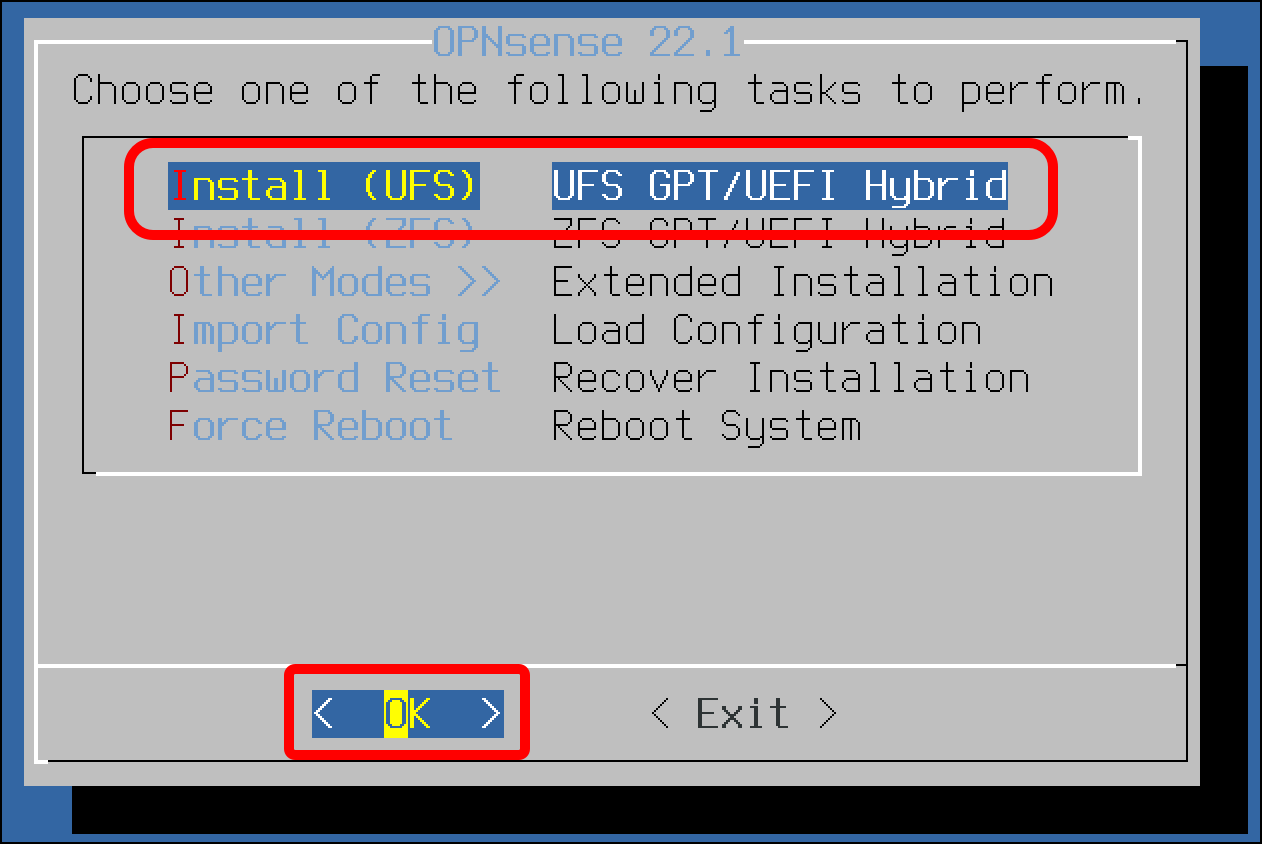
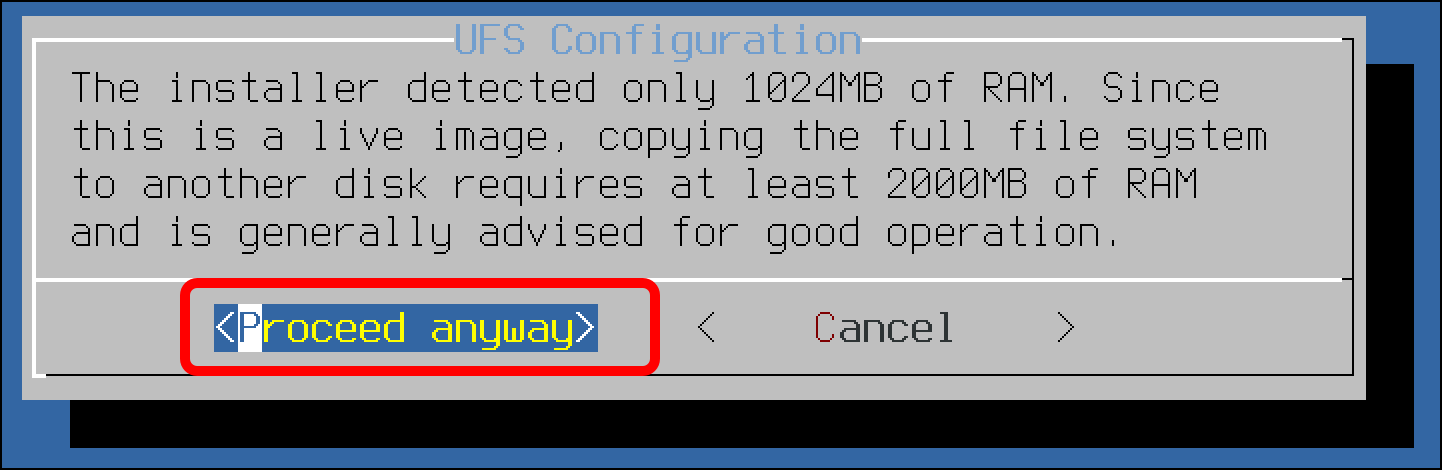
- I received a warning that I had not assigned enough RAM to the VM, but I selected Proceed anyway.
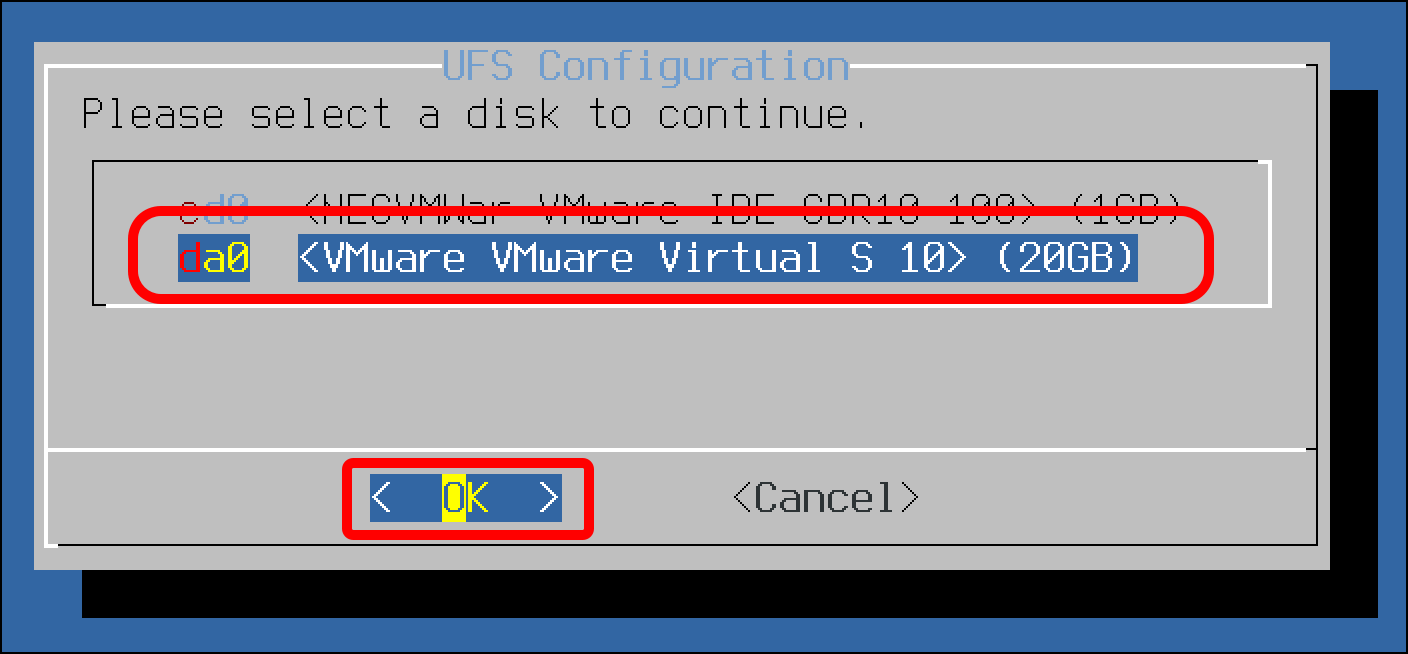
- Use the down-arrow key to select da0, the VMware default virtual hard disk with a size of 20GB (OPNsense’s minimum recommended size is 8GB), then selected OK.
- There is a drive-erasure warning. Use the left arrow key to select Yes and press
Enter.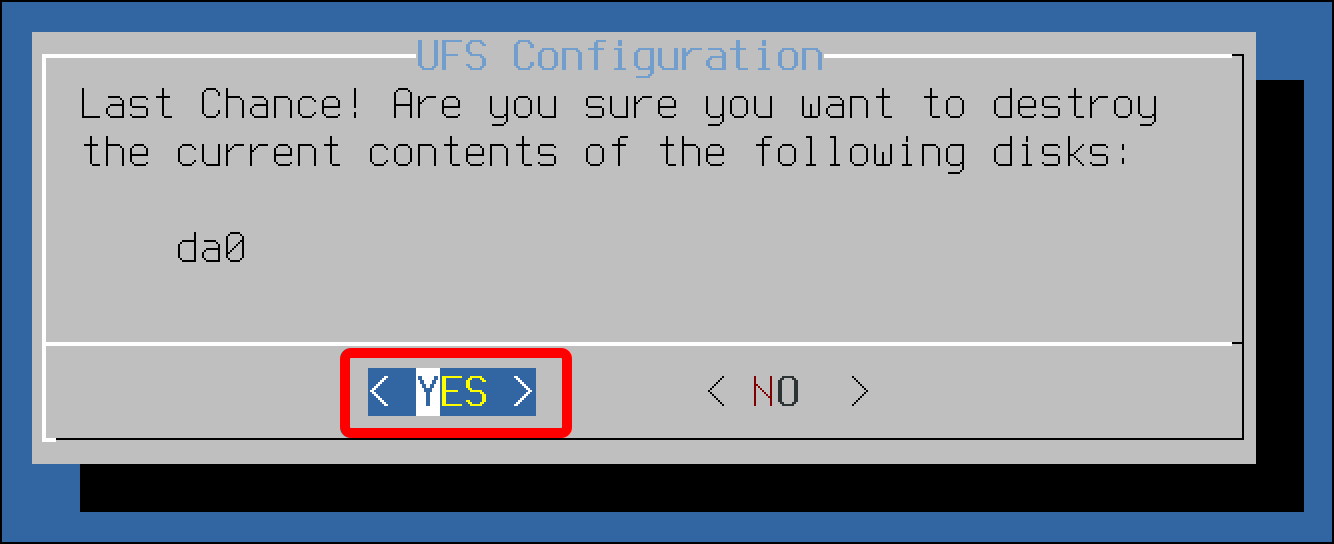
- Various panes will display progress for the installation.

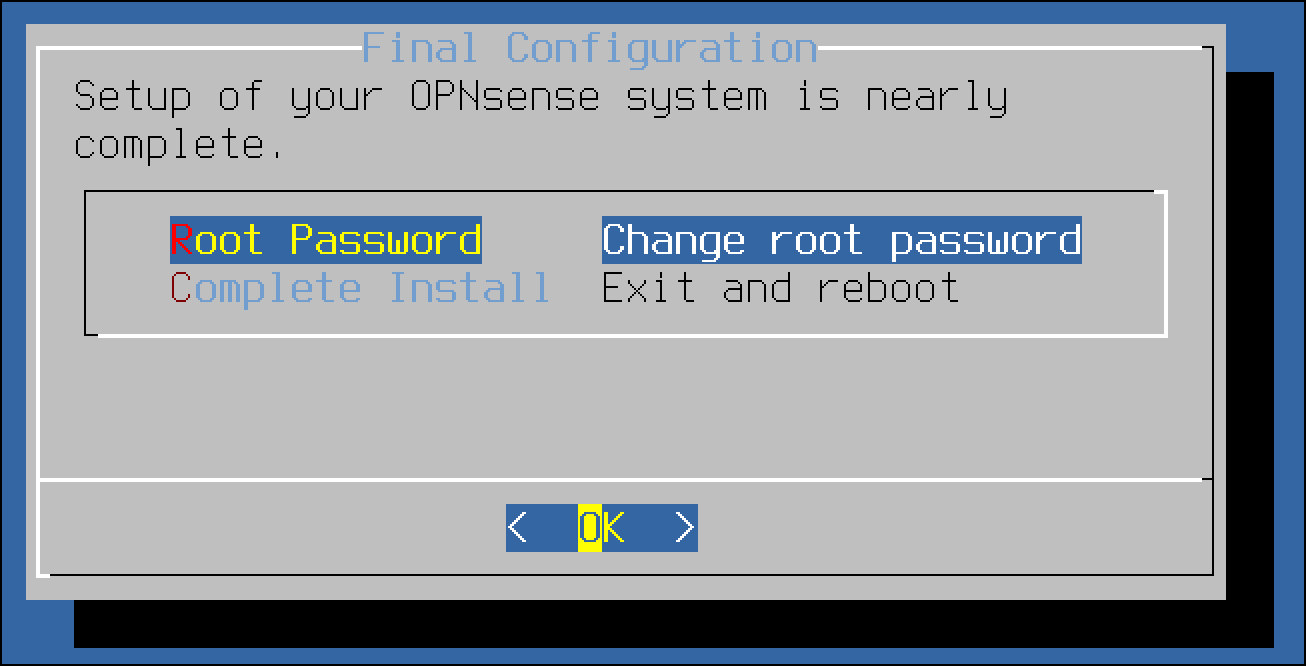
- On the Final Configuration pane, press enter for Root Password Change root password.
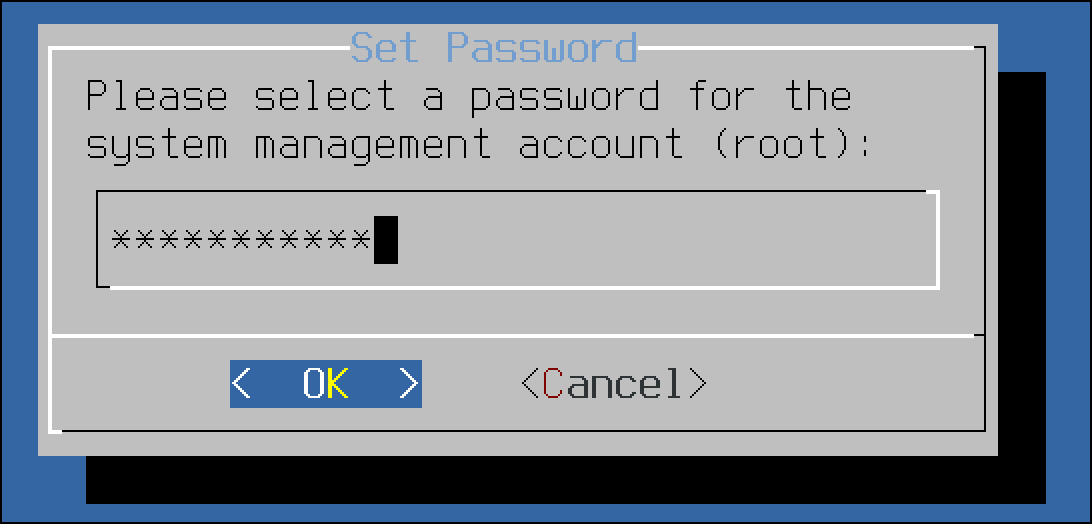
- Enter a new password for the root account and select OK.
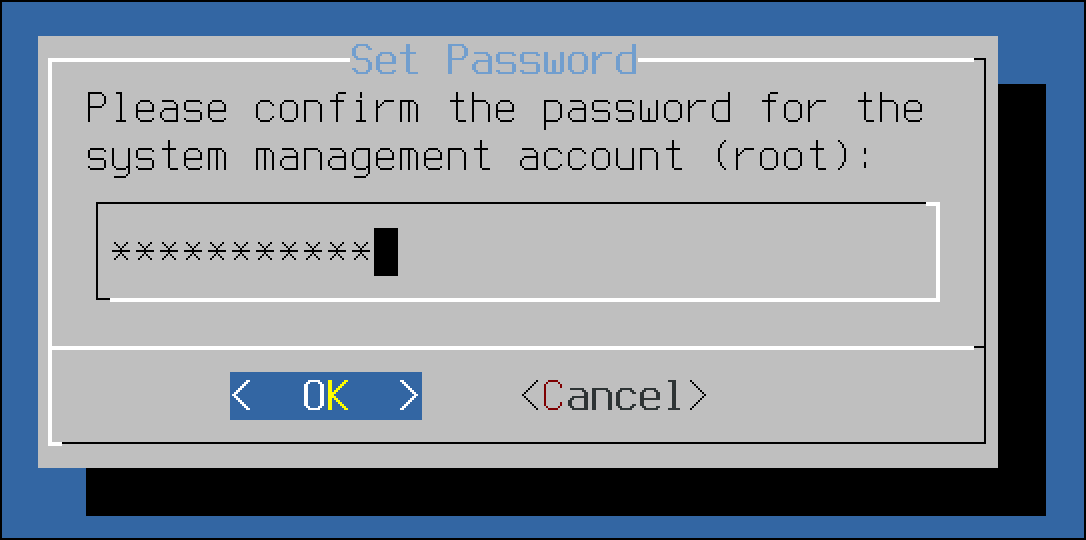
- Re-enter the new root password and select OK.
- Back on the Final Configuration pane, select Complete Install Exit and reboot and press
Enterto select OK.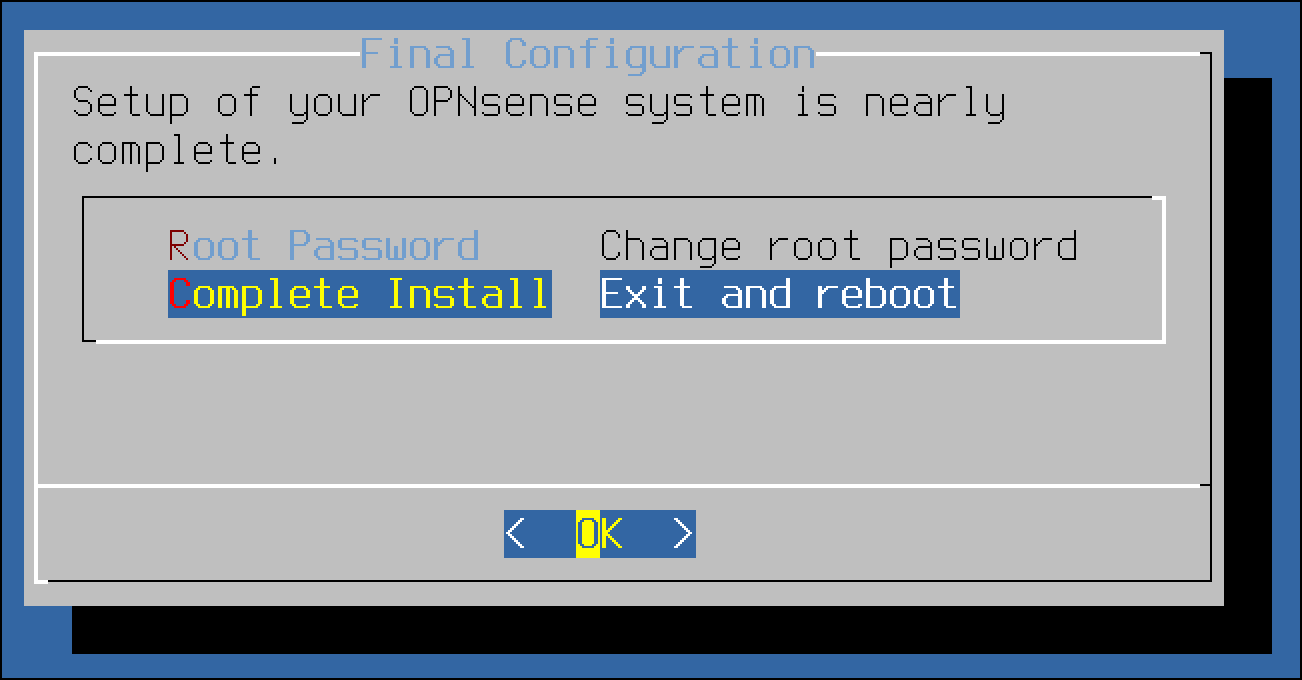
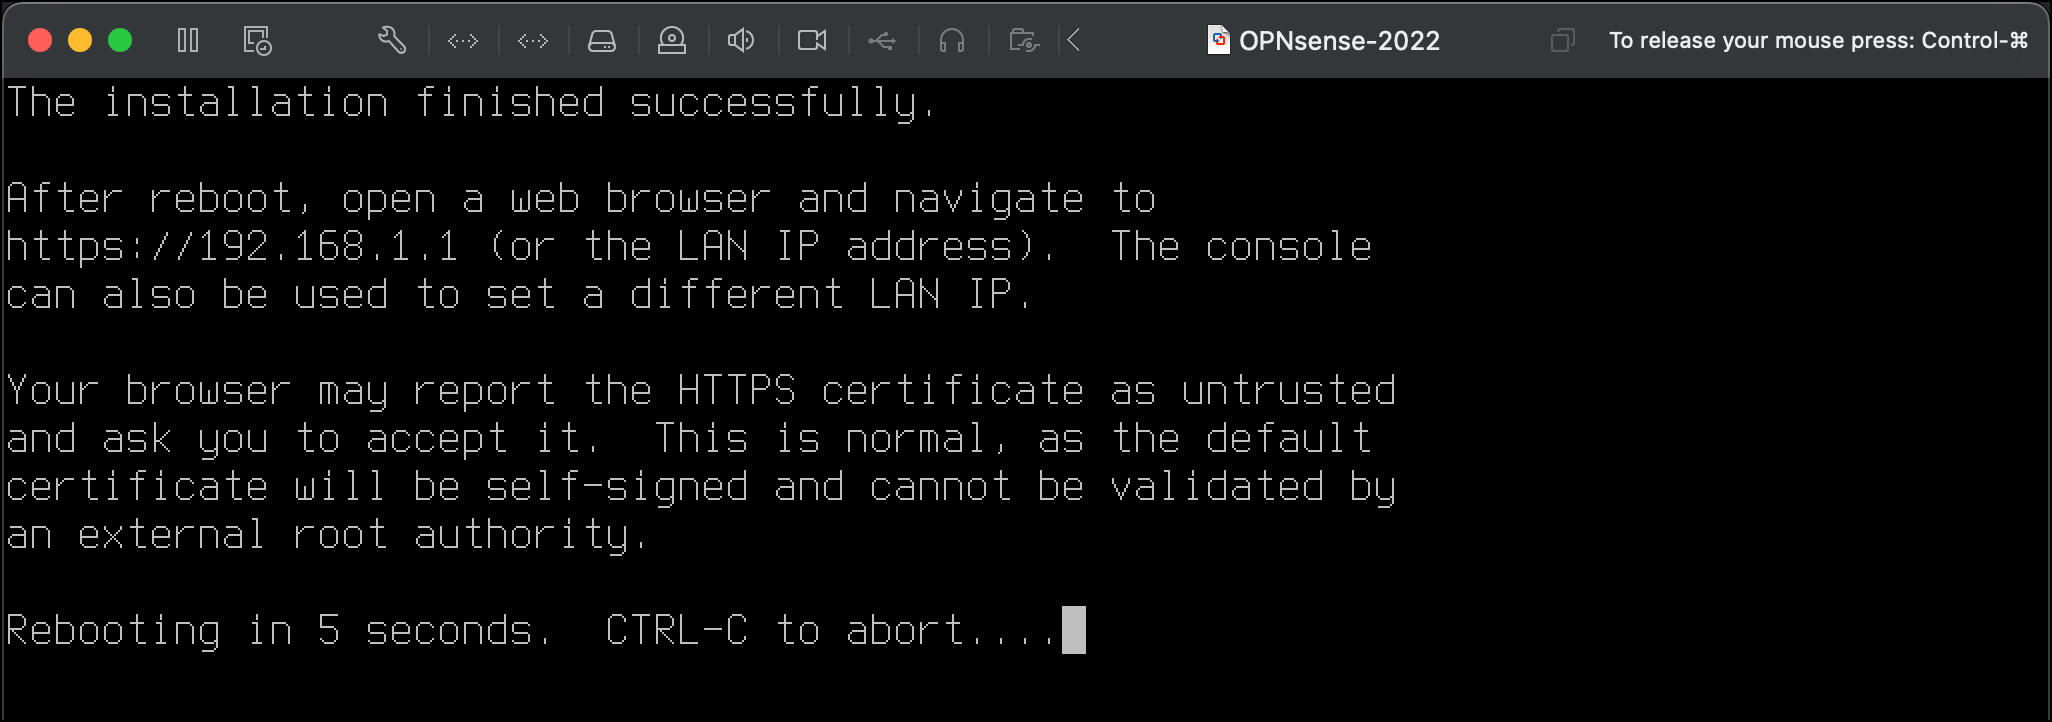
- The system will reboot. You will see a lot of output as it comes back up.
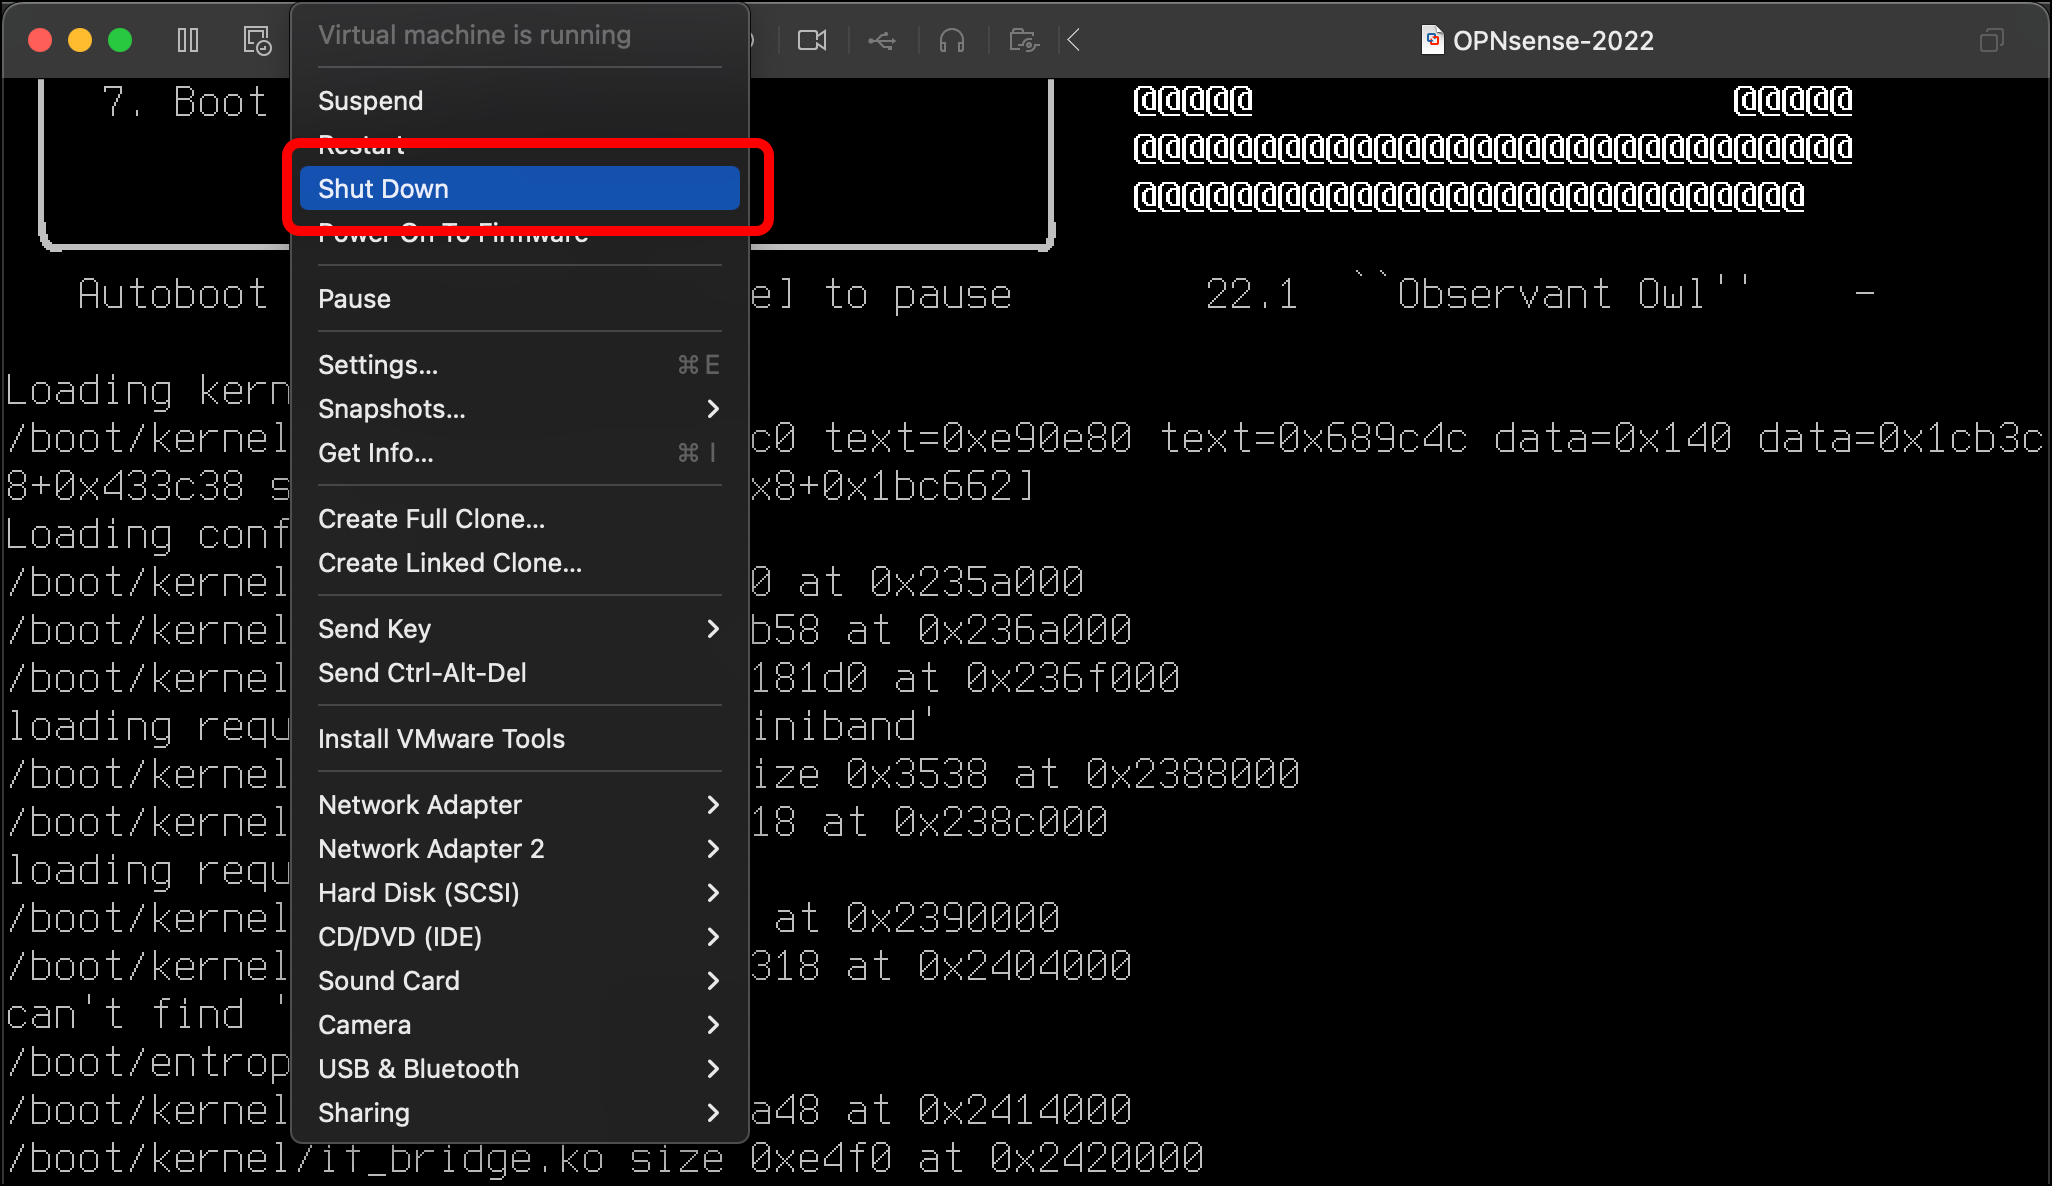
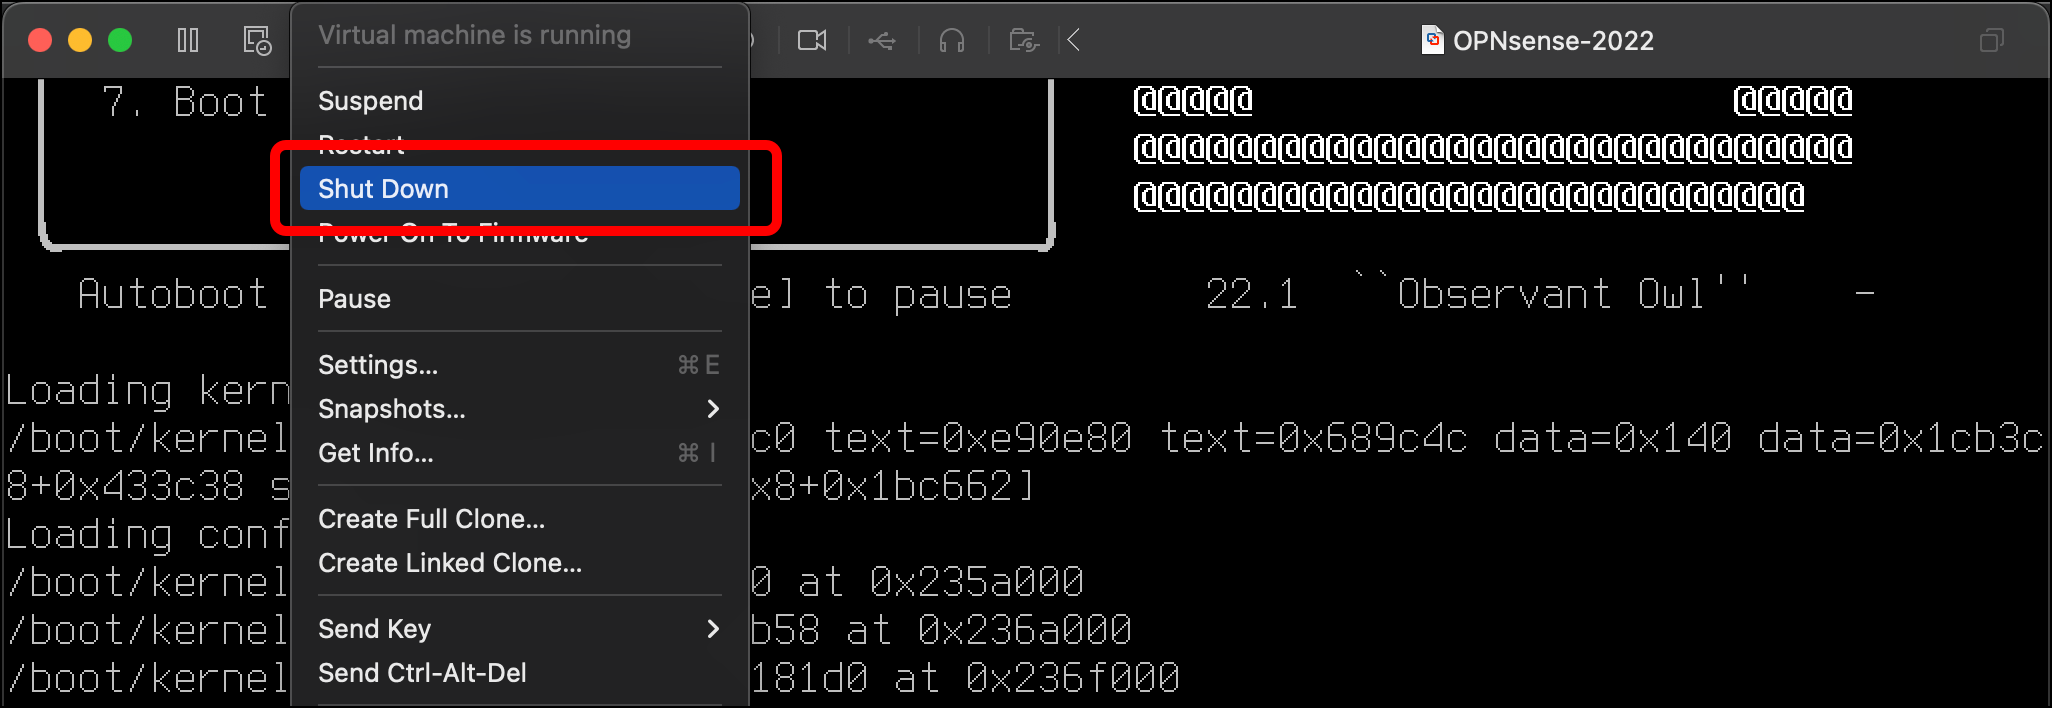
- Now you need to change the VM’s settings to remove that installation media and make sure that it is booting from the virtual hard disk. In the VMware Fusion menu, click the Virtual Machine menu and select Shut Down.
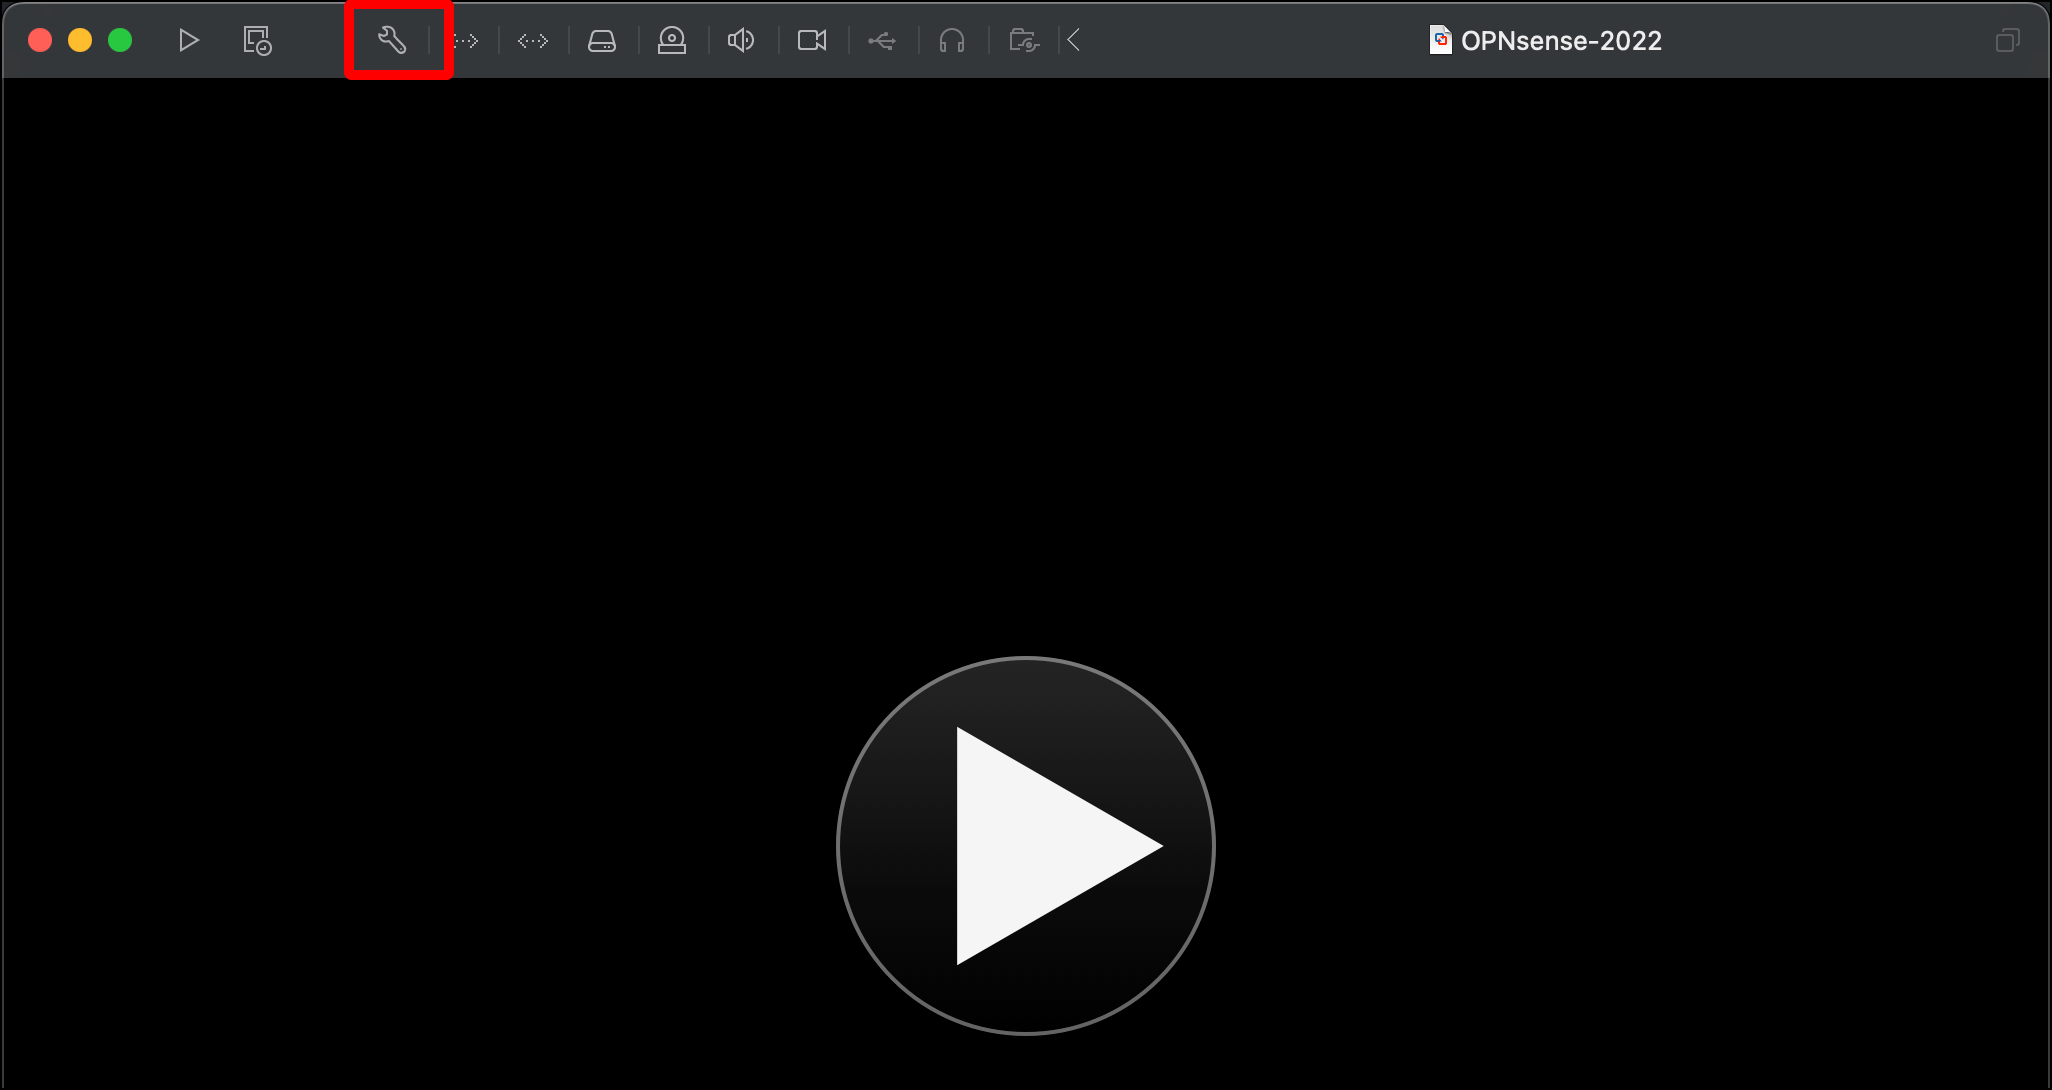
- Click the wrench icon at the top of the VM’s window to enter the settings.
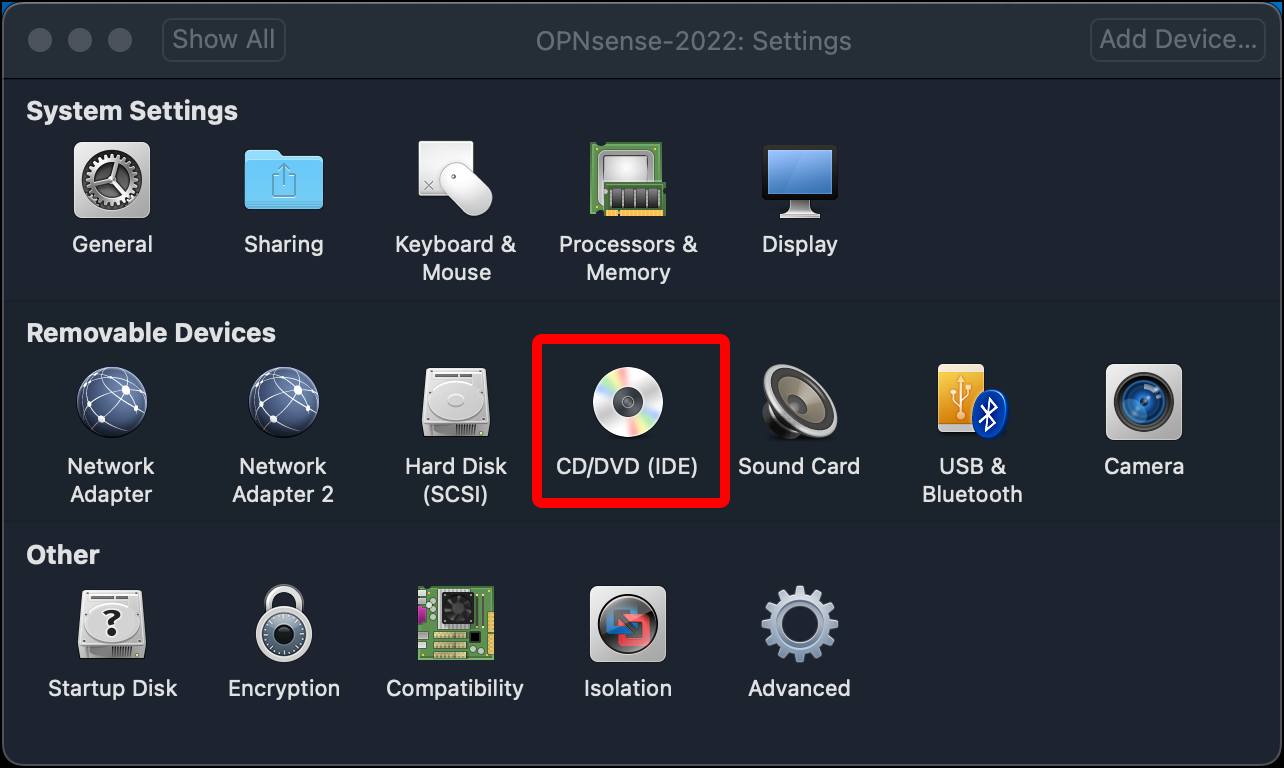
- Click CD/DVD (IDE).
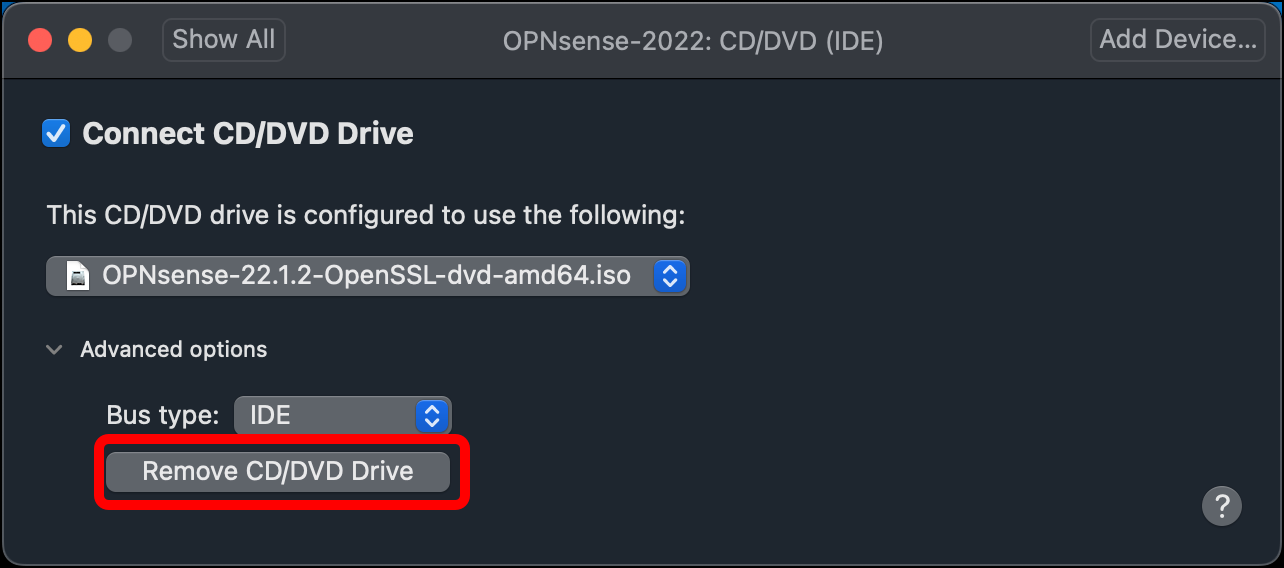
- Twirl down Advanced options.
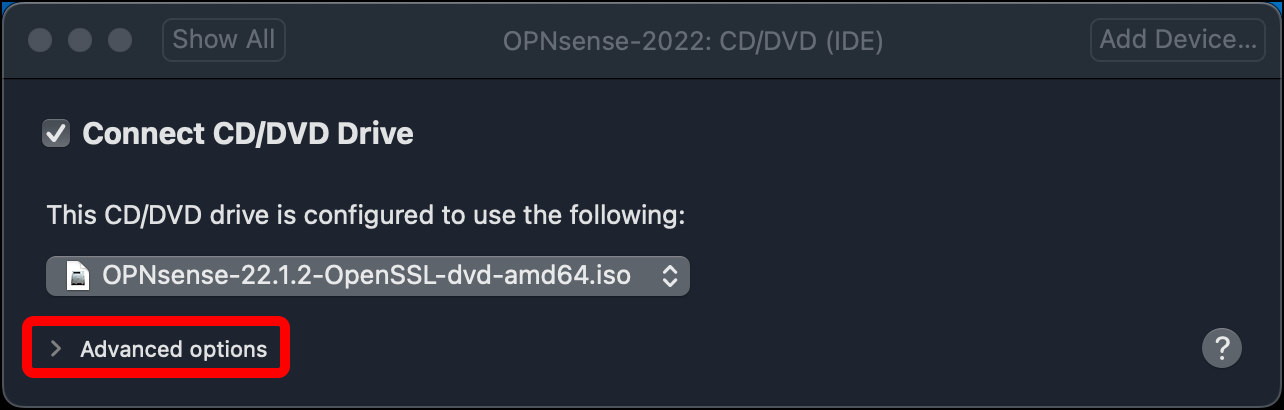
- Click Remove CD/DVD Drive.
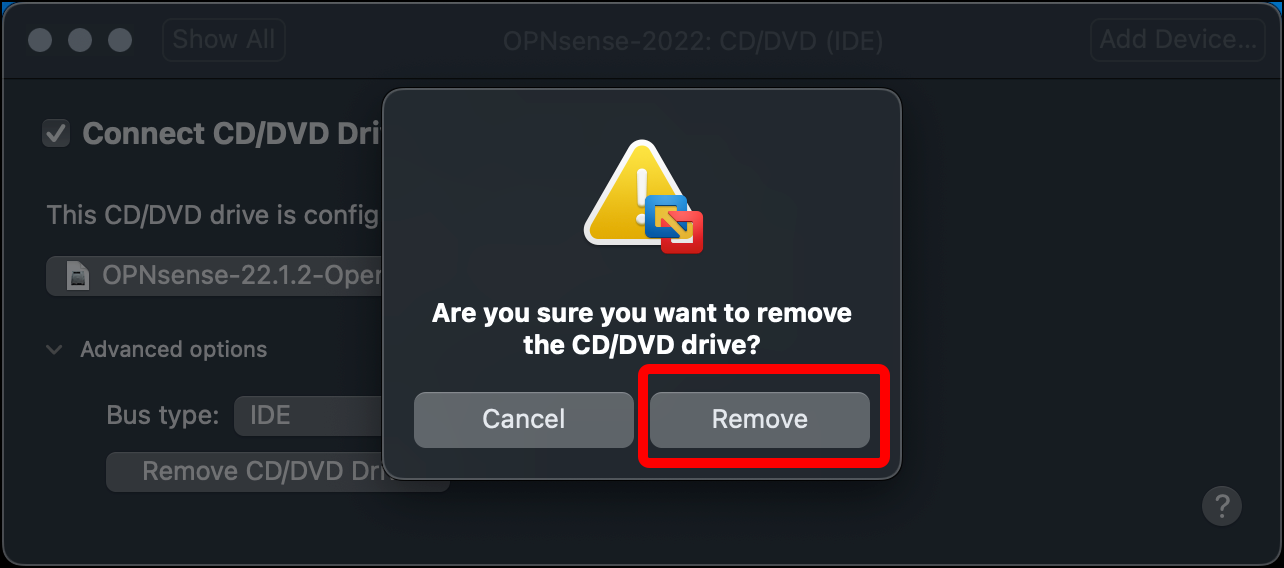
- Click Remove to confirm that you want to remove the drive.
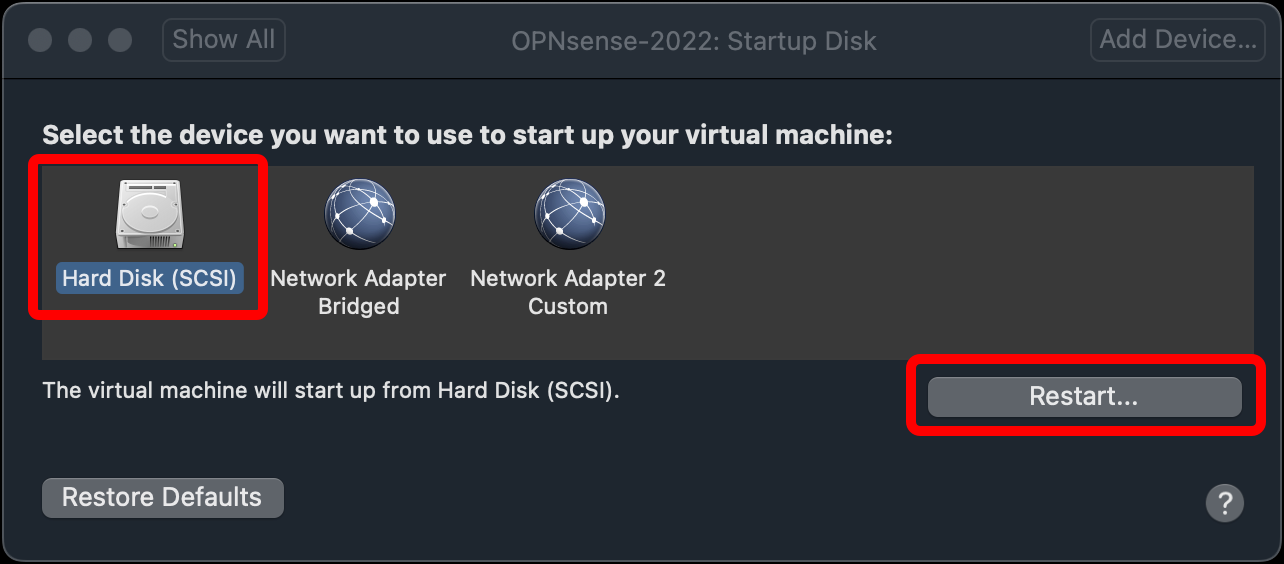
- You are returned to the main Settings window. Click Startup Disk.
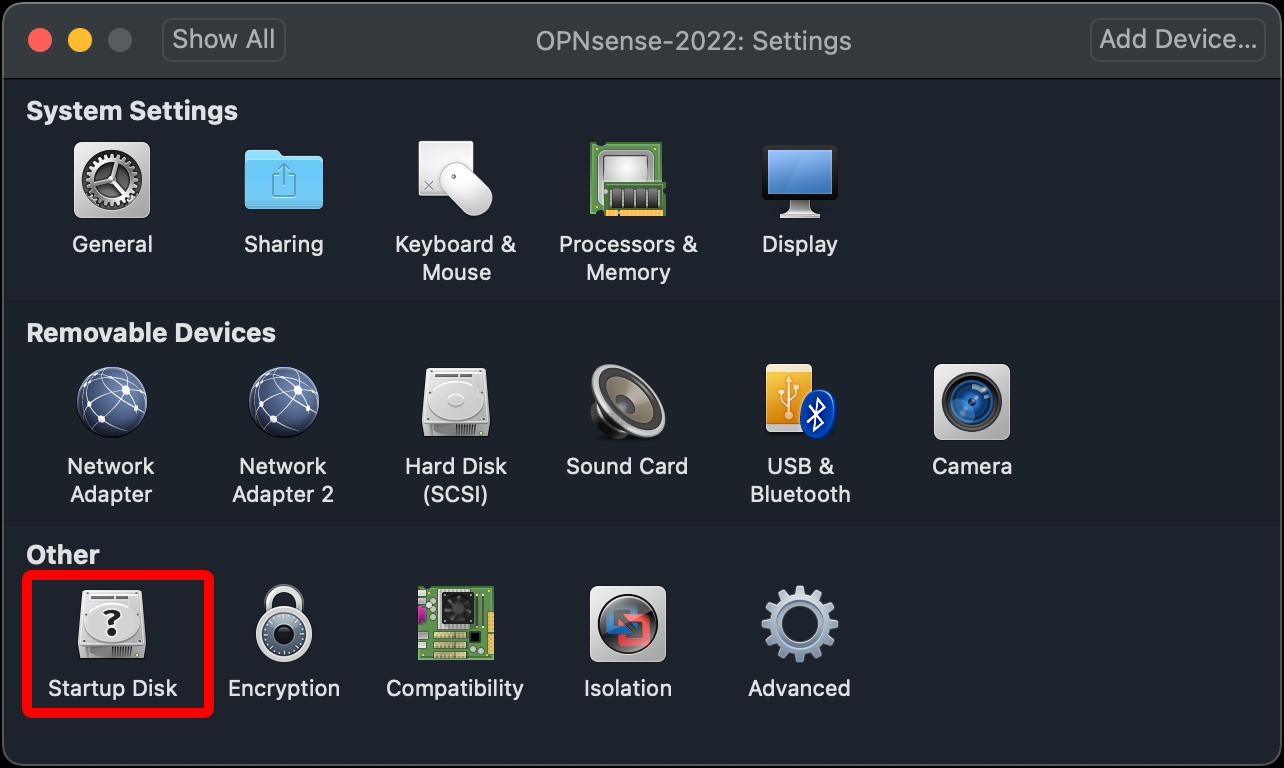
- Click Hard Disk (SCSI) and select Restart window to reboot the VM.
- When the
login:prompt displays, enterrootand pressEnter.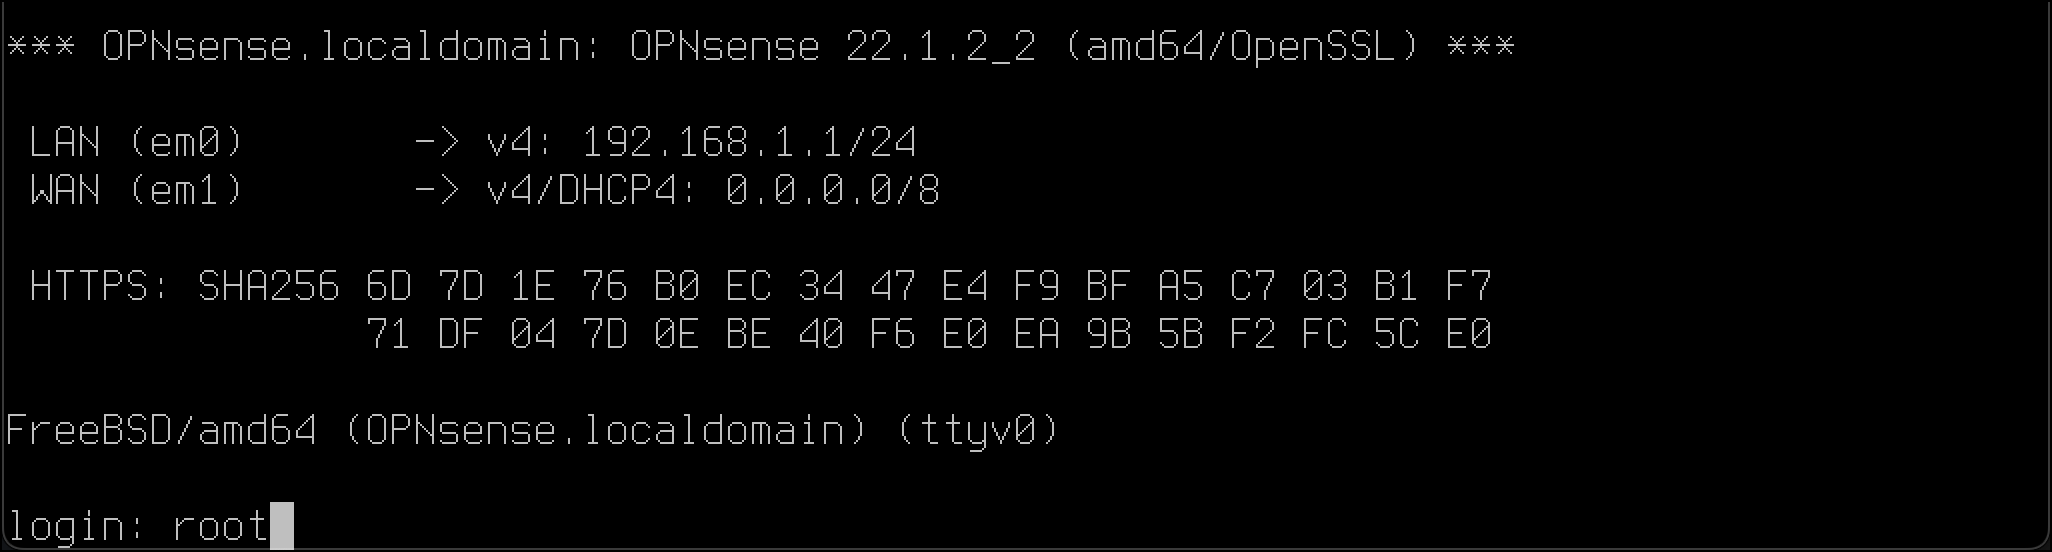
- Enter your new password for the root account and press
Enter.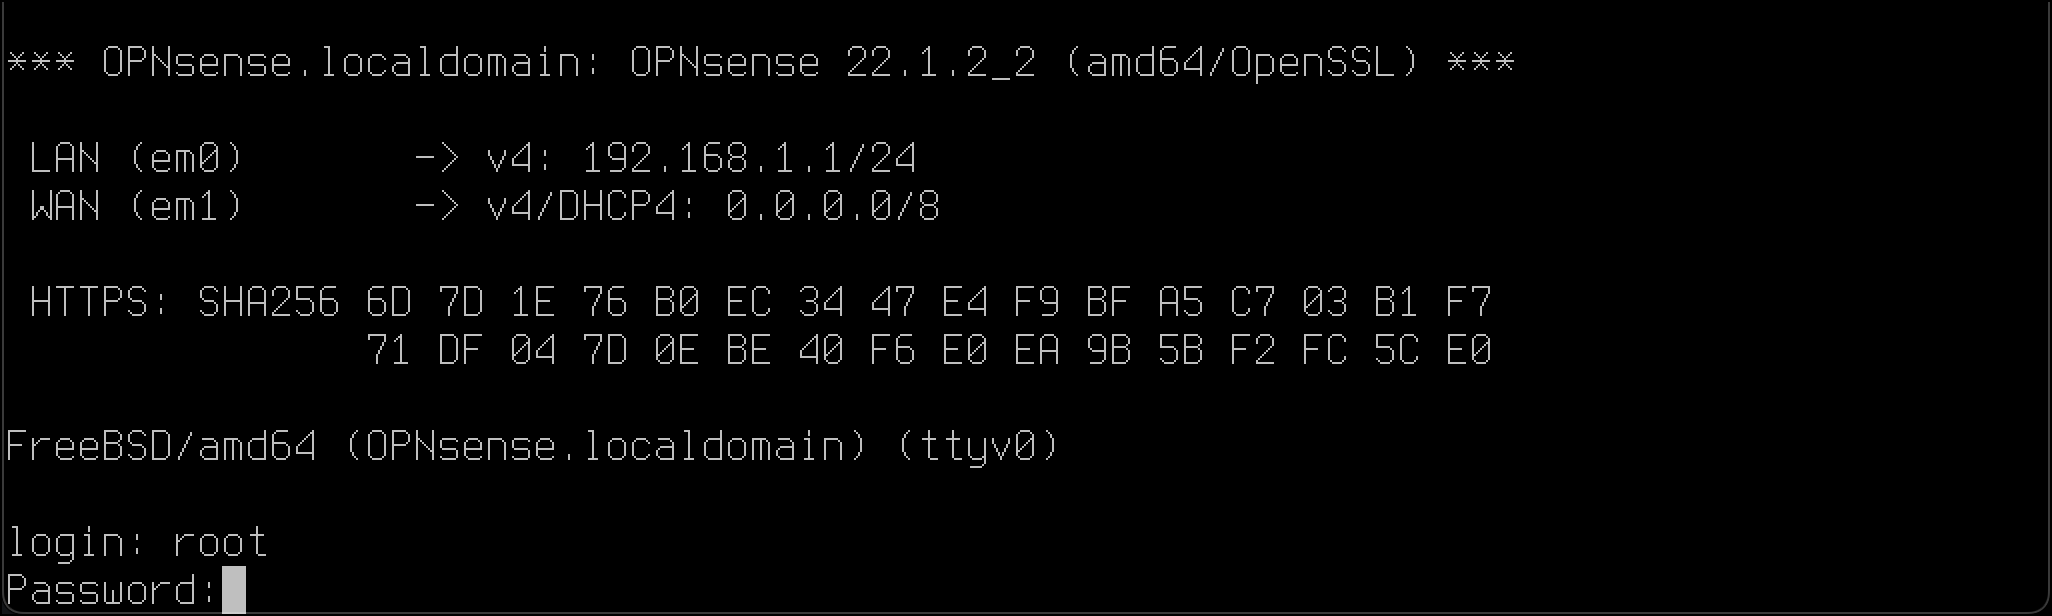
- From the menu, select
1) Assign interfaces.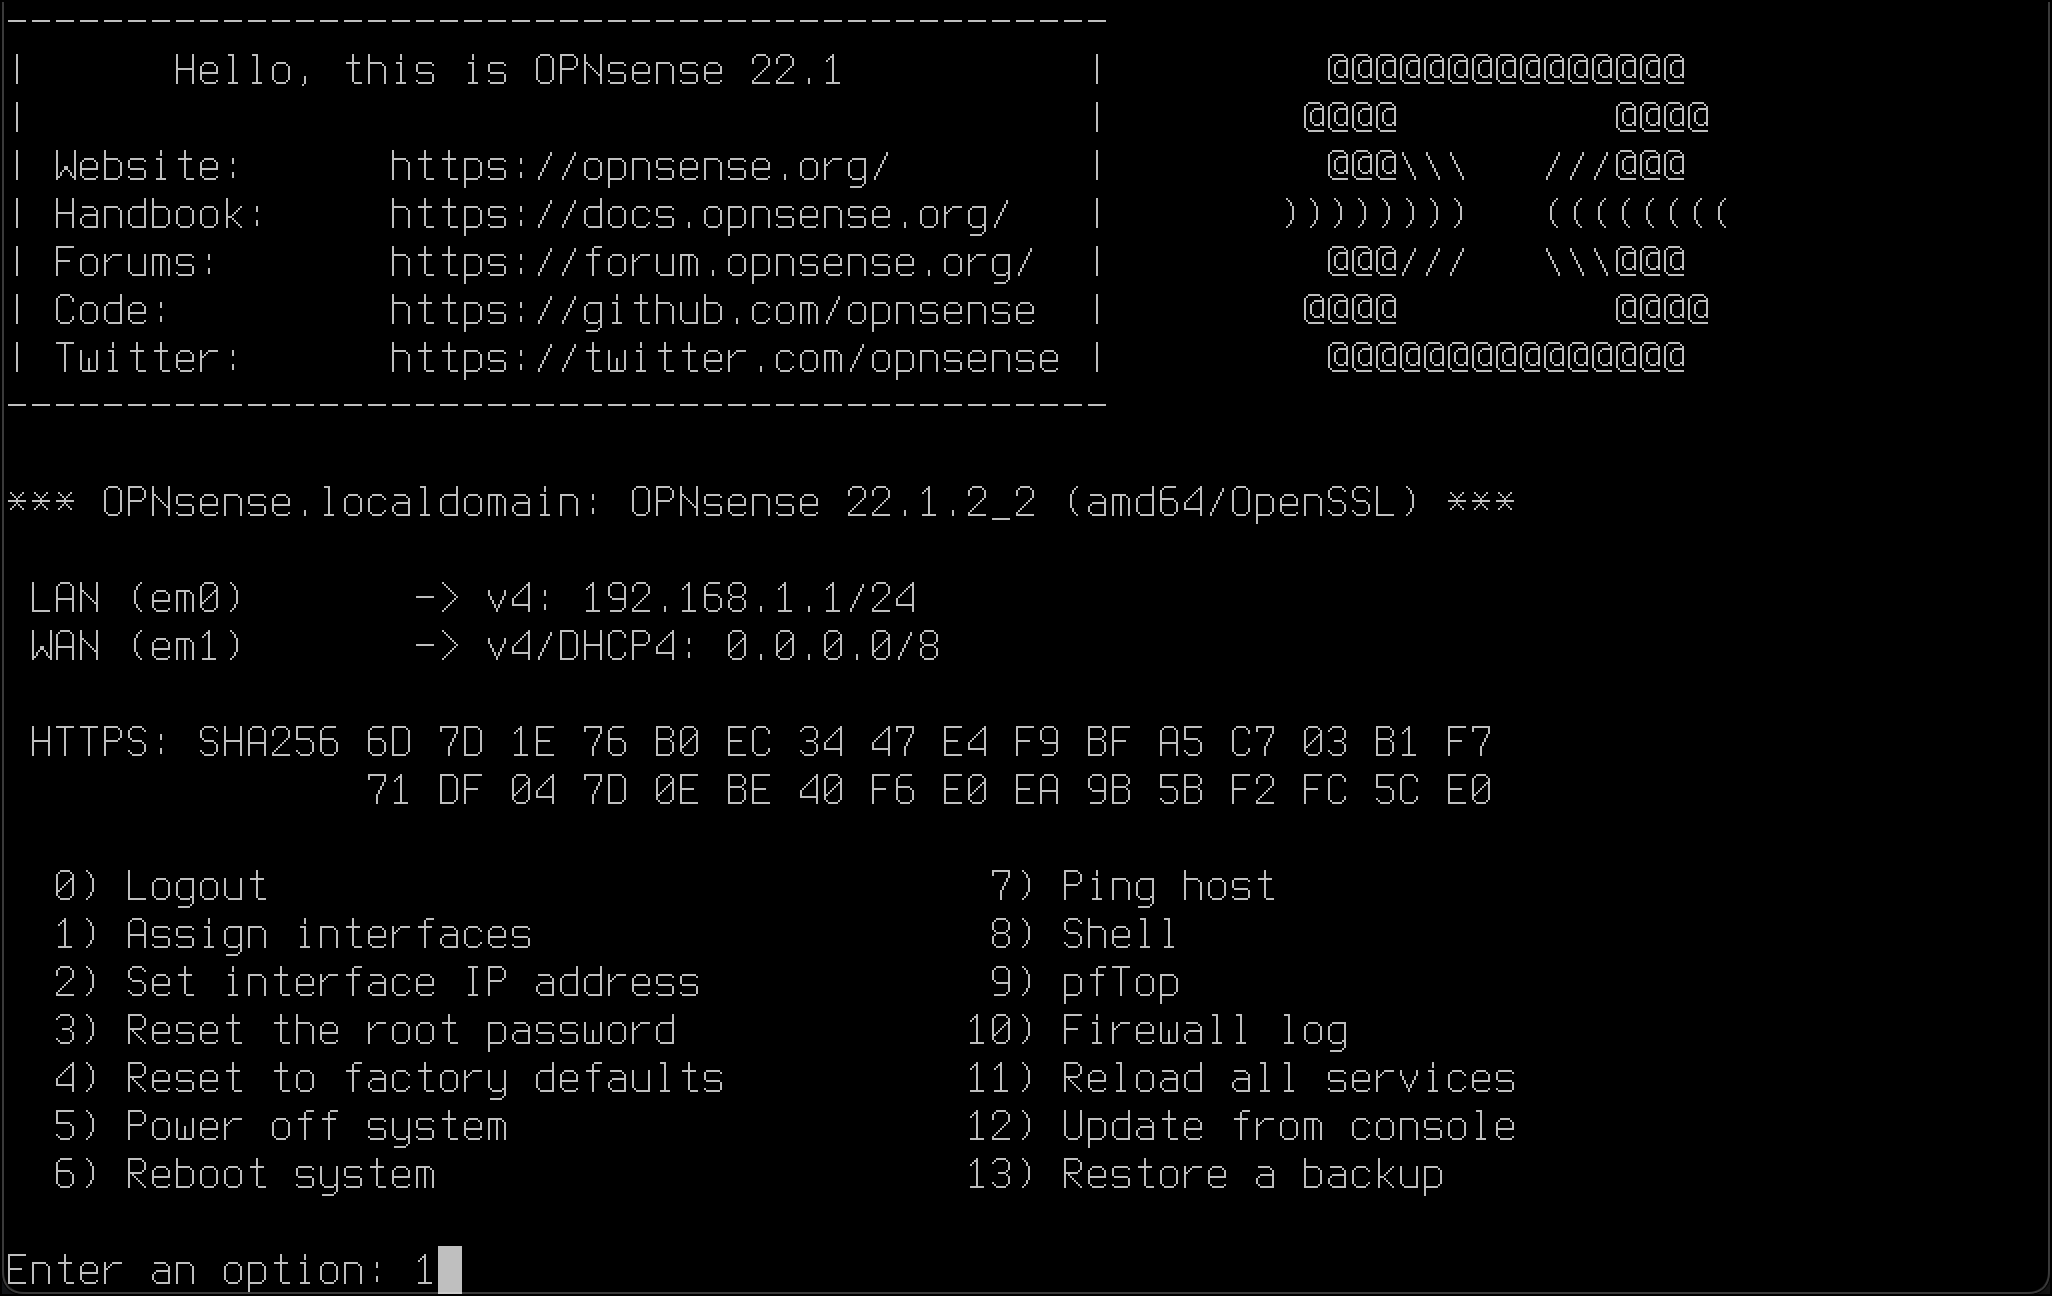
- The next option is
Do you want to configure LAGGs now. Selectnunless you want to configure link aggregation. - Enter
nforDo you want to configure VLANs now?. - You are prompted to
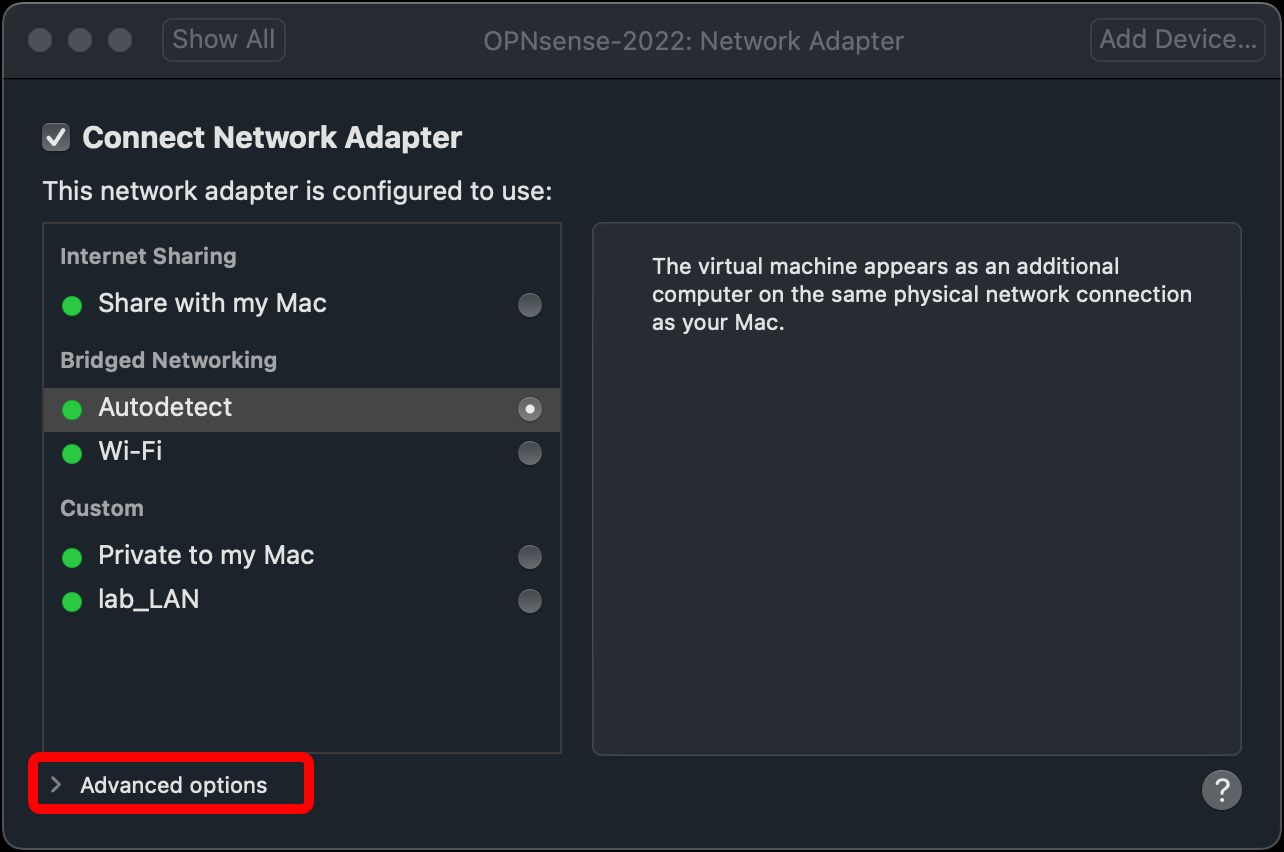
Enter the WAN interface name. You can choose from three interfaces:em0,em1, andem2, each of which display their MAC address. To confirm the MAC address, open the VM’s Settings and click Network Adapter.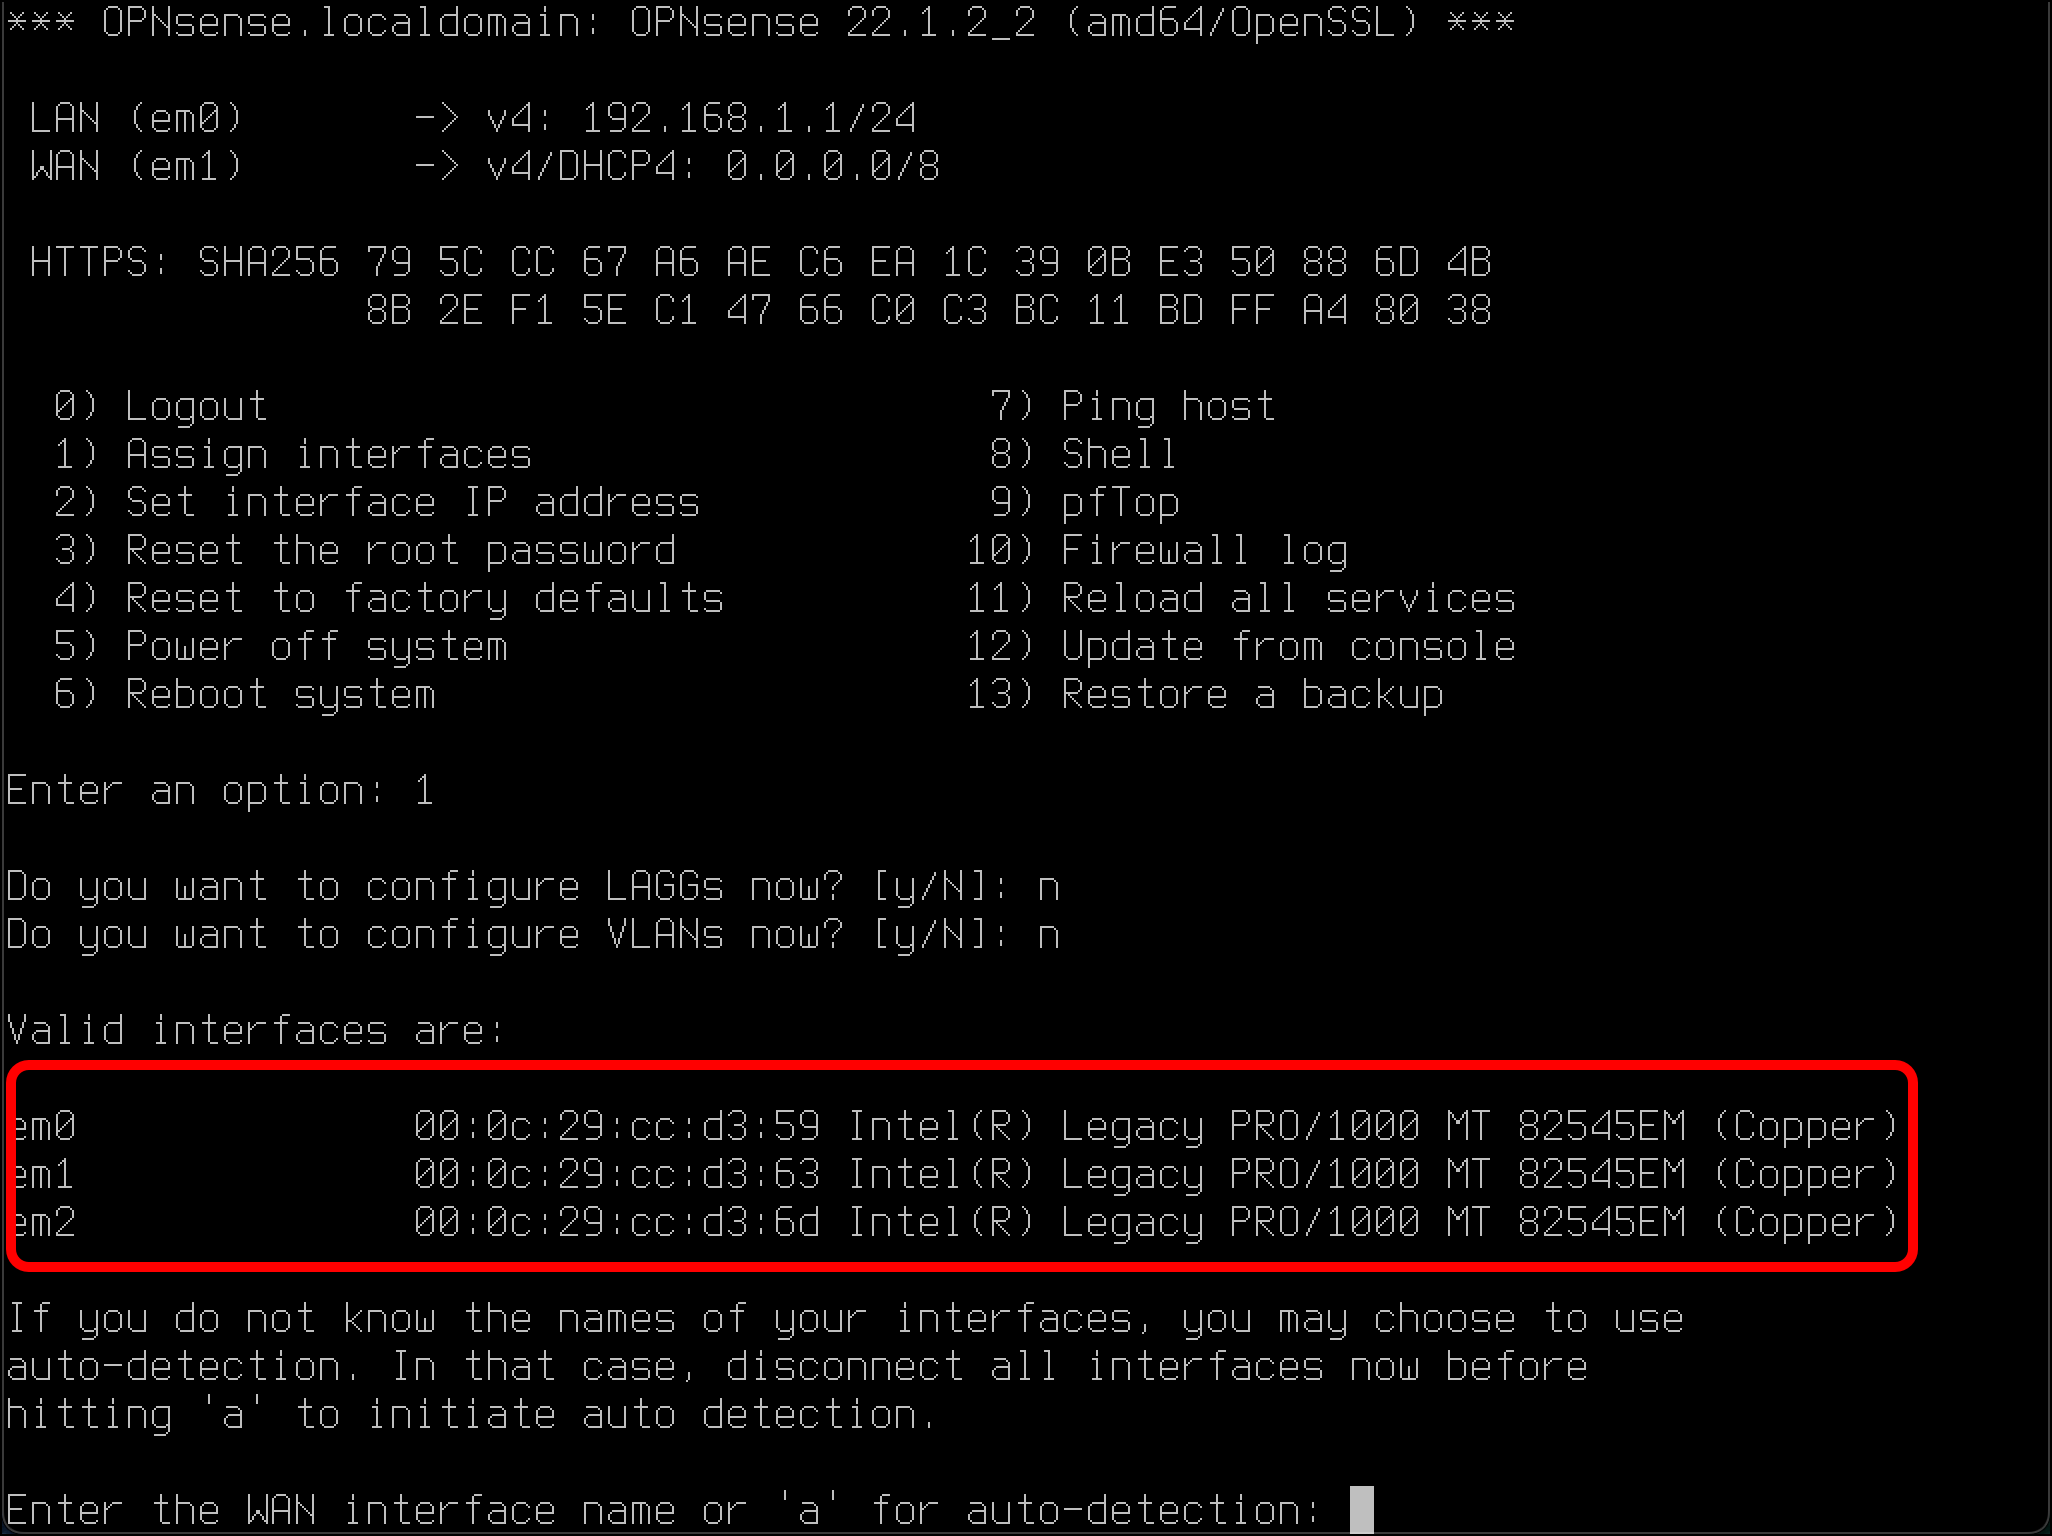
- Twirl down Advanced options in the Network Adapter window.
- The Network Adapter, which is the network adapter that intended for WAN traffic to the public internet, matches the MAC address for
em0.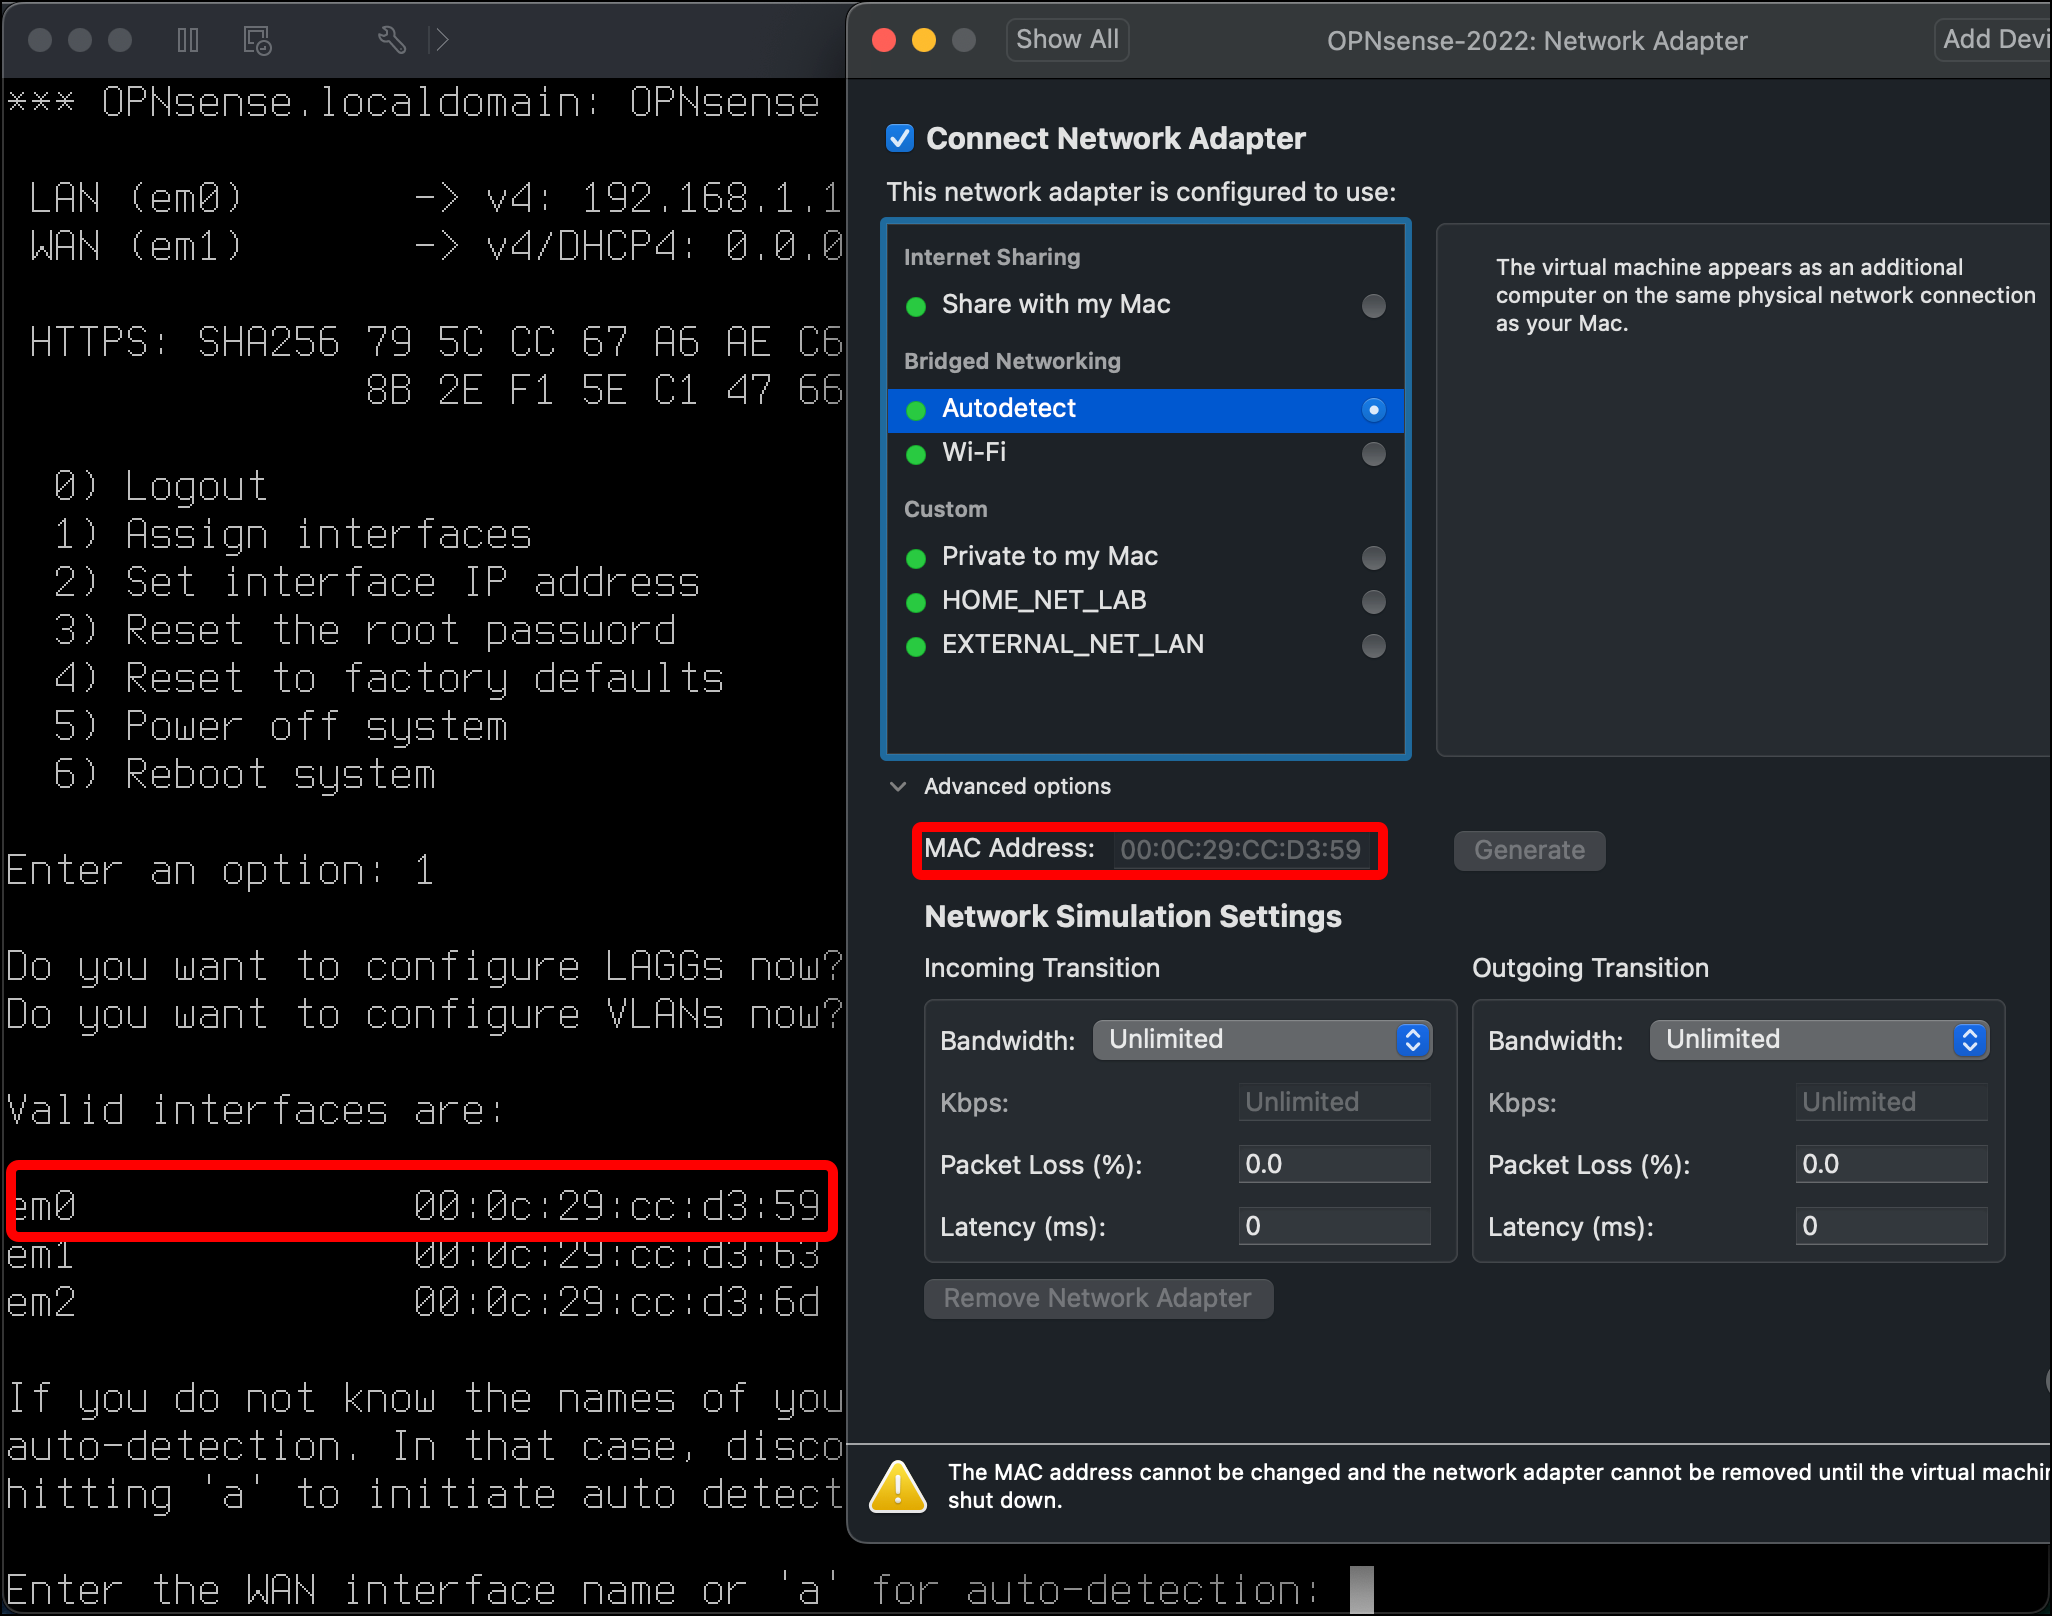
- Go back to the prompt, type
em0and pressEnter.
- Next you are prompted to
Enter the LAN interface name. Use the same steps to check the MAC addresses in the VM’s settings. In this example, the VM’s Network Adapter 2, which has the same MAC asem1, is the interface intended for the LAN, so typeem1and pressEnter.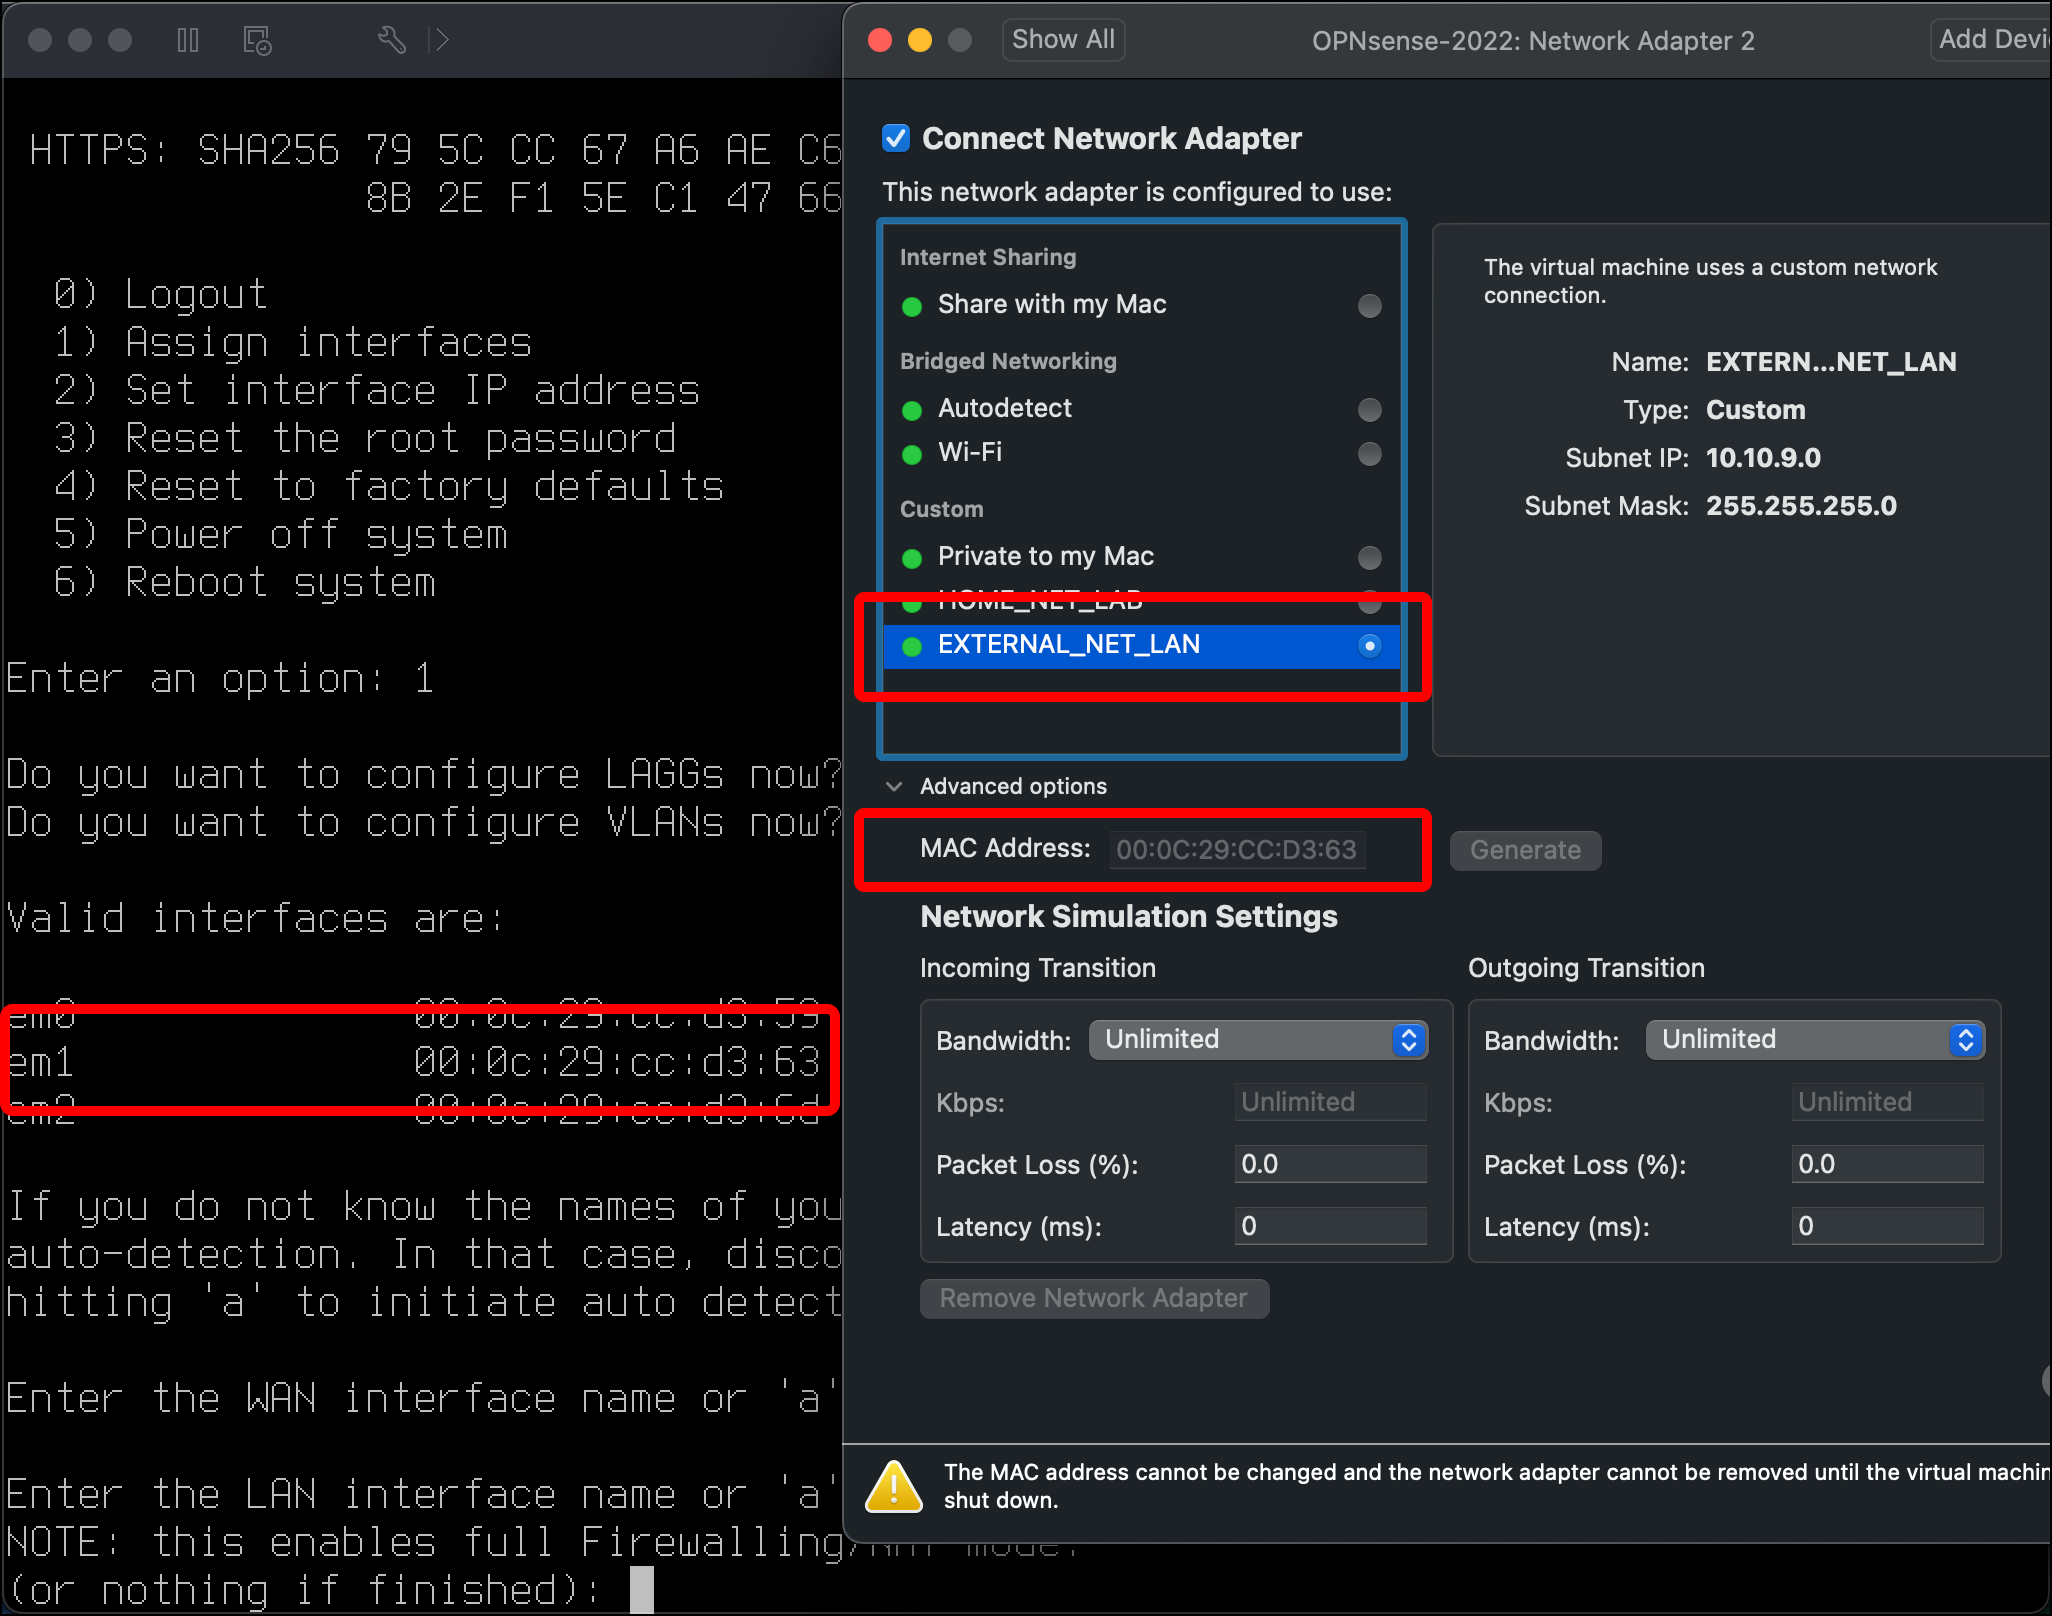
- The prompt asks for the name for Optional interface 1. This would be
em2, the interface intended for the HOME_NET_LAN. However, you can set this up through the web management interface, so pressEnterfor nothing. - Type
yand pressEnterwhen promptedDo you want to proceed?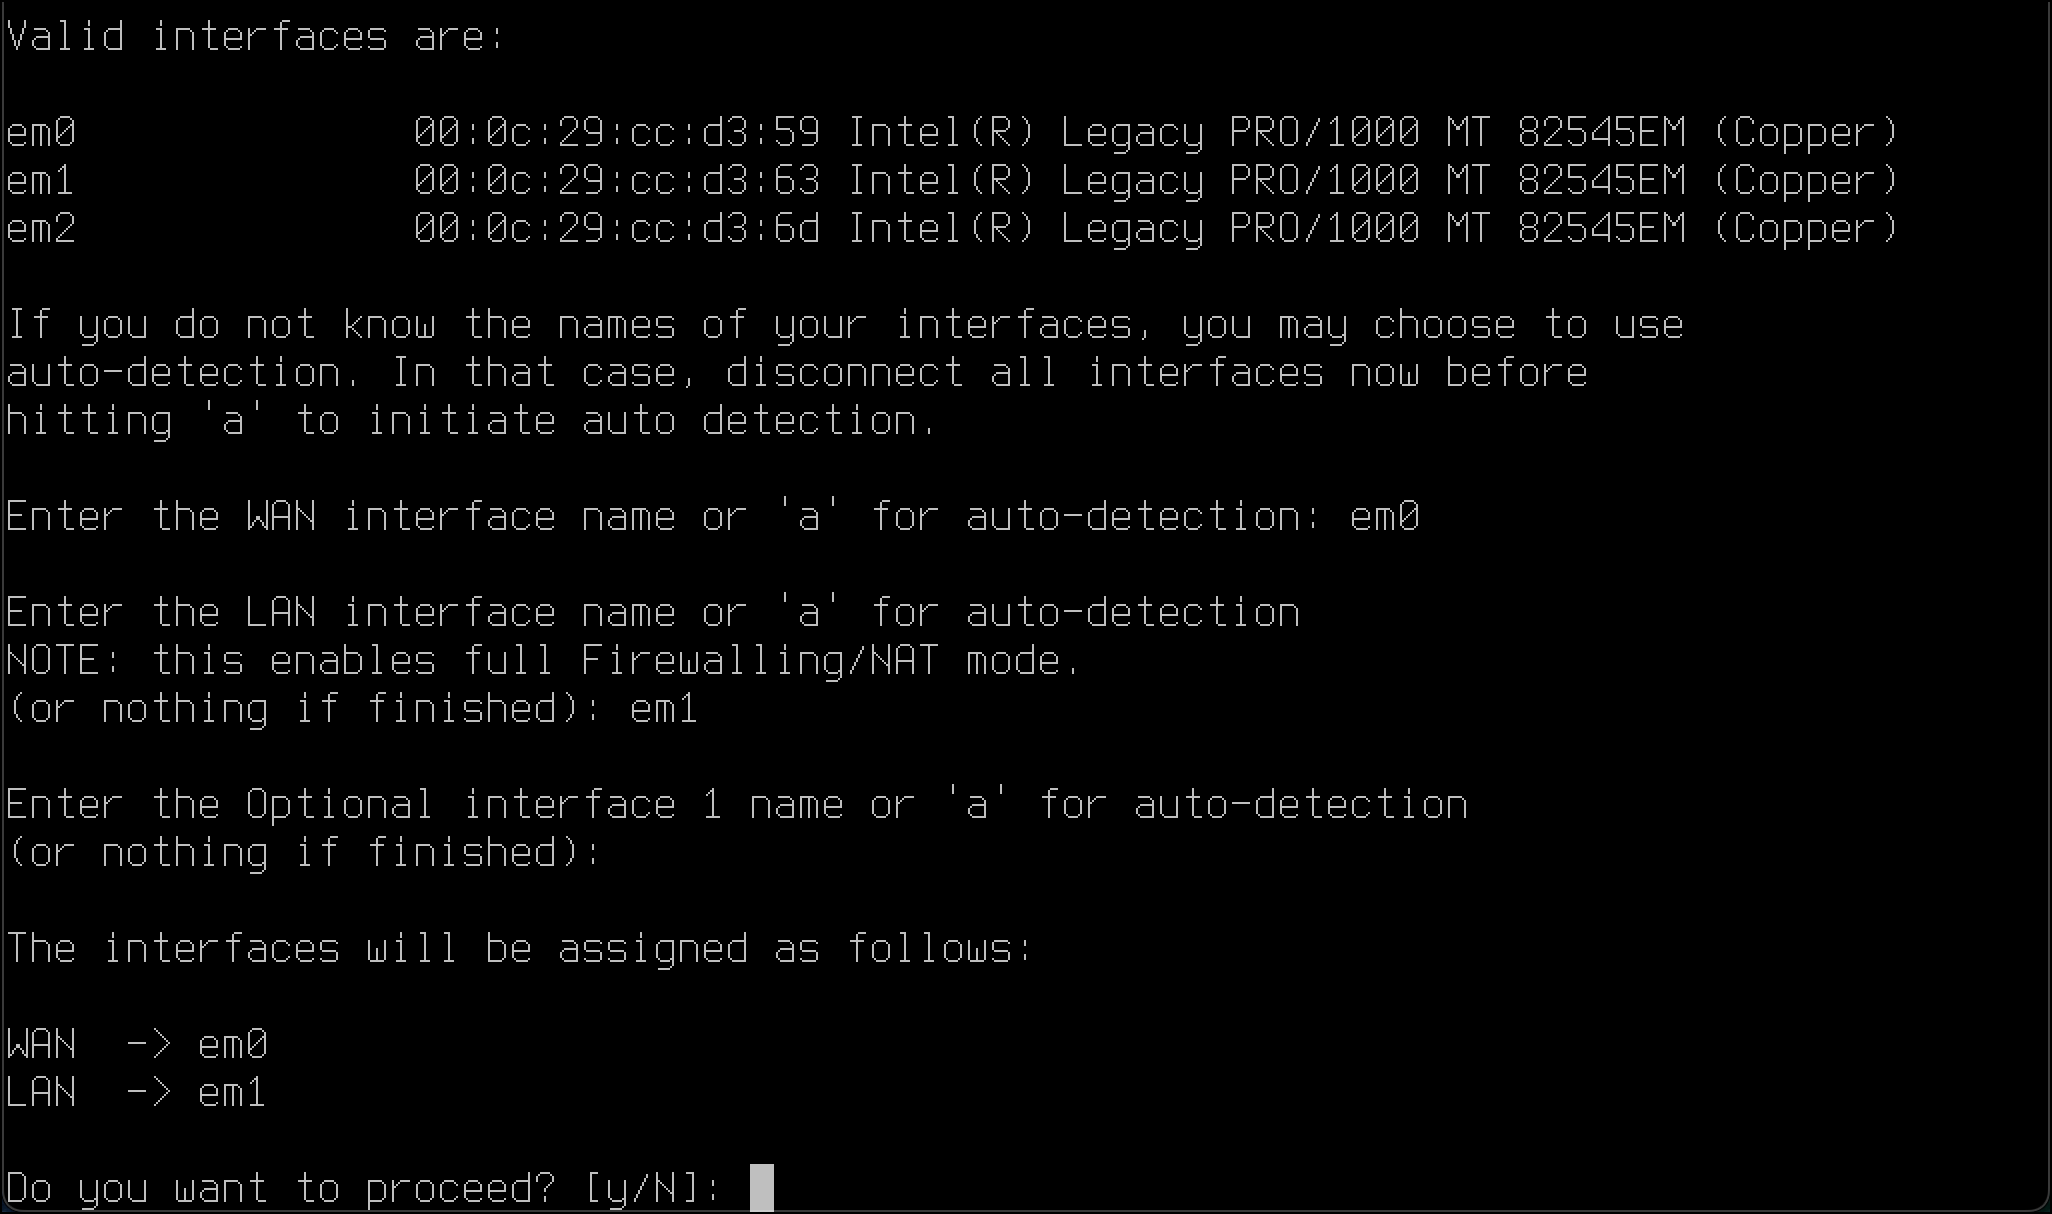
- Note: When I perform this step, the output from the VM sometimes halts at
Starting router advertisement service...done.If this happens, pressControl + Cto get it to proceed.
- Note: When I perform this step, the output from the VM sometimes halts at
-
The OPNsense prompt reloads, displaying the LAN (em1) and WAN (em0) IP addresses. Press
2) to Set interface IP addressand then pressEnter.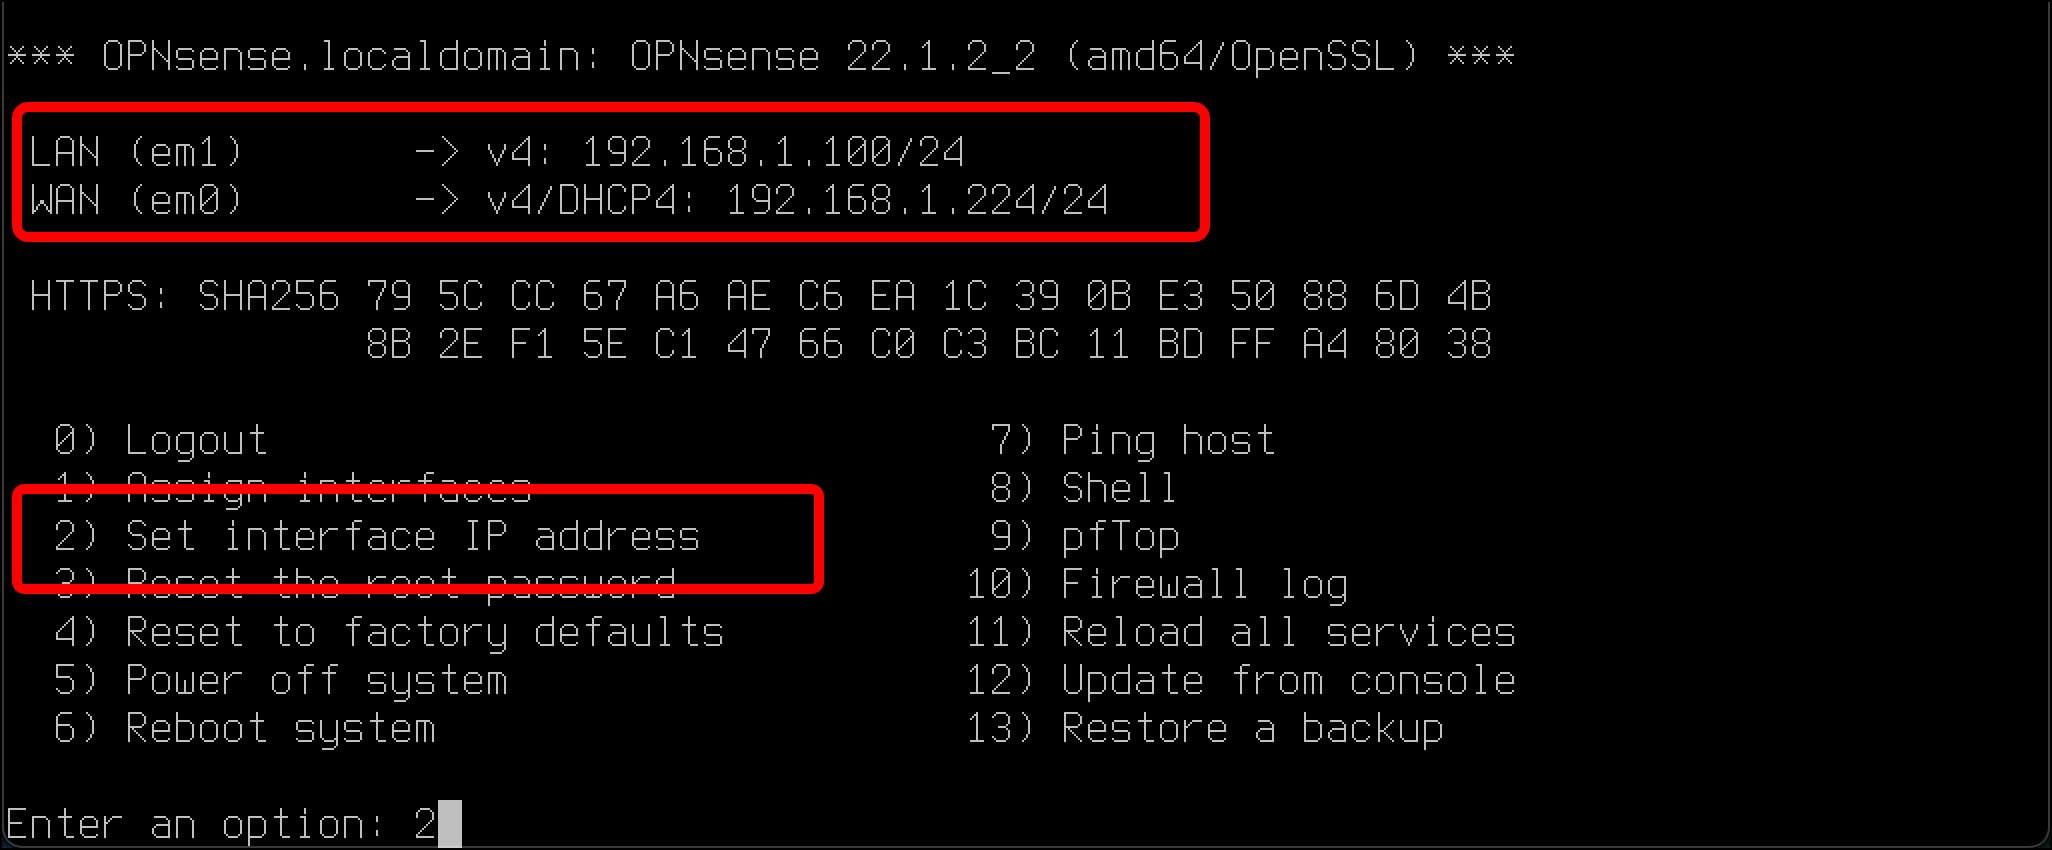
- To assign the IP address for the LAN interface, enter
1for1 - LANforem1. (The WAN IP has already been set by my home network’s router.) - Enter
nforConfigure IPv4 address LAN interface via DHCP?. (In this scenario you will assign a static IP address). - Enter the
new LAN IPv4 address. This example uses10.10.9.1. - Enter
24as theLAN IPv4 subnet. - Since this is for the LAN, press
Enterfor no upstream gateway address. - Enter
nforIPv6 address... via WAN tracking. - Enter
nforIPv6 address... via DHCP6. - Press
Enterfor noLAN IPv6 address. - Enter
ytoenable the DHCP server on LAN.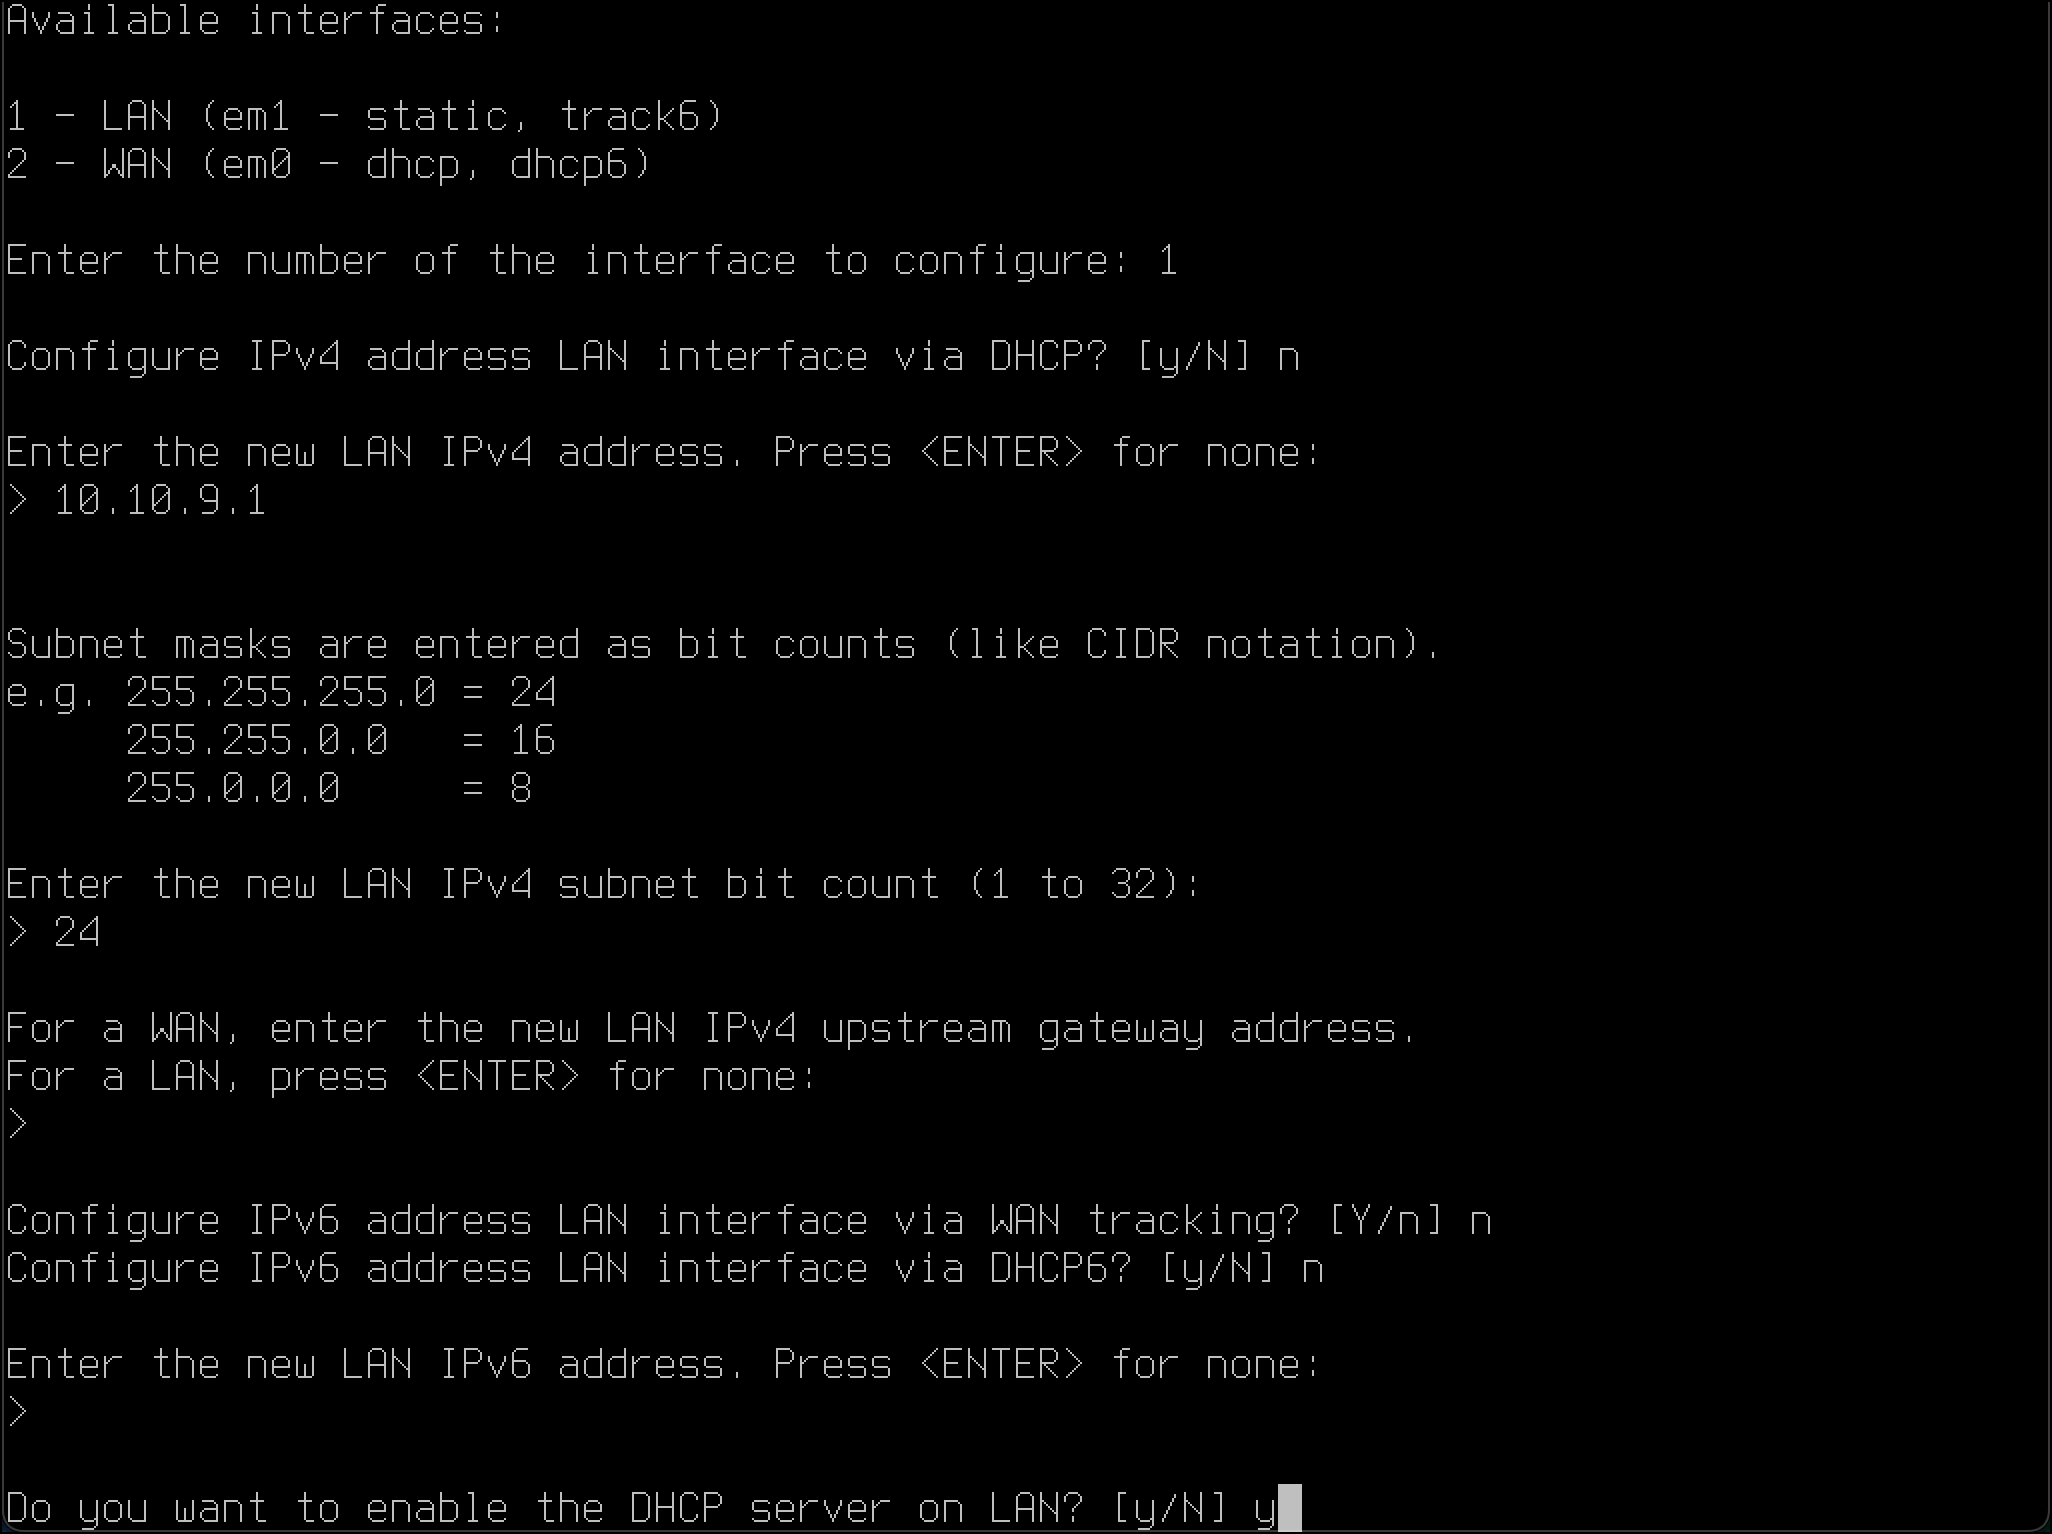
- For the
start address for IPv4 client address range, enter10.10.9.2. - Enter
10.10.9.254for theend address for IPv4 client address range. - Enter
nforDo you want to revert to HTTP as the web GUI protocol? - Enter
nsince there is no needto generate a new self-signed web GUI certificate. - Since there is no need to
Restore web GUI access defaults, entern.
- The output shows the banner. It says you can access the web GUI at
https://10.10.9.1, the address I statically assigned to the OPNsense VM on the LAN. It also shows a LAN IP address of10.10.9.1and a WAN IP of192.168.1.224.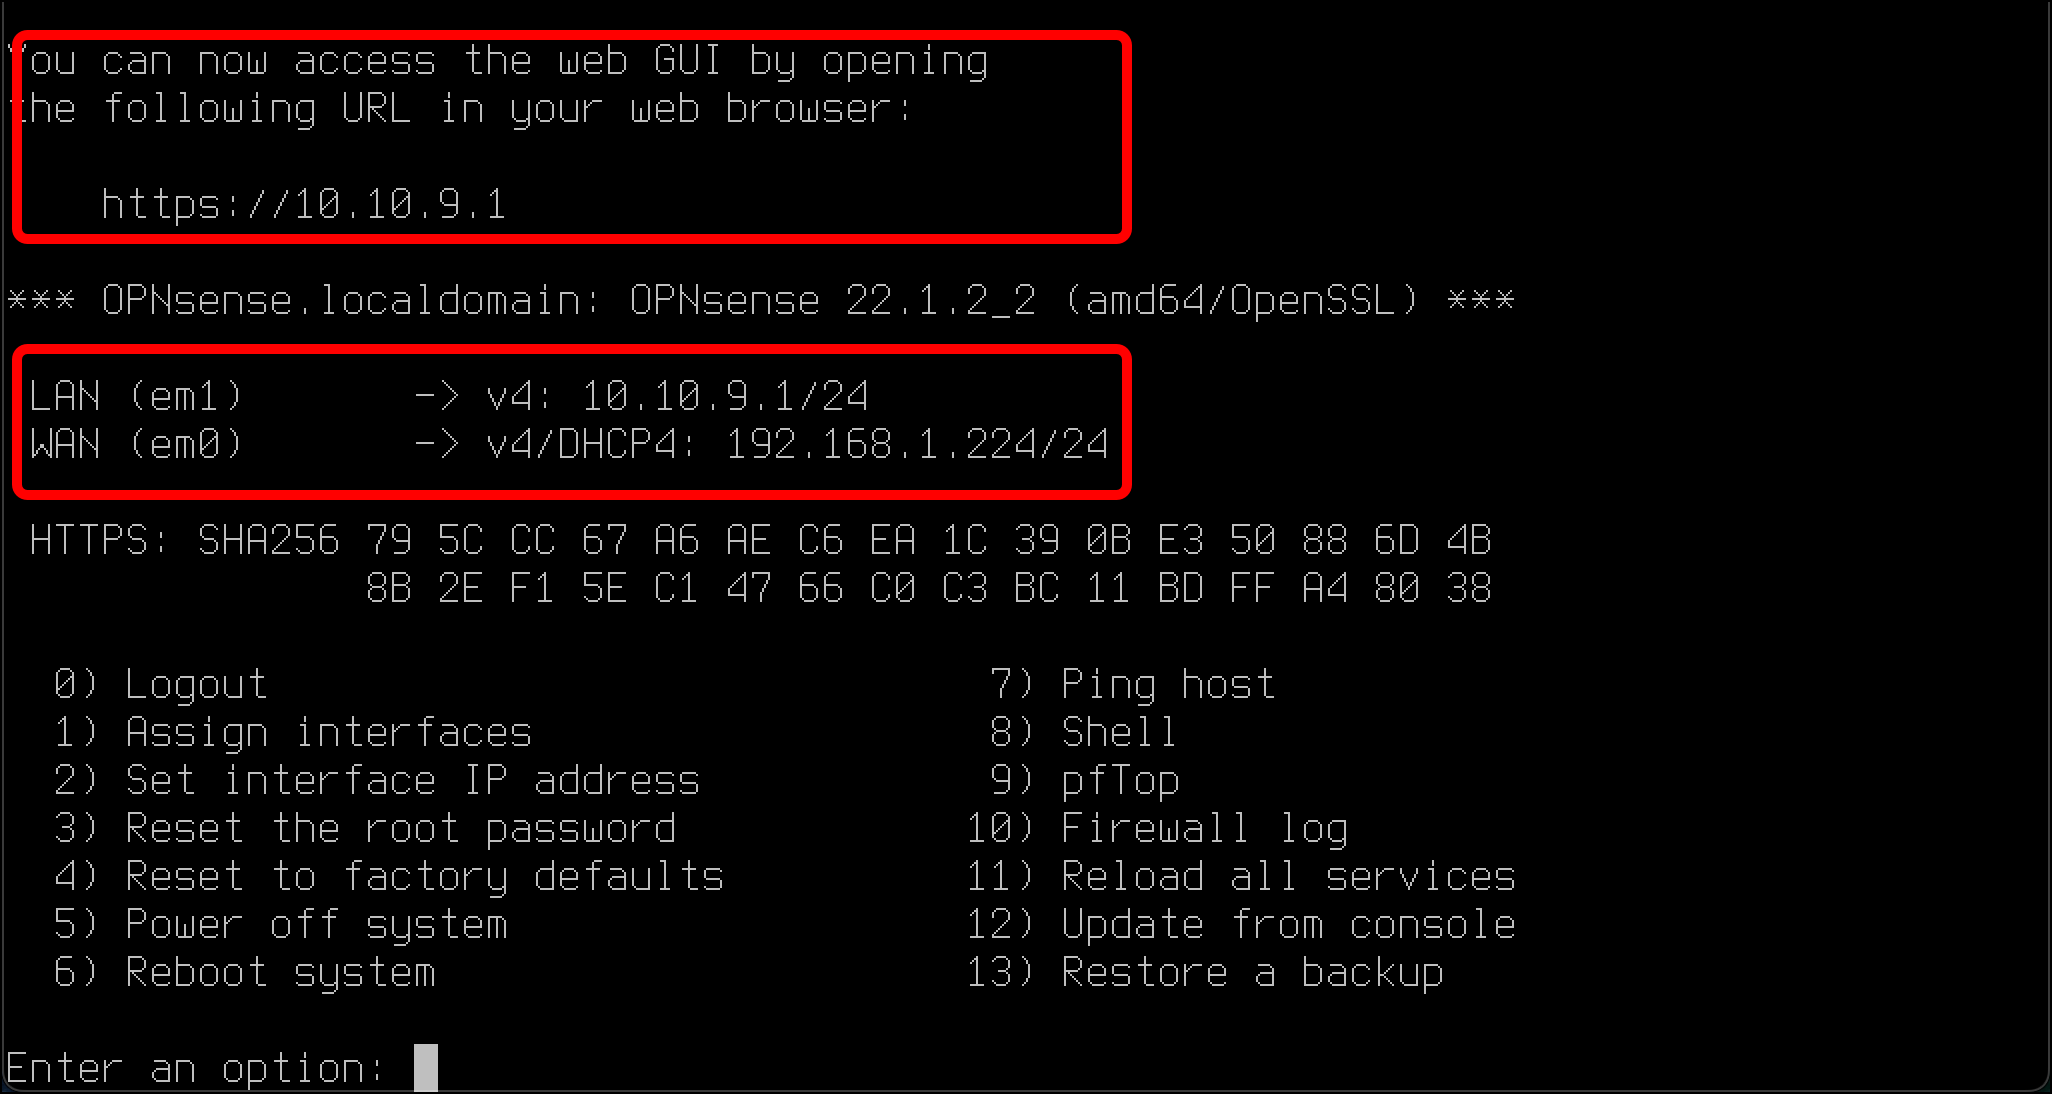
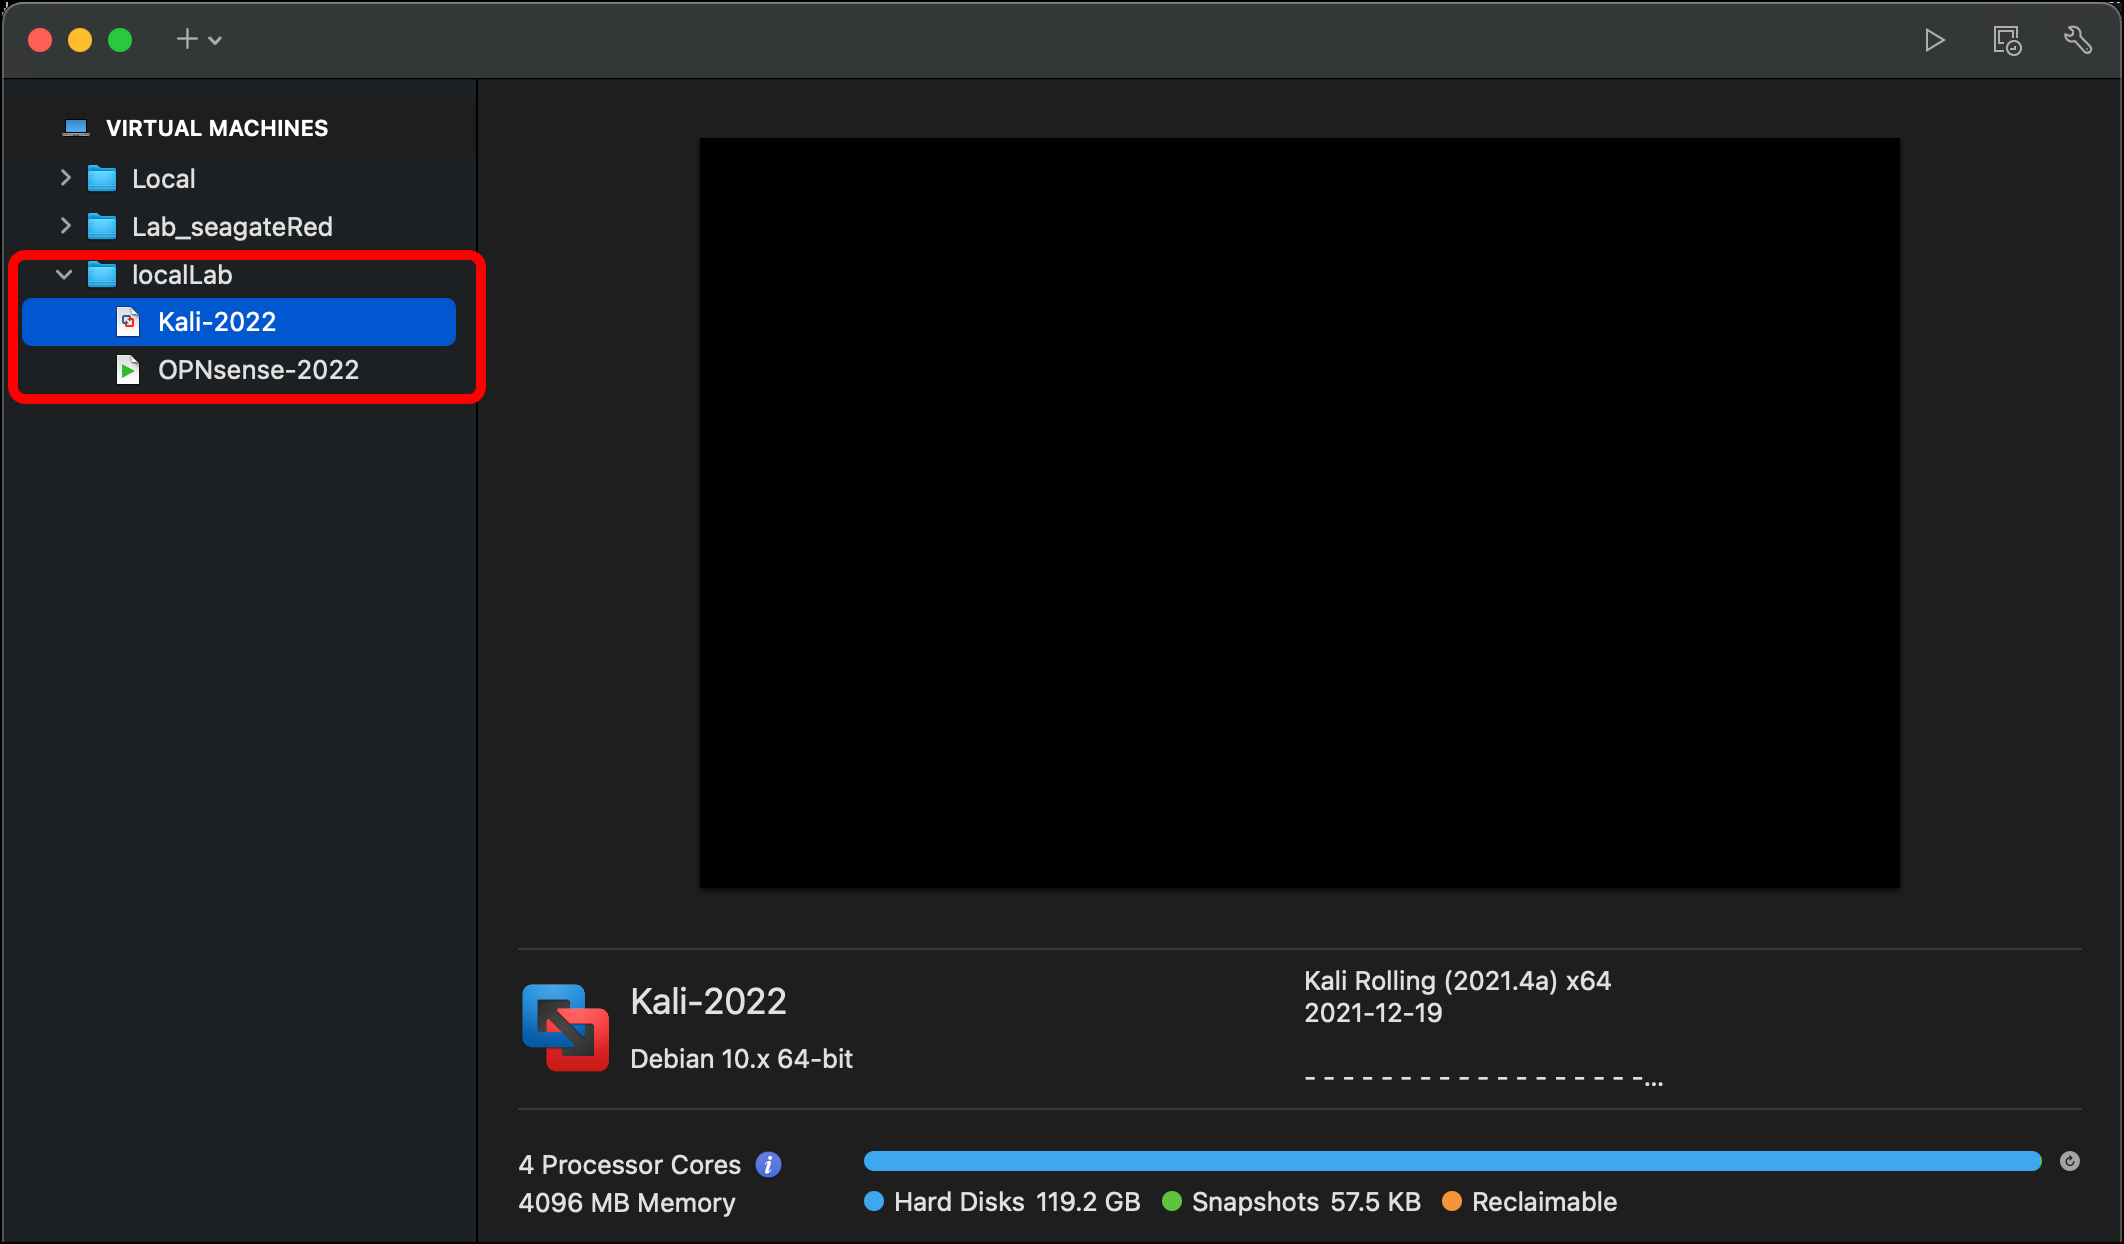
- At this point, I need another VM to connect to the OPNsense router’s Web GUI. Since I already have a Kali VM that I will be using as part of this series of tutorials, I drag that into my localLab folder.
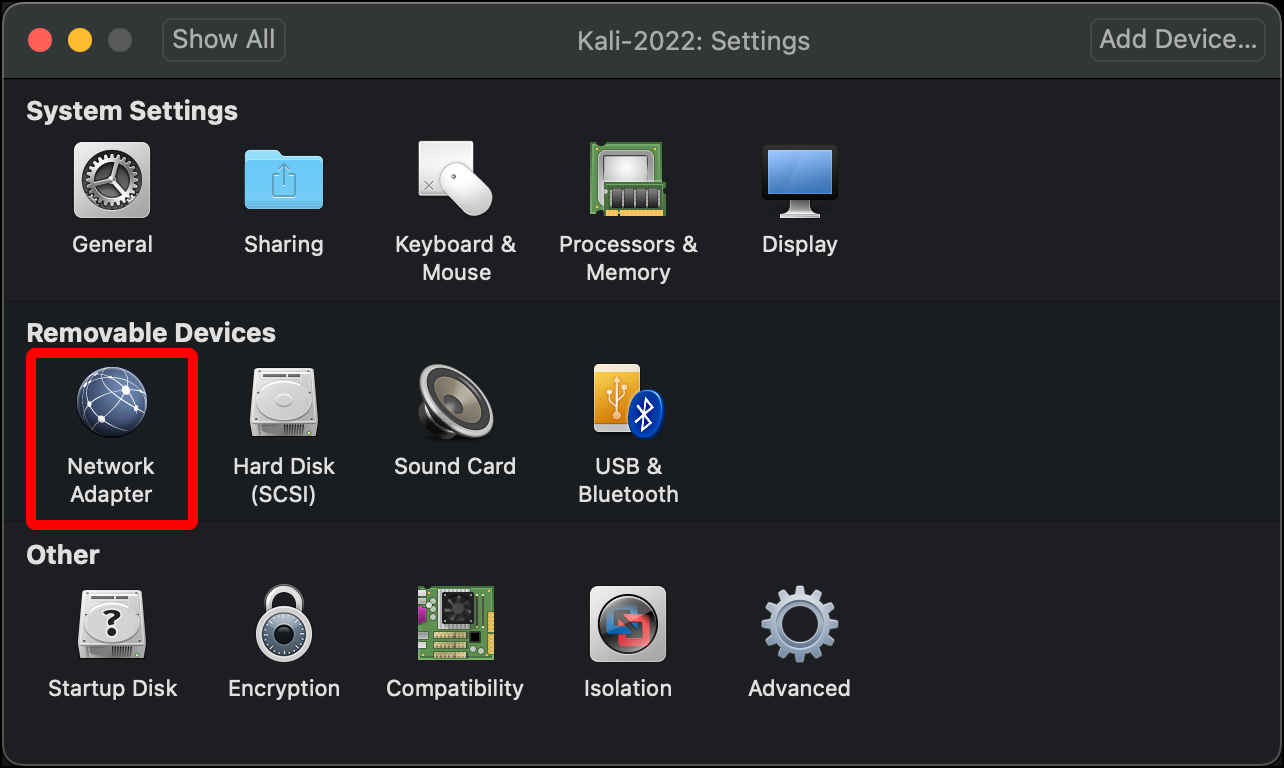
- Open the Kali VM’s Settings and select Network Adapter.
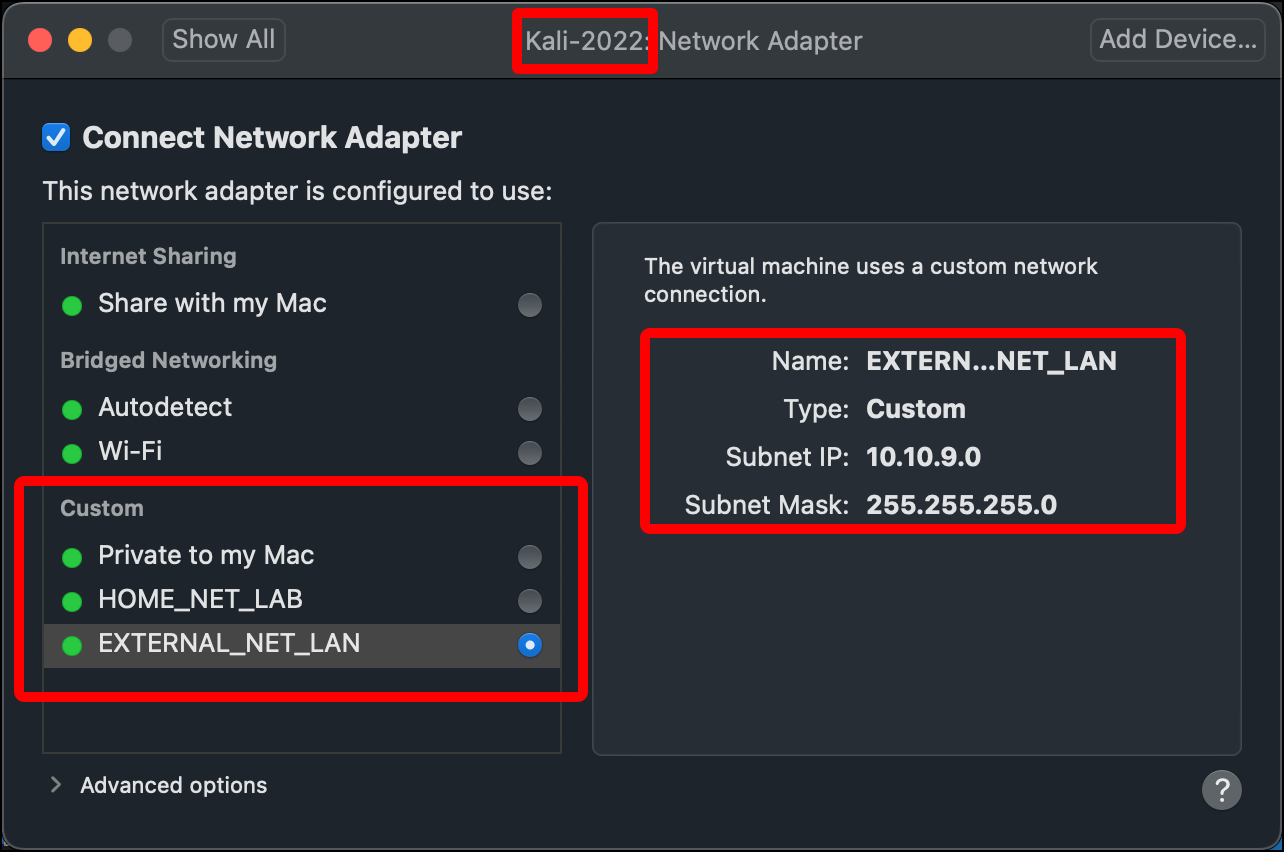
- Click EXTERNAL_NET_LAN and close the window.
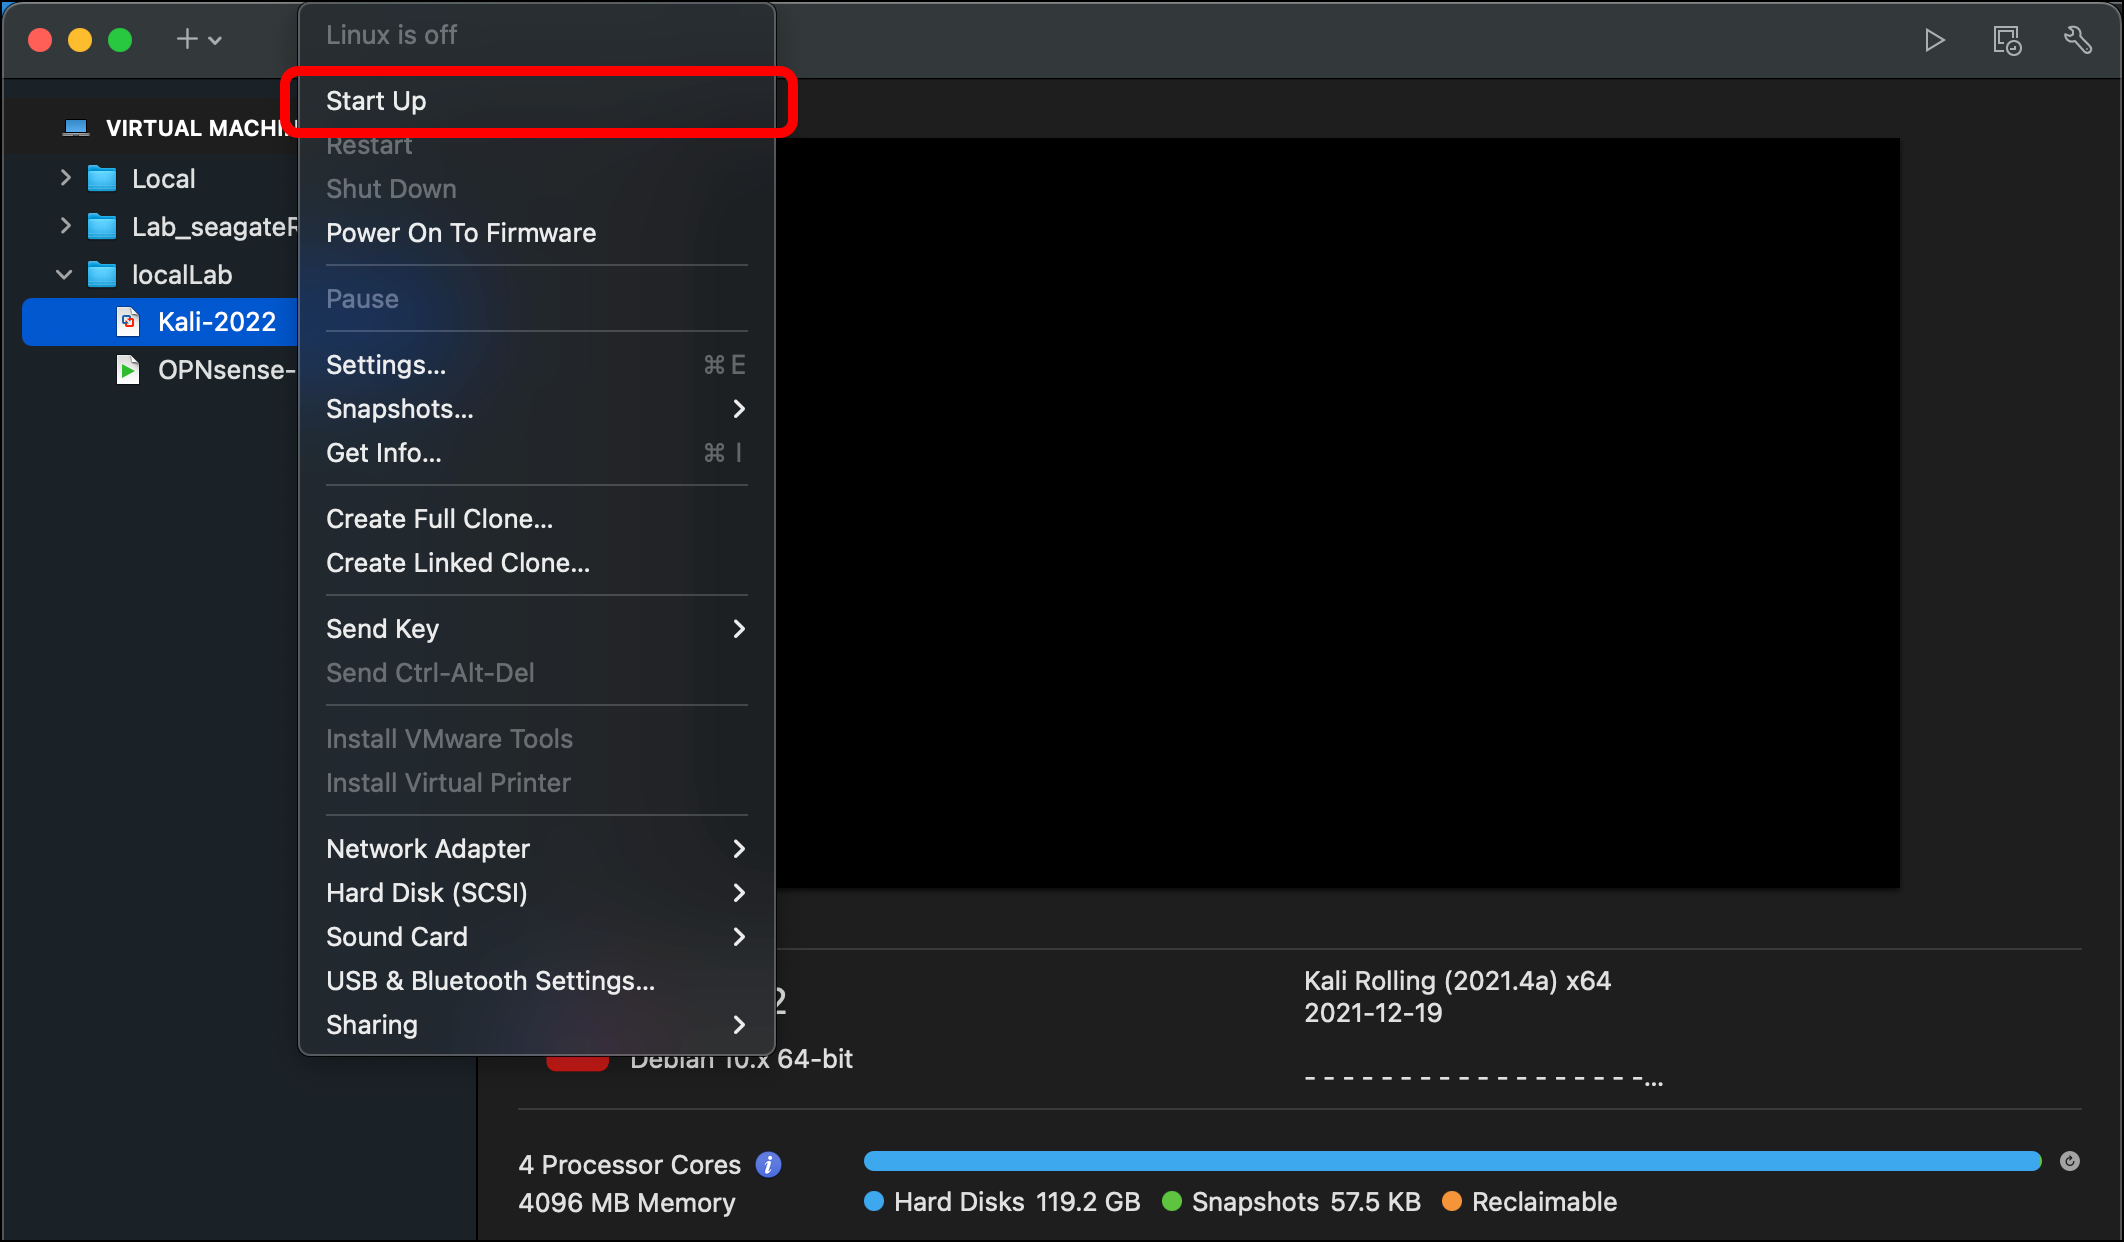
- Start the Kali VM.
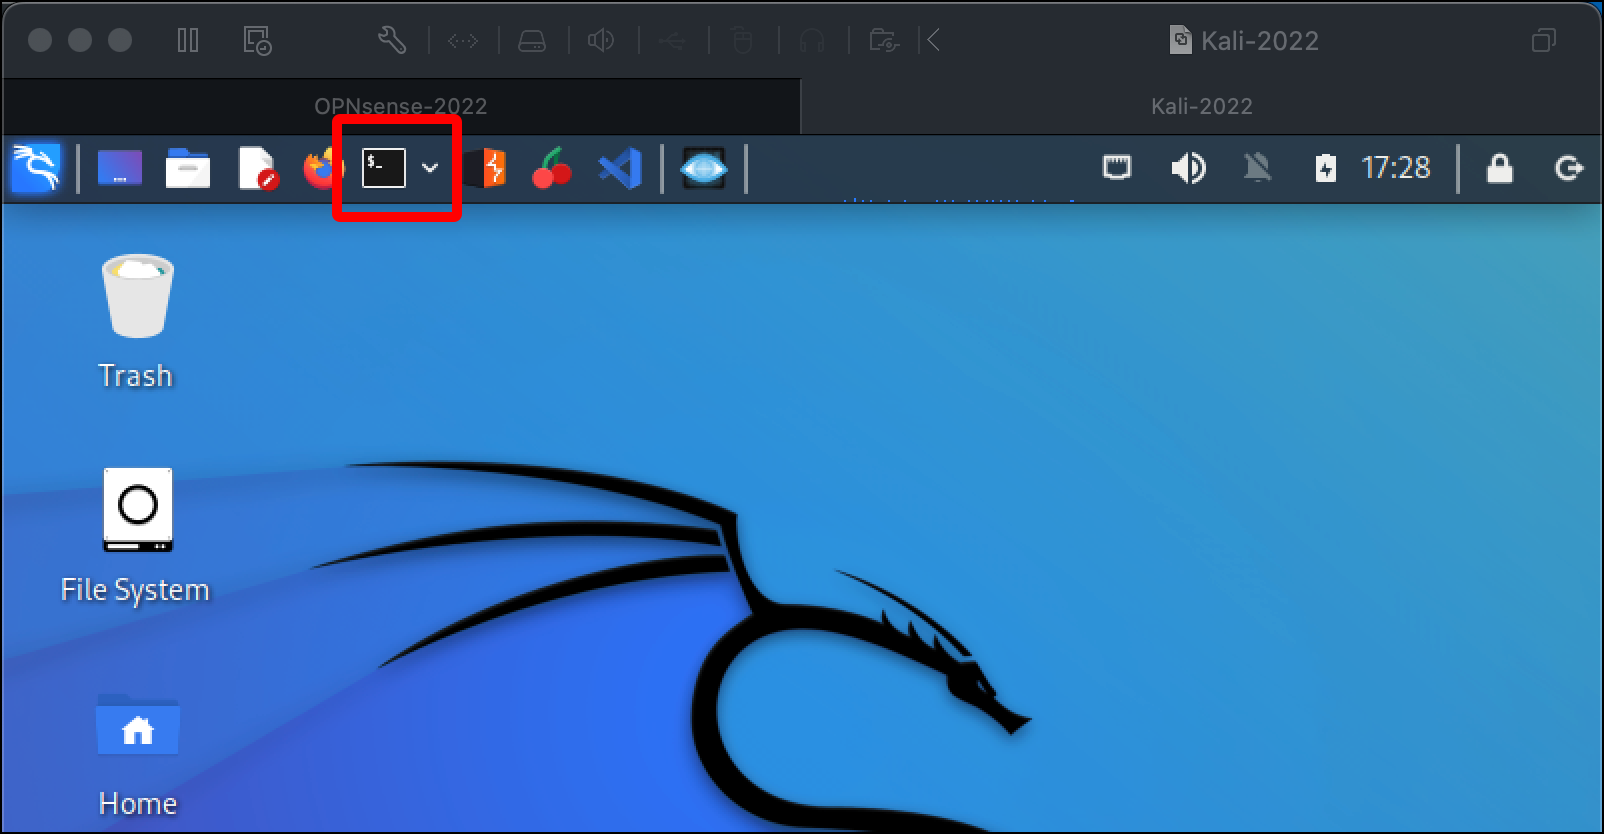
- Once you have logged in to the Kali VM, launch the Terminal.
-
Here are some commands to check basic networking and connectivity:
-
The output of
ip afor the network interfaceeth0displays an IP address on the EXTERNAL_NET_LAN network,10.10.9.2, which is within the IP address range set for OPNsense’s DHCP service.2: eth0: <BROADCAST,MULTICAST,UP,LOWER_UP> mtu 1500 qdisc fq_codel state UP group default qlen 1000 link/ether 00:0c:29:d2:d3:2b brd ff:ff:ff:ff:ff:ff inet 10.10.9.2/24 brd 10.10.9.255 scope global dynamic noprefixroute eth0 valid_lft 7126sec preferred_lft 7126sec inet6 fe80::20c:29ff:fed2:d32b/64 scope link noprefixroute valid_lft forever preferred_lft forever - The
arp -acommand shows that there is another host on the network, the OPNsense router at 10.10.9.1, which is the static IP assigned to it earlier.
OPNsense.localdomain (10.10.9.1) at 00:0c:29:cc:d3:63 [ether] on eth0 -
$ ping -c 4 google.com: The output indicates that I can connect to the public internet and that DNS is working.PING google.com (142.250.65.174) 56(84) bytes of data. 64 bytes from lga25s71-in-f14.1e100.net (142.250.65.174): icmp_seq=1 ttl=117 time=16.5 ms 64 bytes from lga25s71-in-f14.1e100.net (142.250.65.174): icmp_seq=2 ttl=117 time=19.7 ms 64 bytes from lga25s71-in-f14.1e100.net (142.250.65.174): icmp_seq=3 ttl=117 time=12.3 ms 64 bytes from lga25s71-in-f14.1e100.net (142.250.65.174): icmp_seq=4 ttl=117 time=15.1 ms --- google.com ping statistics --- 4 packets transmitted, 4 received, 0% packet loss, time 3005ms rtt min/avg/max/mdev = 12.294/15.903/19.722/2.671 ms
-
- Now open a browser in the Kali VM and navigate to
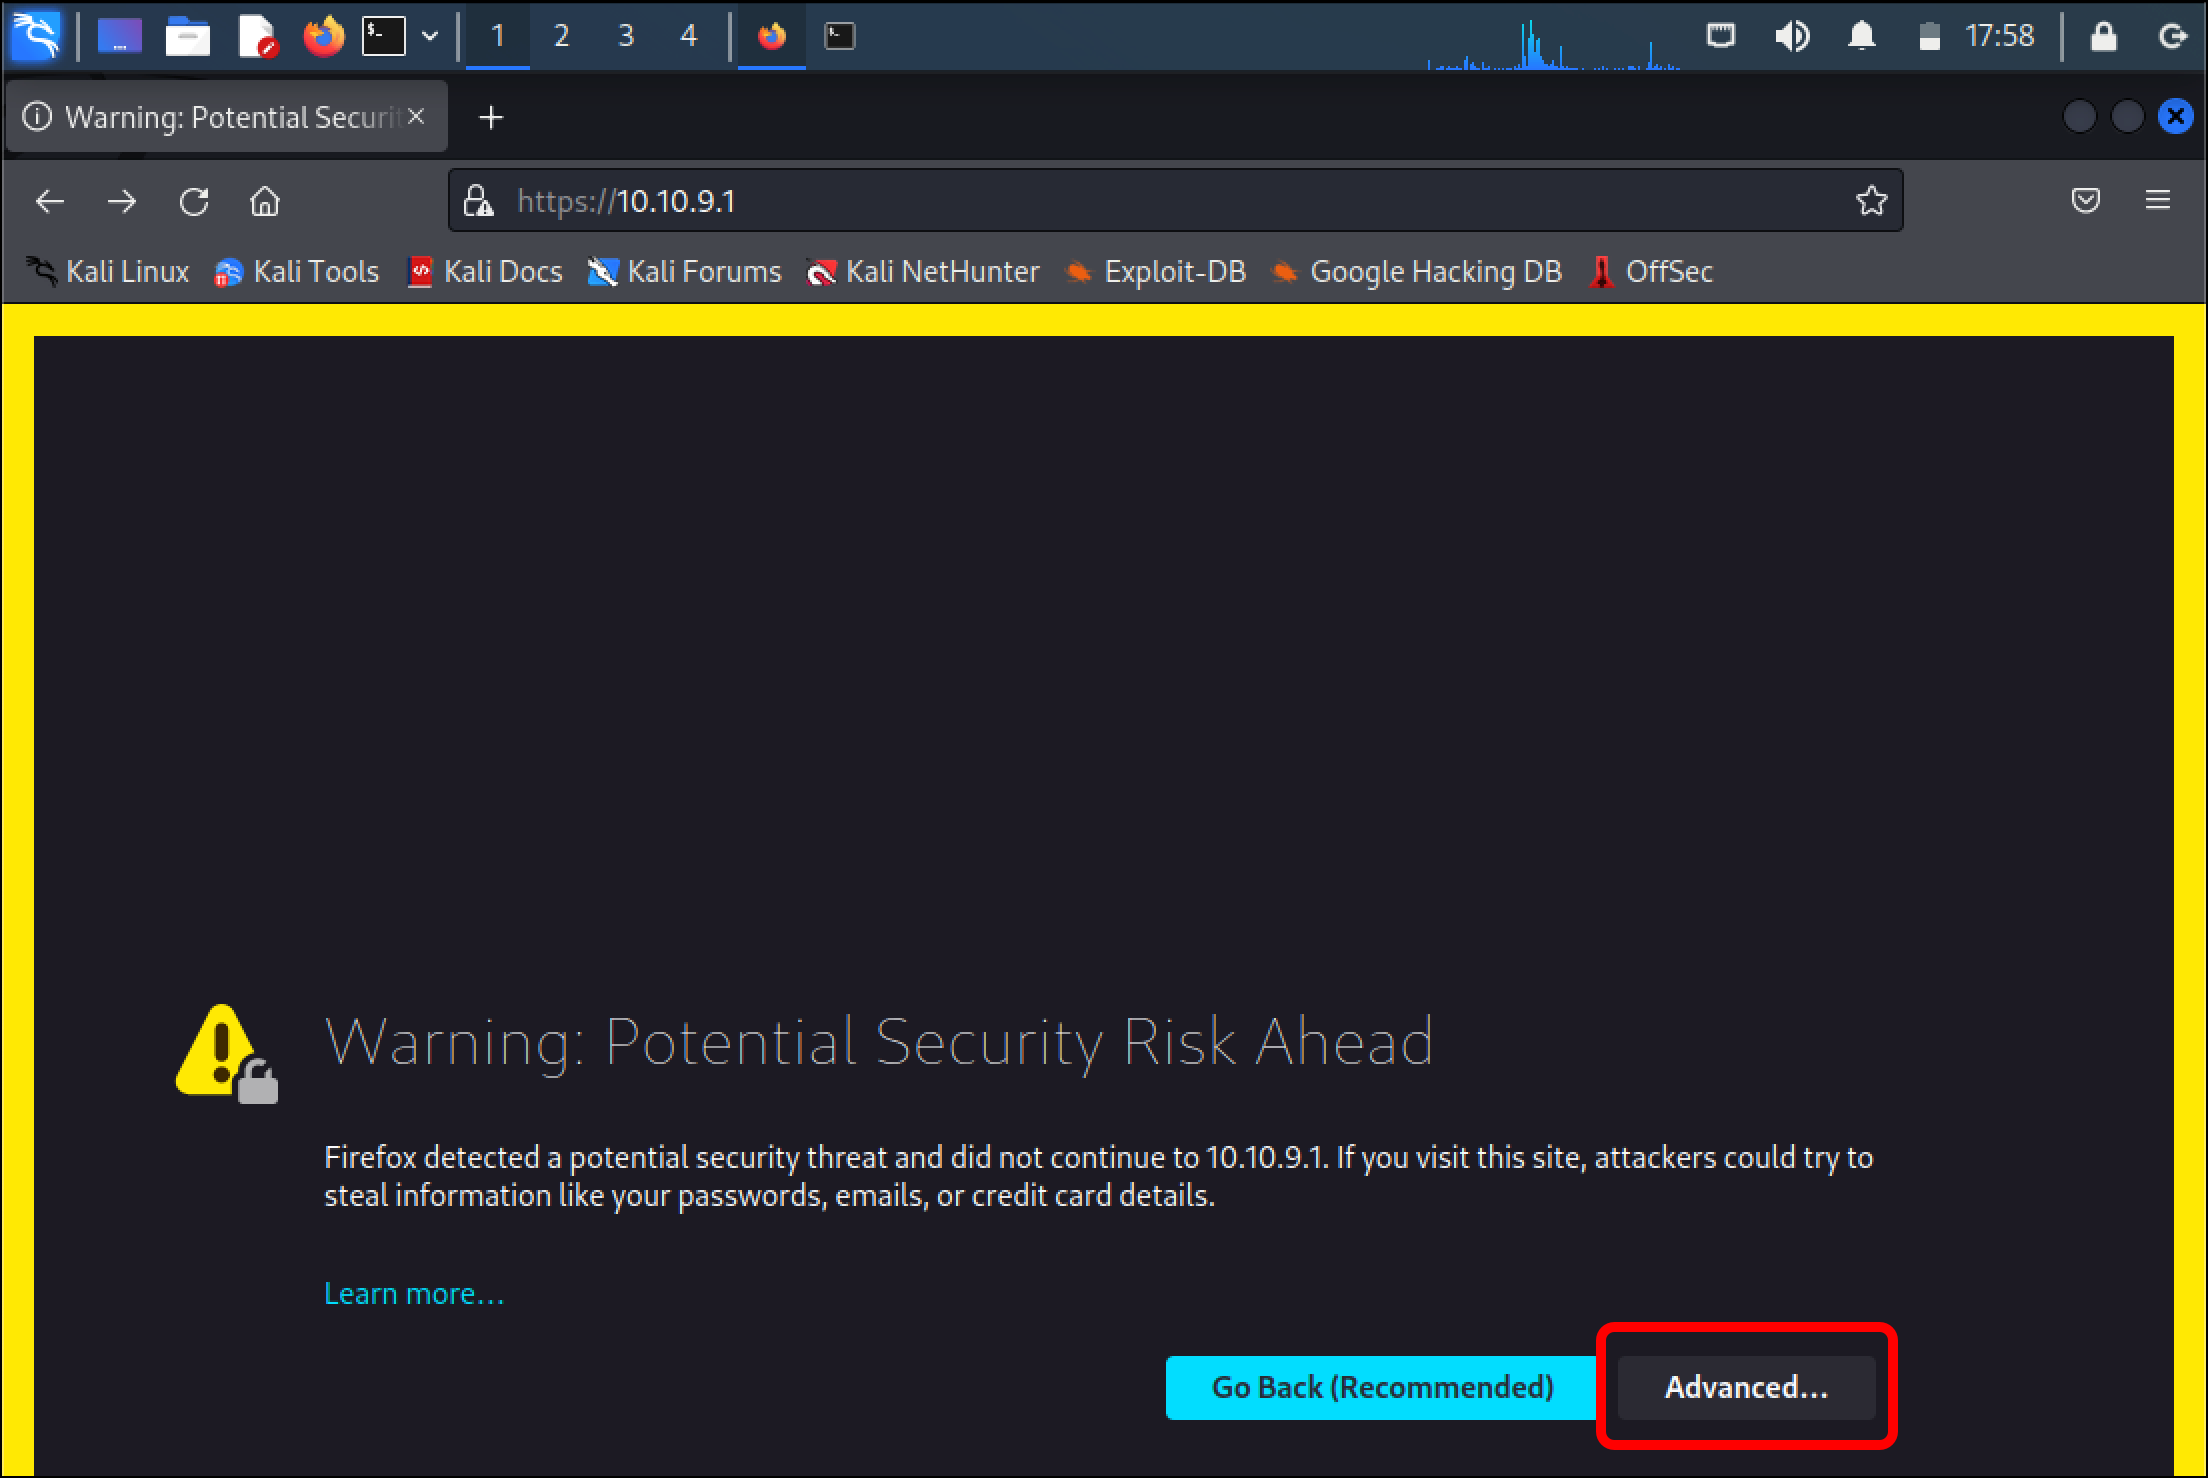
https://10.10.9.1, the web interface for the OPNsense router.
- You get a self-signed certificate warning. Click Advanced.
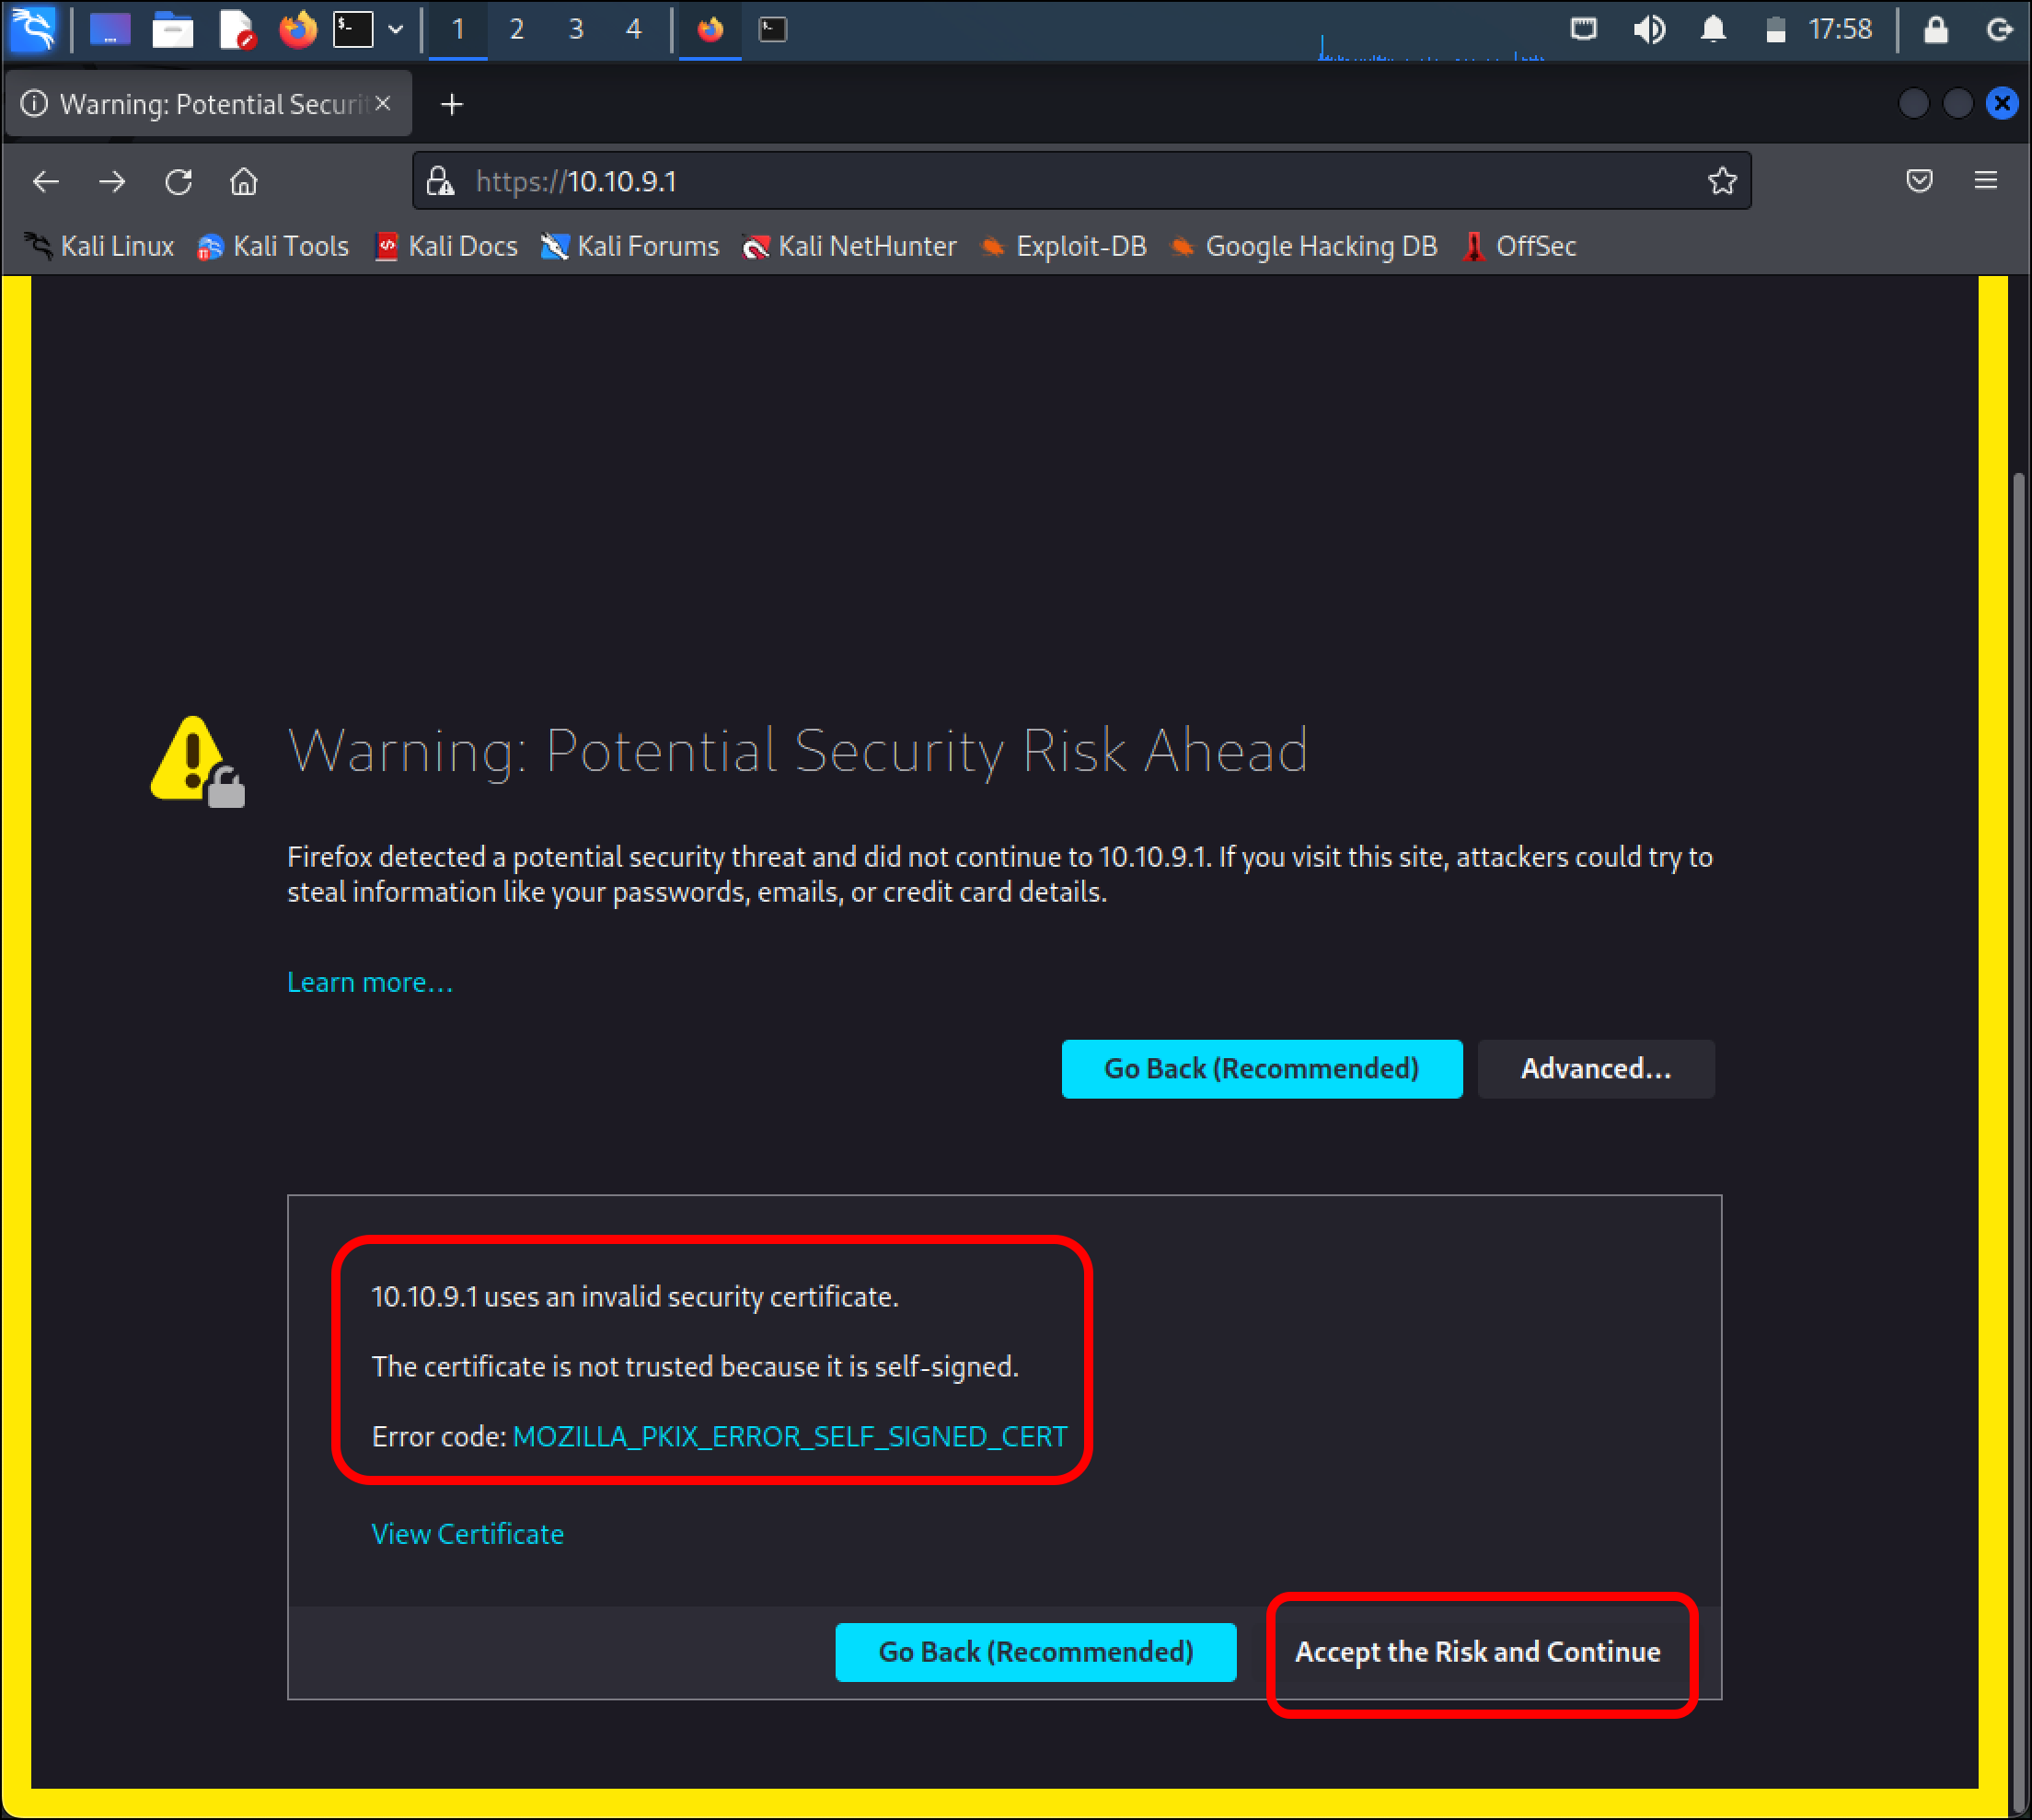
- If you read the warning, it will indicate that the Firefox browser does not trust the OPNsense’s web user interface’s self-signed certificate. Click Accept the Risk and Continue.
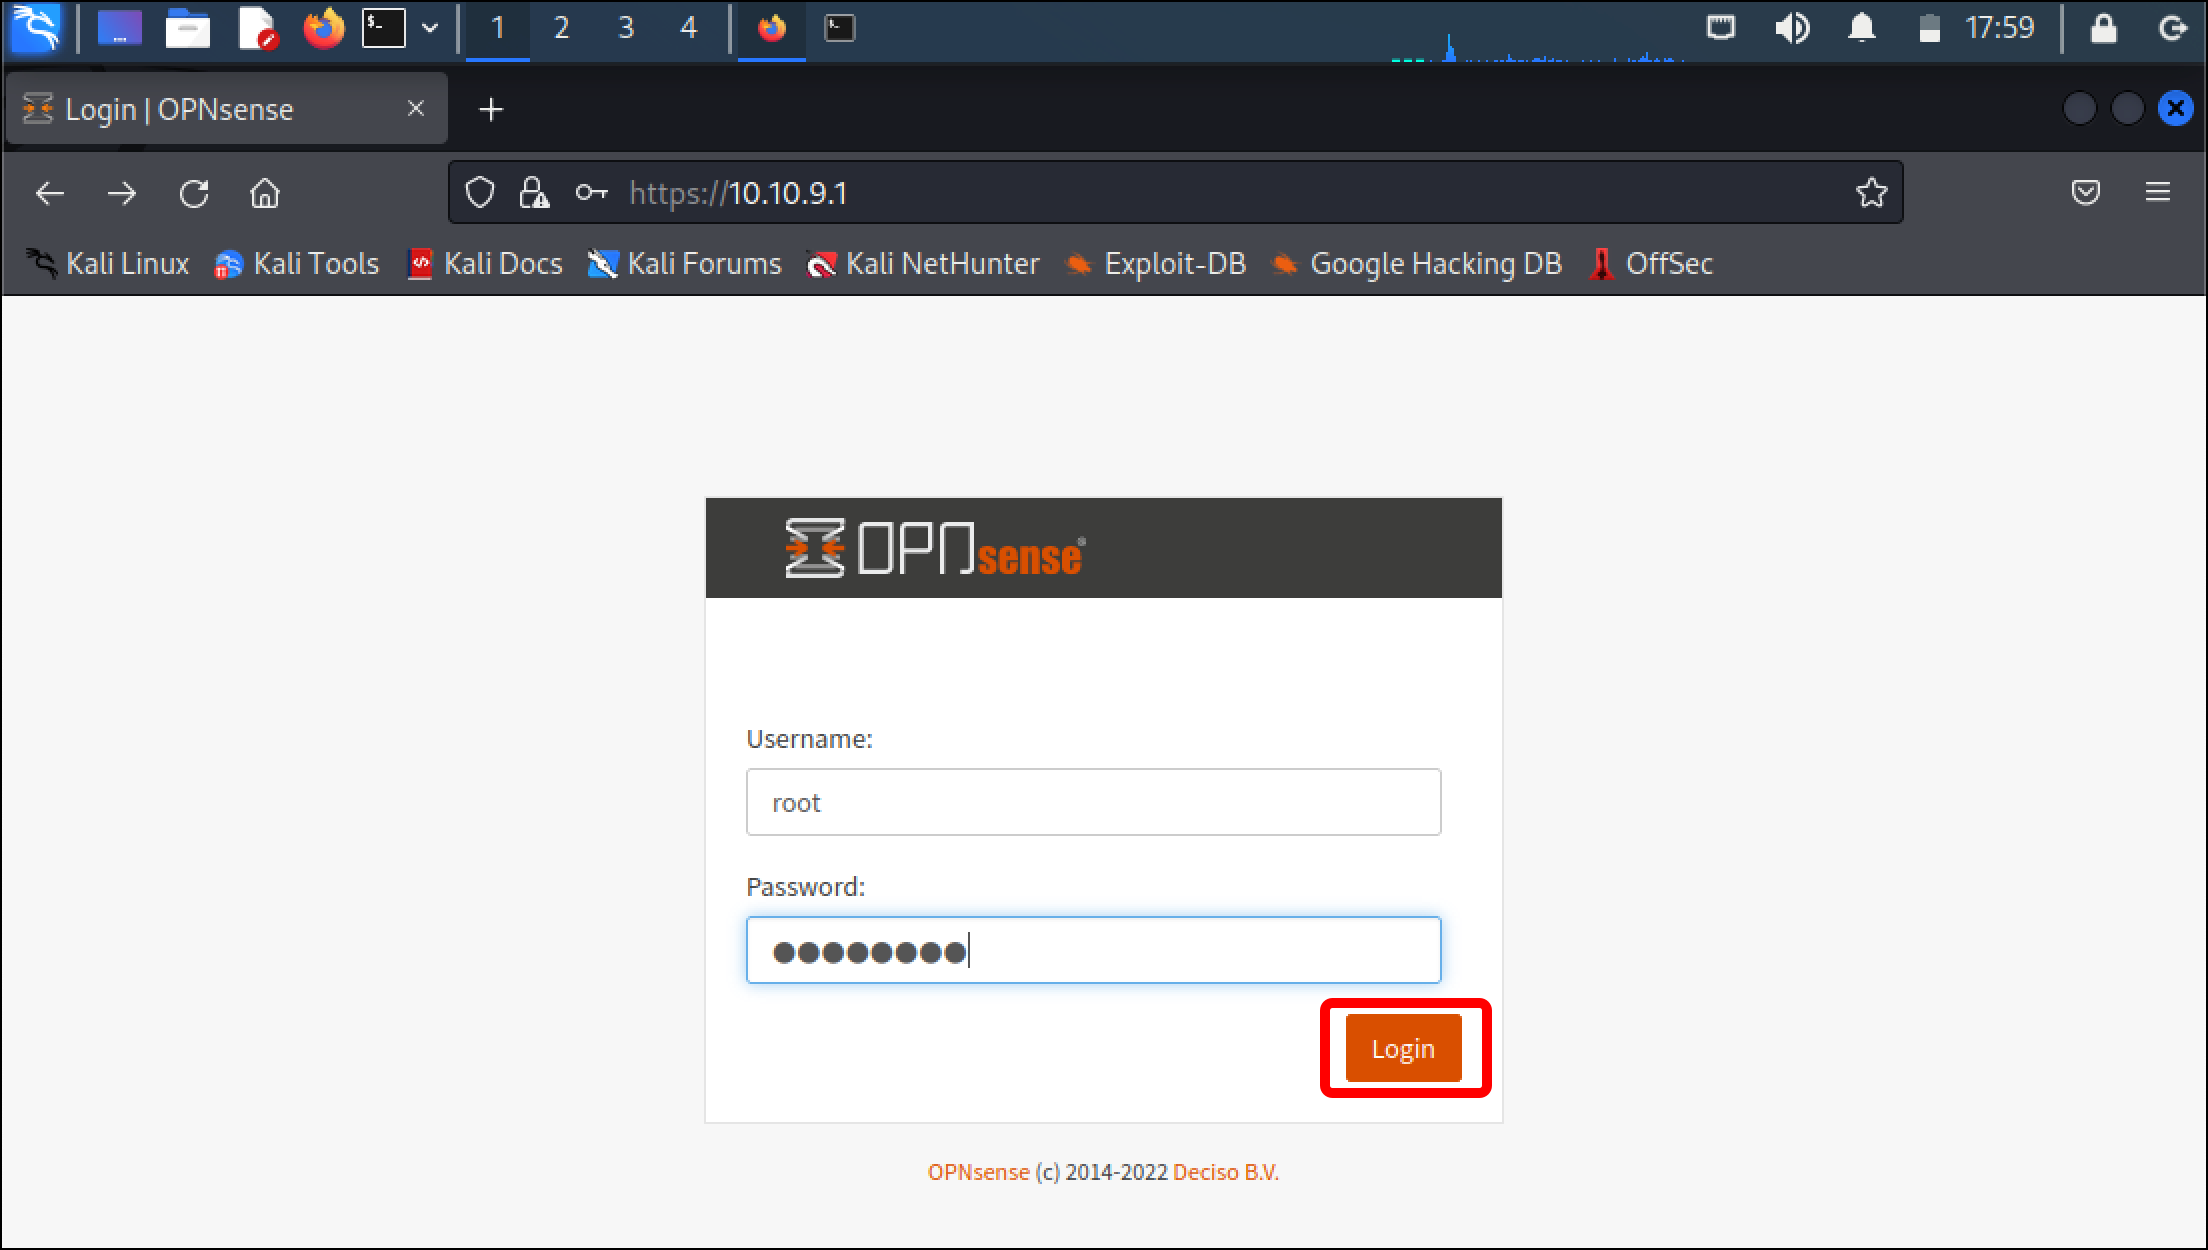
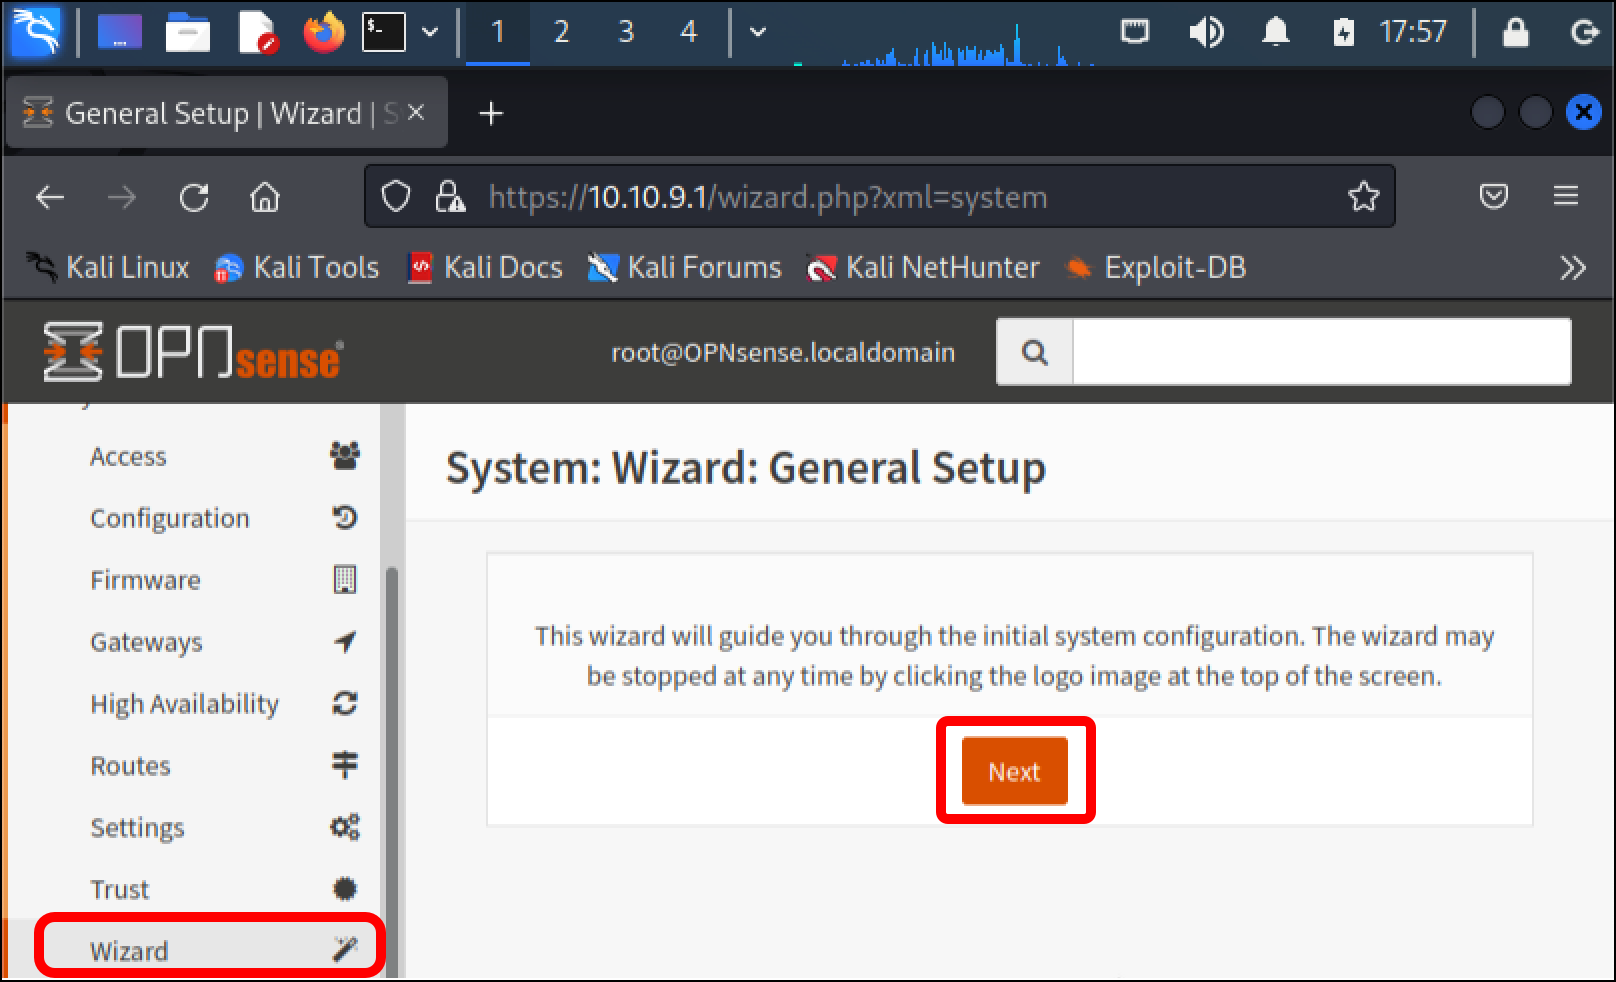
- On the Login | OPNsense page, enter your root credentials and click Login.
- Click Next to run through the setup wizard. (You can also run the setup wizard by clicking Wizard in the left sidebar.)
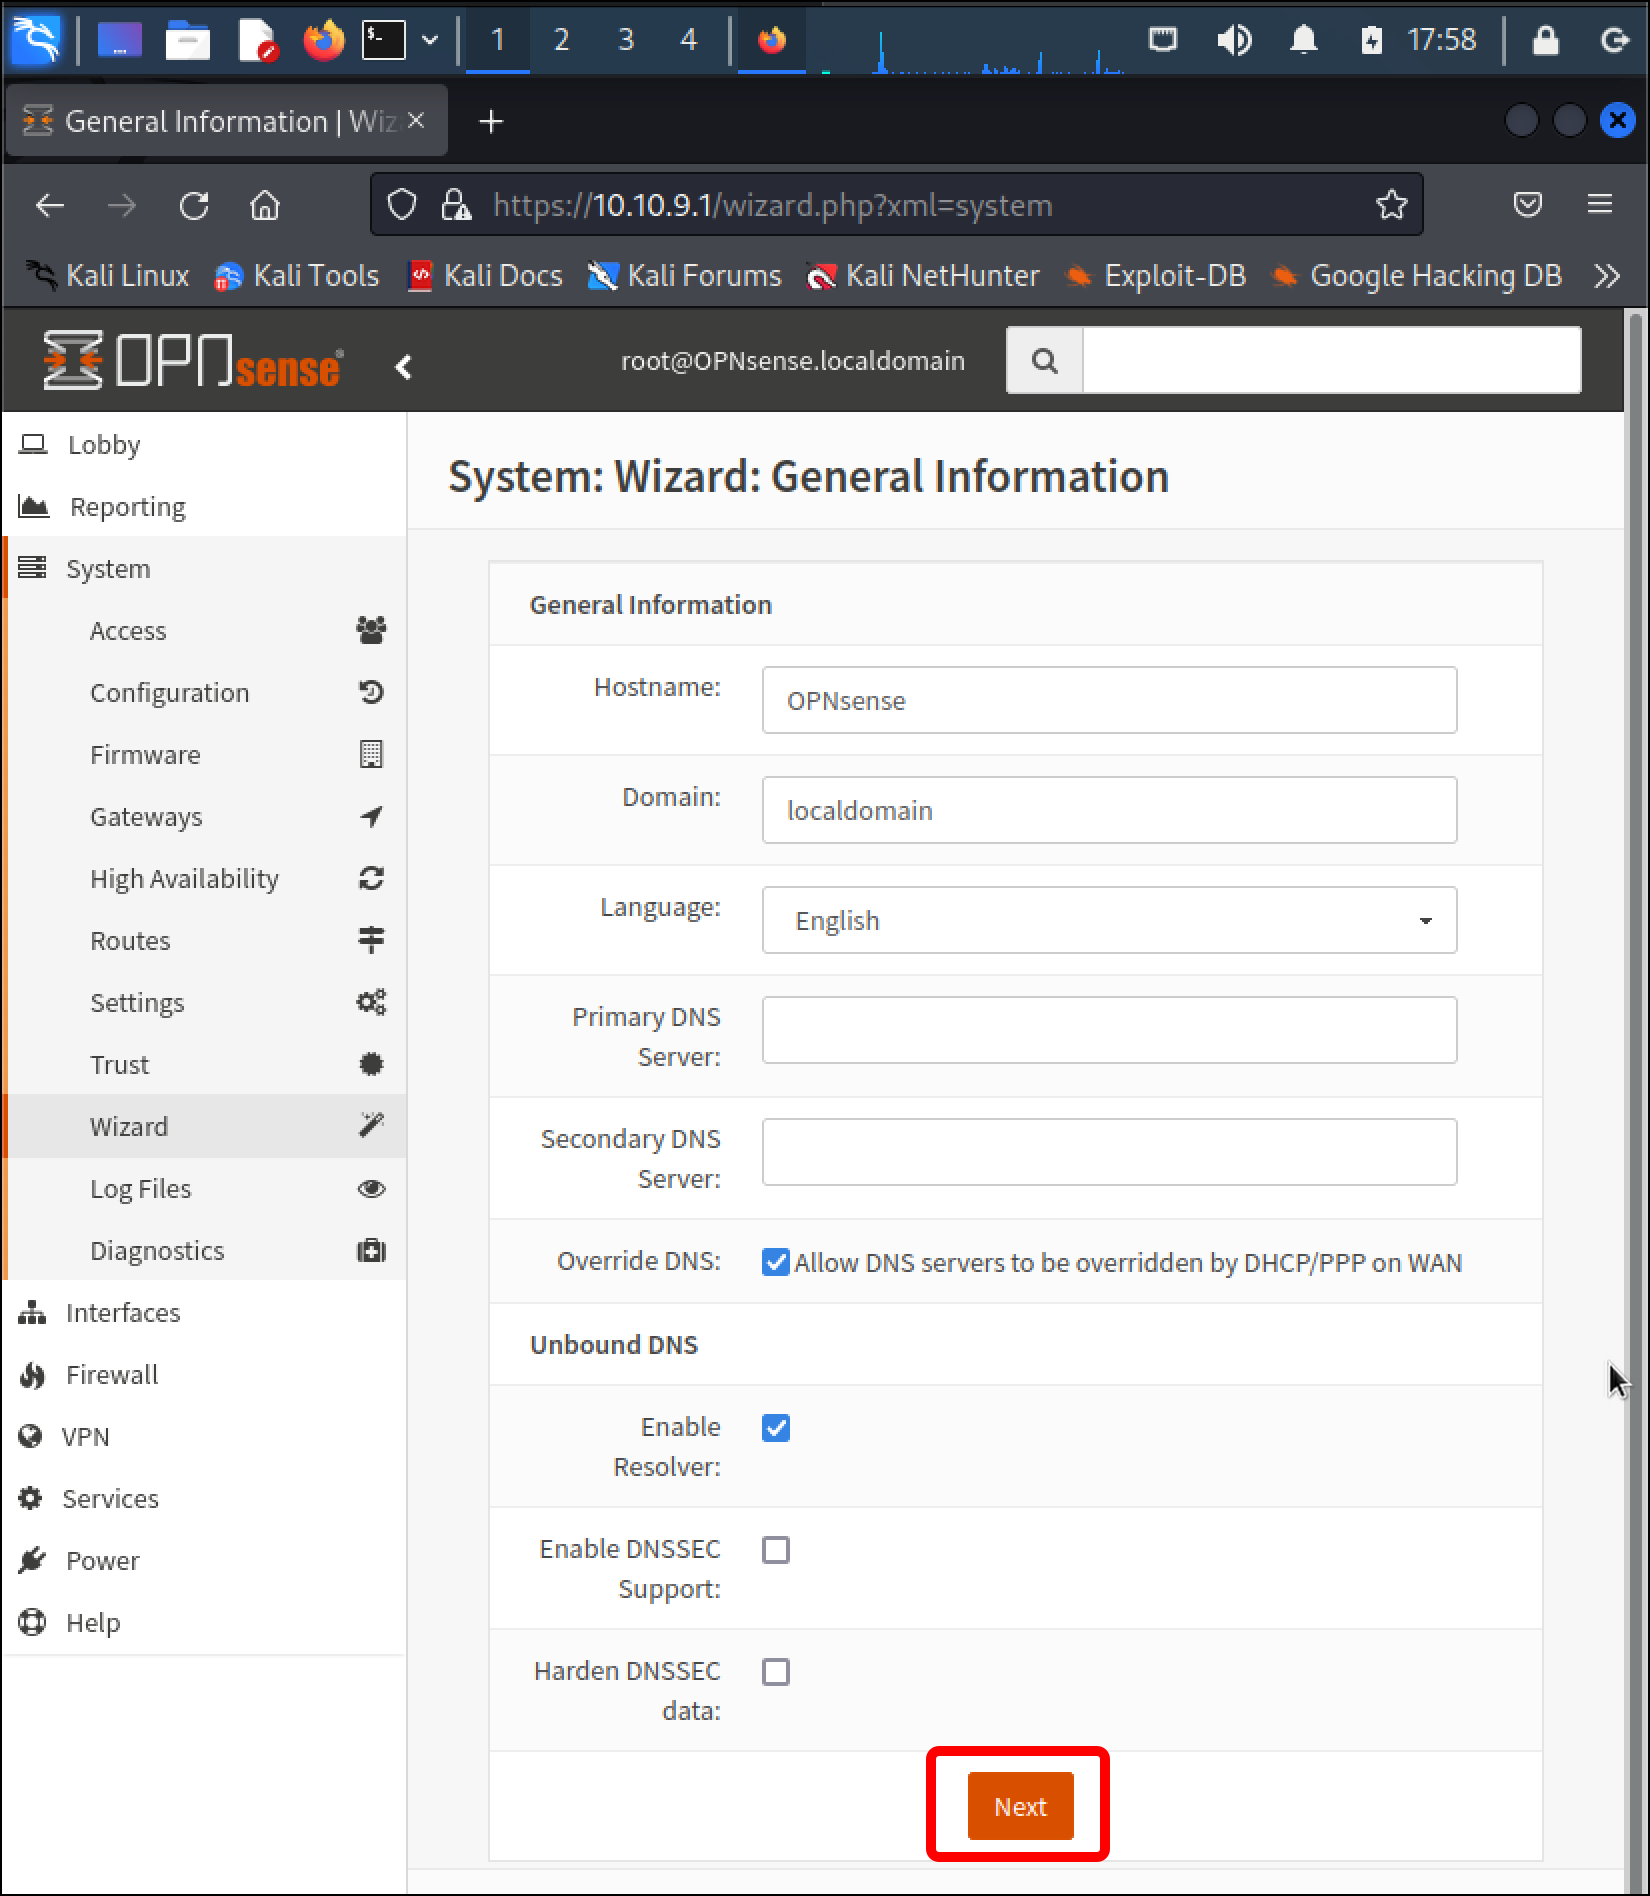
- You can change properties such as the Hostname, or the DNS server information, or make no changes and click Next.
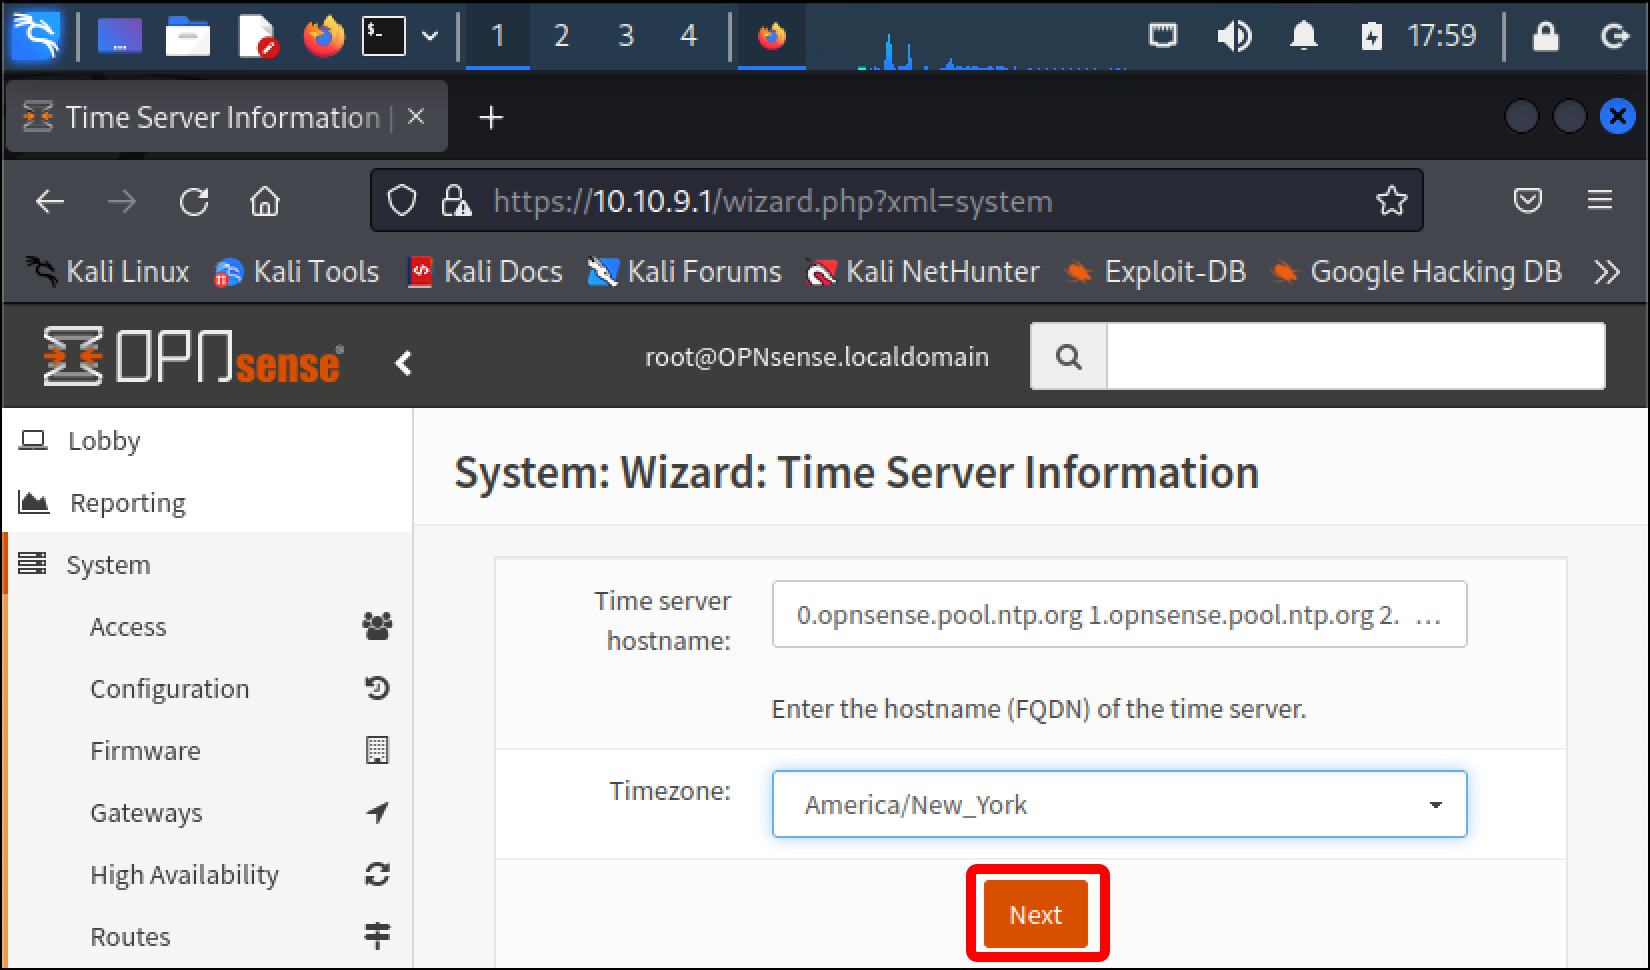
- If you like you can change the Timezone and click Next.
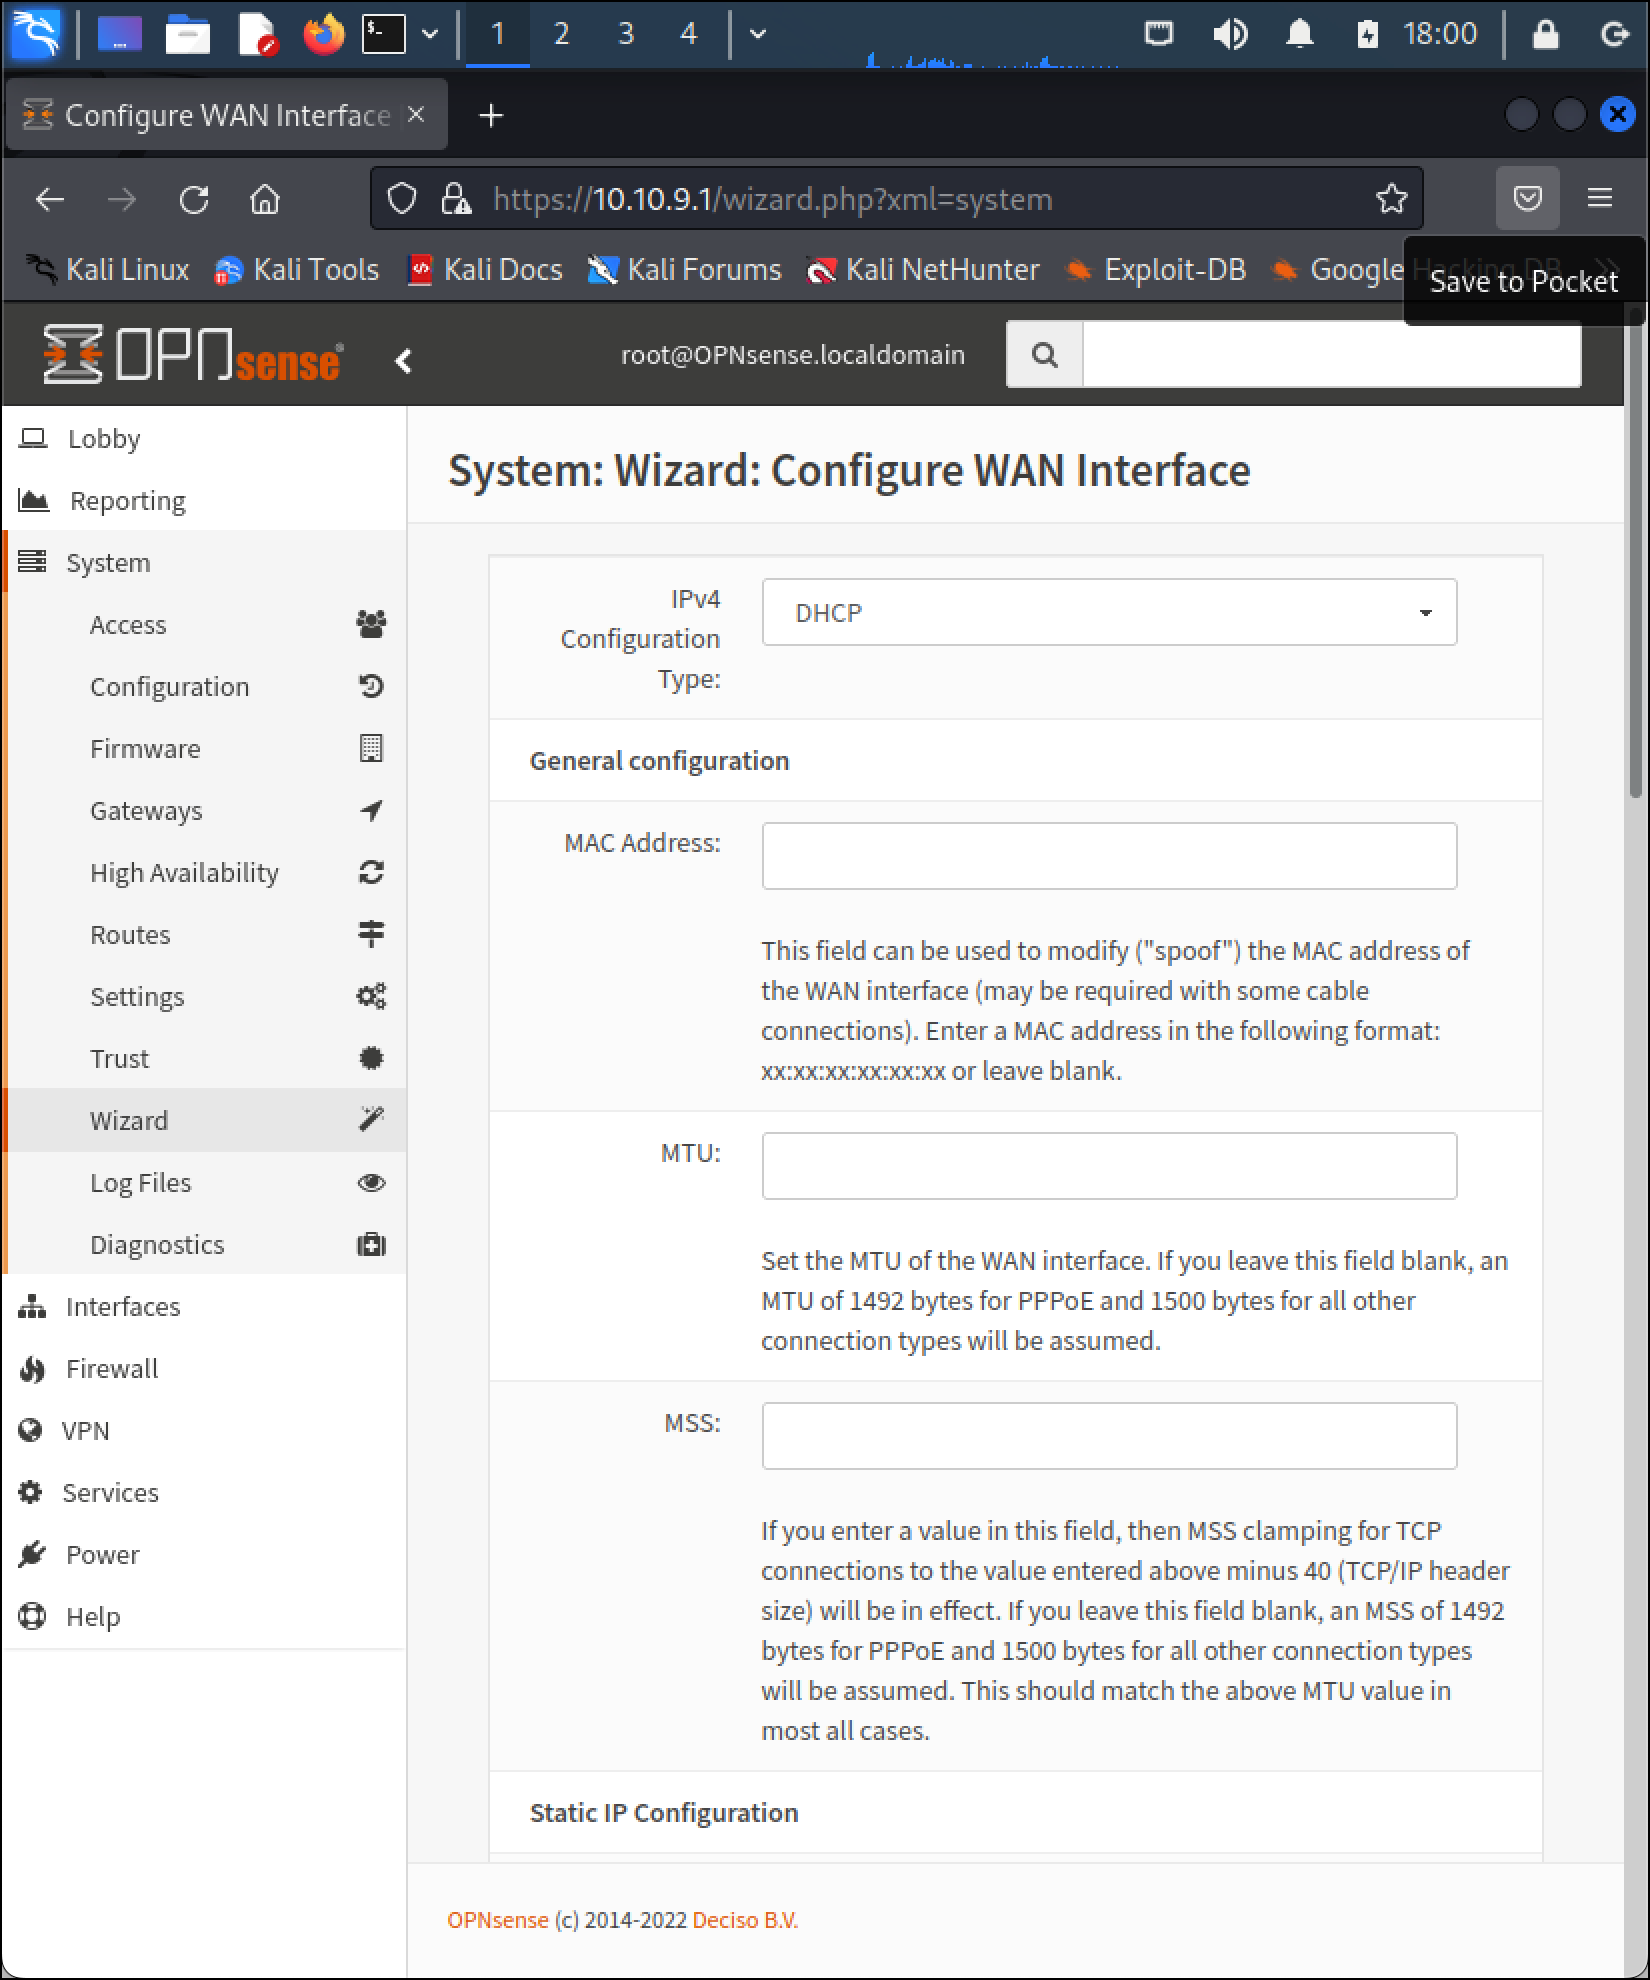
- On the System: Wizard: Configure WAN Interface screen, scroll to the bottom and click Next.
- You do not need to make any changes on the System: Wizard: Configure LAN Interface screen. The screen displays the LAN IP Address (10.10.9.1) and Subnet Mask (24) that you previously configured. Click Next.

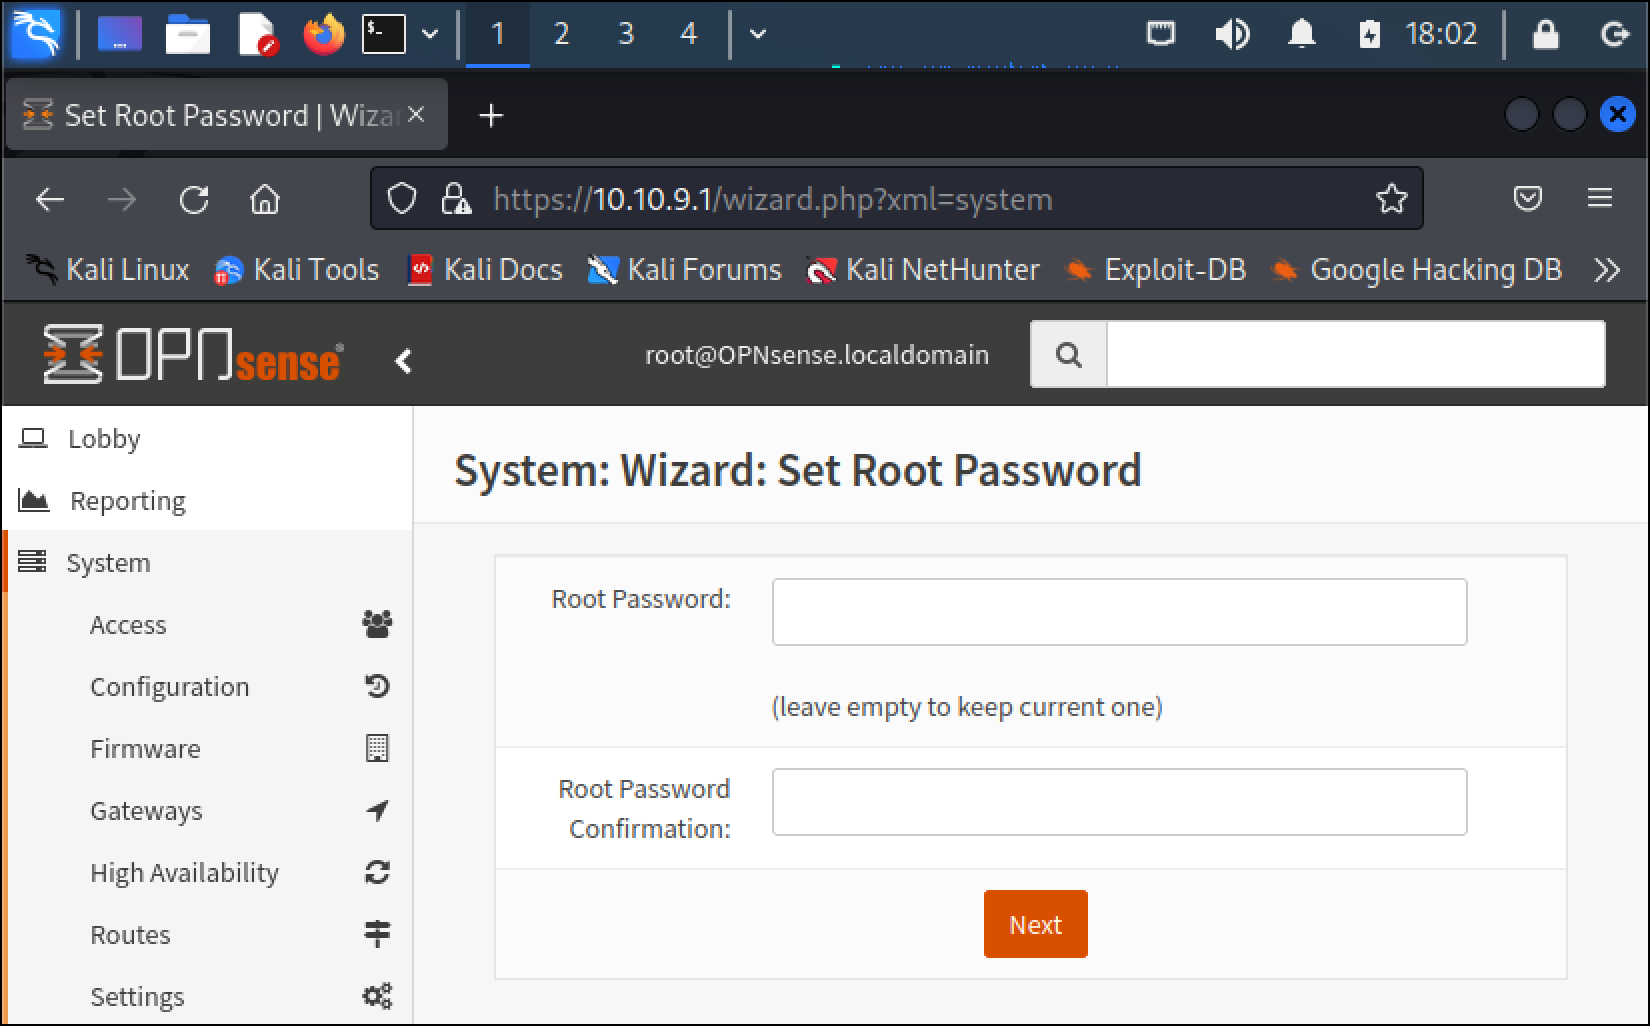
- You already changed the root password, so click Next on the System: Wizard: Set Root Password.
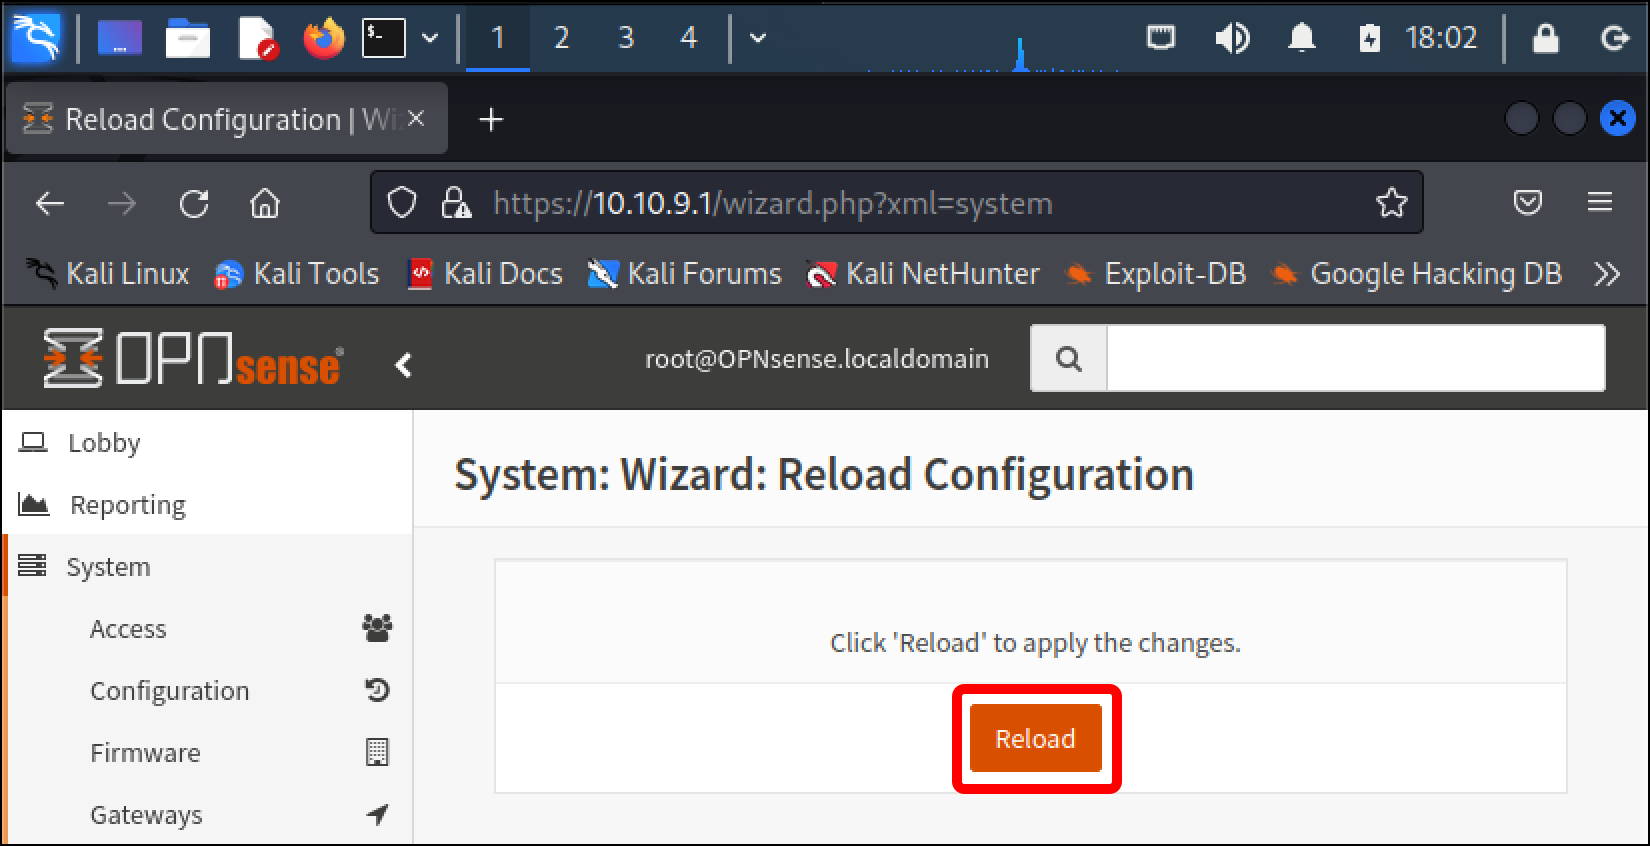
- Click Reload on the System: Wizard: Reload Configuration screen.
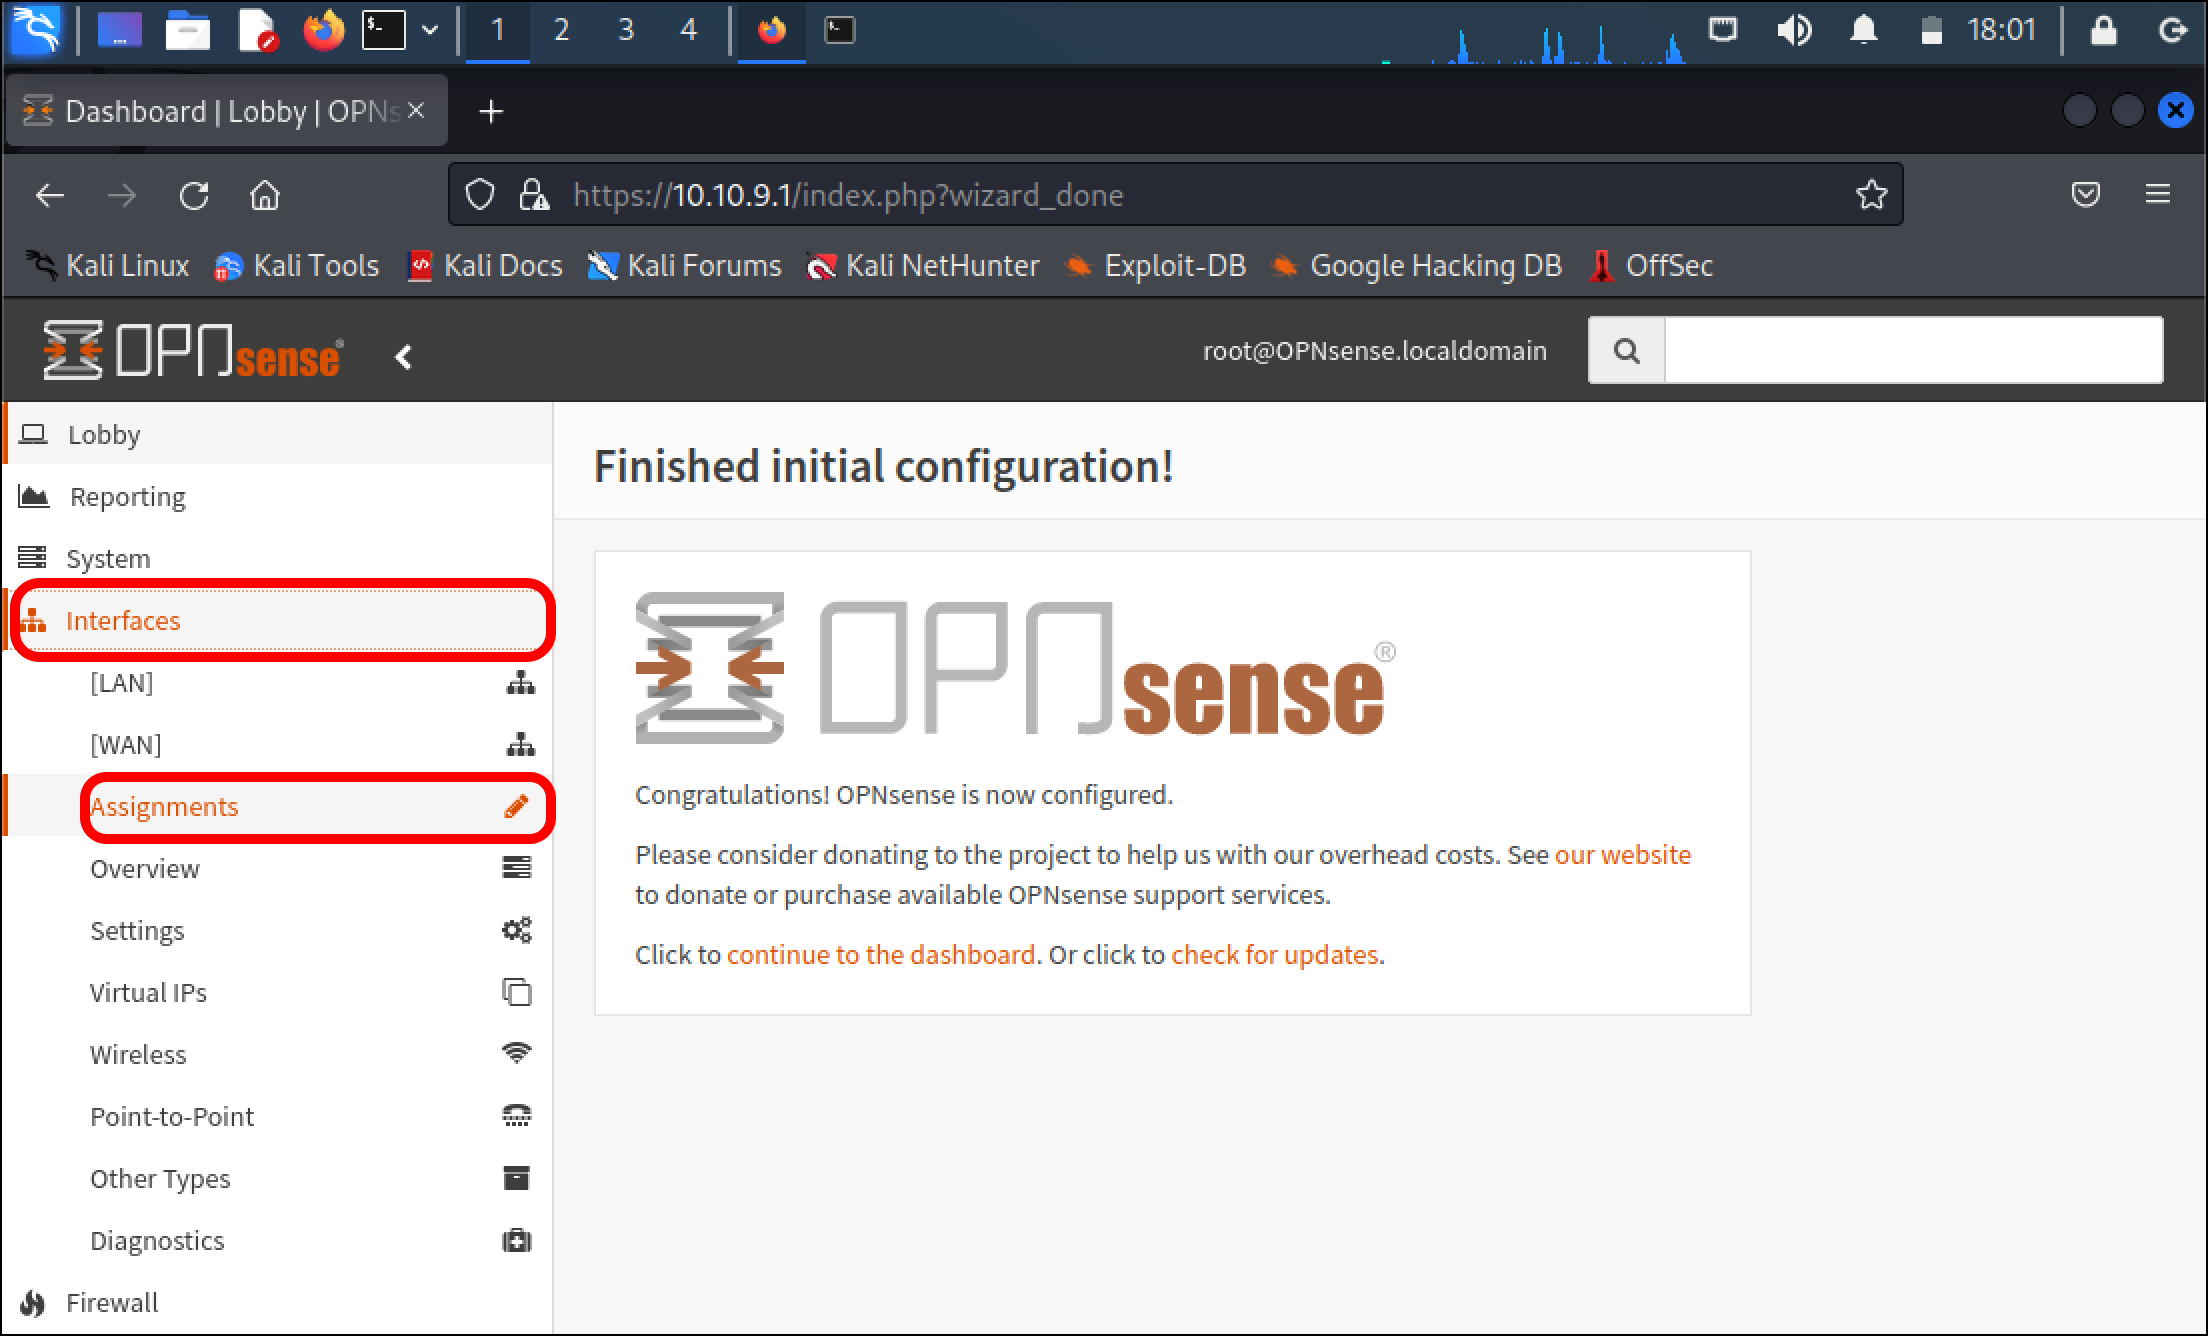
- You will see a System: Wizard: Reload in progress message, and then the page will reload. After the page reloads, click Interfaces in the left sidebar, then click Assignments.
-
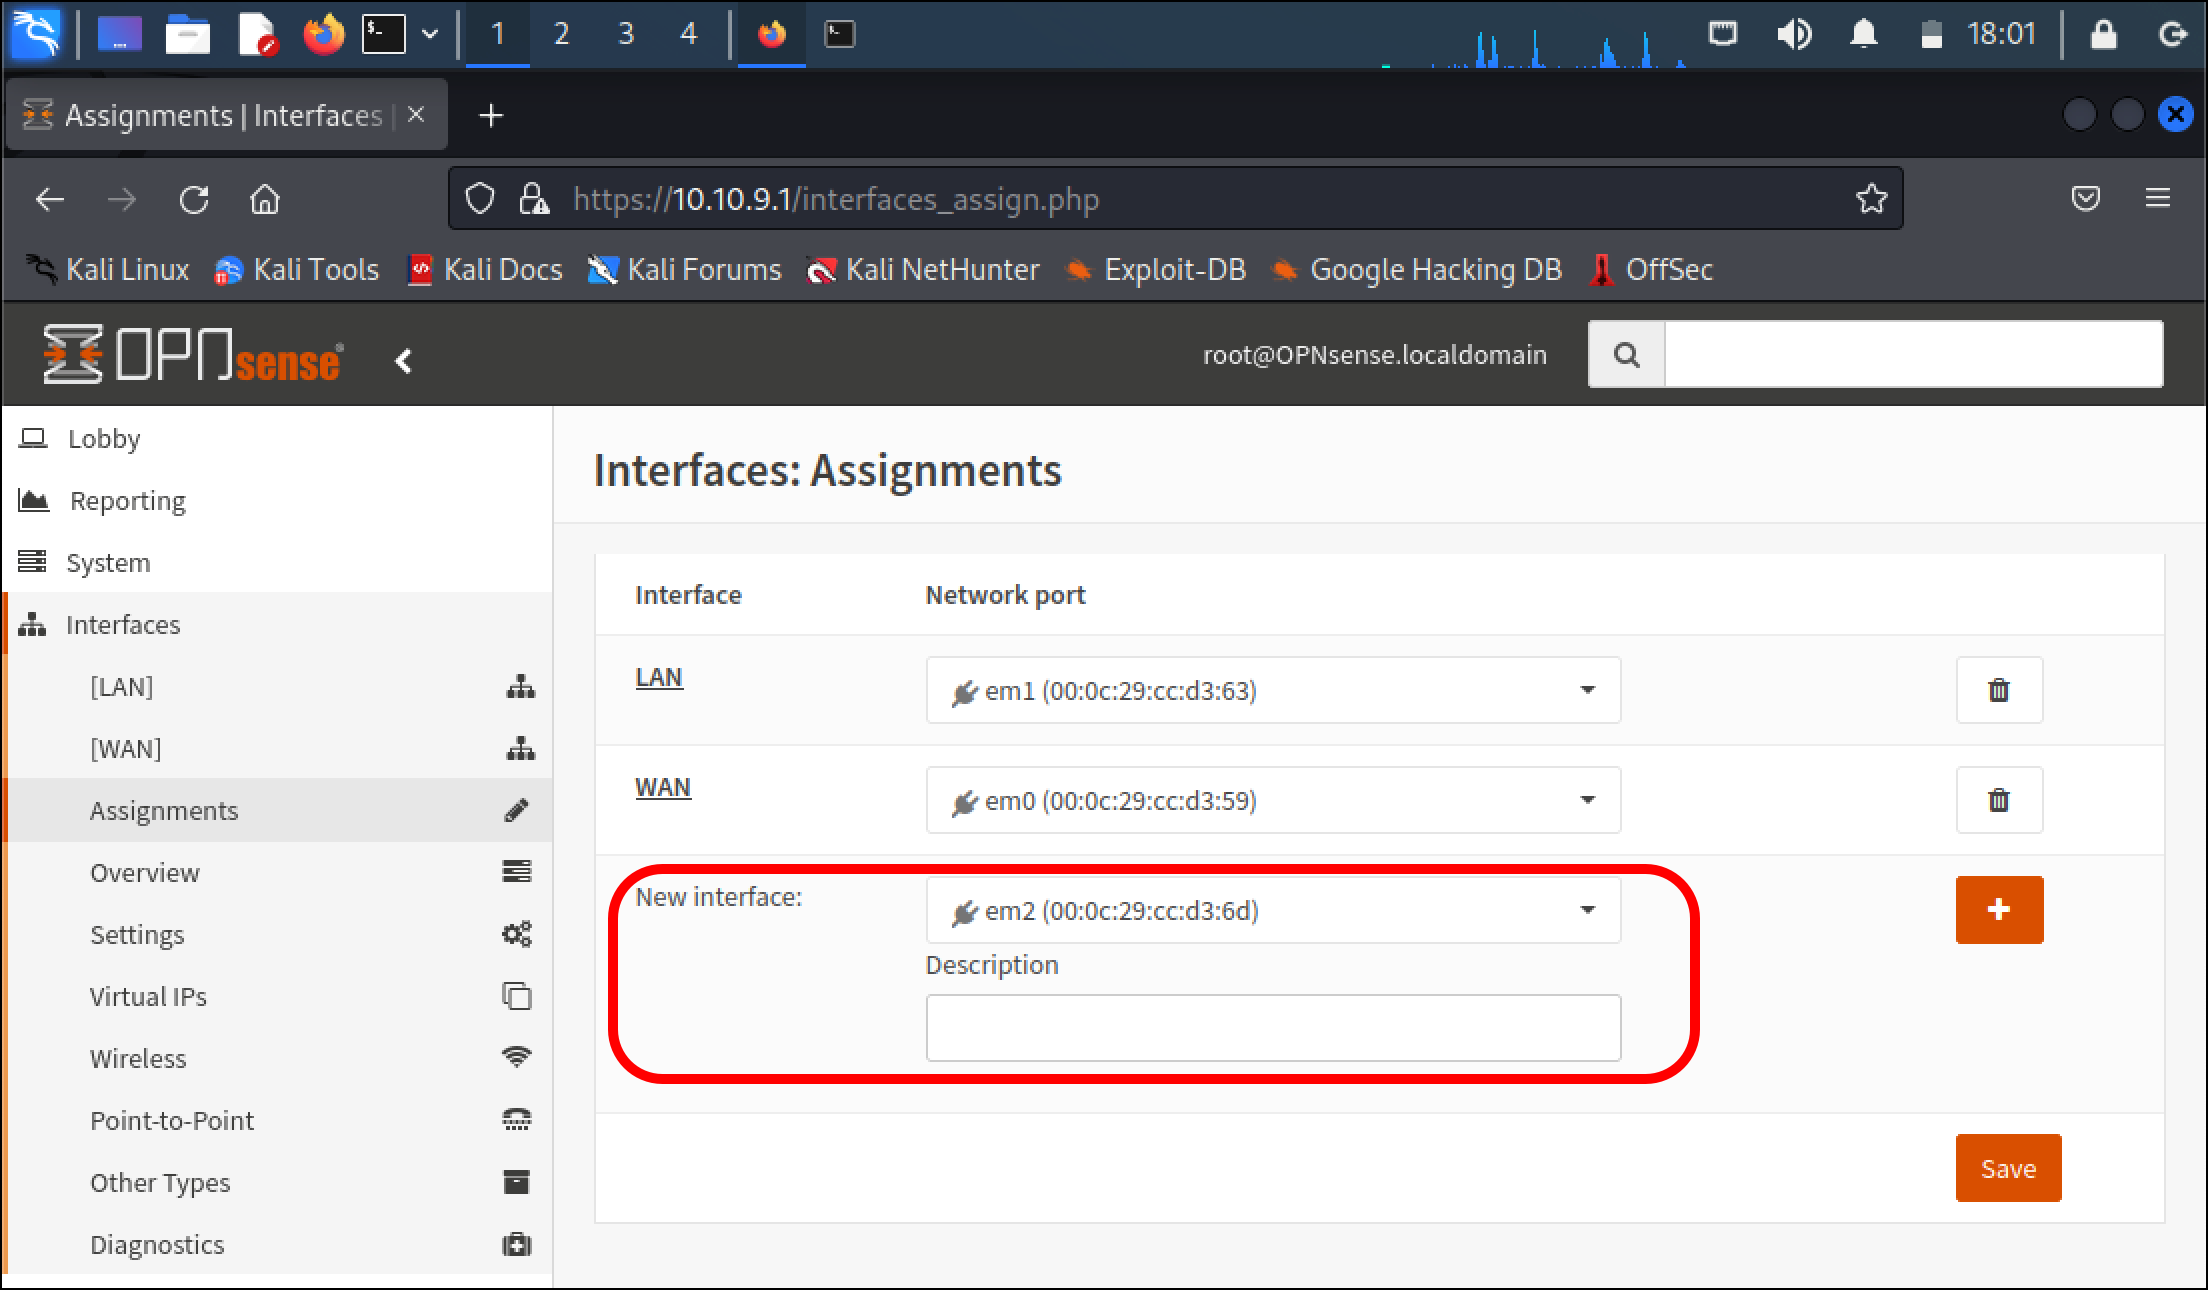
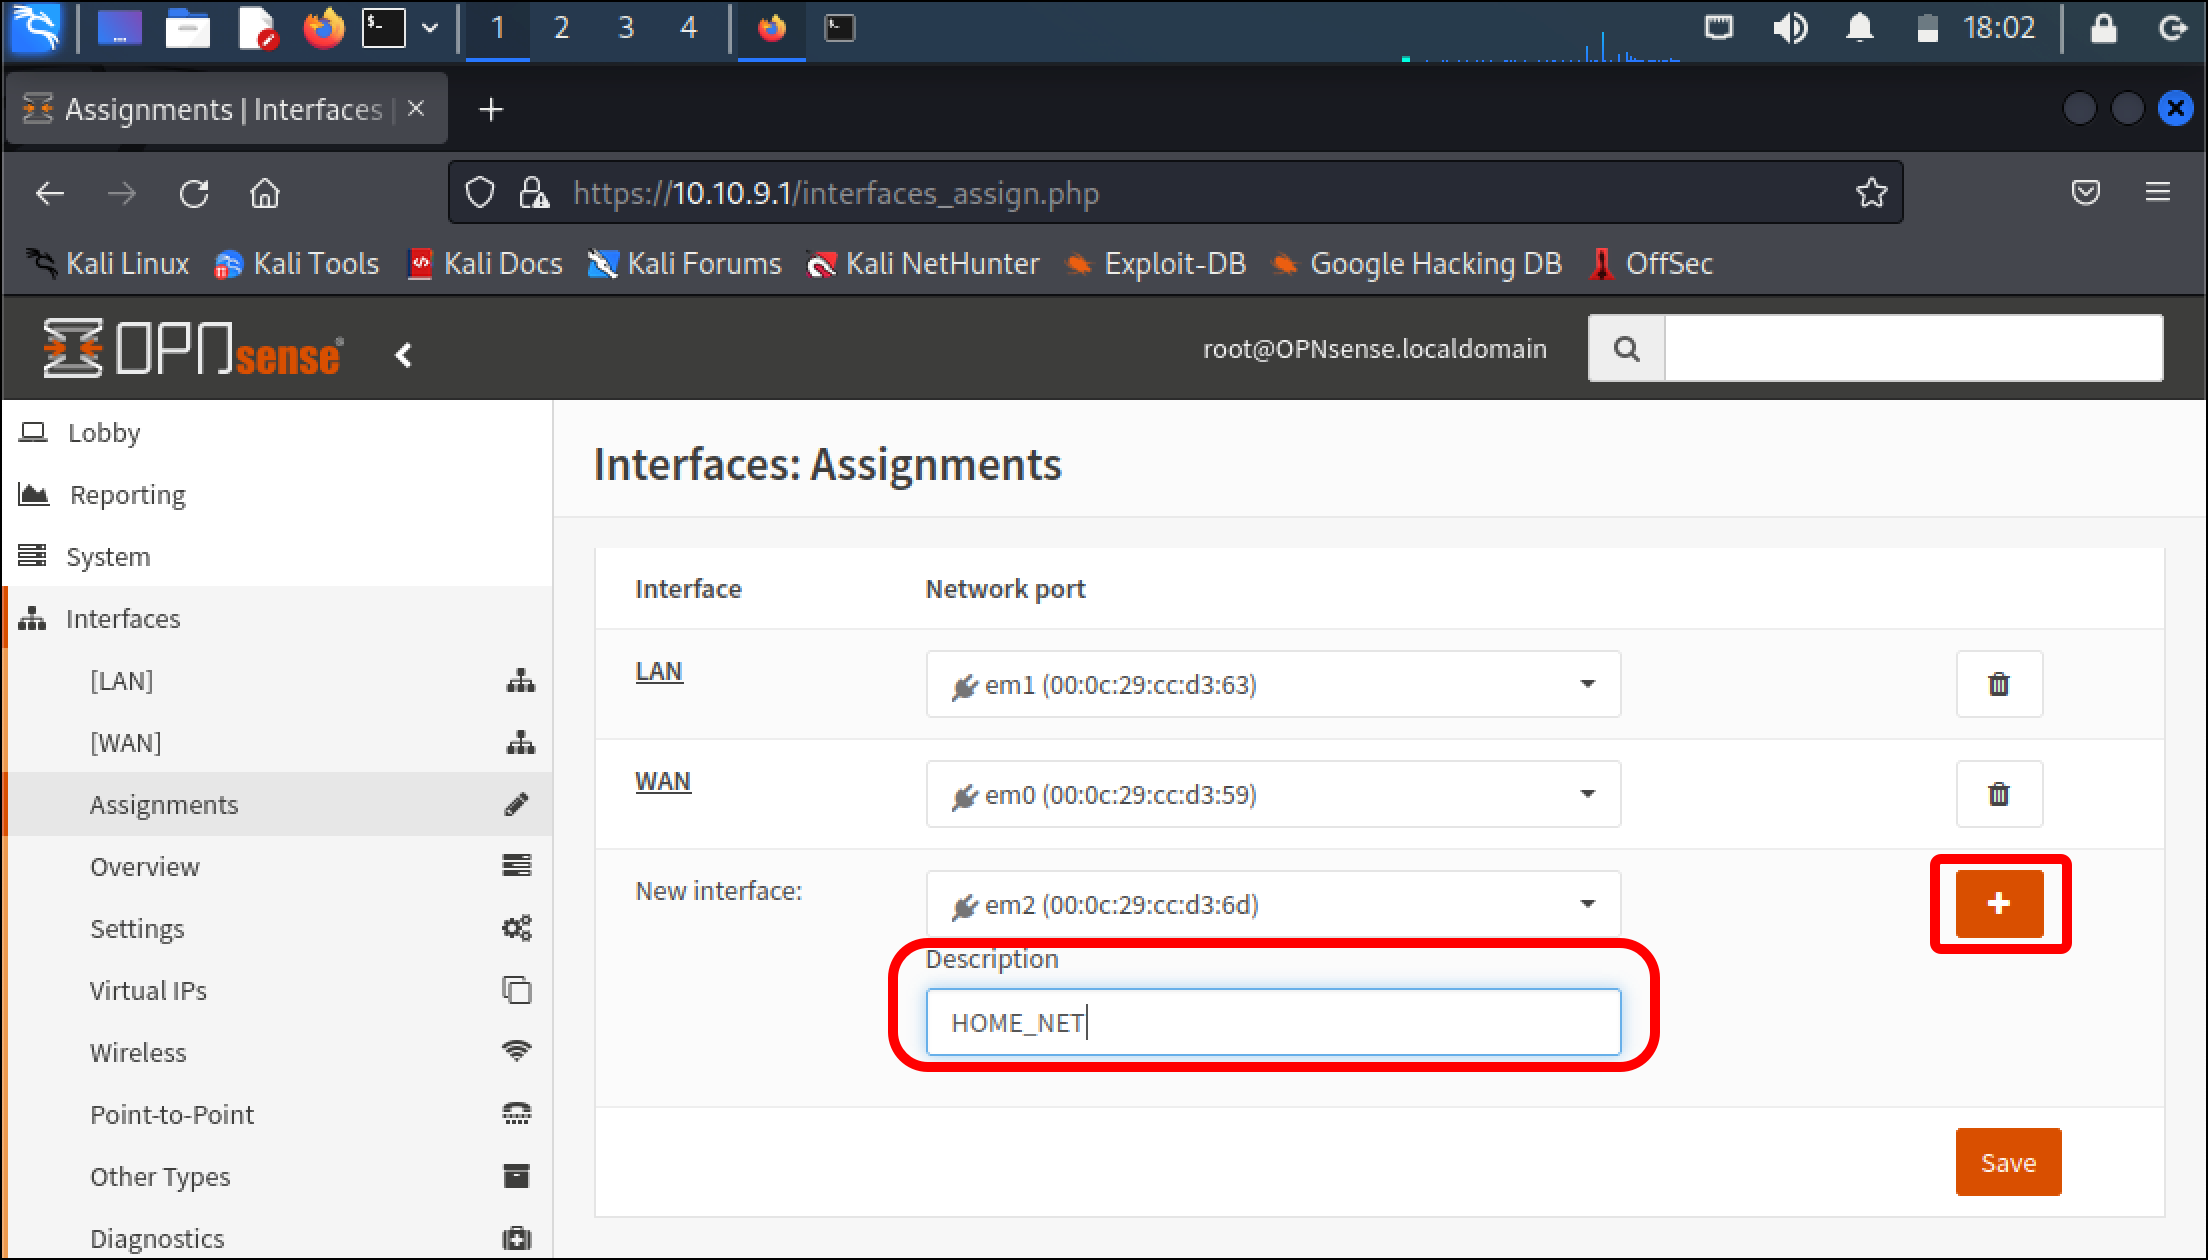
On the Interfaces: Assignments page, you will see three interfaces, LAN, WAN, and New interface. This is the third network adapter on the OPNsense VM that you did not configure earlier. Now you will set it up as the HOME_NET_LAN that will be monitored by Security Onion. The drop-down next to New interface will default to that third interface.
- Note: You can confirm this is the correct interface by comparing it with the MAC address for OPNsense Network Adapter 3.
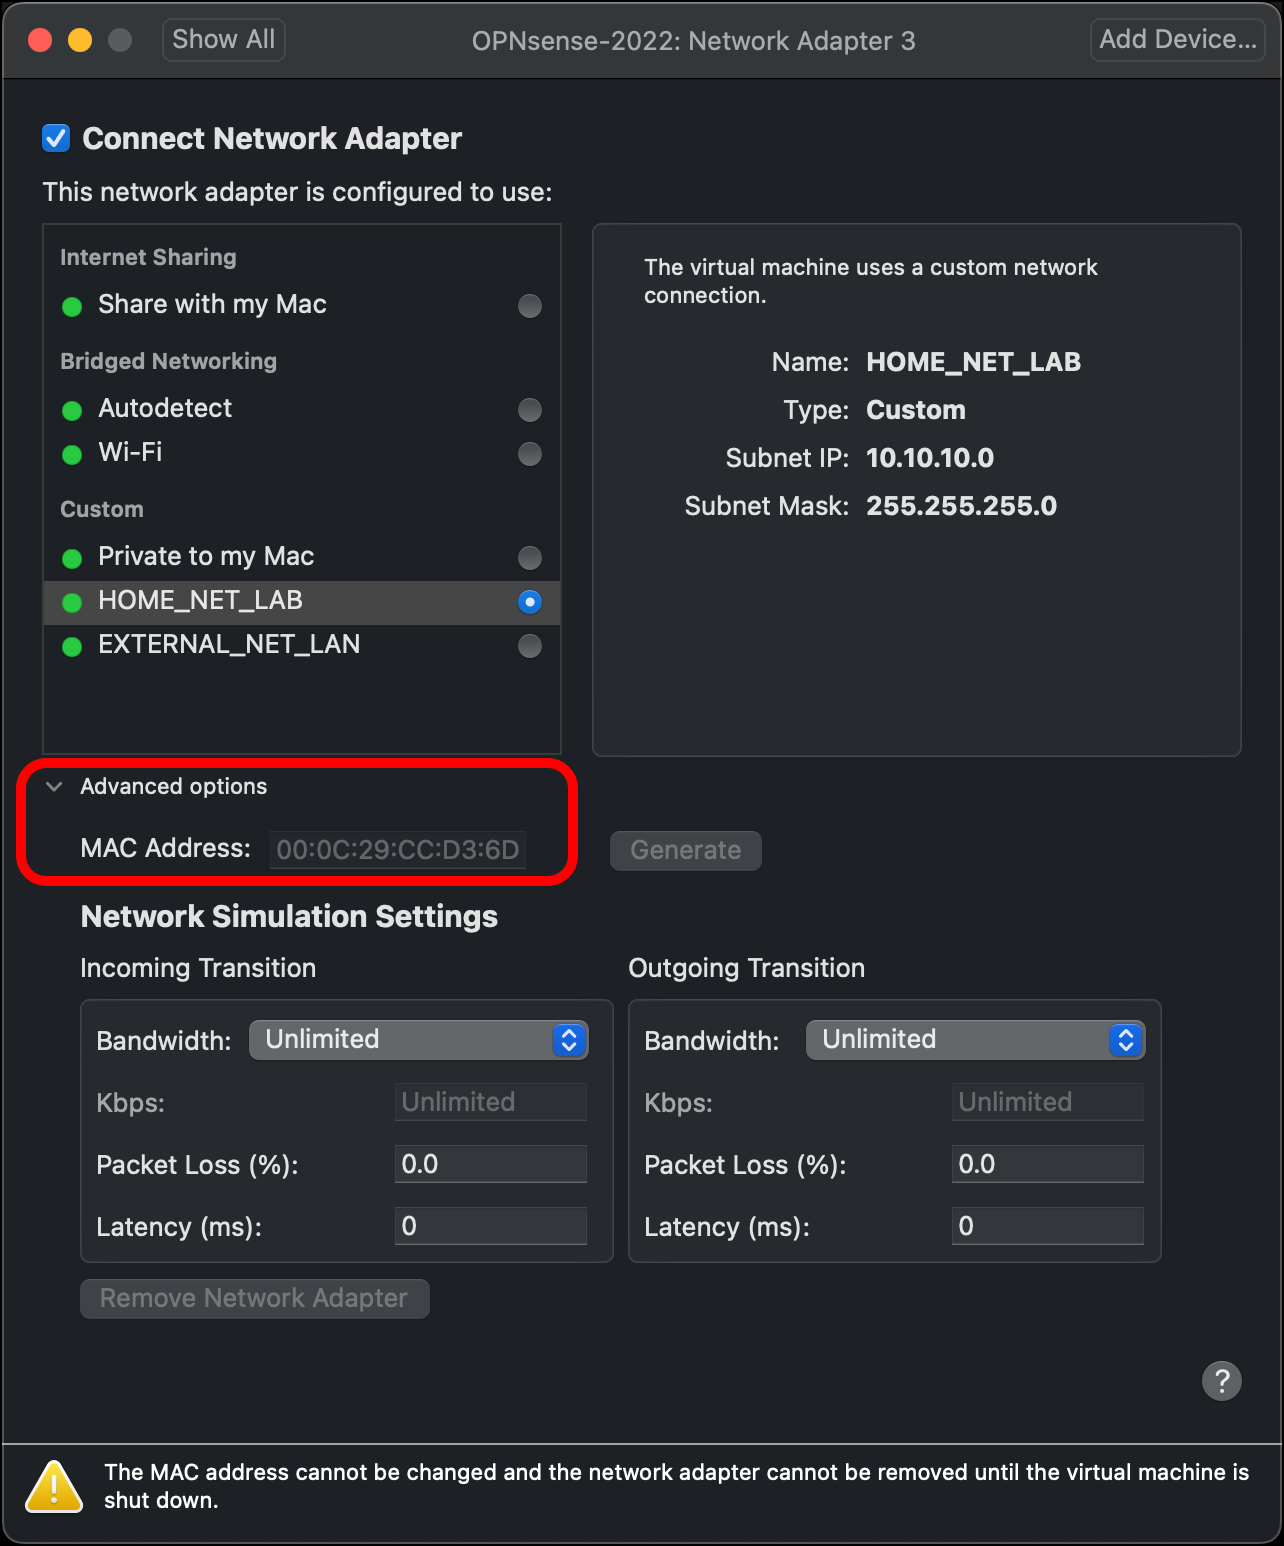
- Note: You can confirm this is the correct interface by comparing it with the MAC address for OPNsense Network Adapter 3.
- Enter a Description of HOME_NET and click the plus icon (+) to the right of New interface.
- Click the Save button.
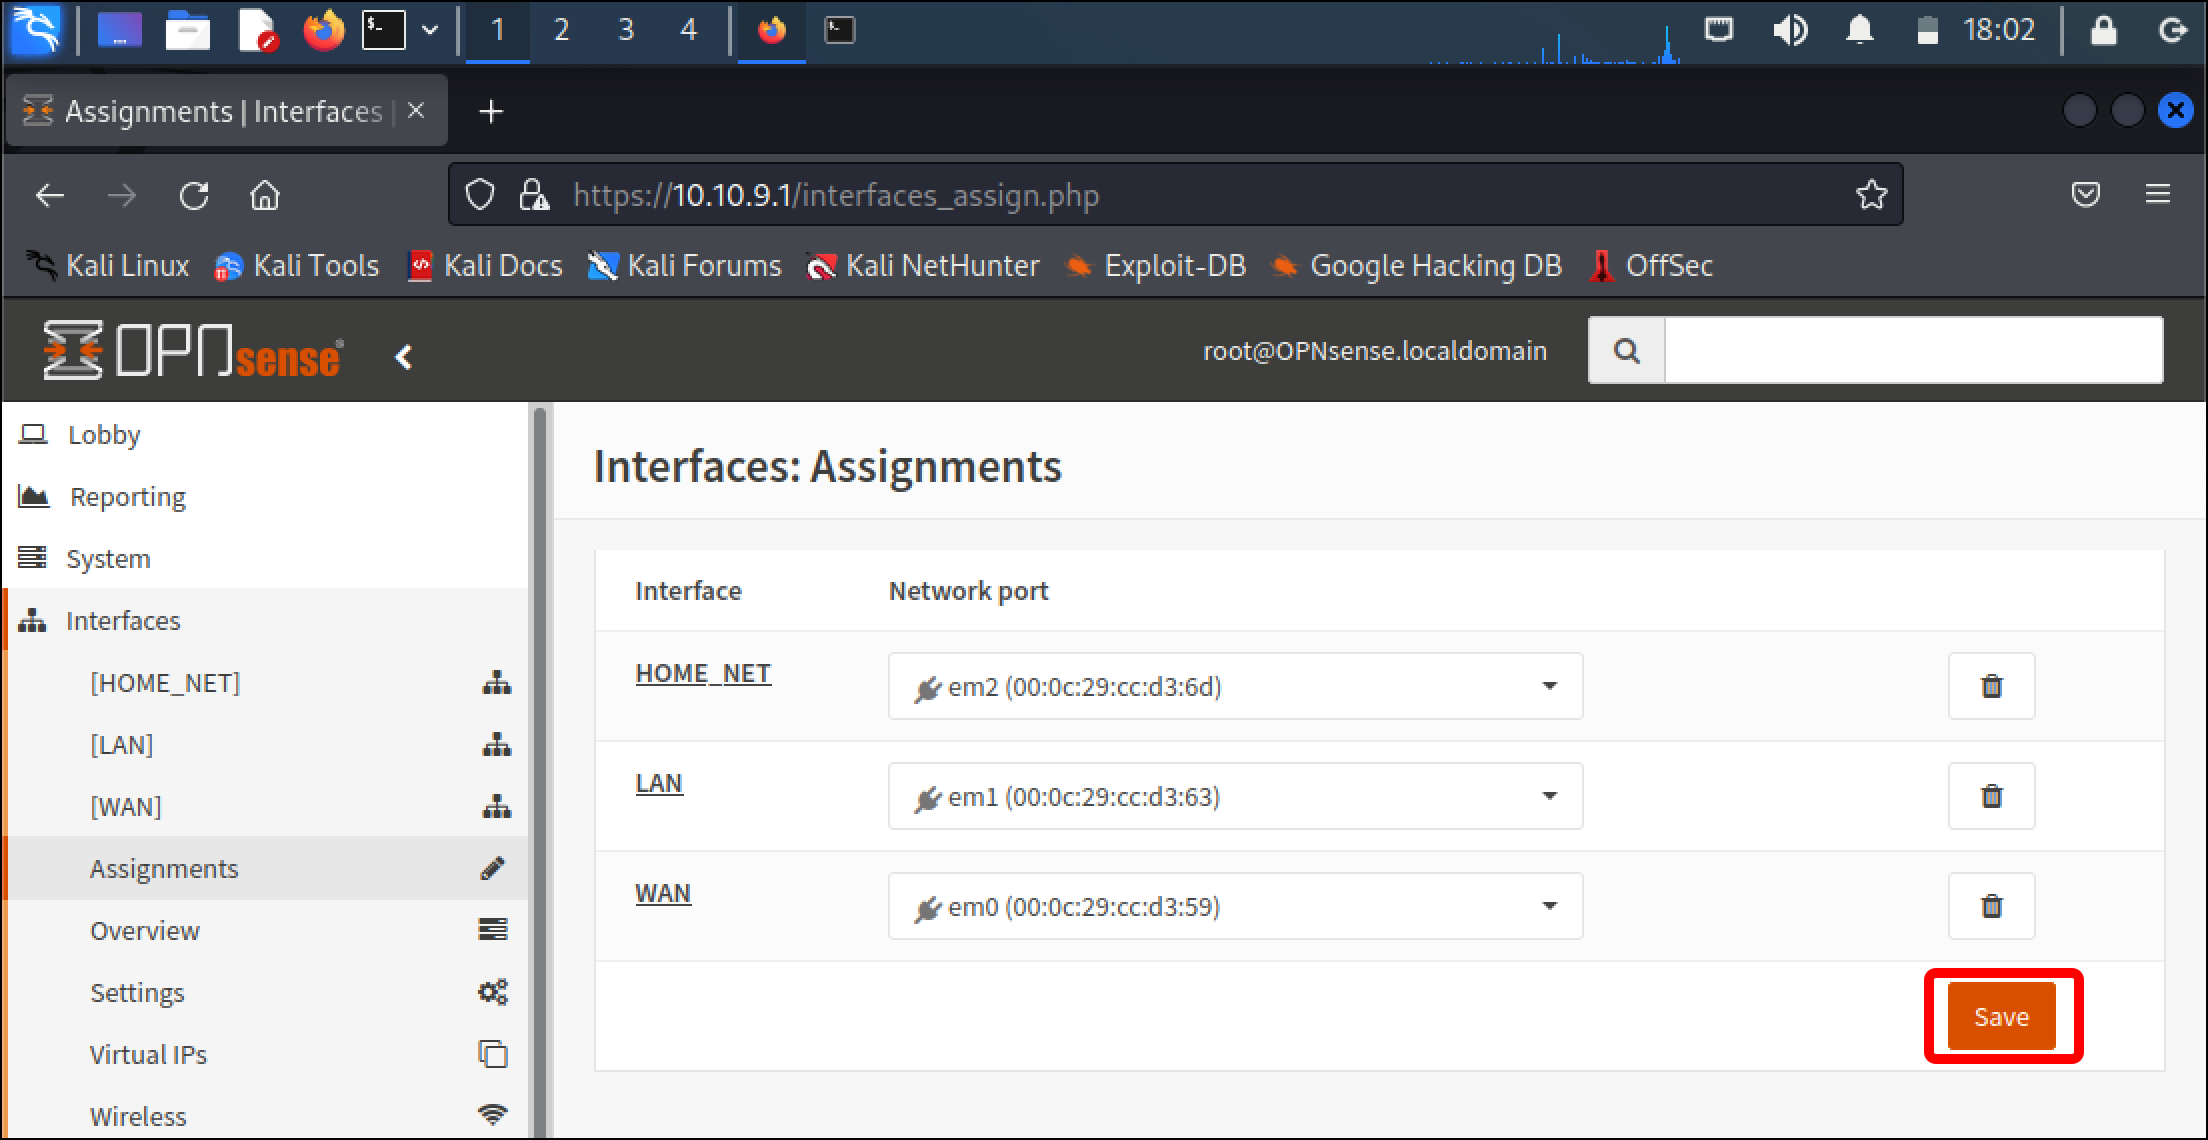
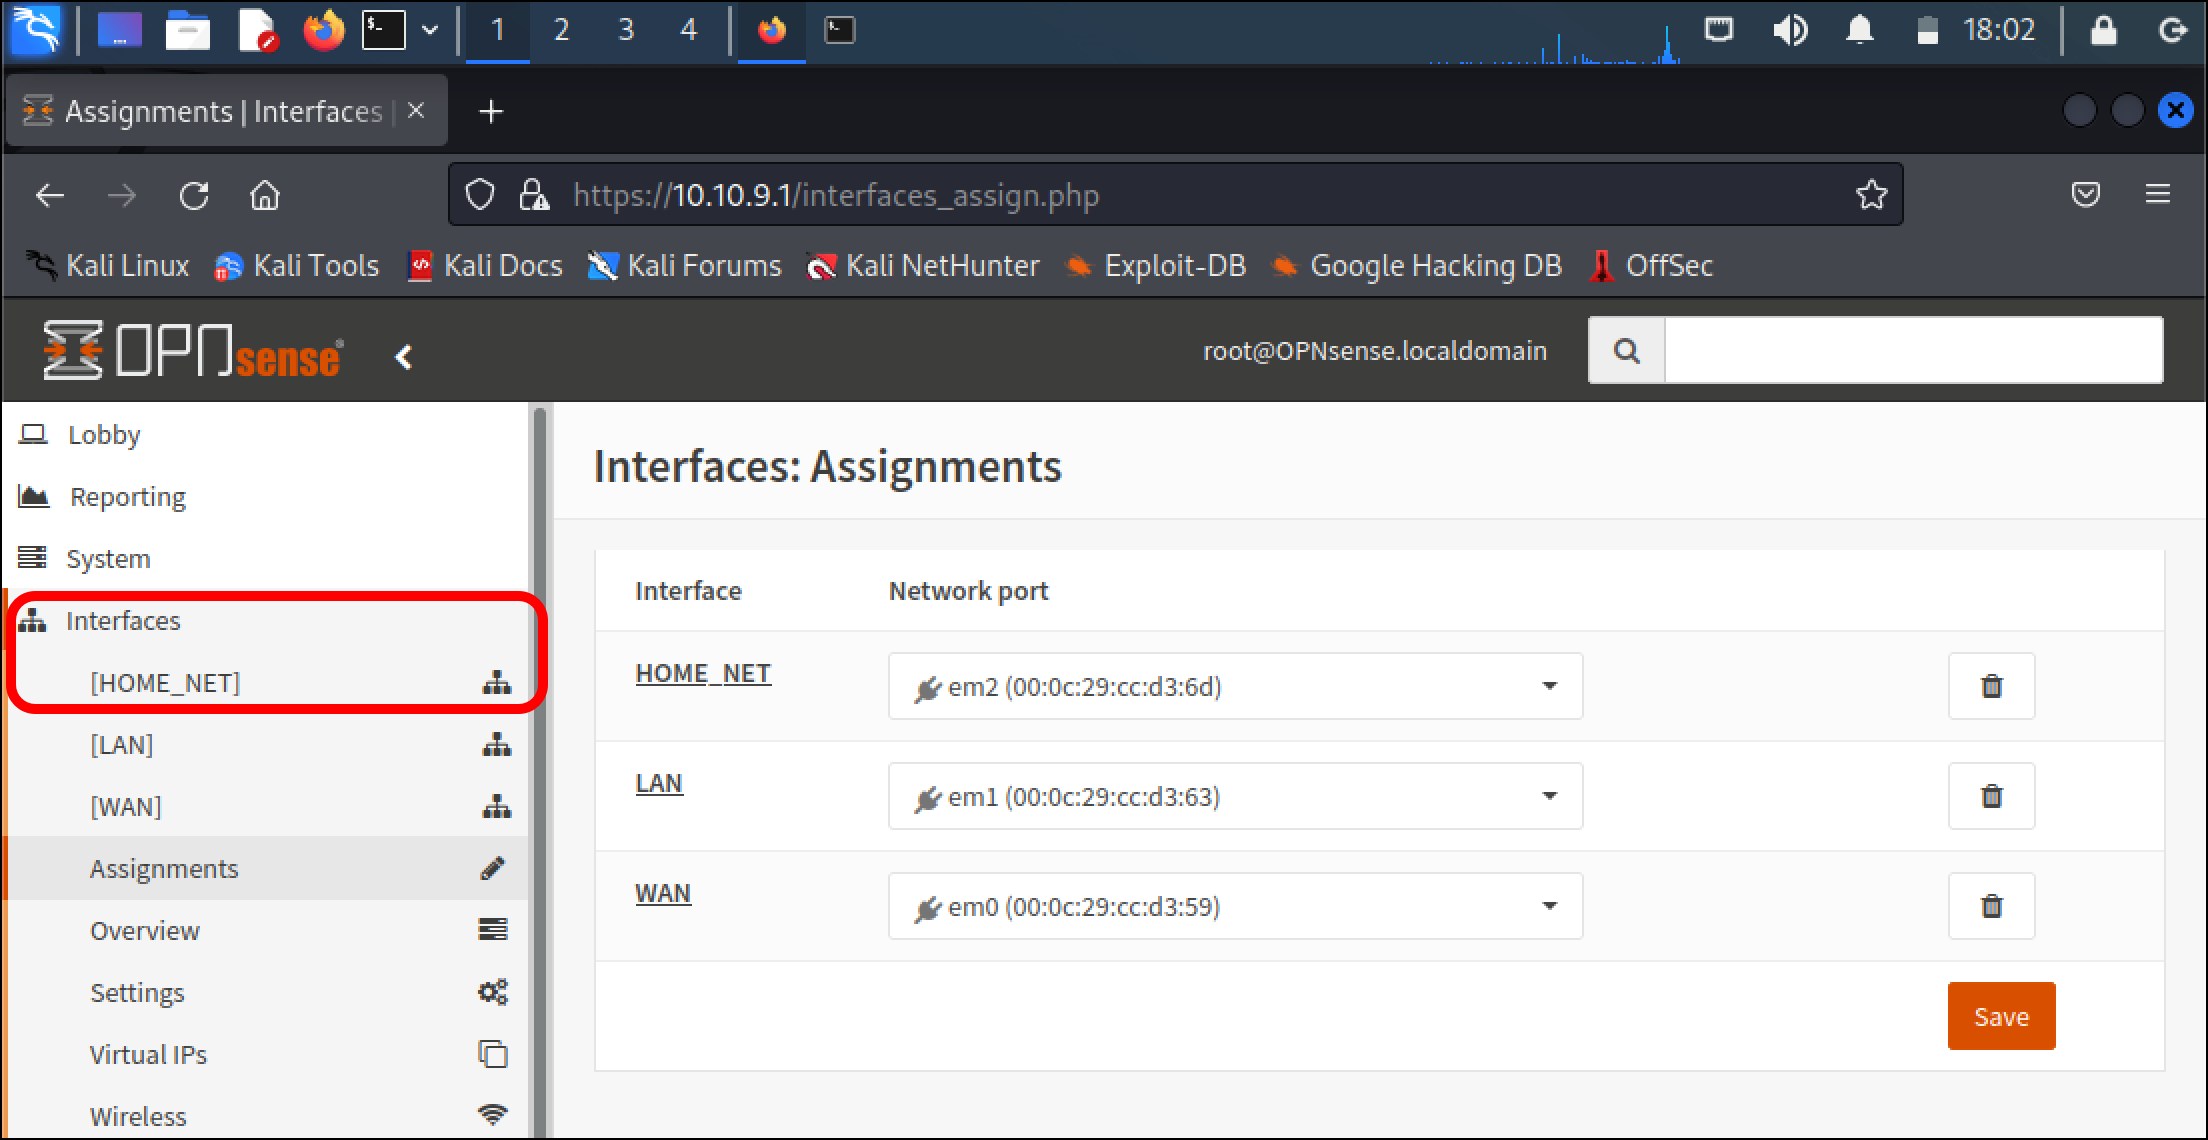
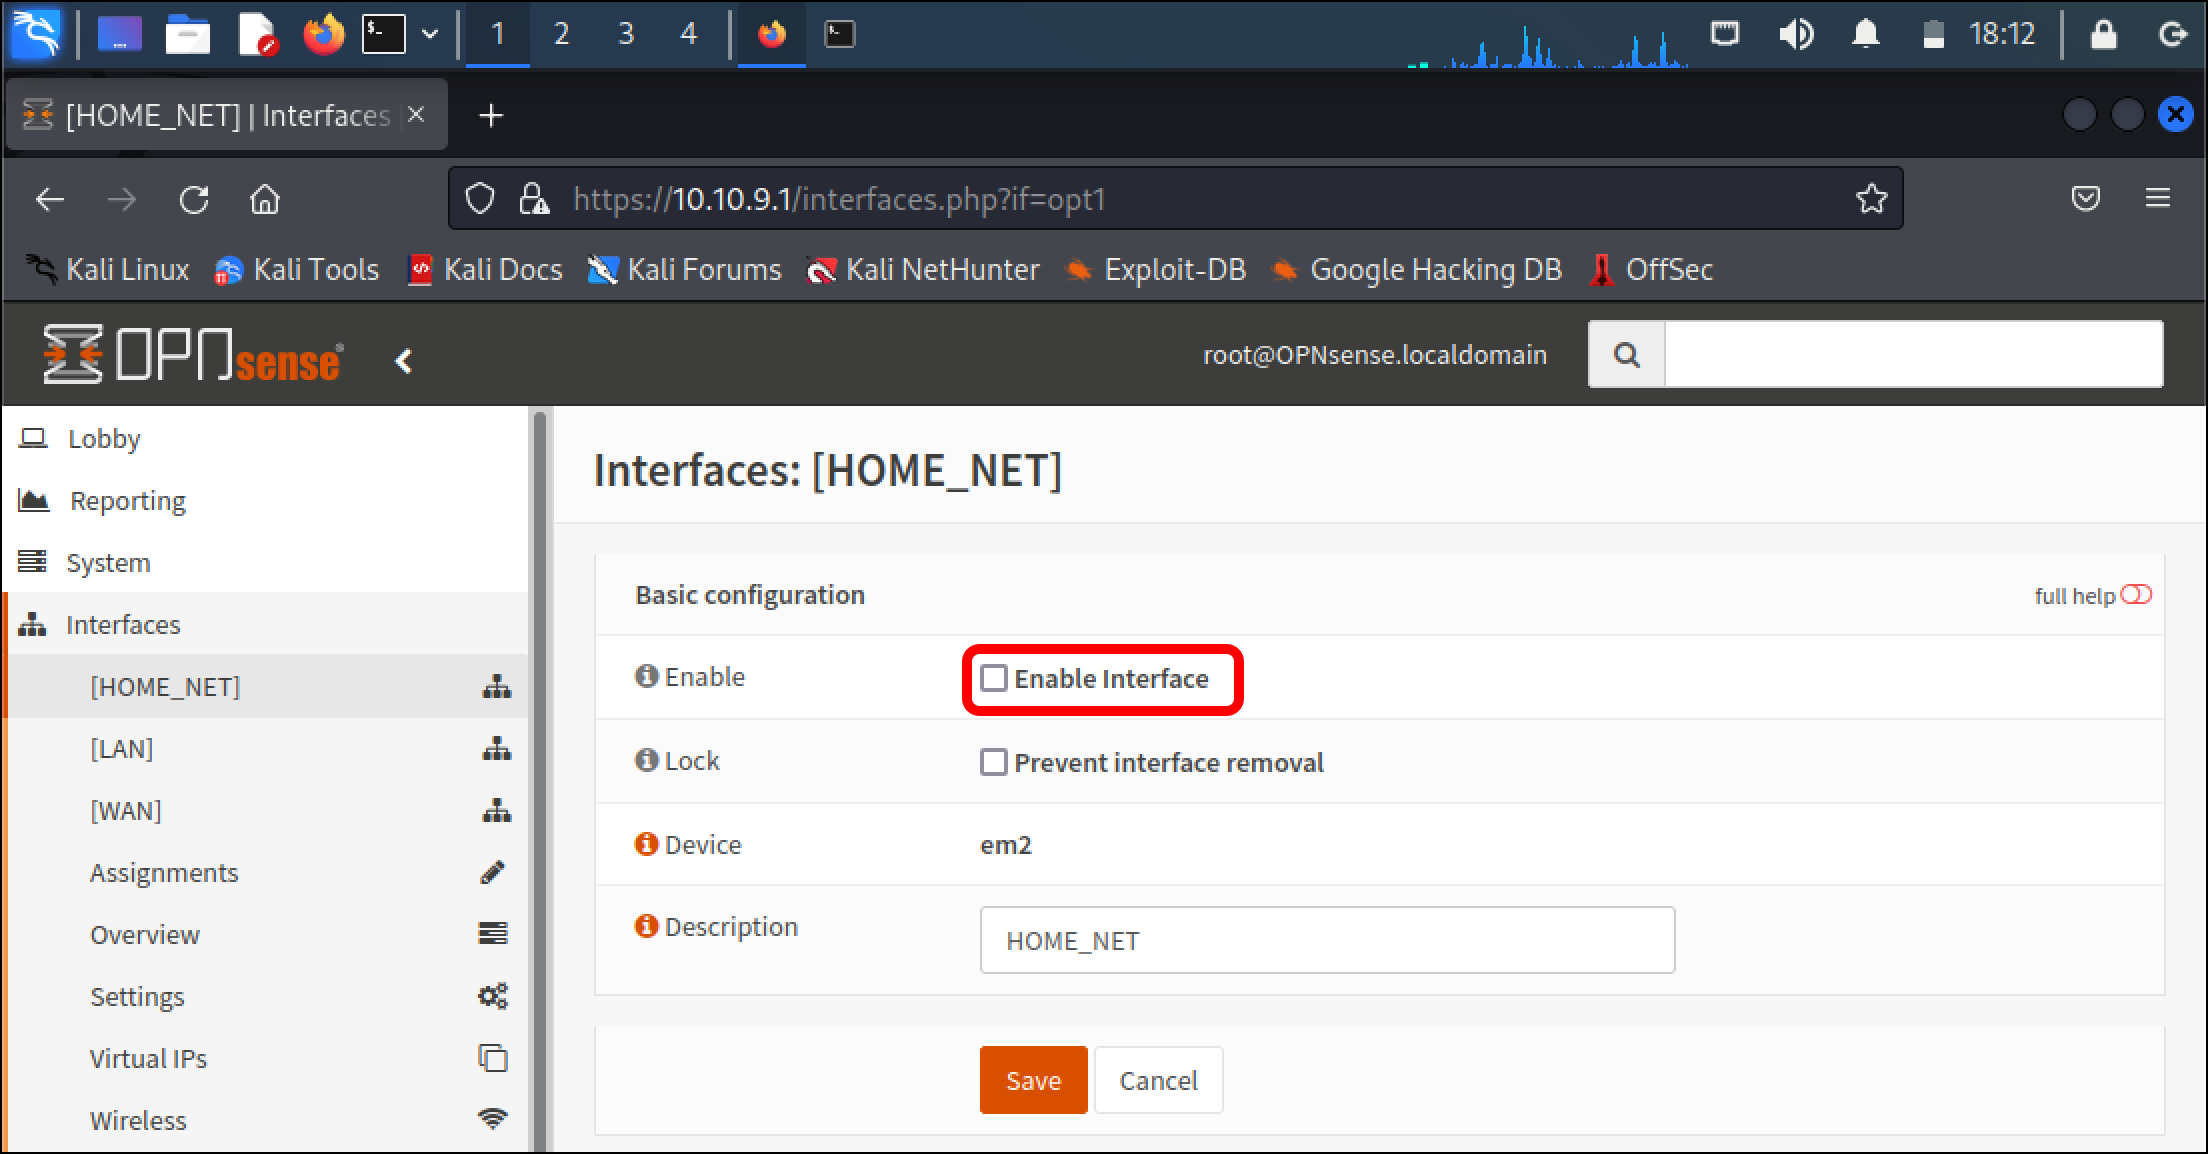
- When the page reloads, click the new [HOME_NET] entry under Interfaces in the left sidebar.
- On the Interfaces: [HOME_NET] page, select Enable Interface.
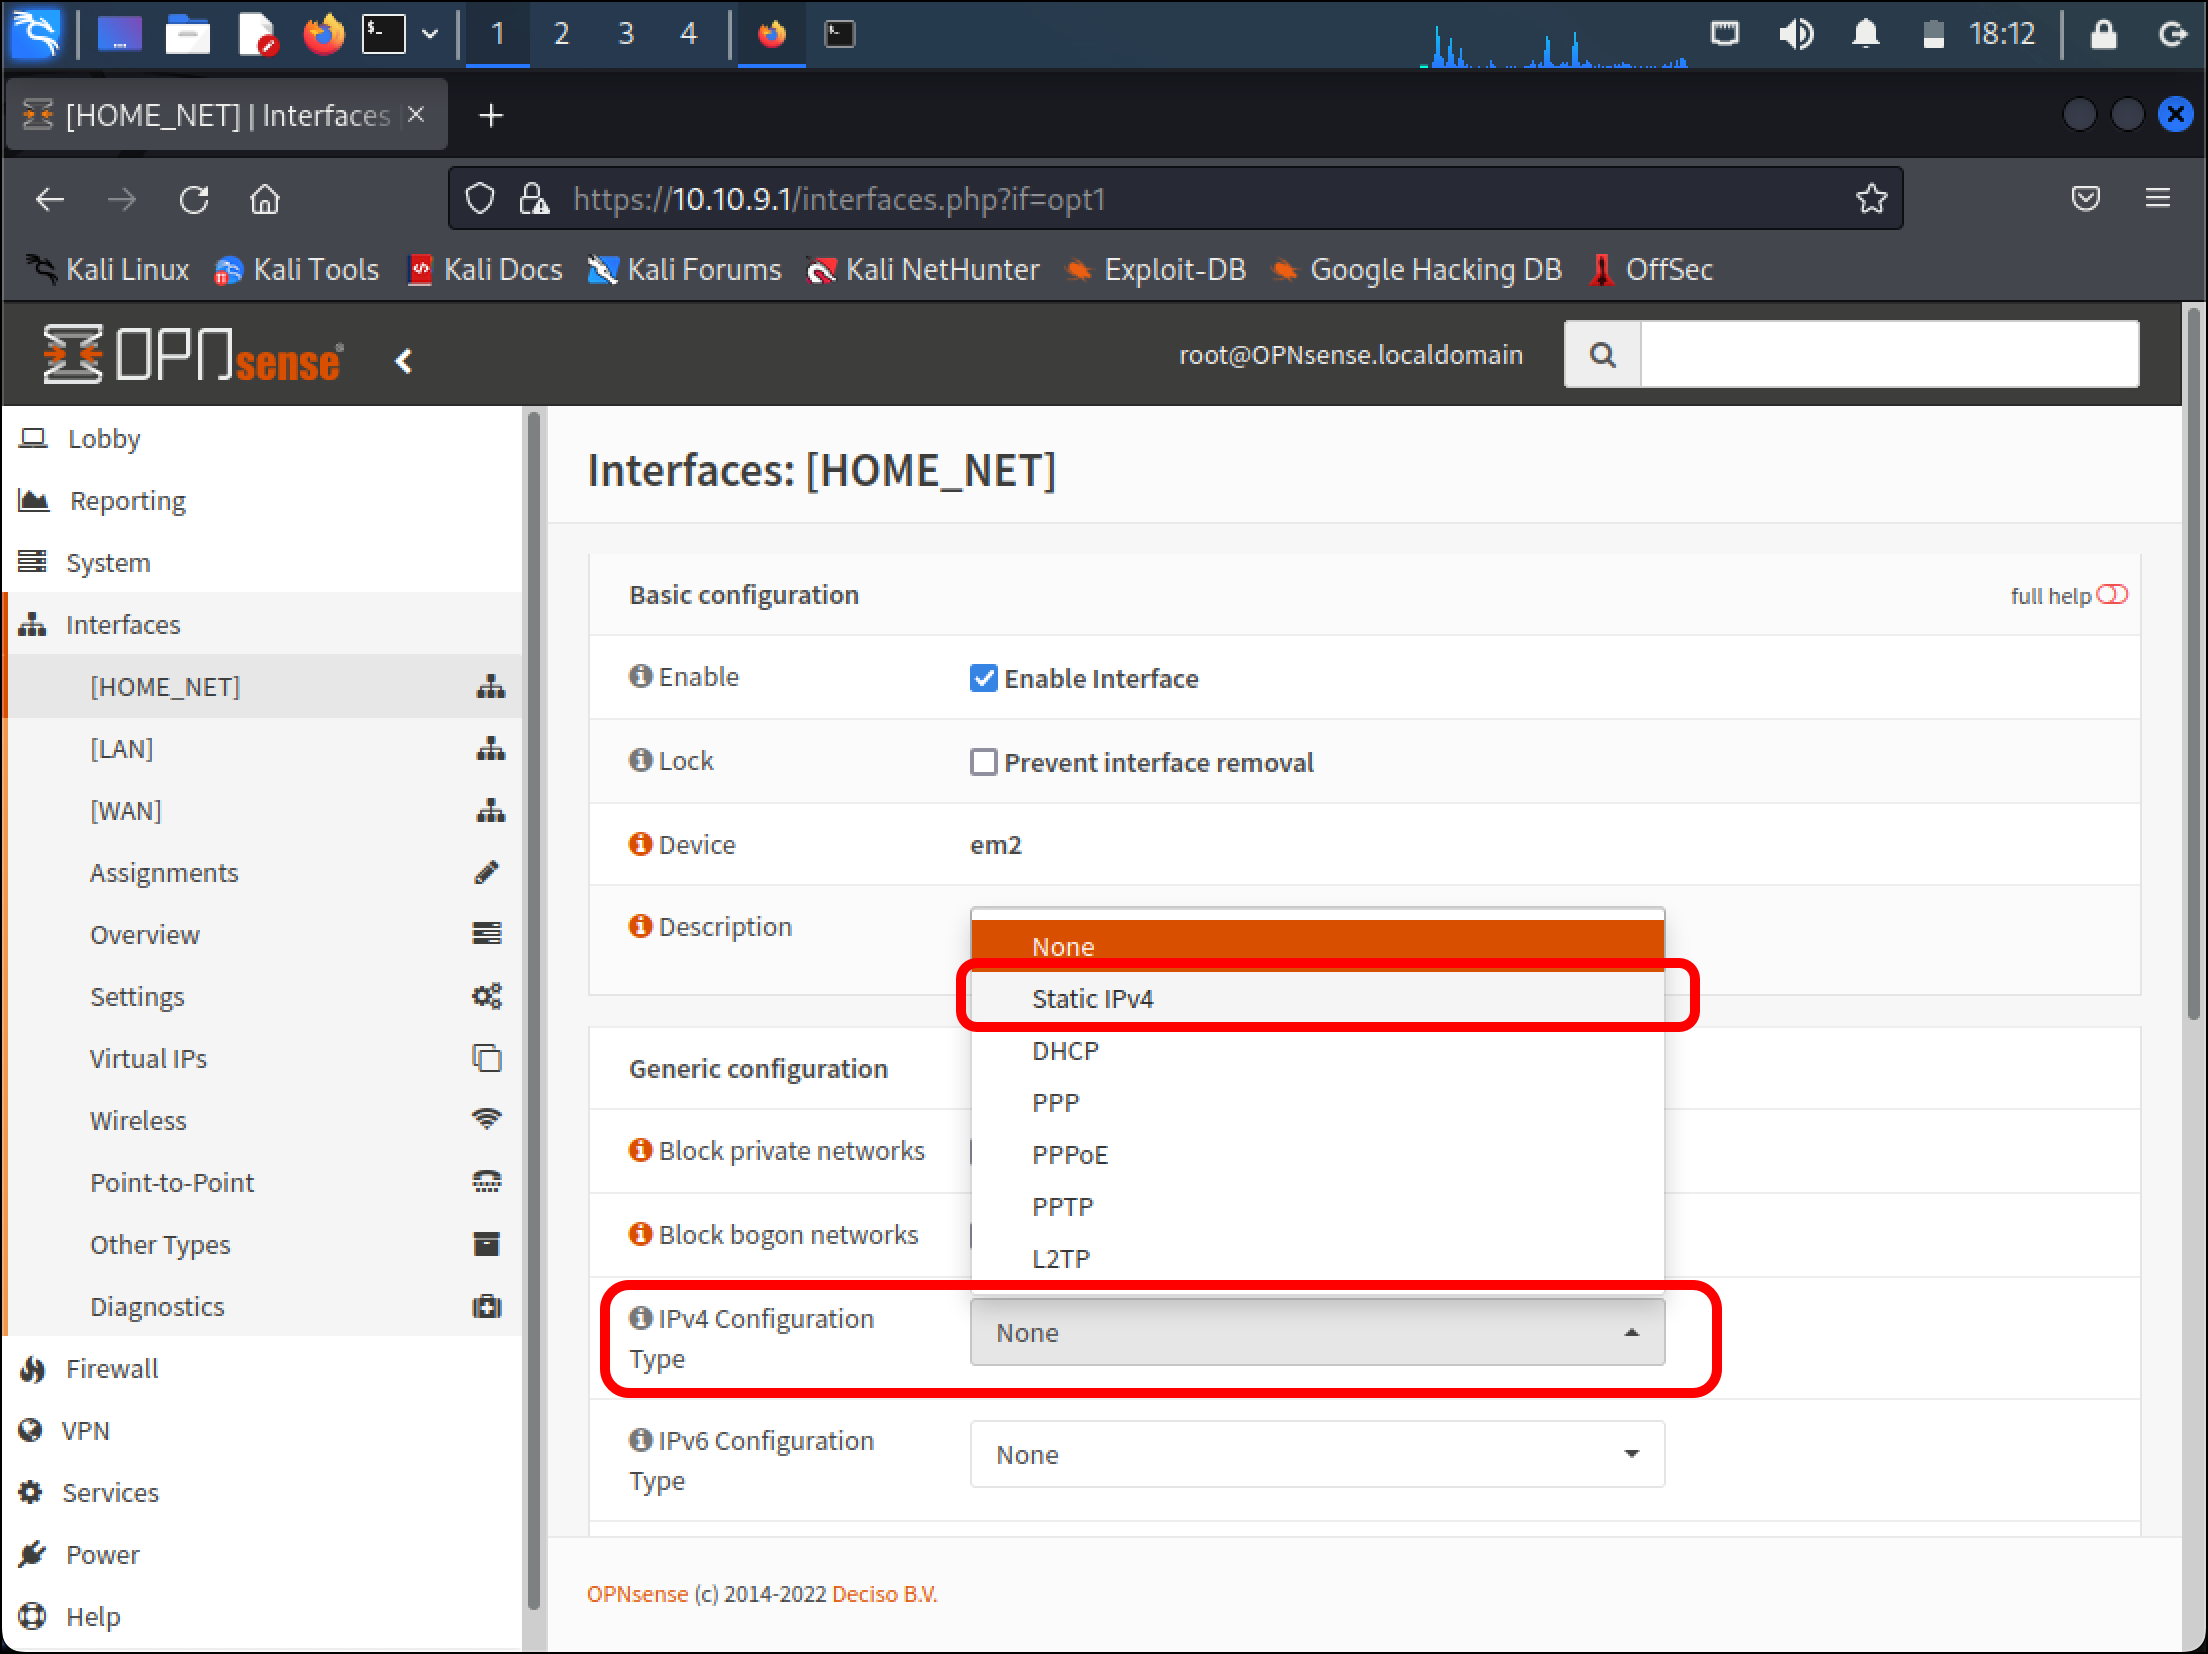
- Click the IPv4 Configuration Type drop-down and select Static IPv4.
- Scroll down to the bottom of the page, which now displays a Static IPv4 configuration section. Enter the IPv4 address for the HOME_NET_LAN of 10.10.10.1 and select 24 as the subnet value, then click Save.

- A banner displays at the top of the page explaining that the new changes need to be applied. Click Apply changes.

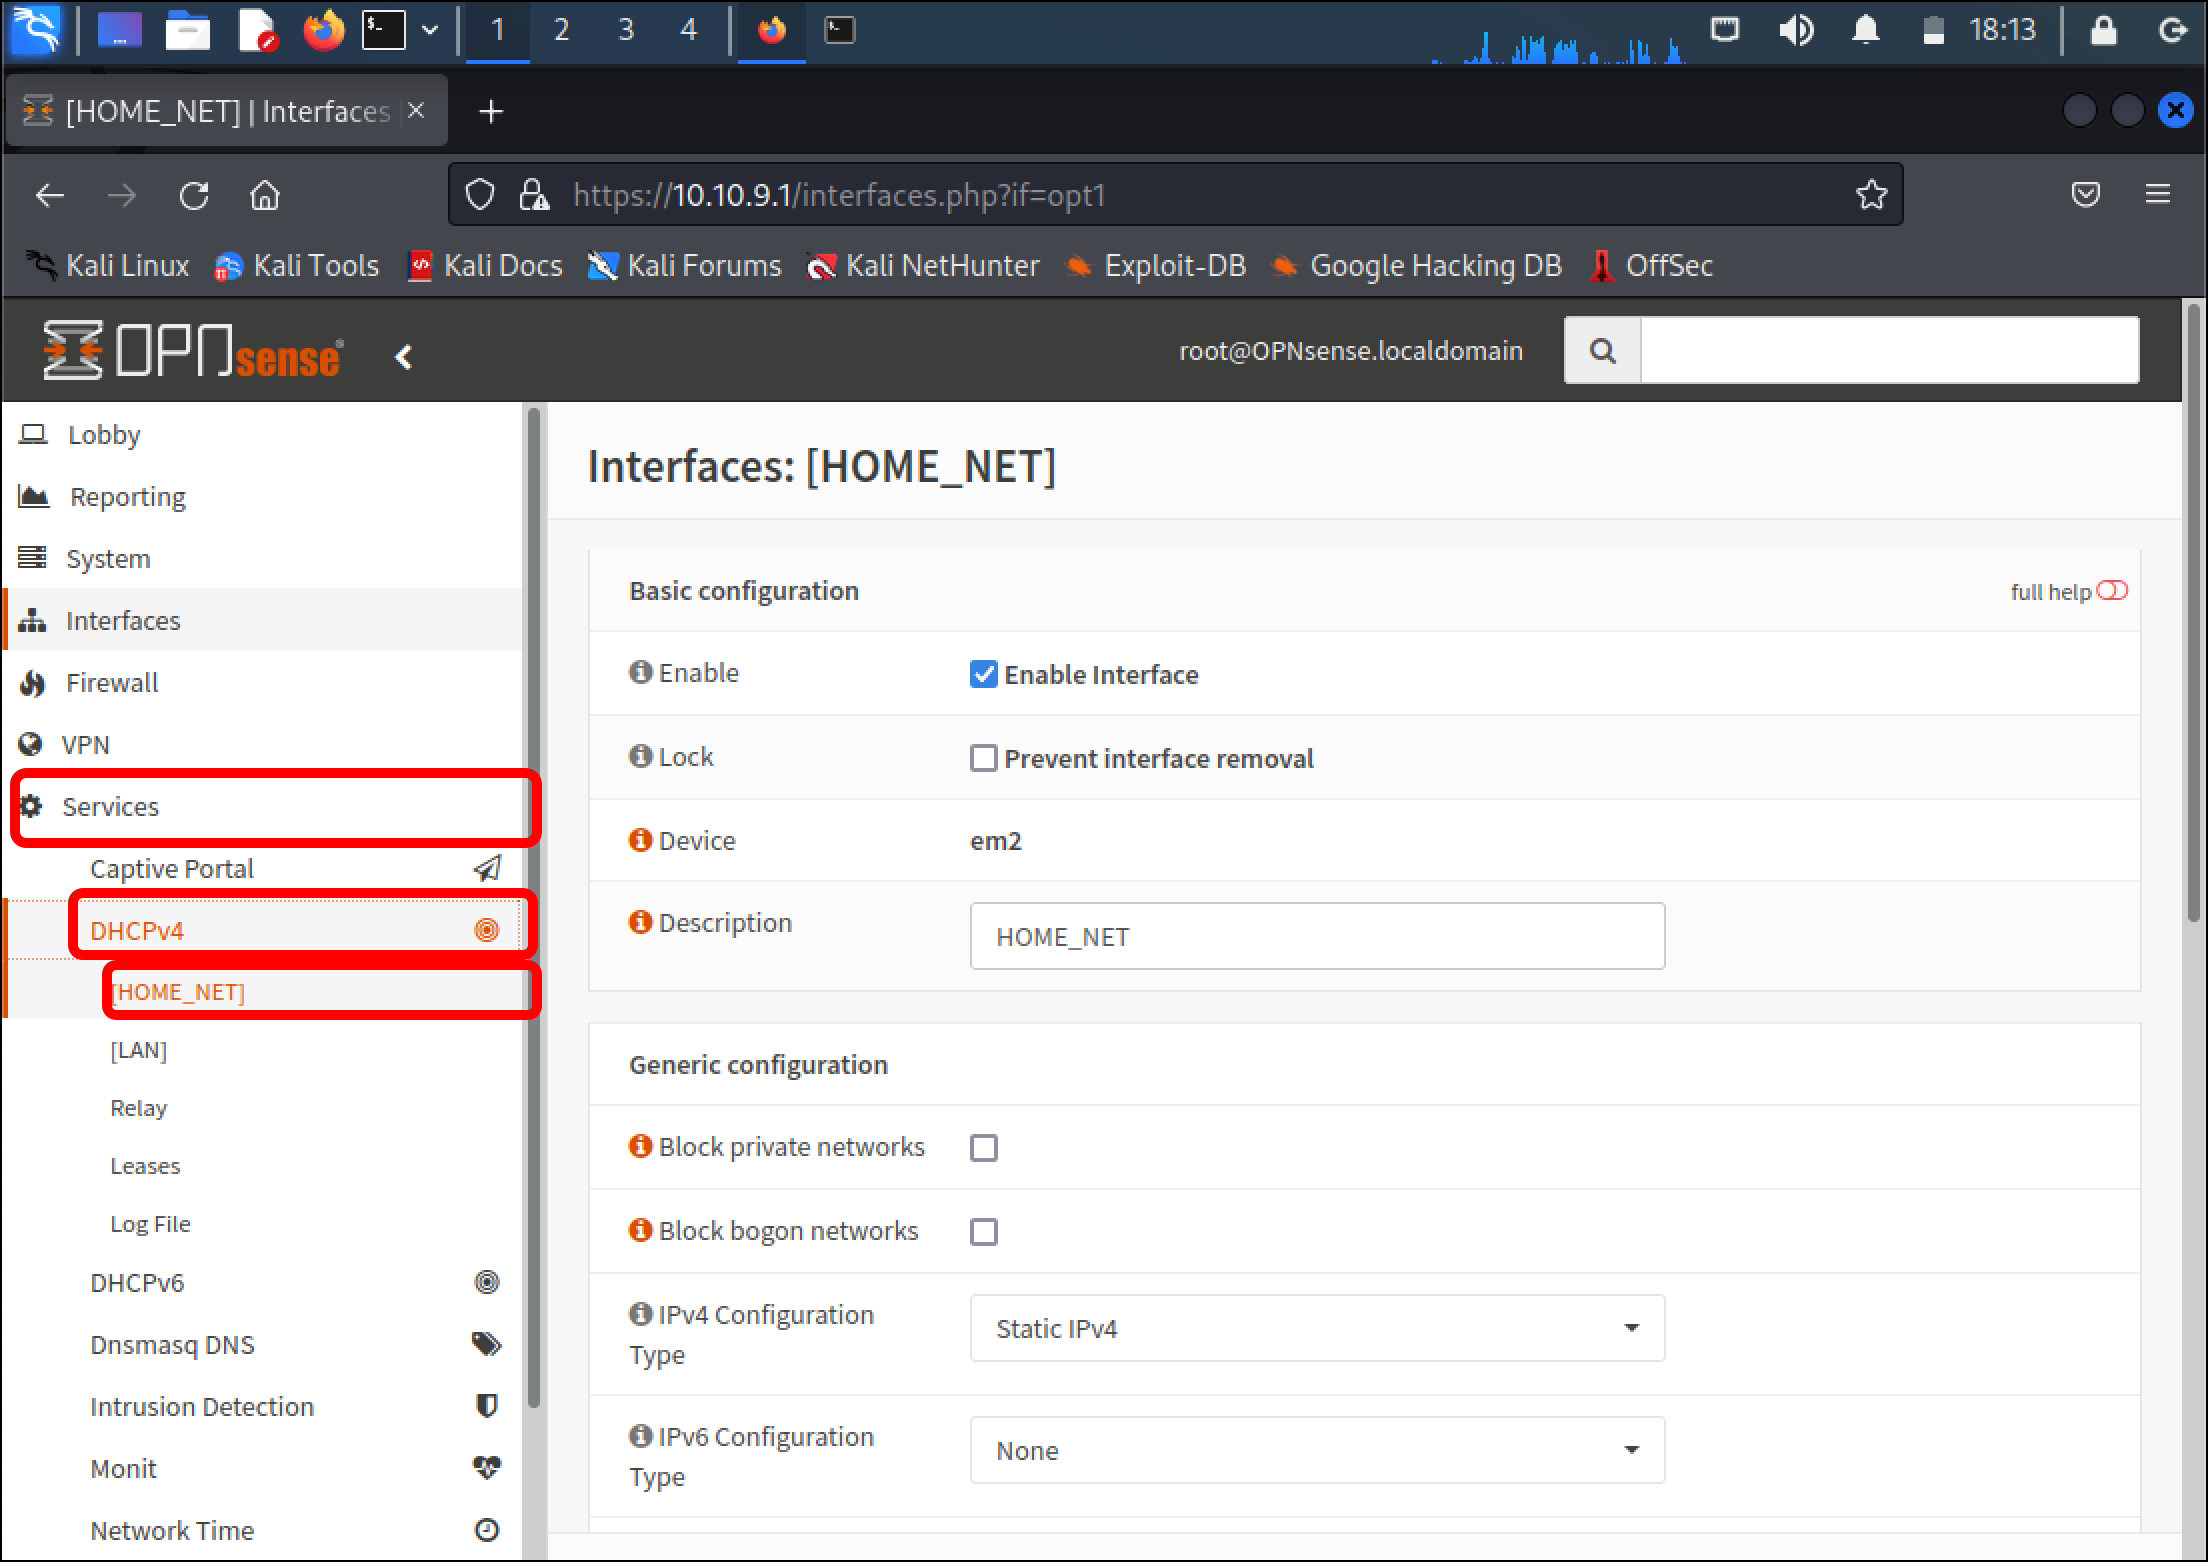
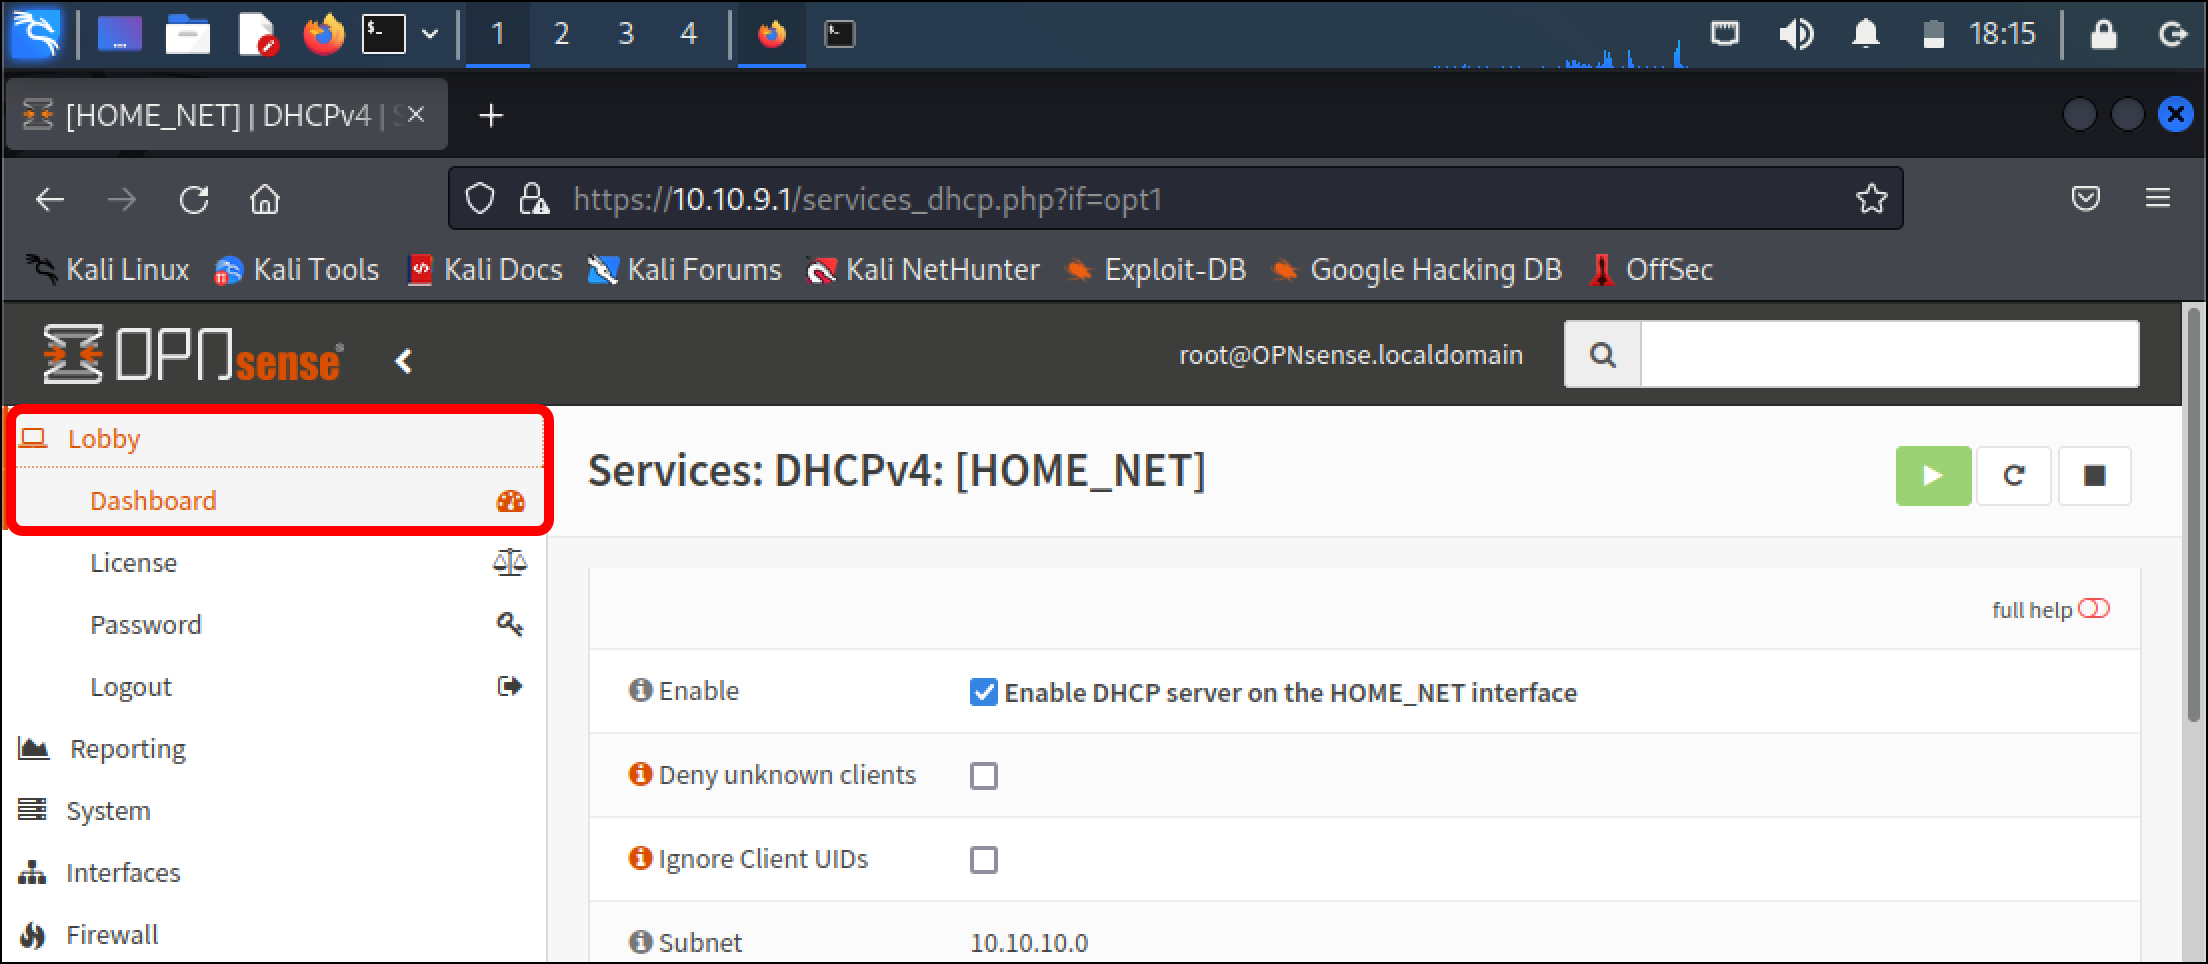
- When the page reloads, scroll down the left sidebar to Services and click it to expand it, click DHCPv4, then click [HOME_NET].
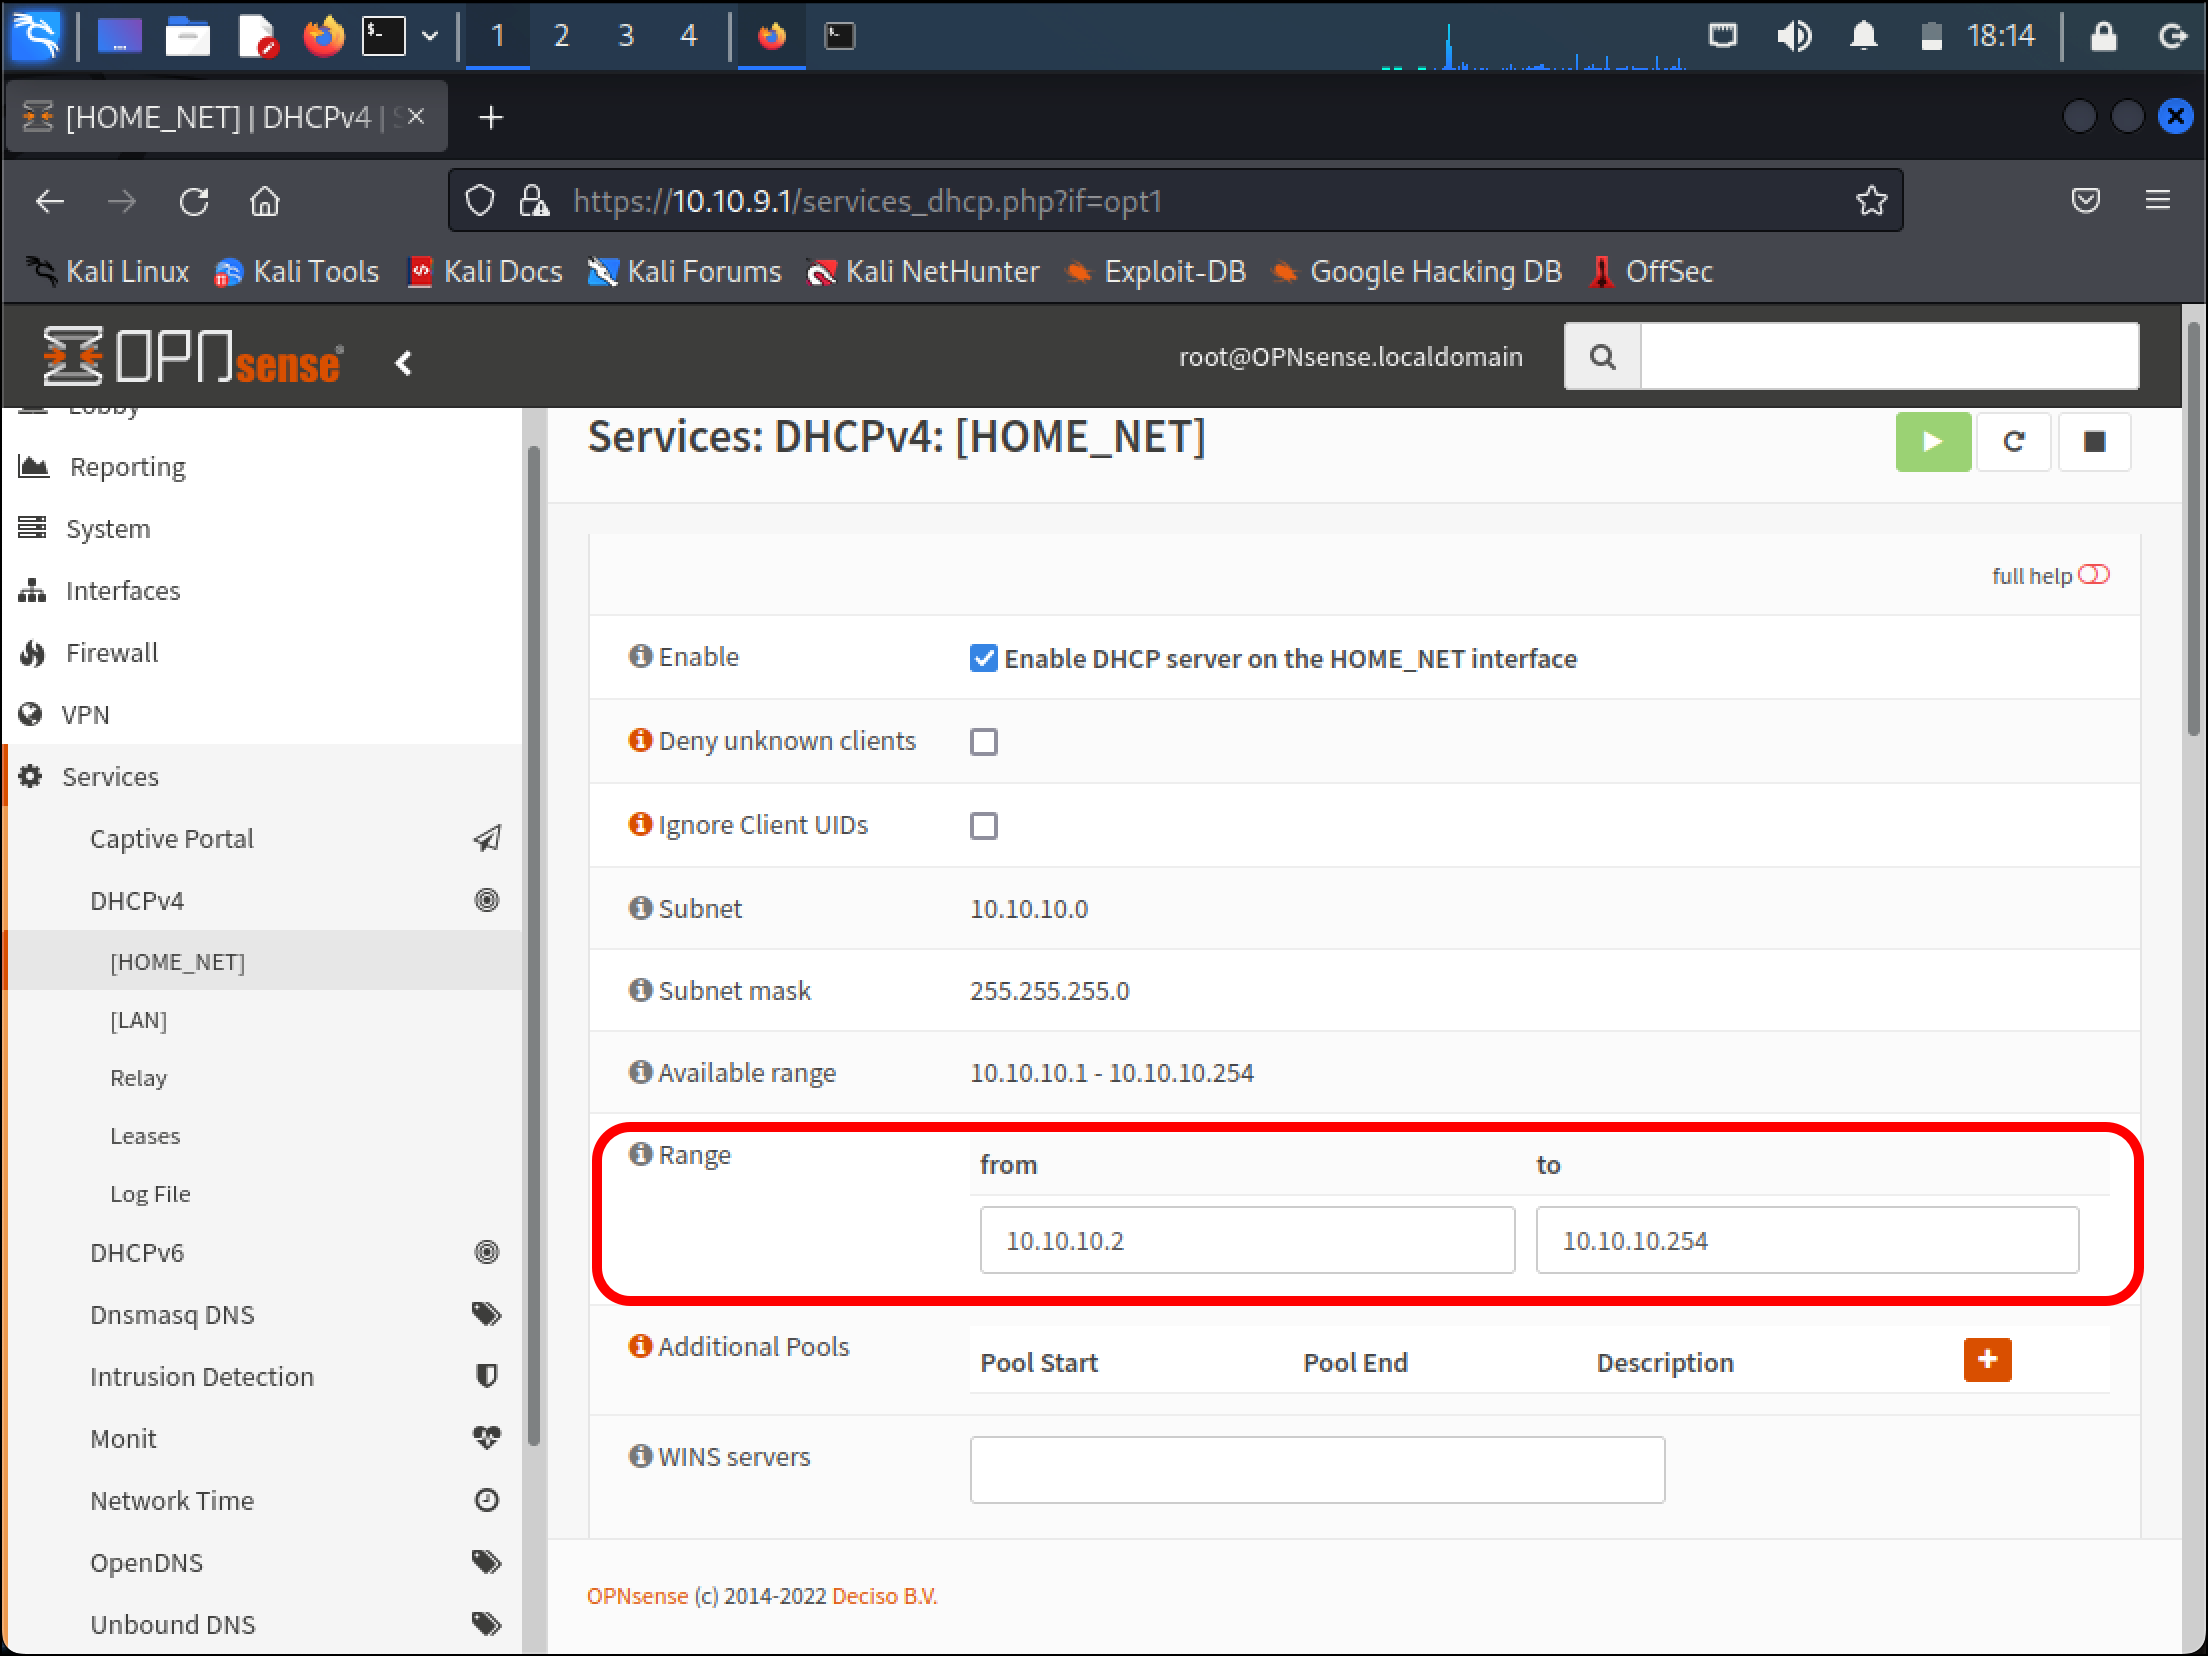
- On the Services: DHCPv4: [HOME_NET] page, select Enable DHCP server on the HOME_NET interface.
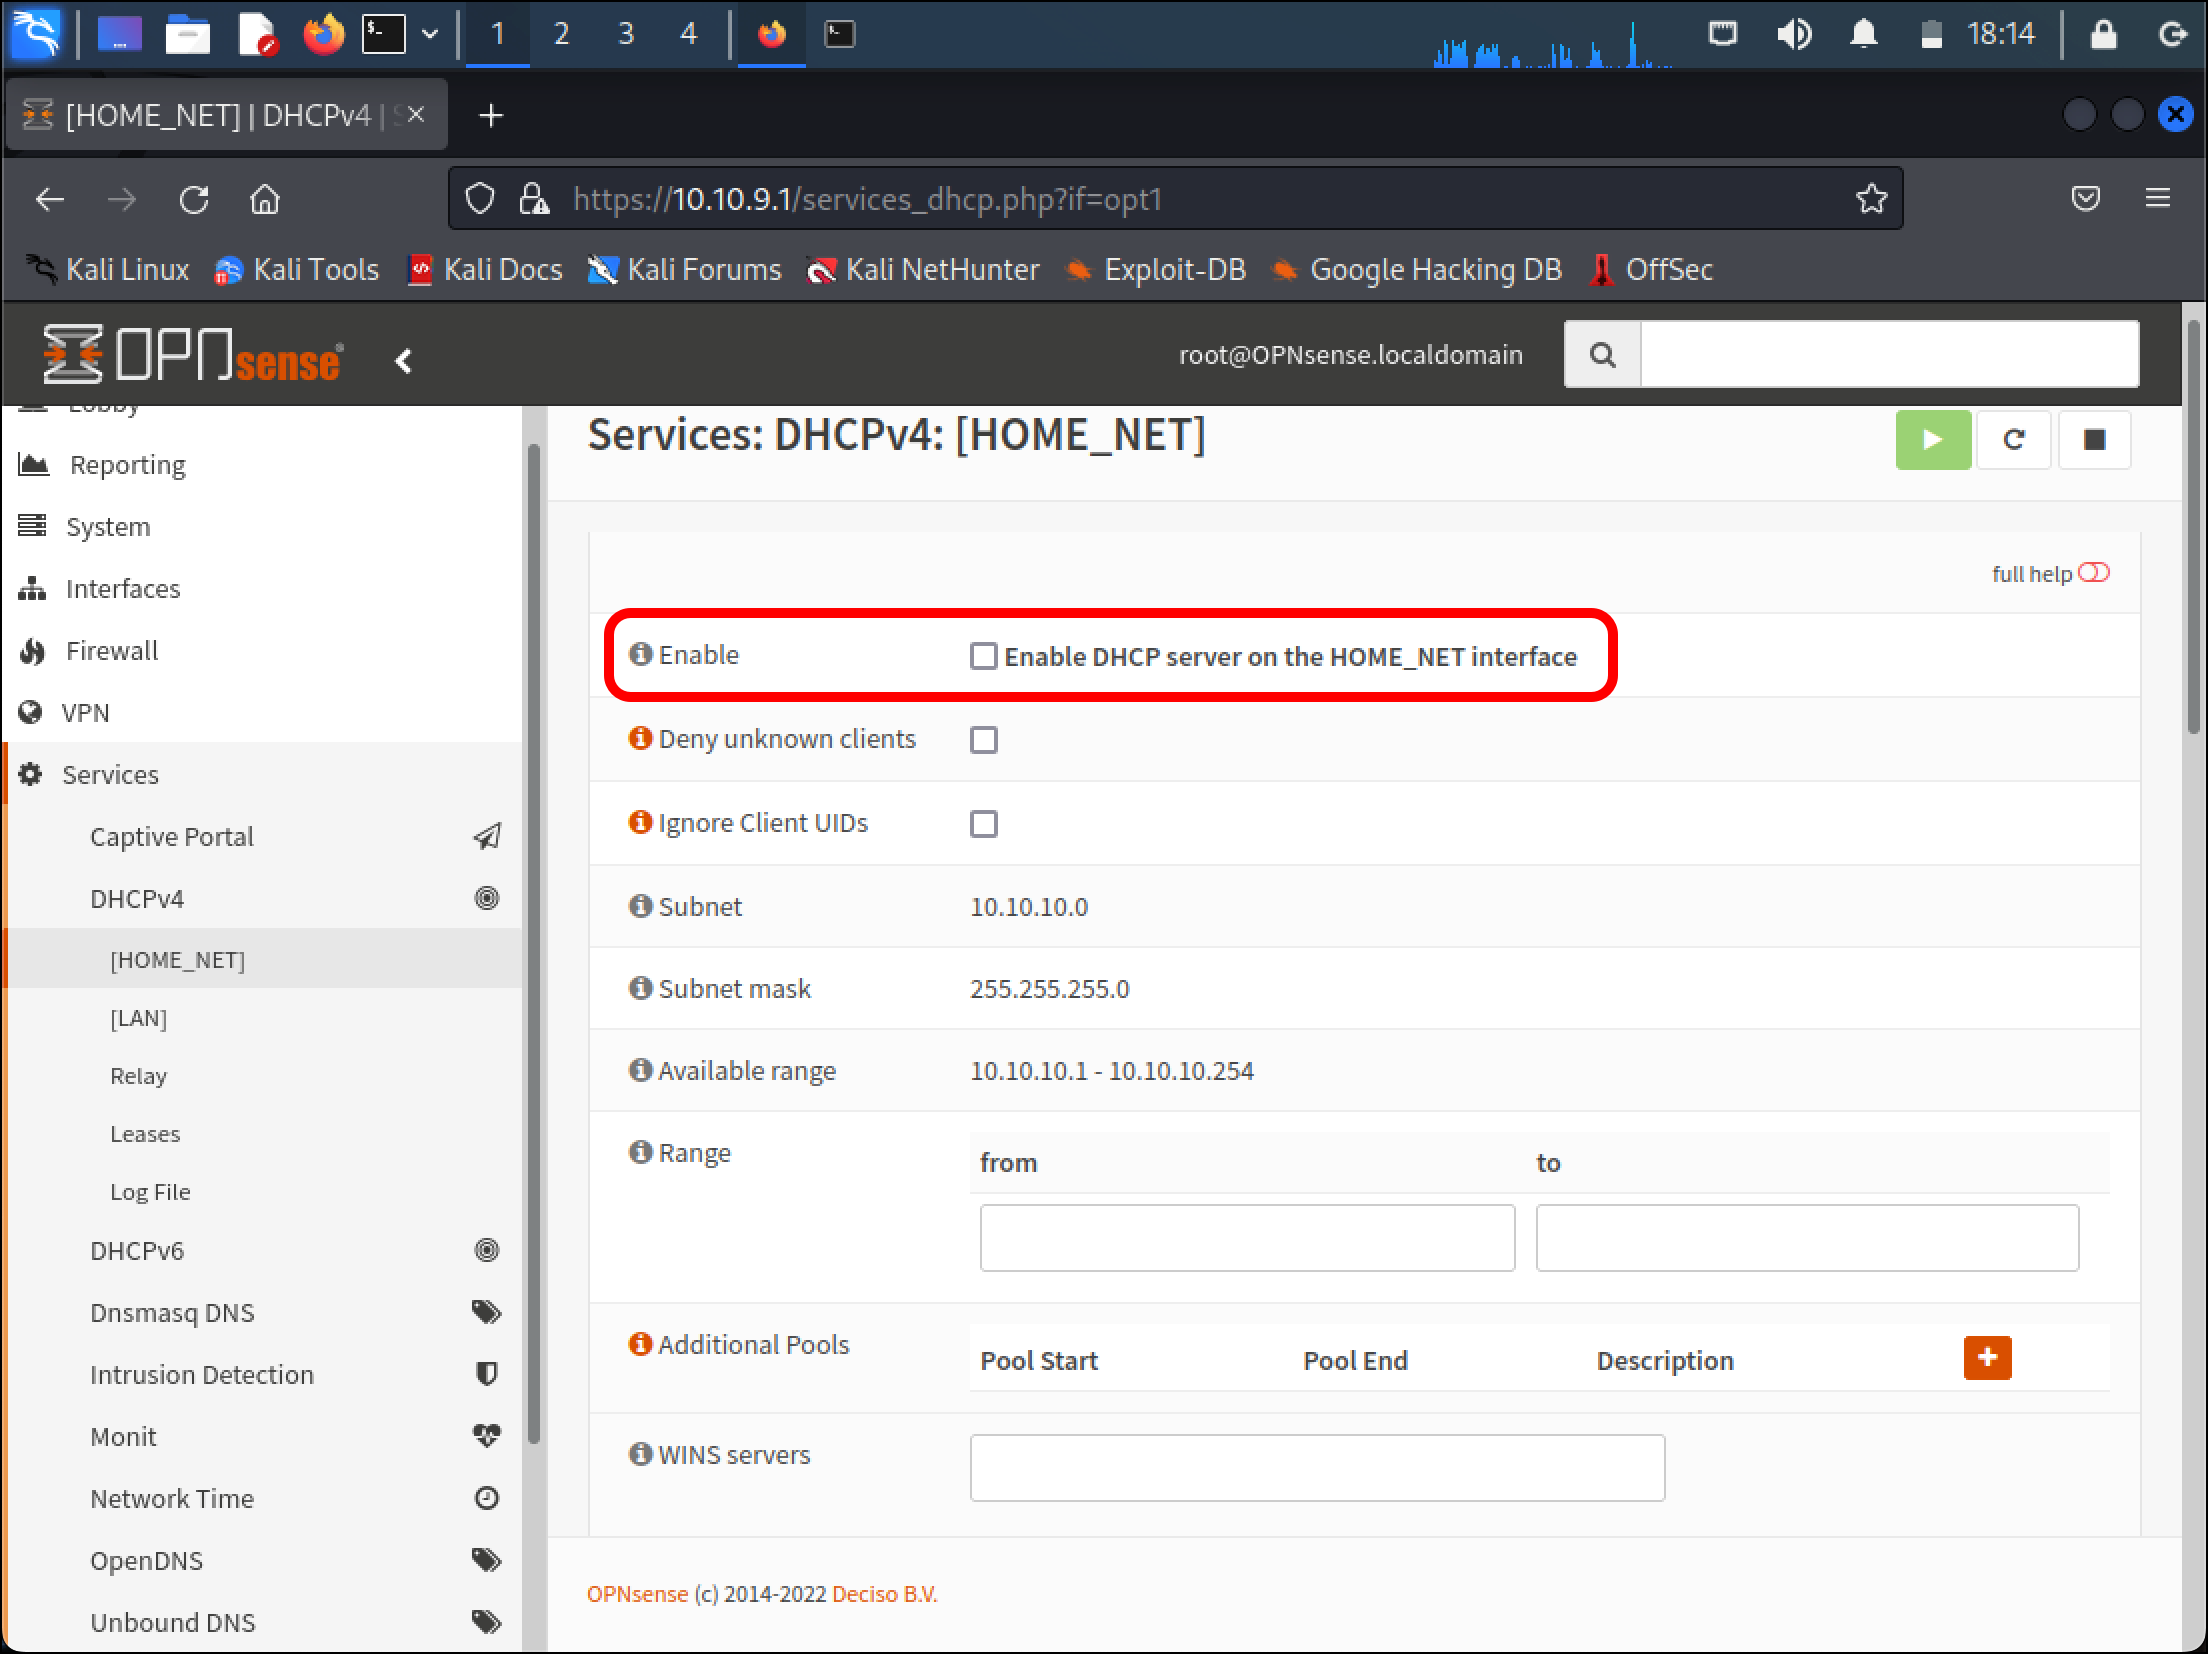
- Enter the Range for DHCP leases: enter 10.10.10.2 in the from field and 10.10.10.254 in the to field.
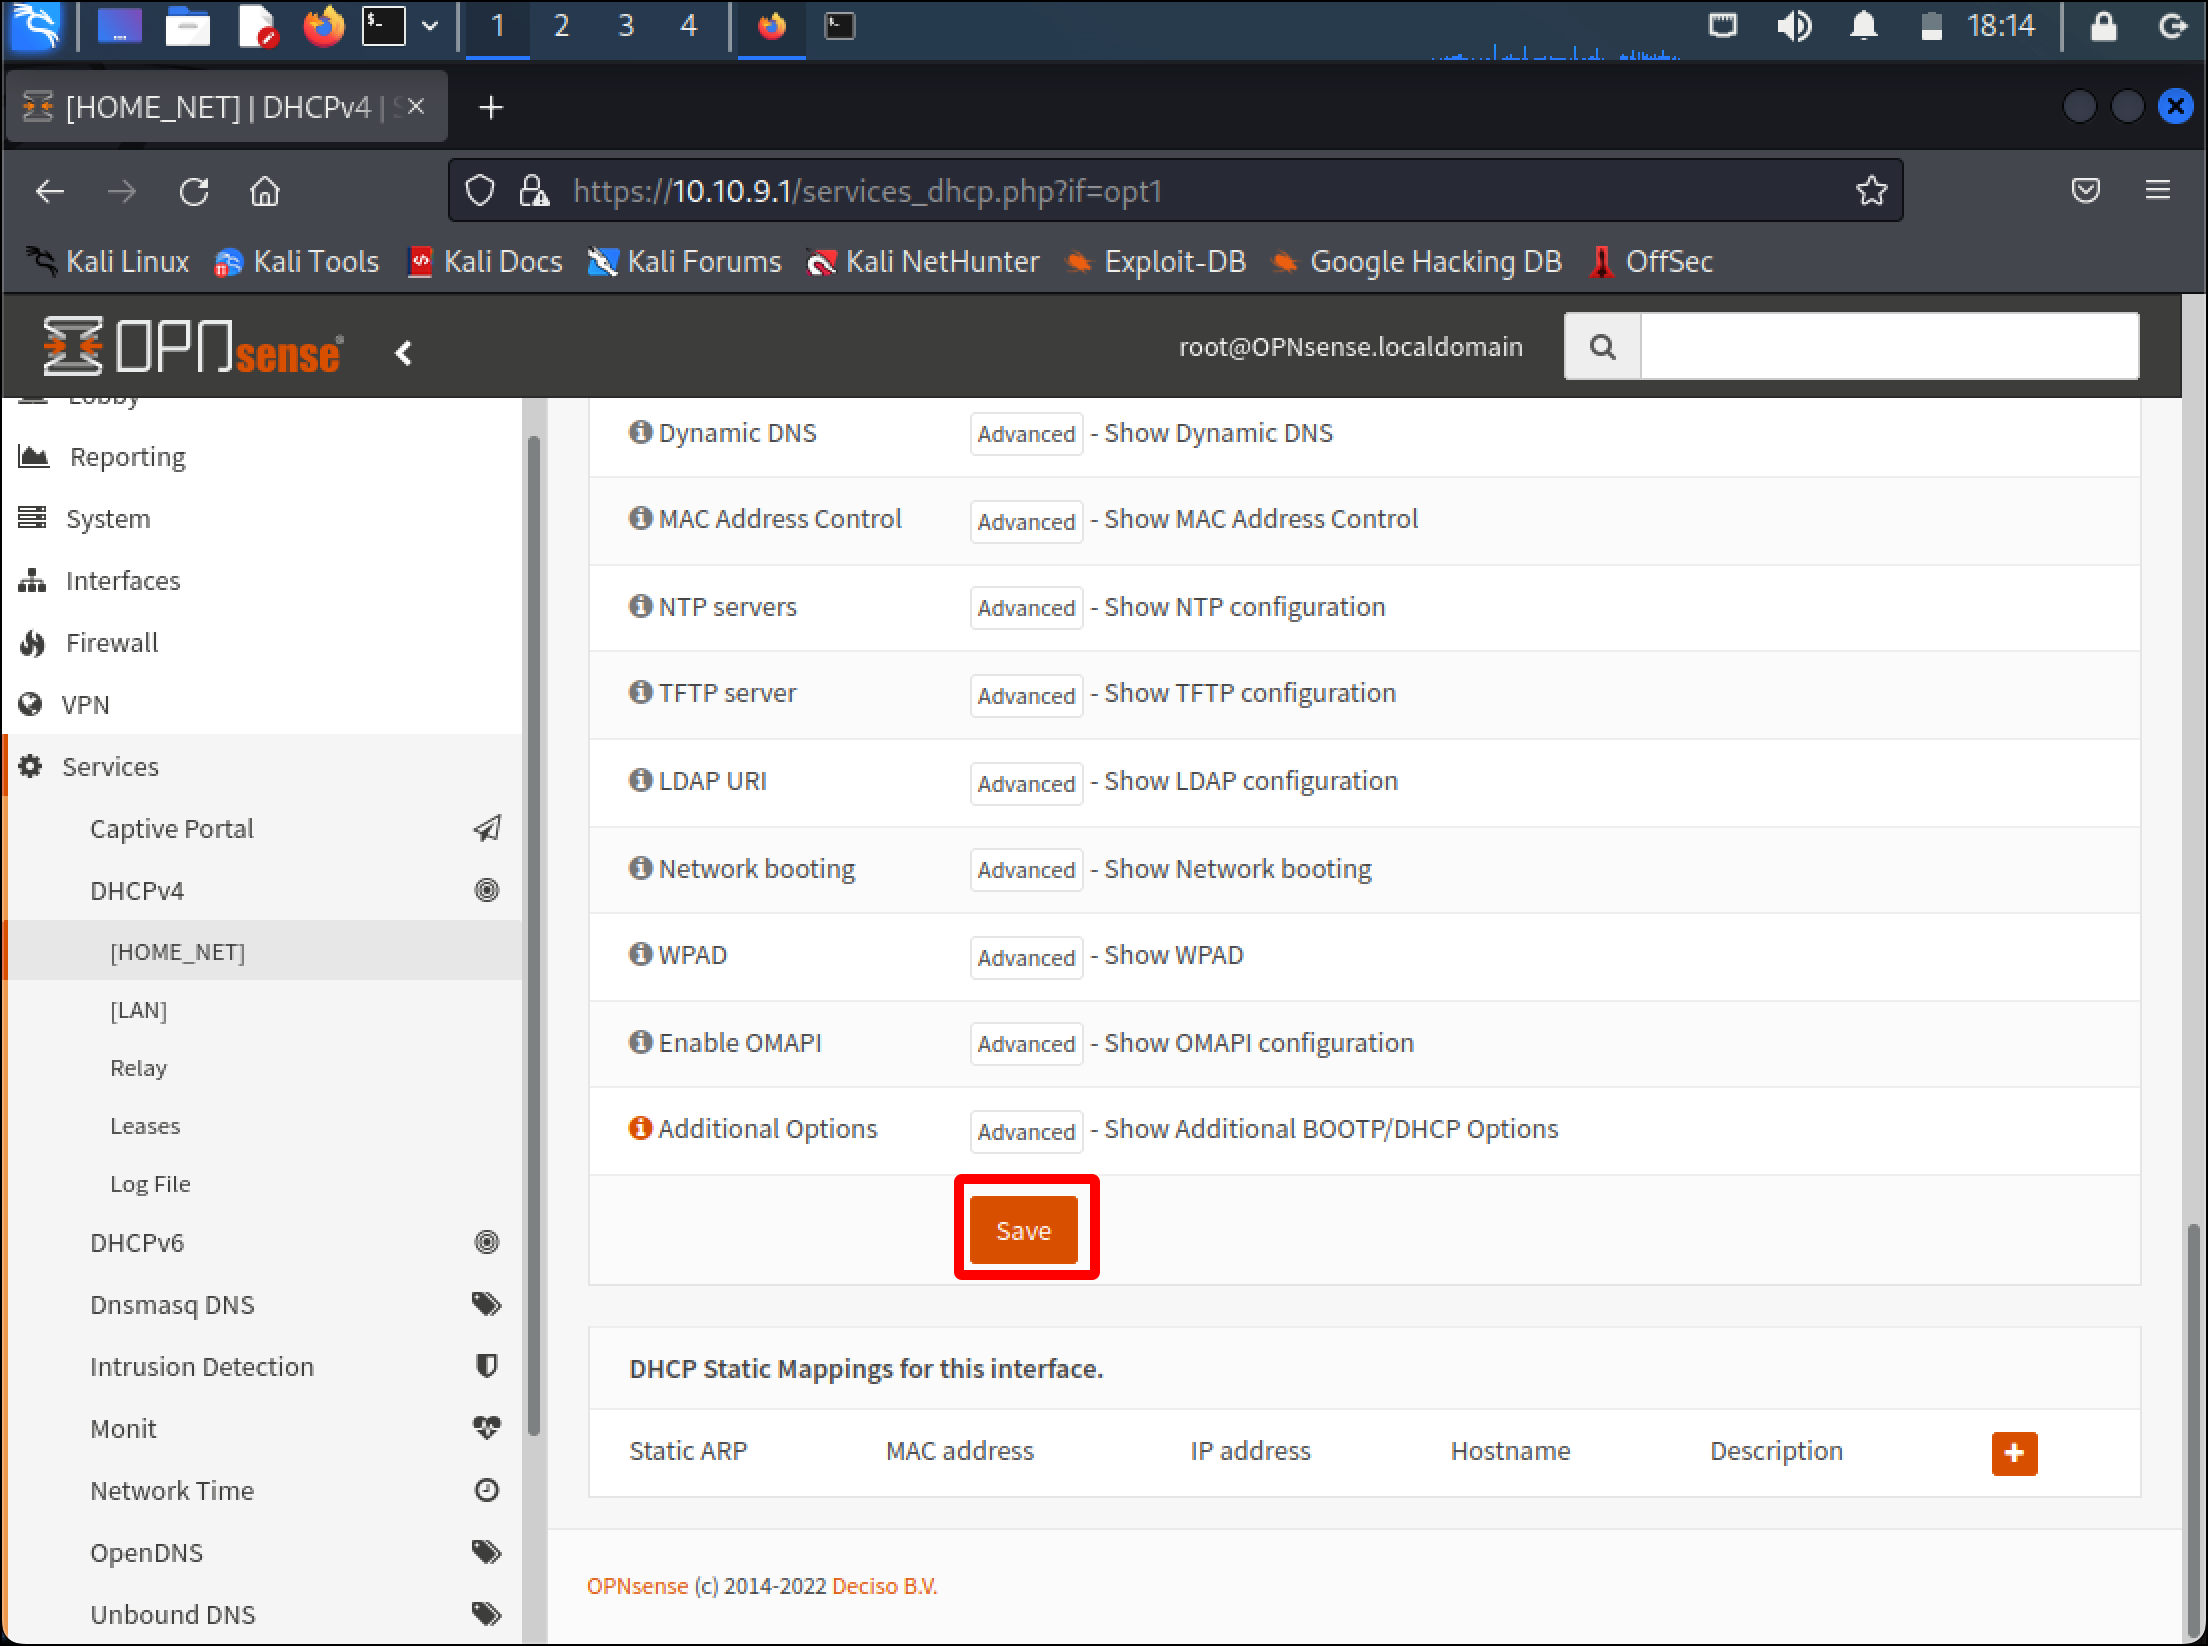
- Scroll to the bottom of the page and click Save.
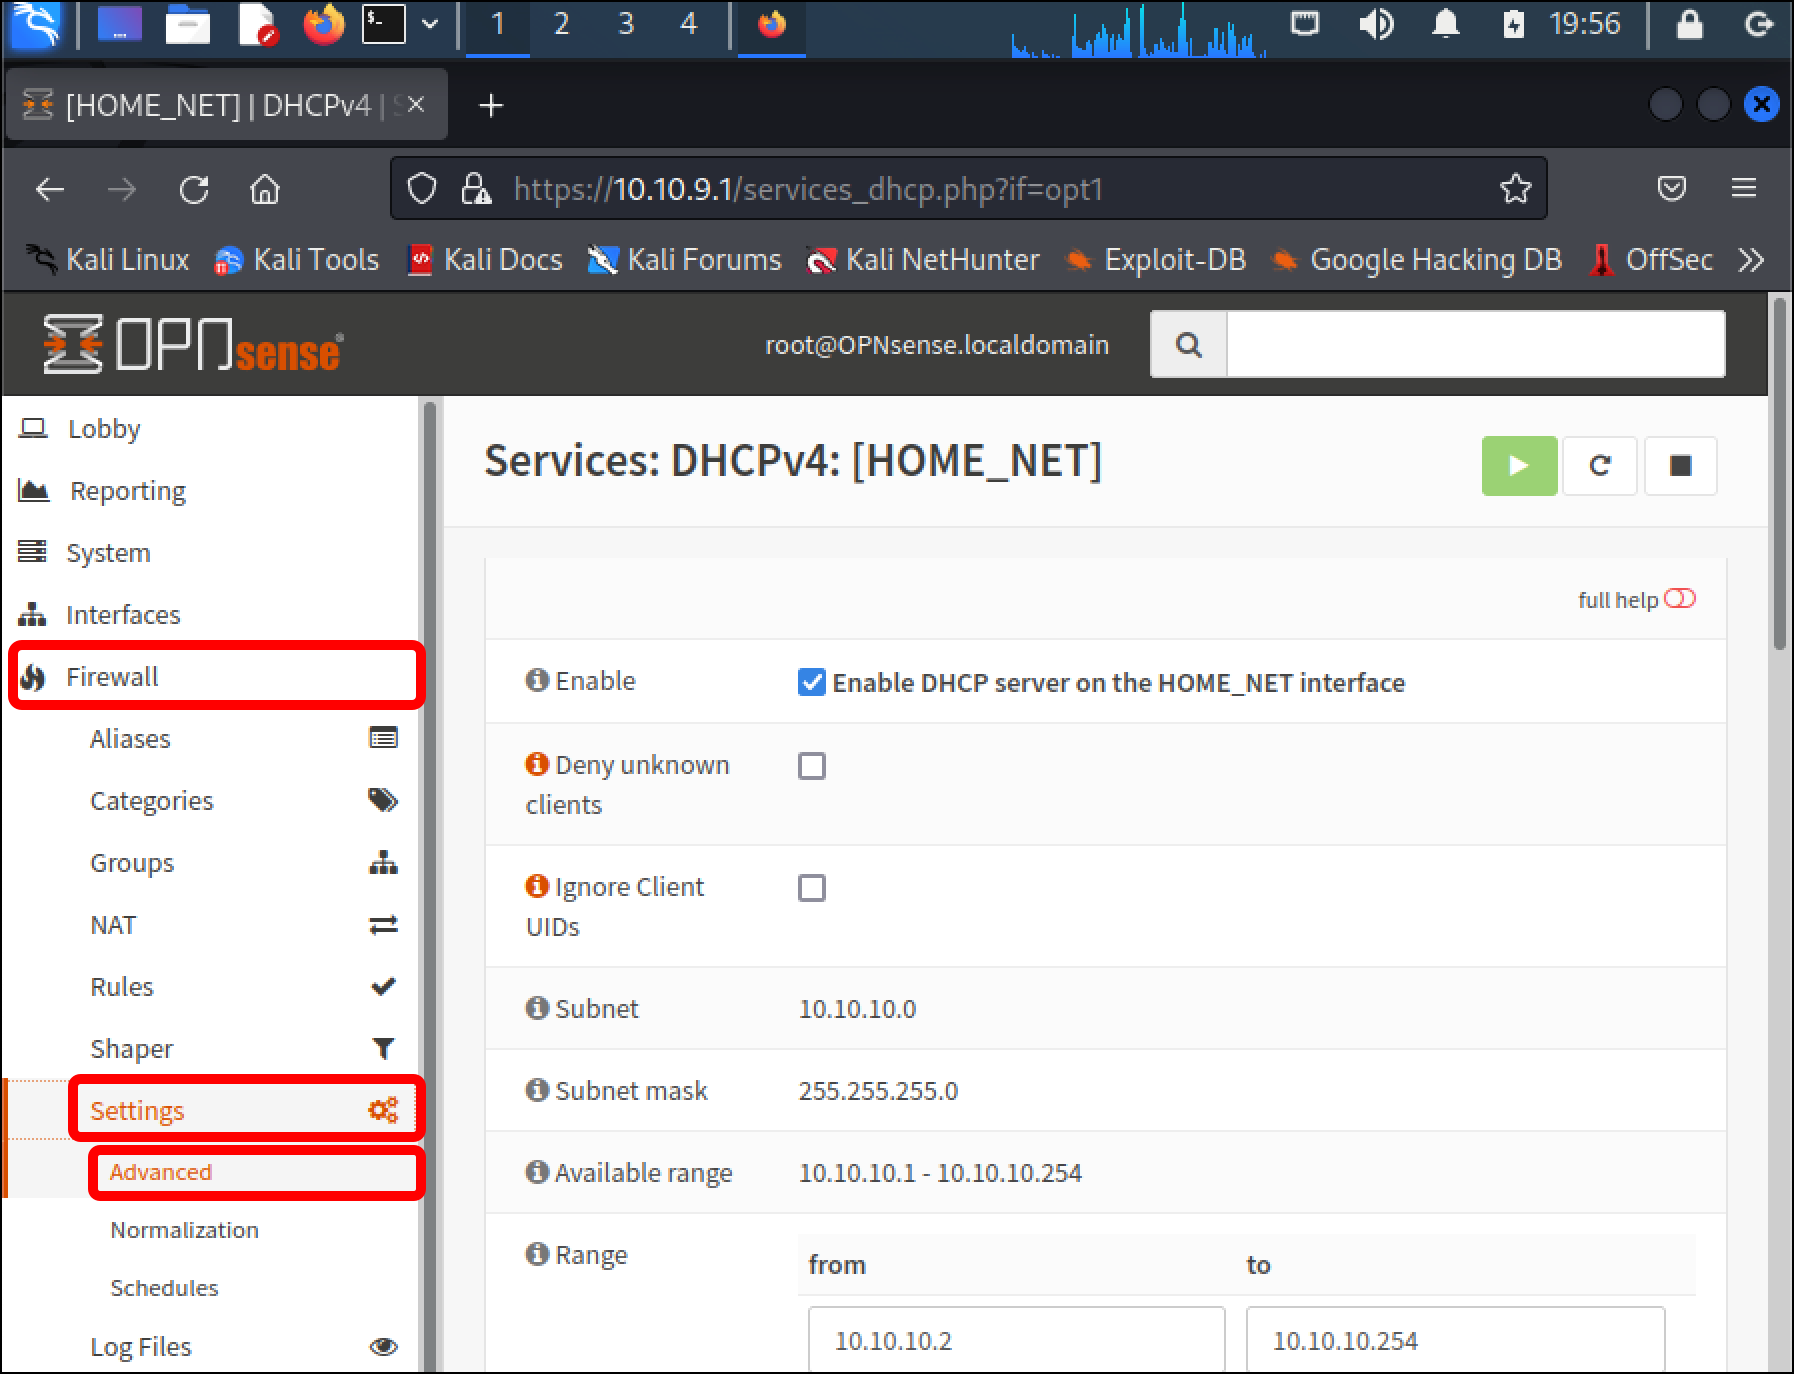
- When the page reloads, click Firewall. When it expands, click Settings, then Advanced.
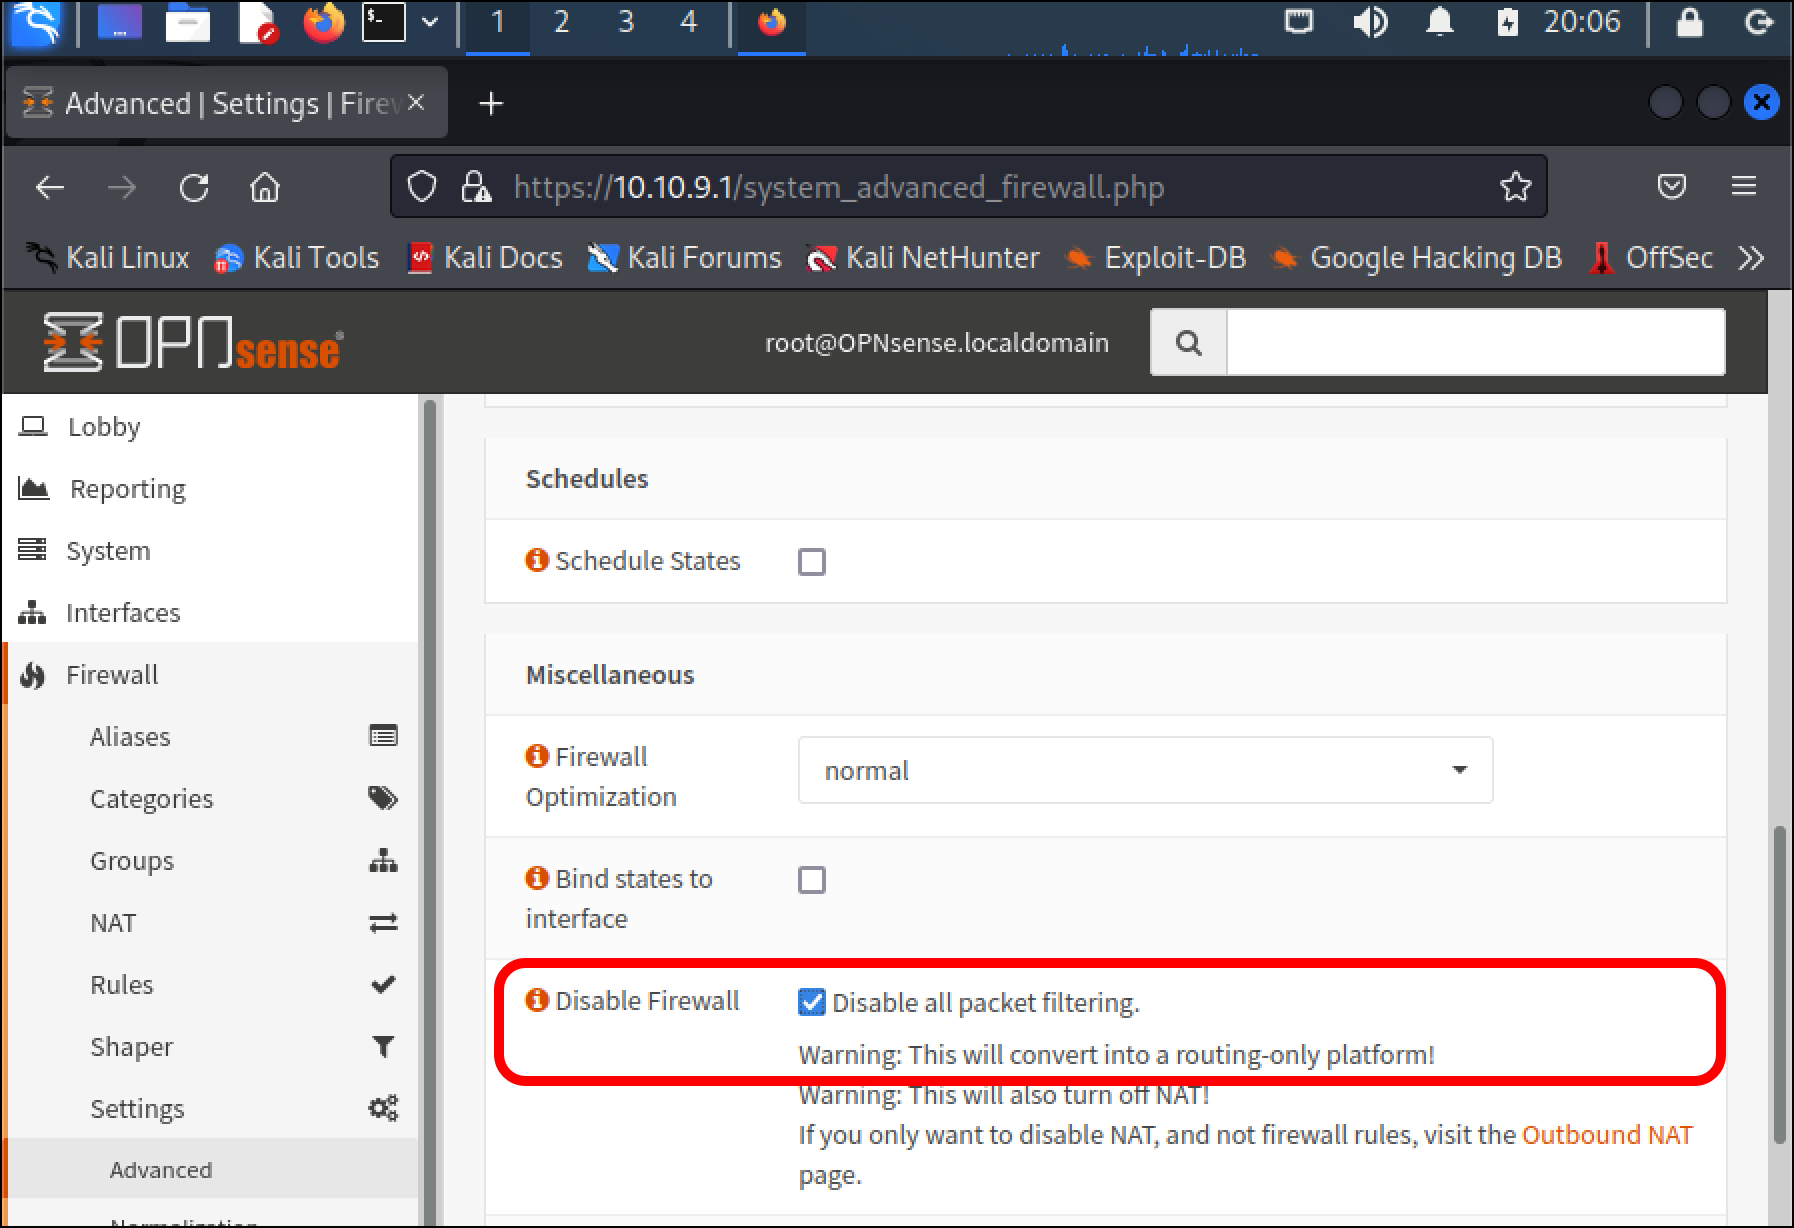
- Scroll down the Firewall: Settings: Advanced page to the Miscellaneous section. Click the question mark icon next to Disable Firewall.
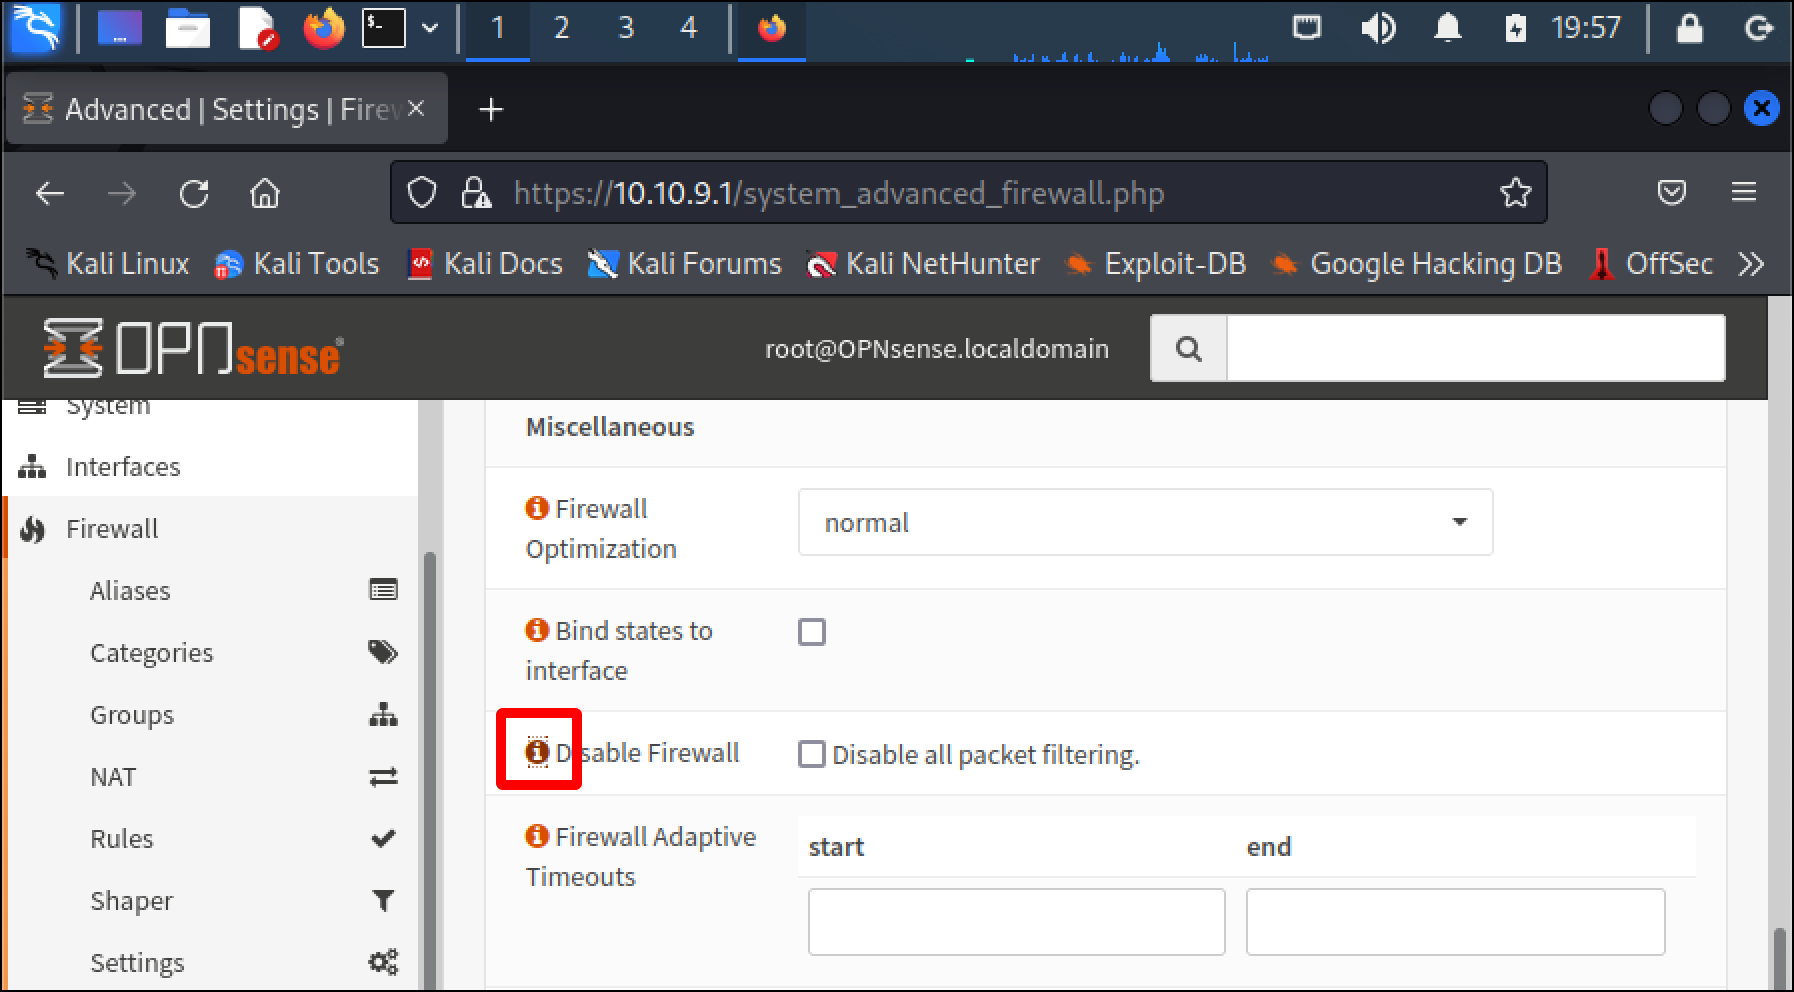
- The help text says that selecting the Disable Firewall option will convert OPNsense into a routing-only platform. This is the desired use for OPNsense – using it as a router – that this tutorial requires at this time. Select Disable all packet filtering.
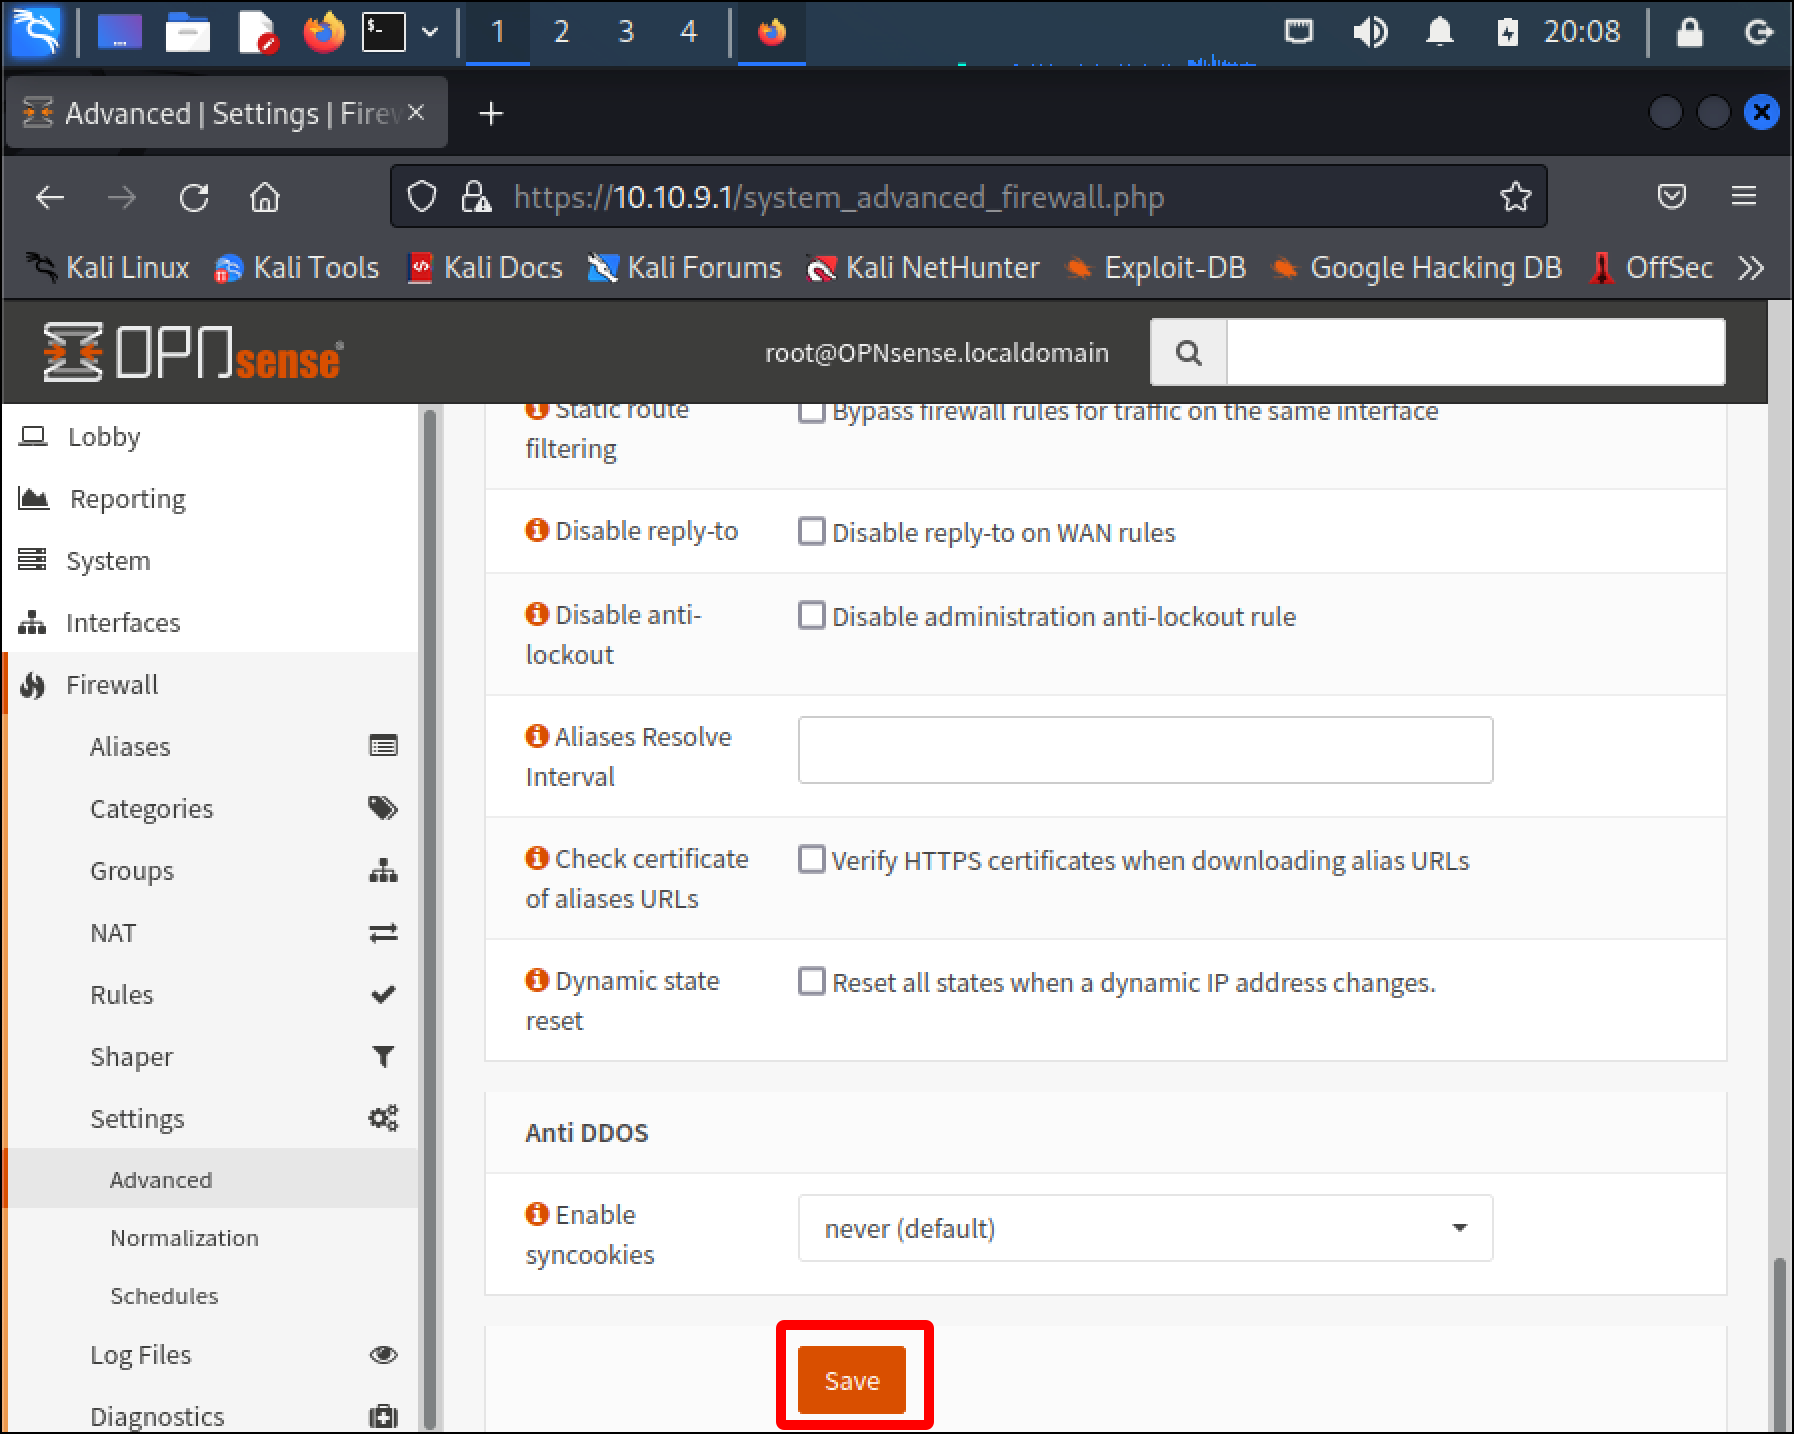
- Scroll to the bottom of the page and click Save.
- A message displays at the top of the page: The changes have been applied successfully. In the left sidebar, click Lobby, then Dashboard.
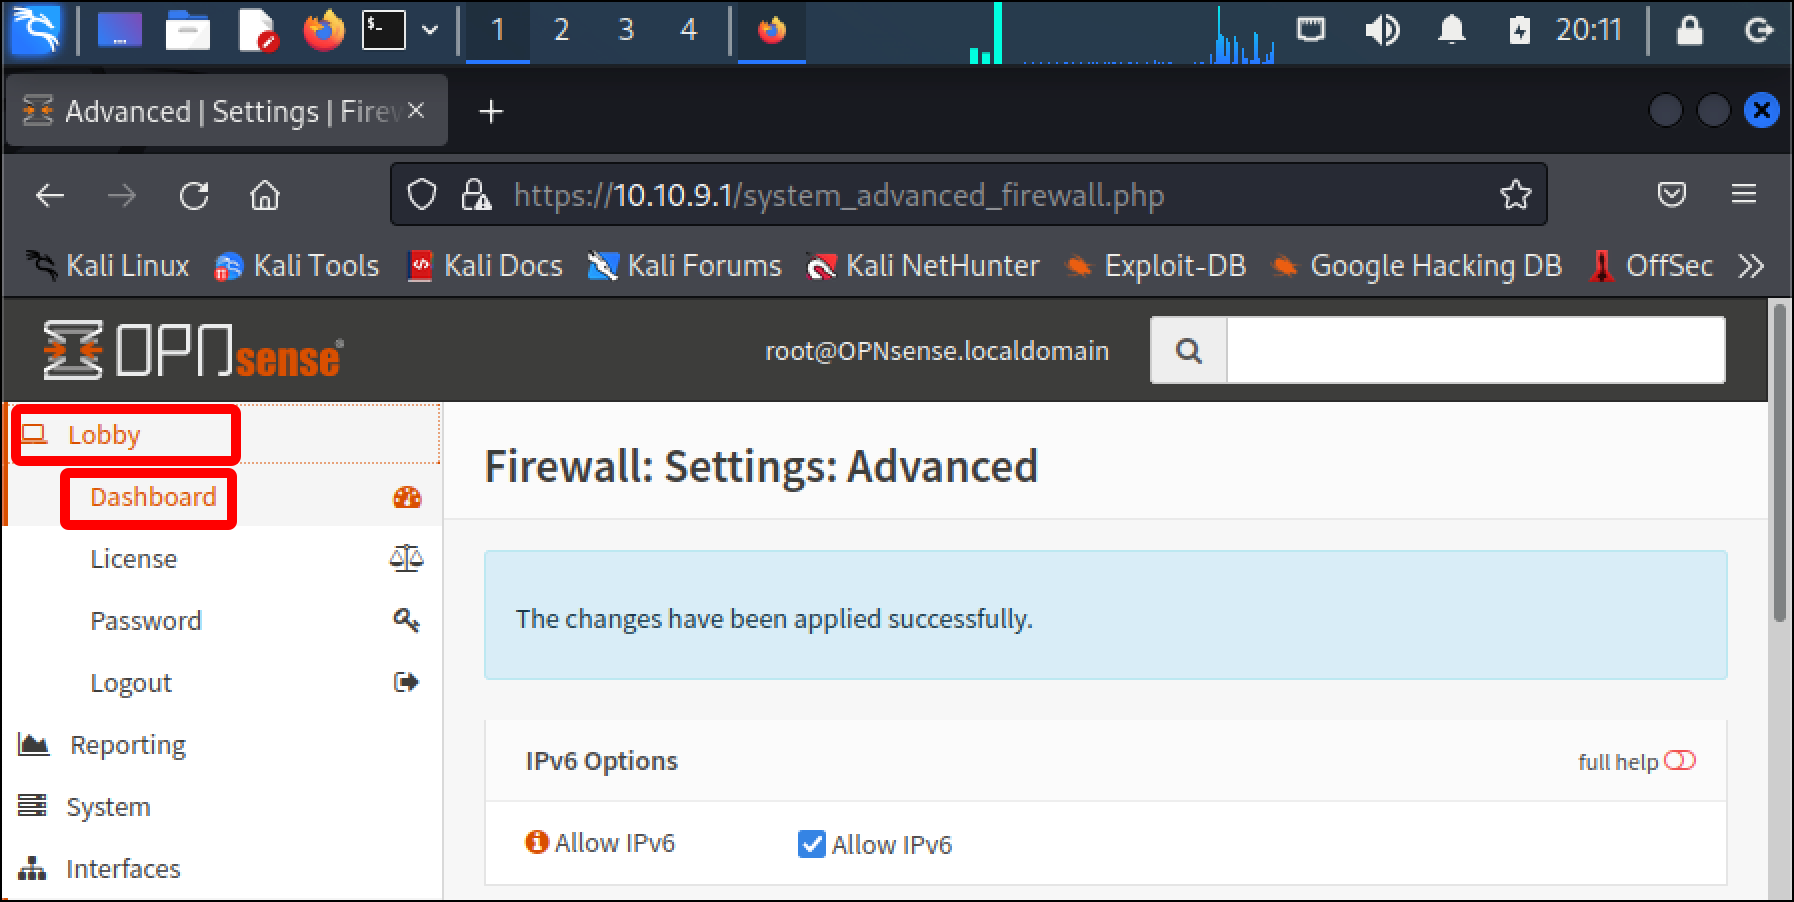
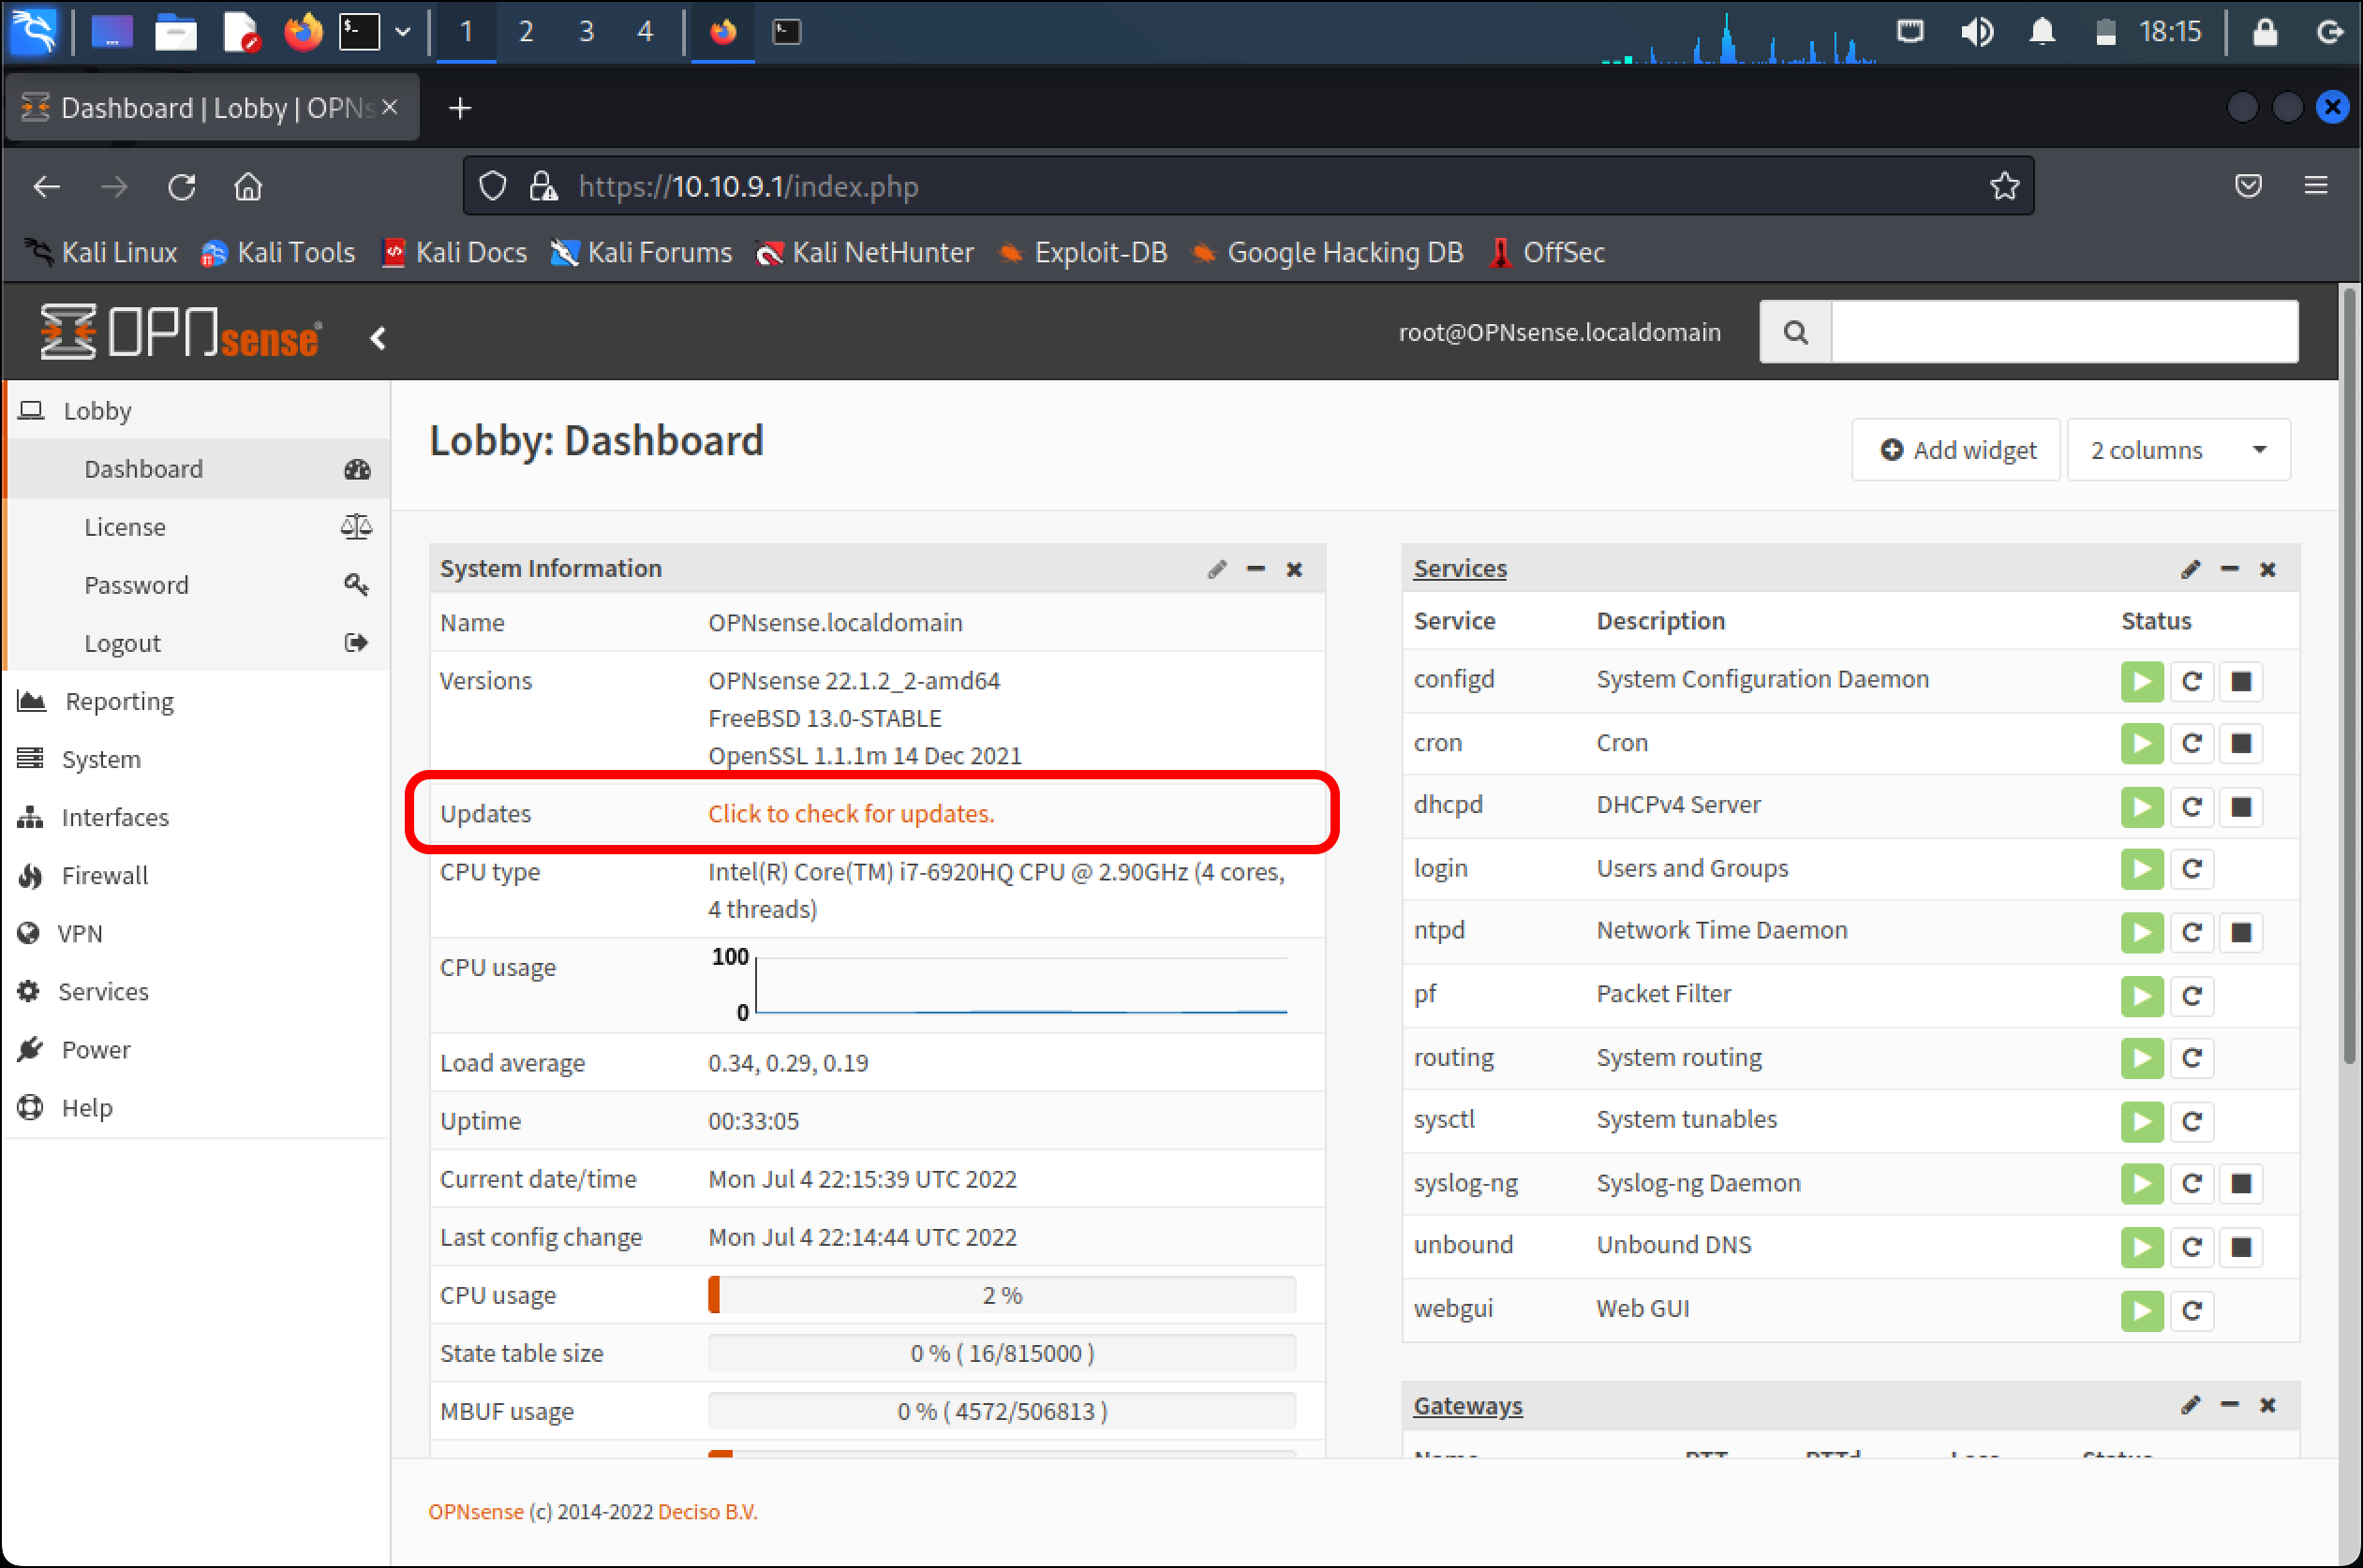
- When the page reloads, click Dashboard under Lobby.
- On the Lobby: Dashboard page, click the link for Click to check for updates.
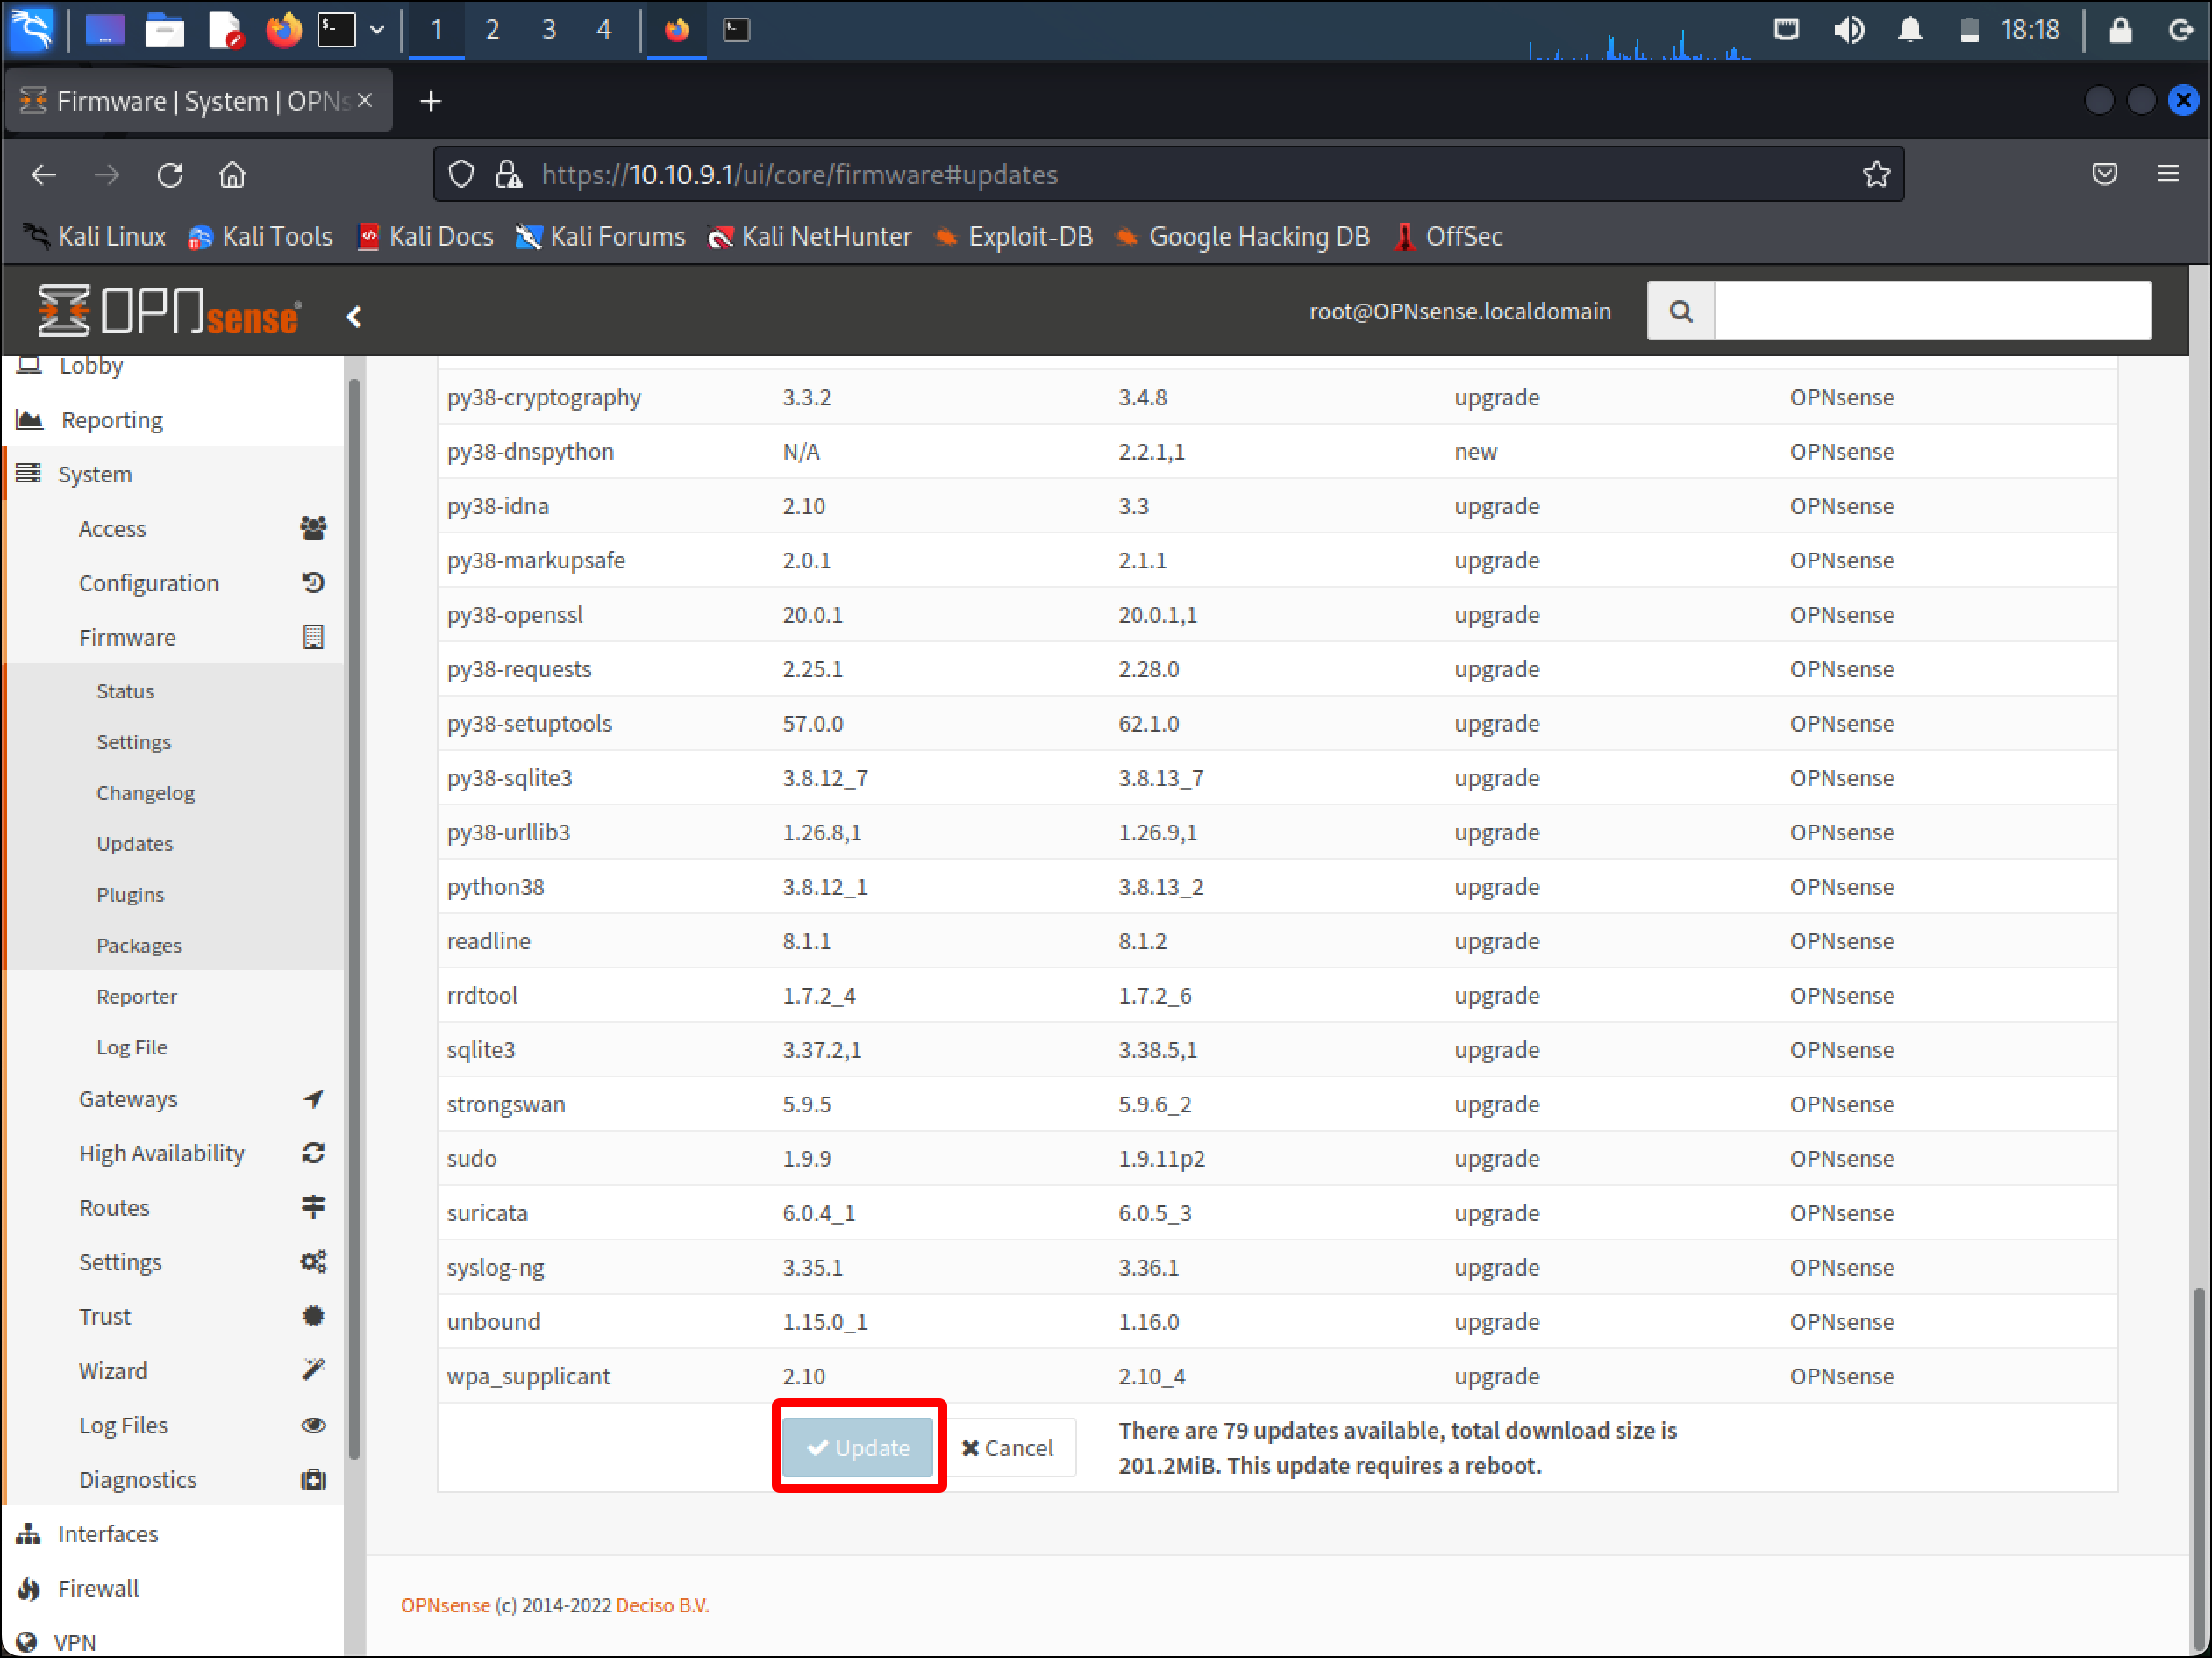
- The System: Firmware page loads. It will display some terminal output and you may also see some release notes in a pop-up. When the system knows what packages need to be upgraded, scroll to the bottom of the Updates tab and click Update.
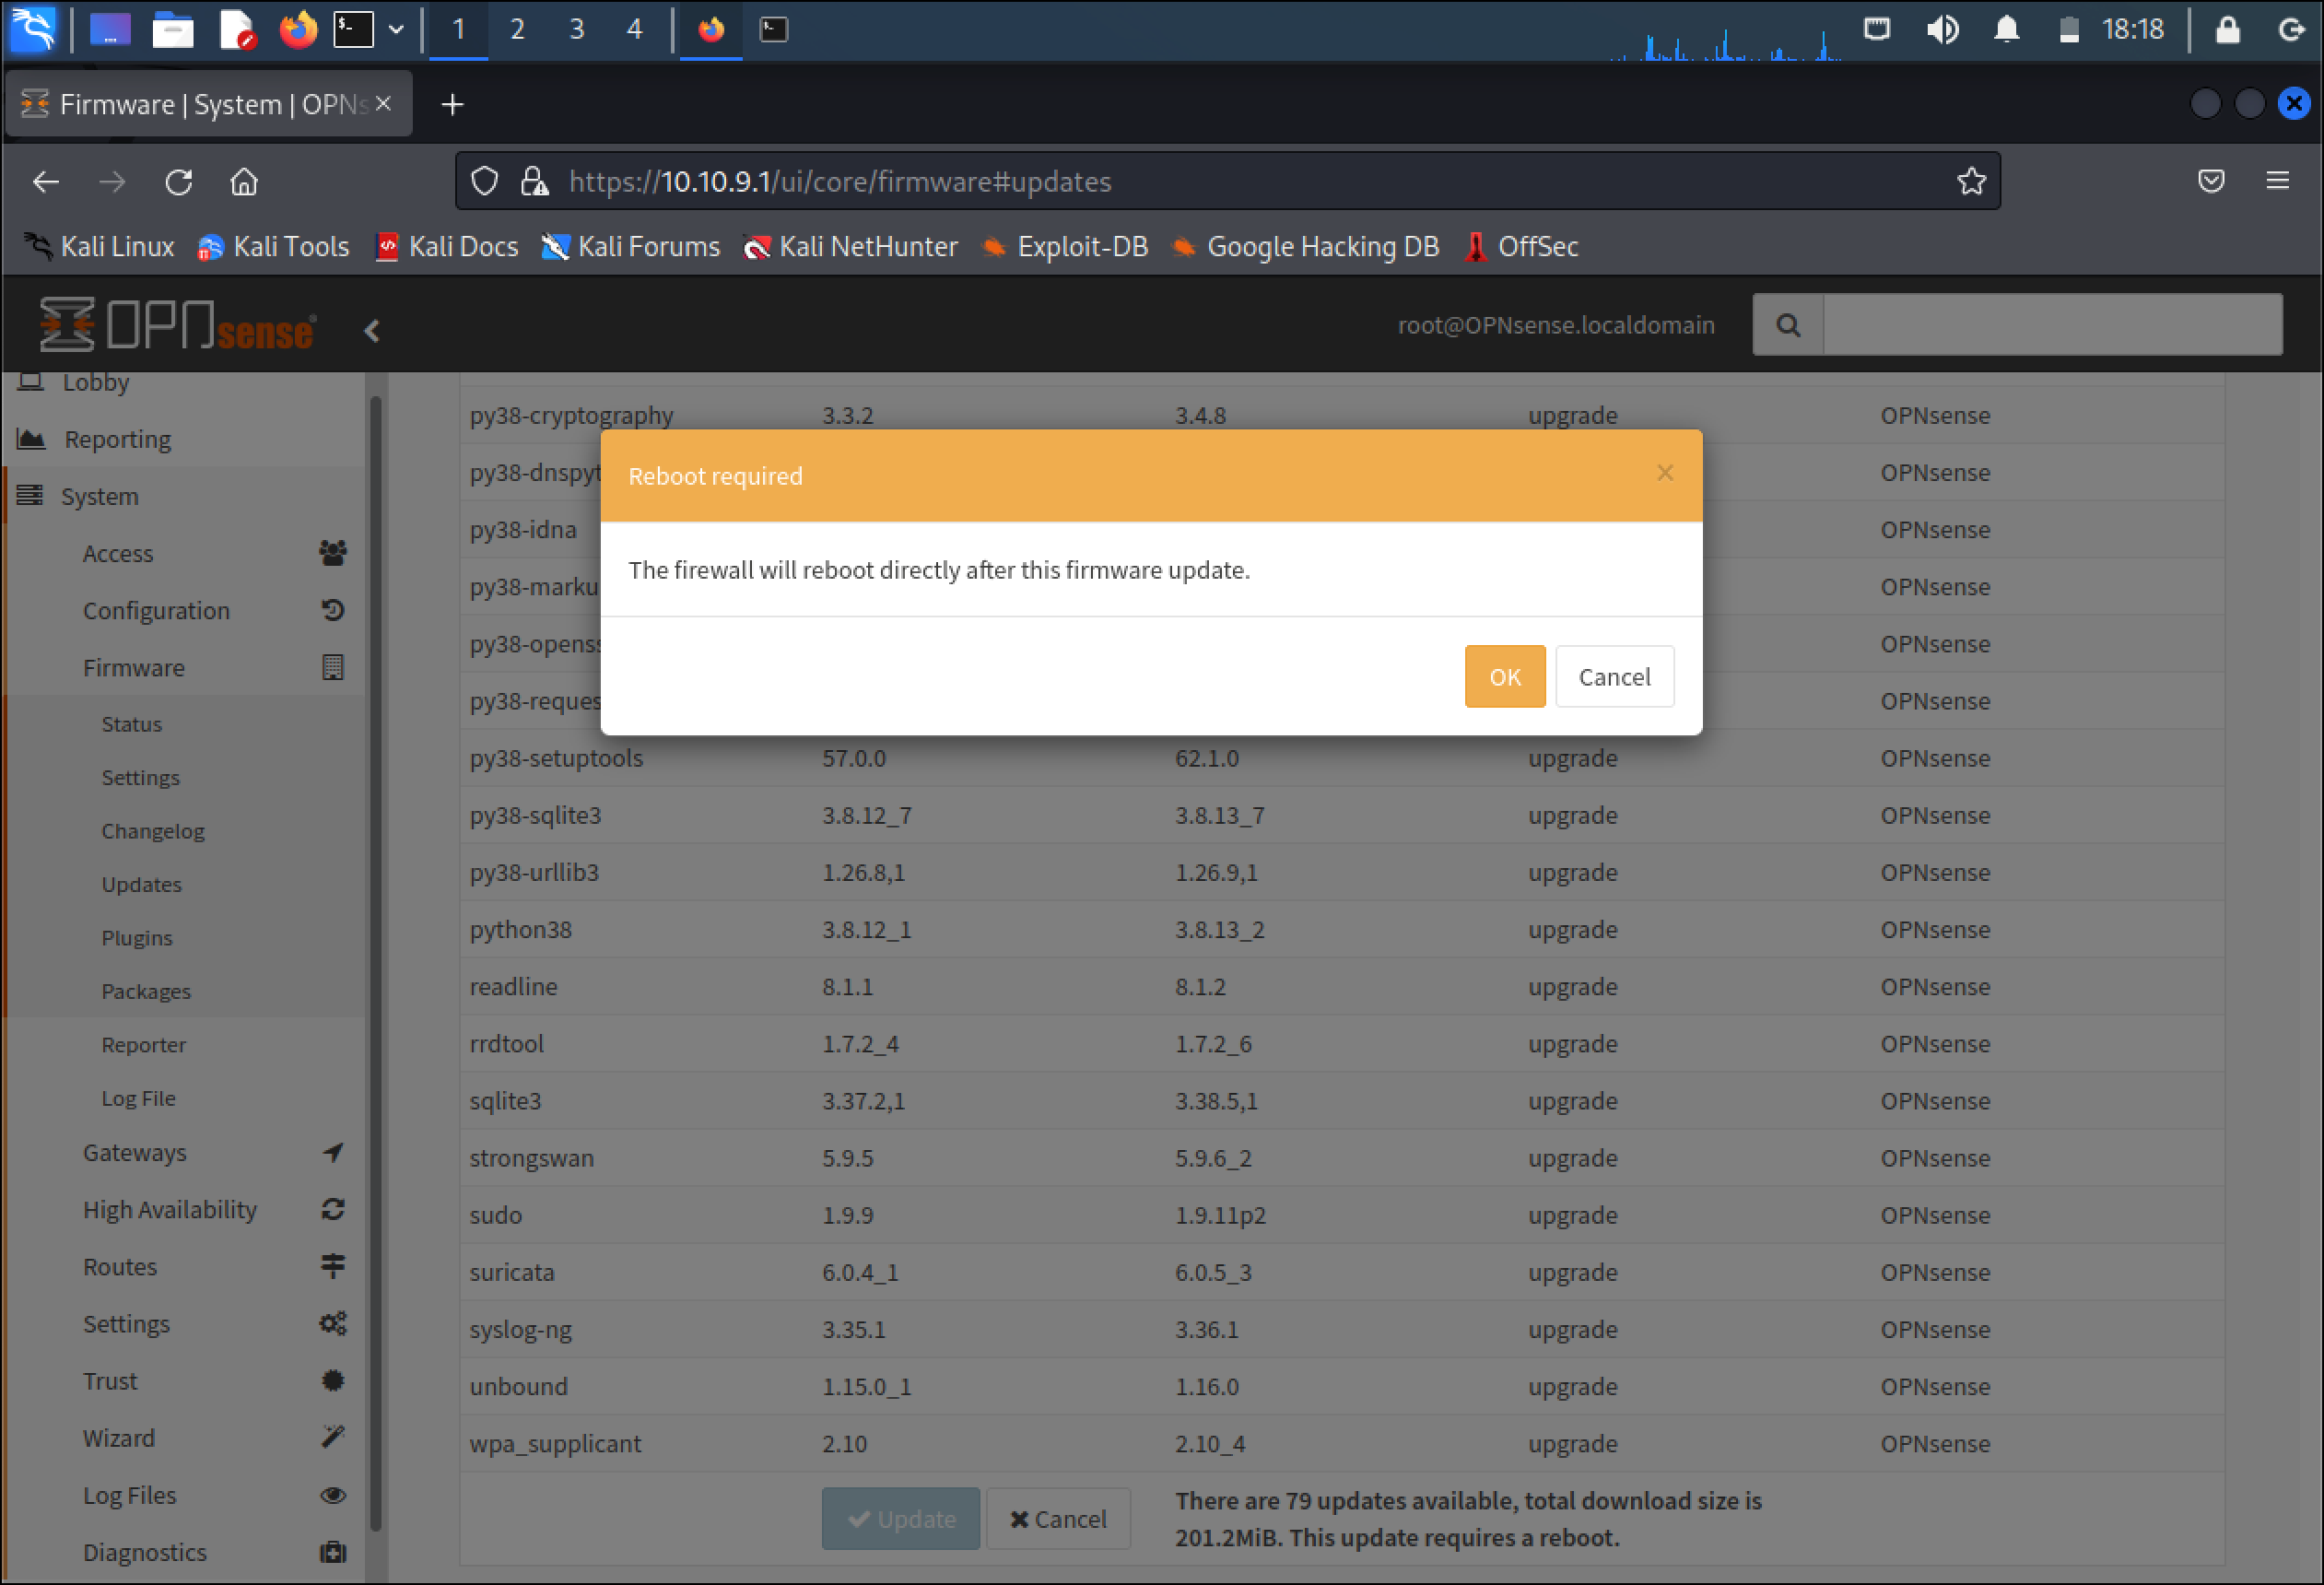
- You will see a Reboot required dialog explaining that when the update is done, OPNsense will reboot. Click OK.
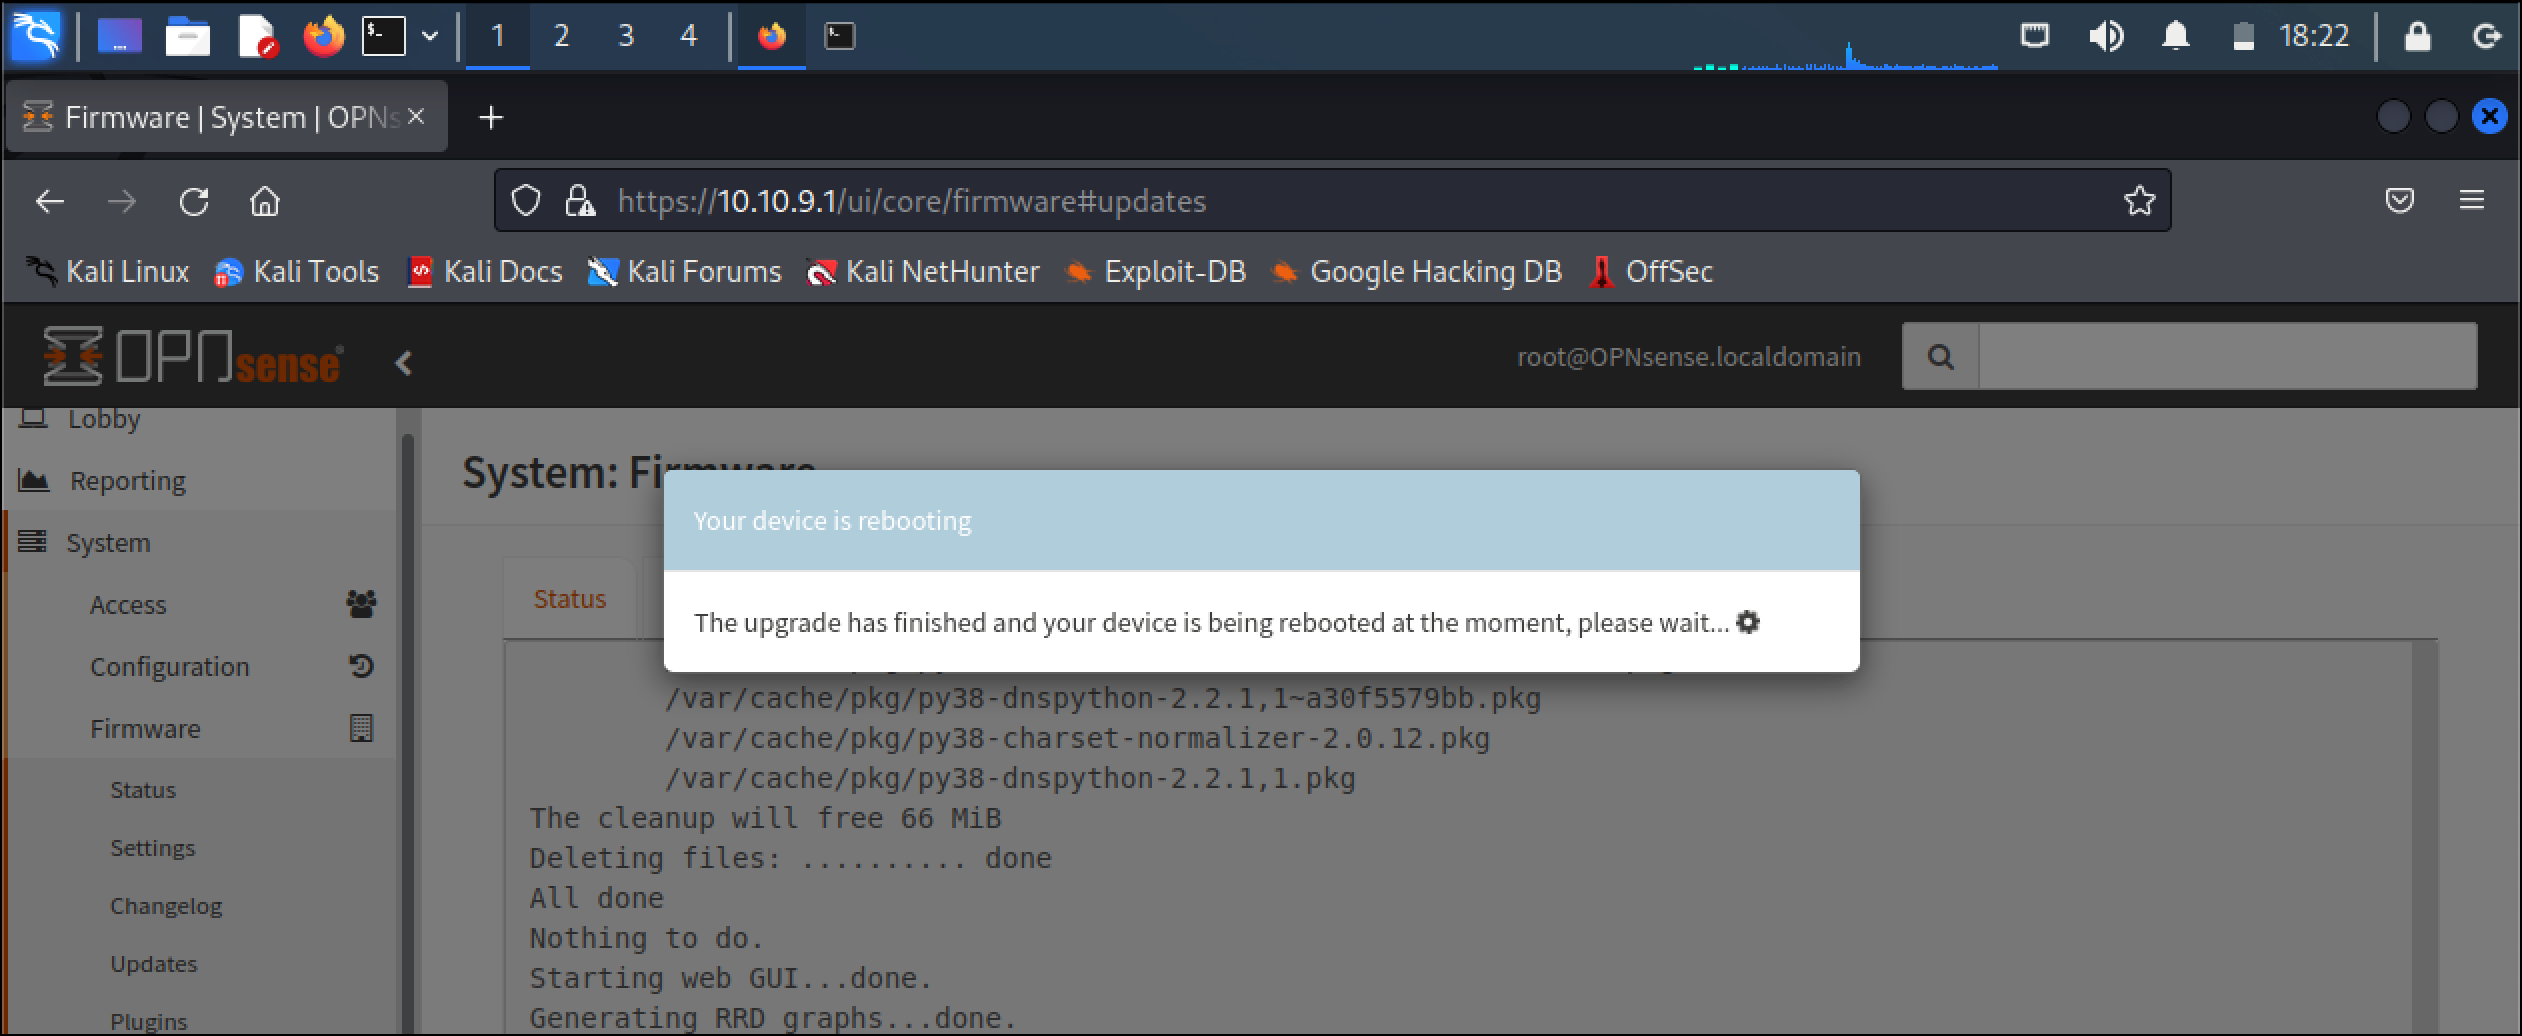
- After the update, you will see a Your device is rebooting warning.
- The initial configuration of OPNsense is now complete. Shut the VM down so you can take a snapshot.
- Click the Snapshot icon.
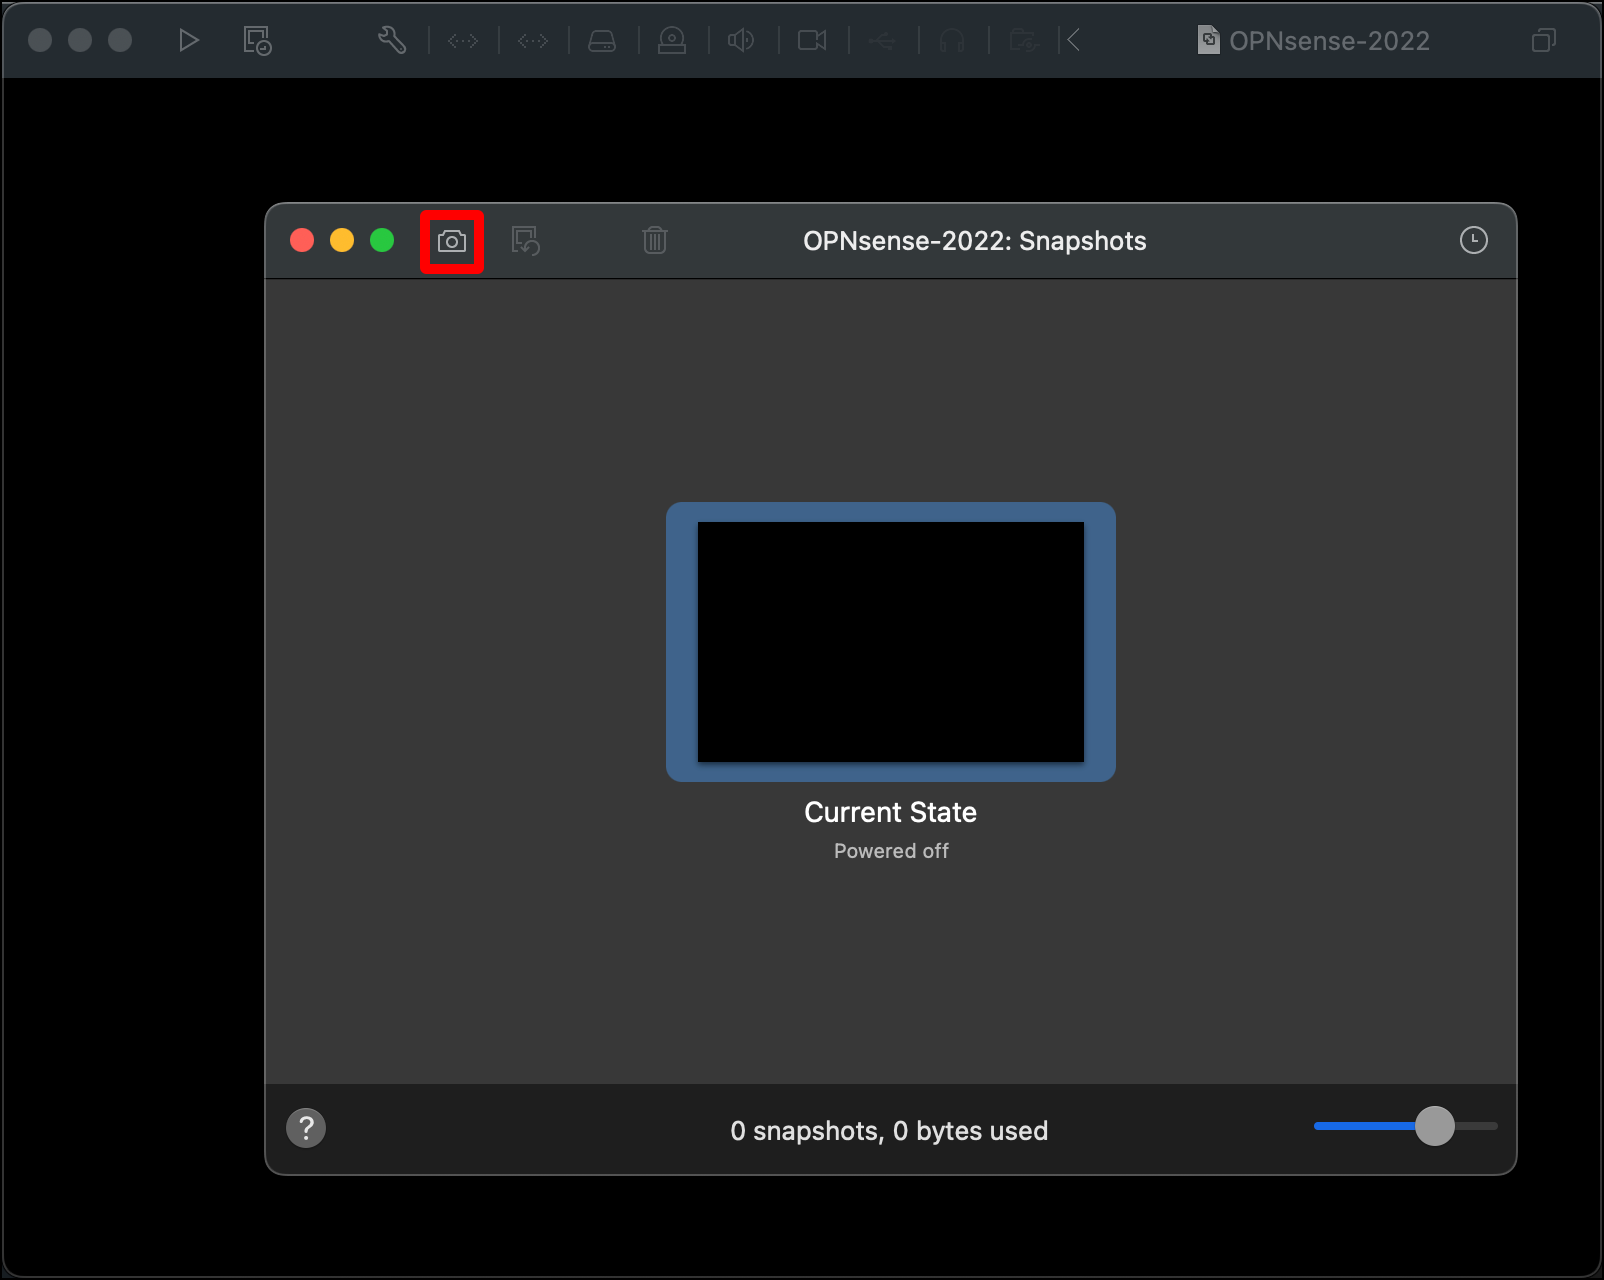
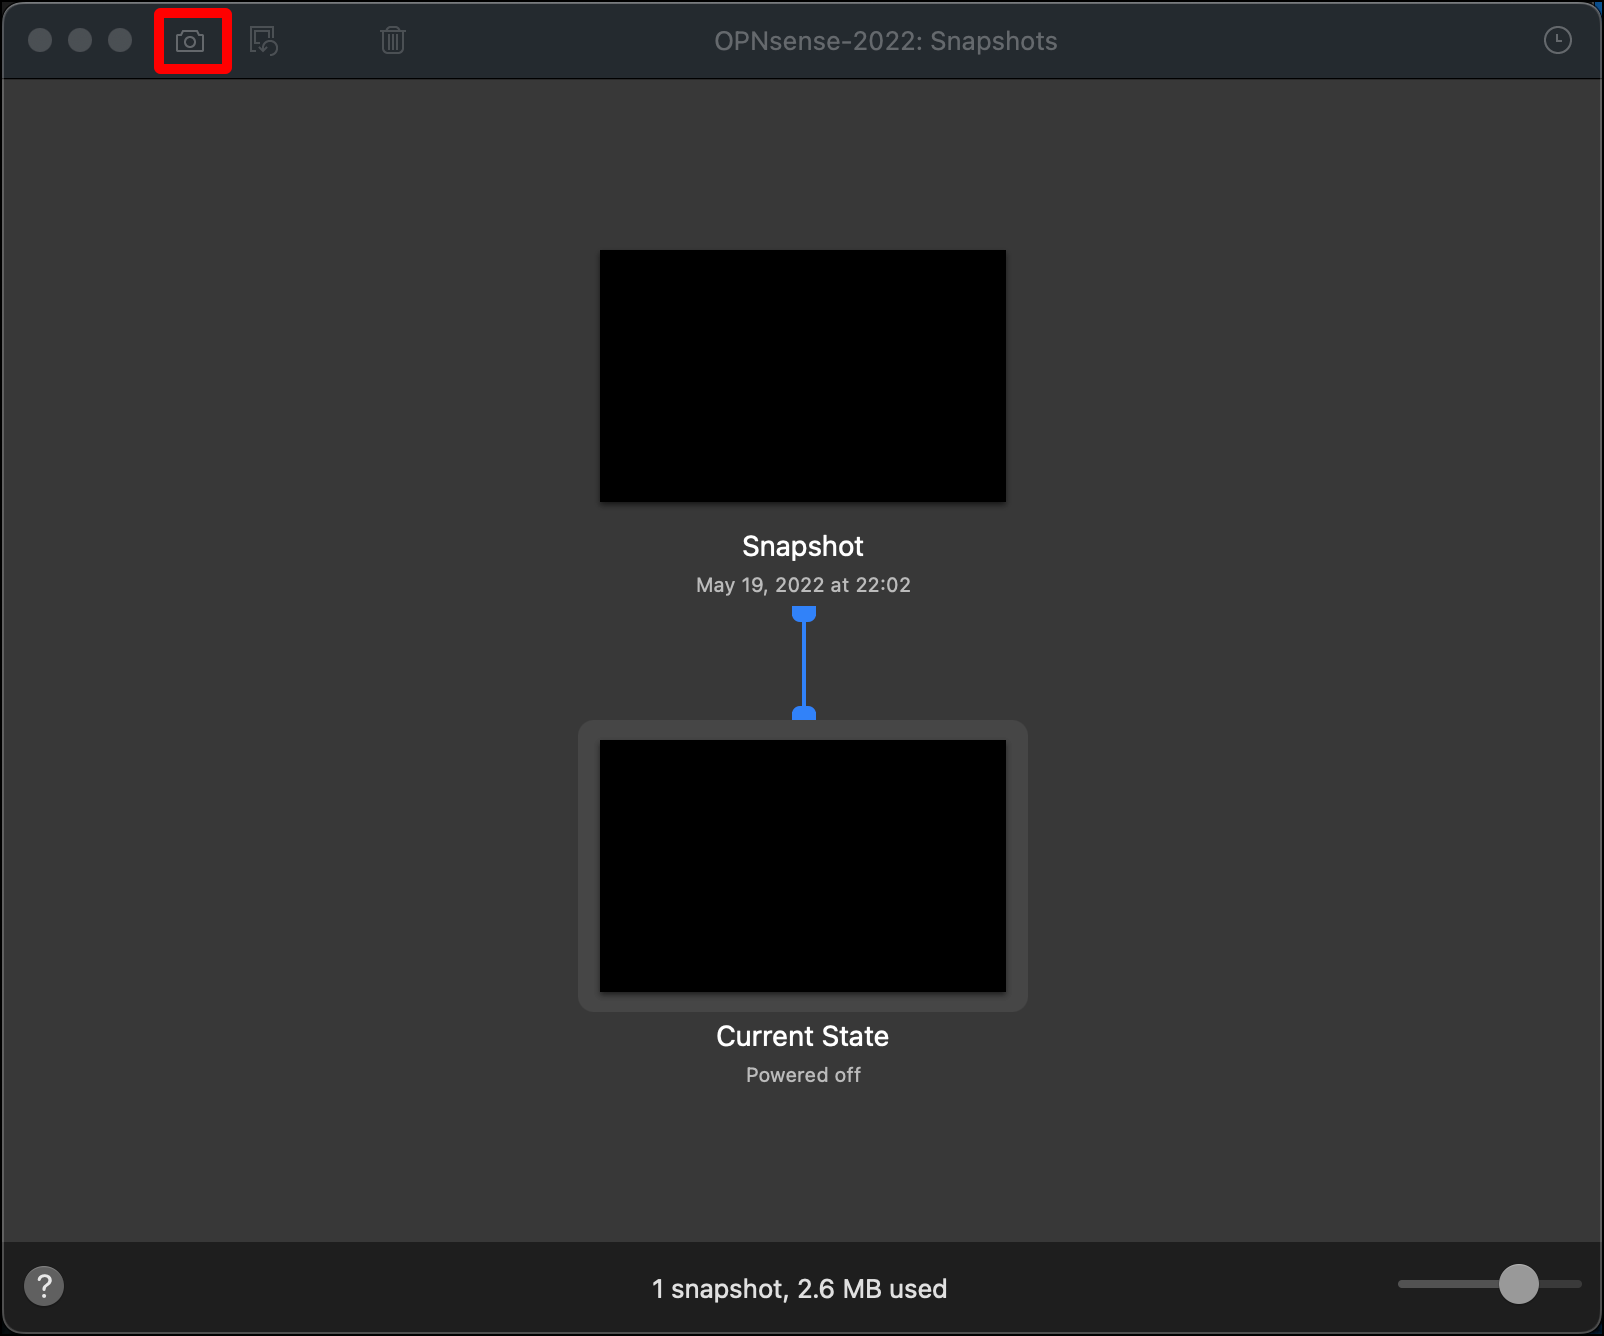
- In the Snapshots window, click the camera icon in the top-left corner.
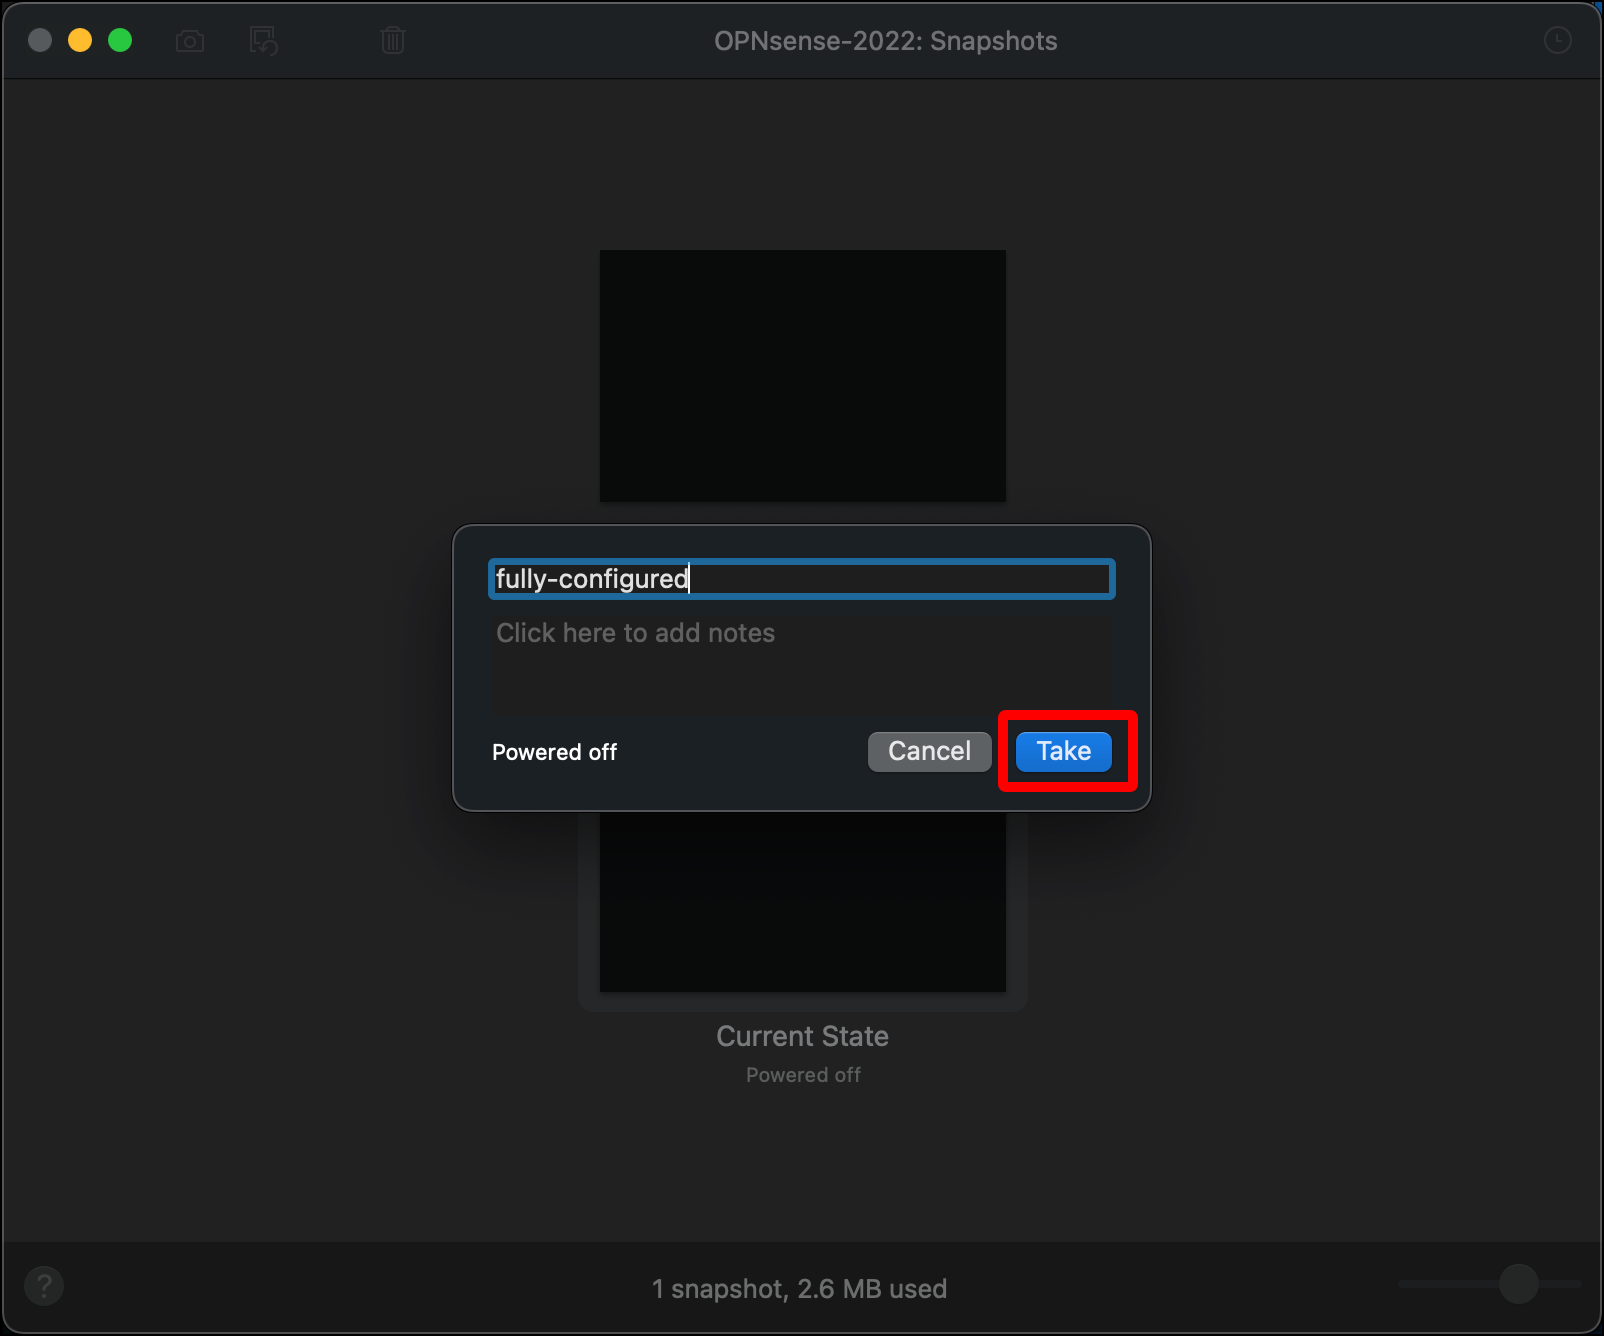
- Give your snapshot a name (I used fully-configured) and click Take, then close the Snapshots window.
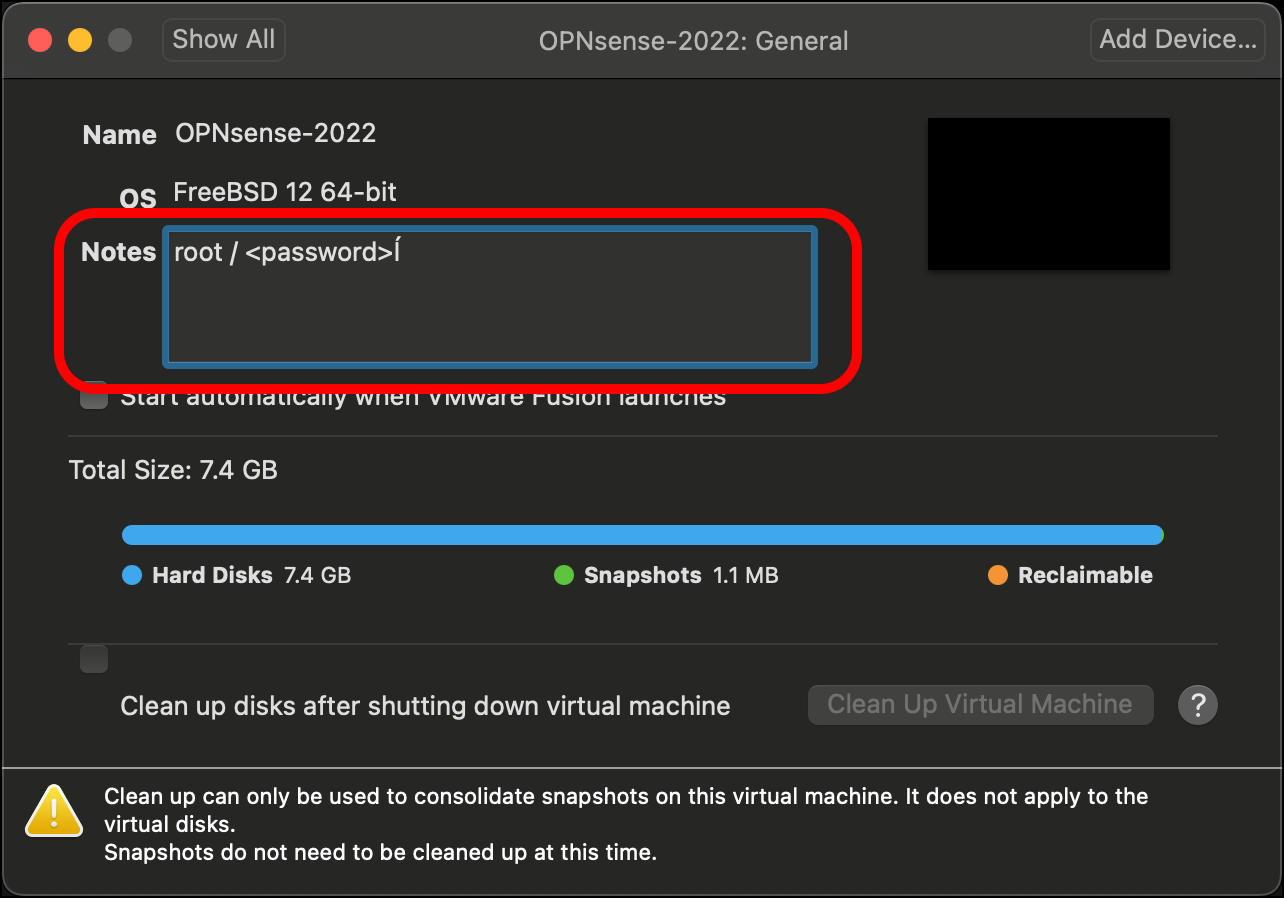
Note: Remember to store the credentials for the OPNsense somewhere so that you can log in using the console or the web interface. The username is root and the password is whatever you set. One place you can record this and other useful information is in the Notes field of the General item in the virtual machine’s Settings.