Create the Security Onion Virtual Machine
Now it’s time to create the Security Onion virtual machine (VM).
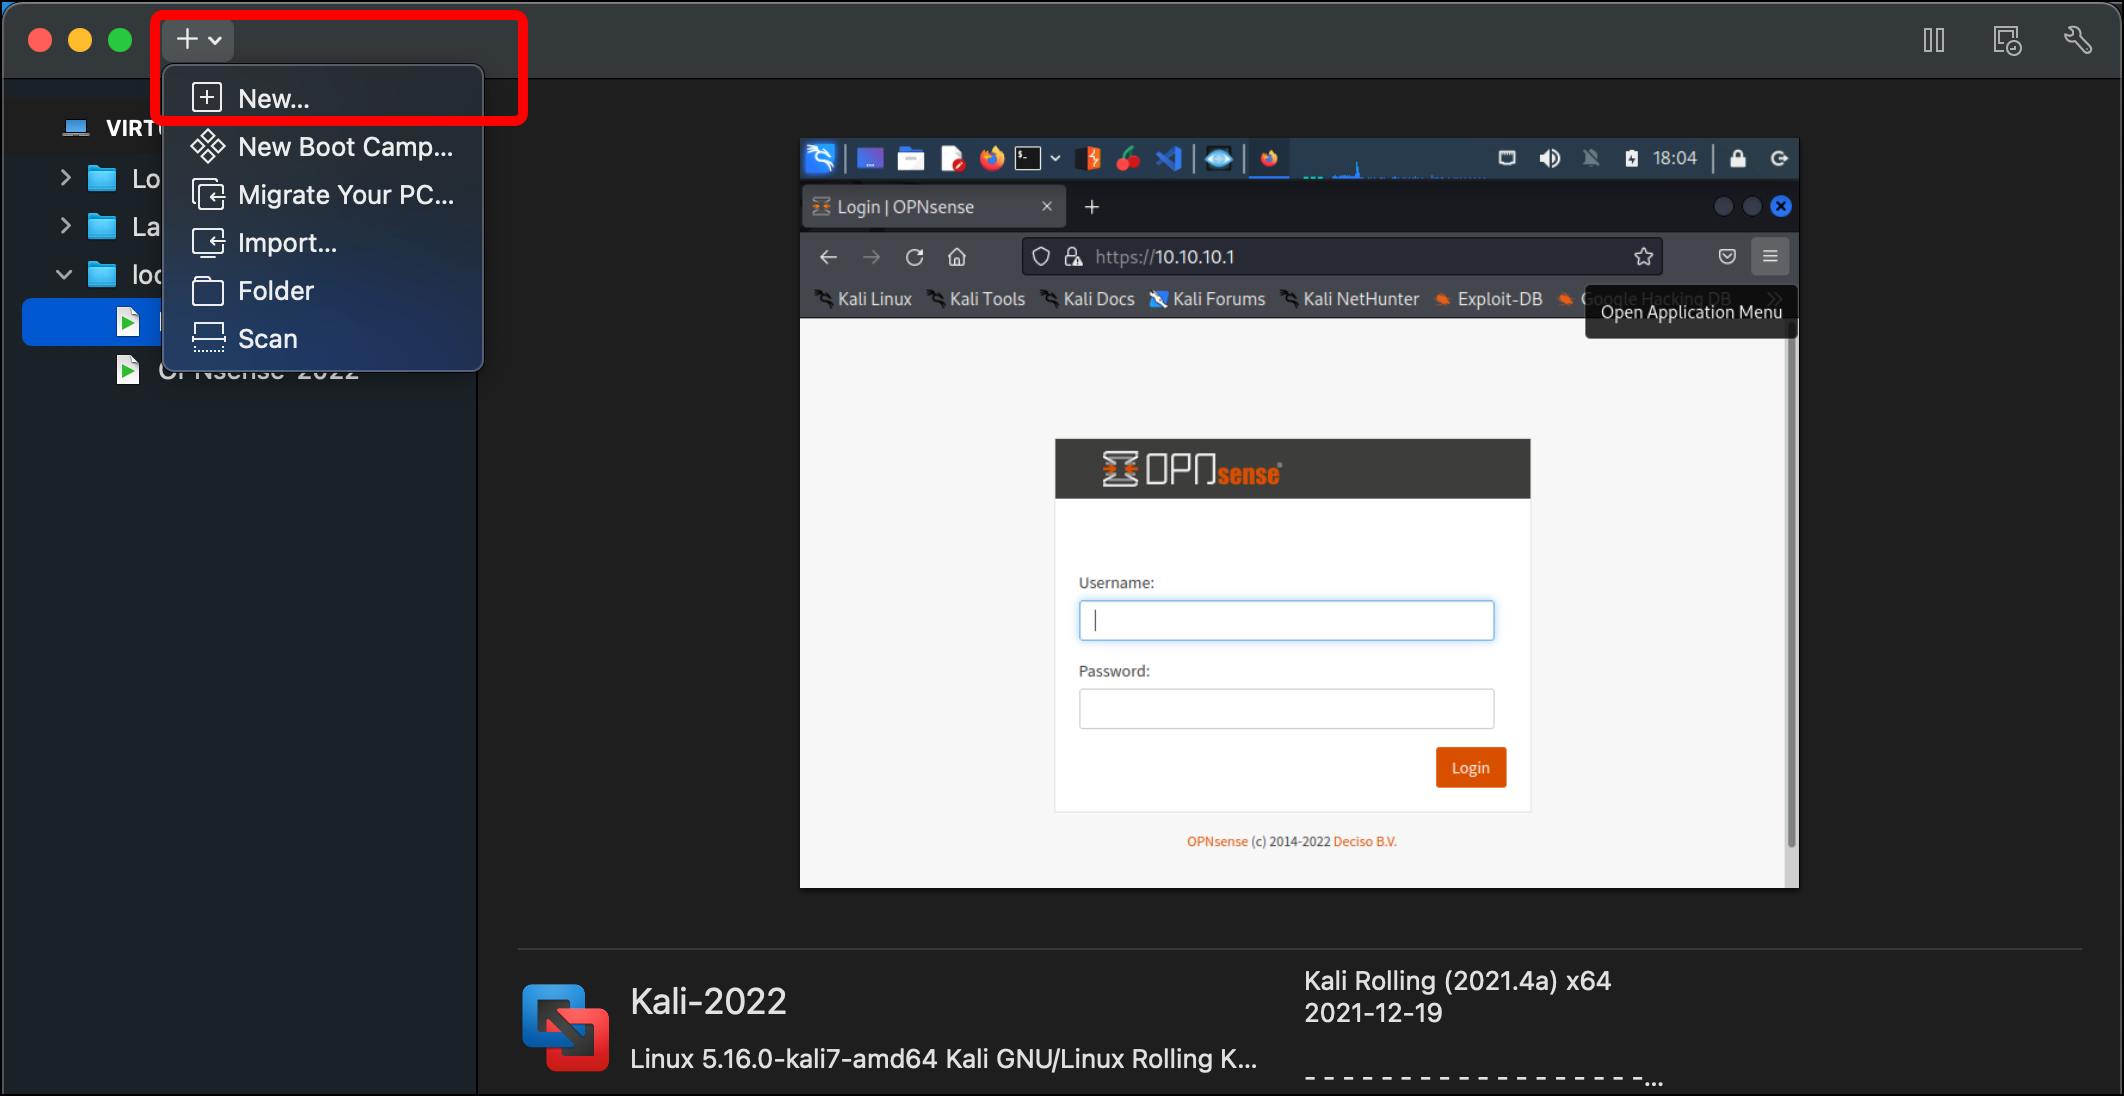
- In the VMware Virtual Machine Library, click the plus (+) icon and select New….
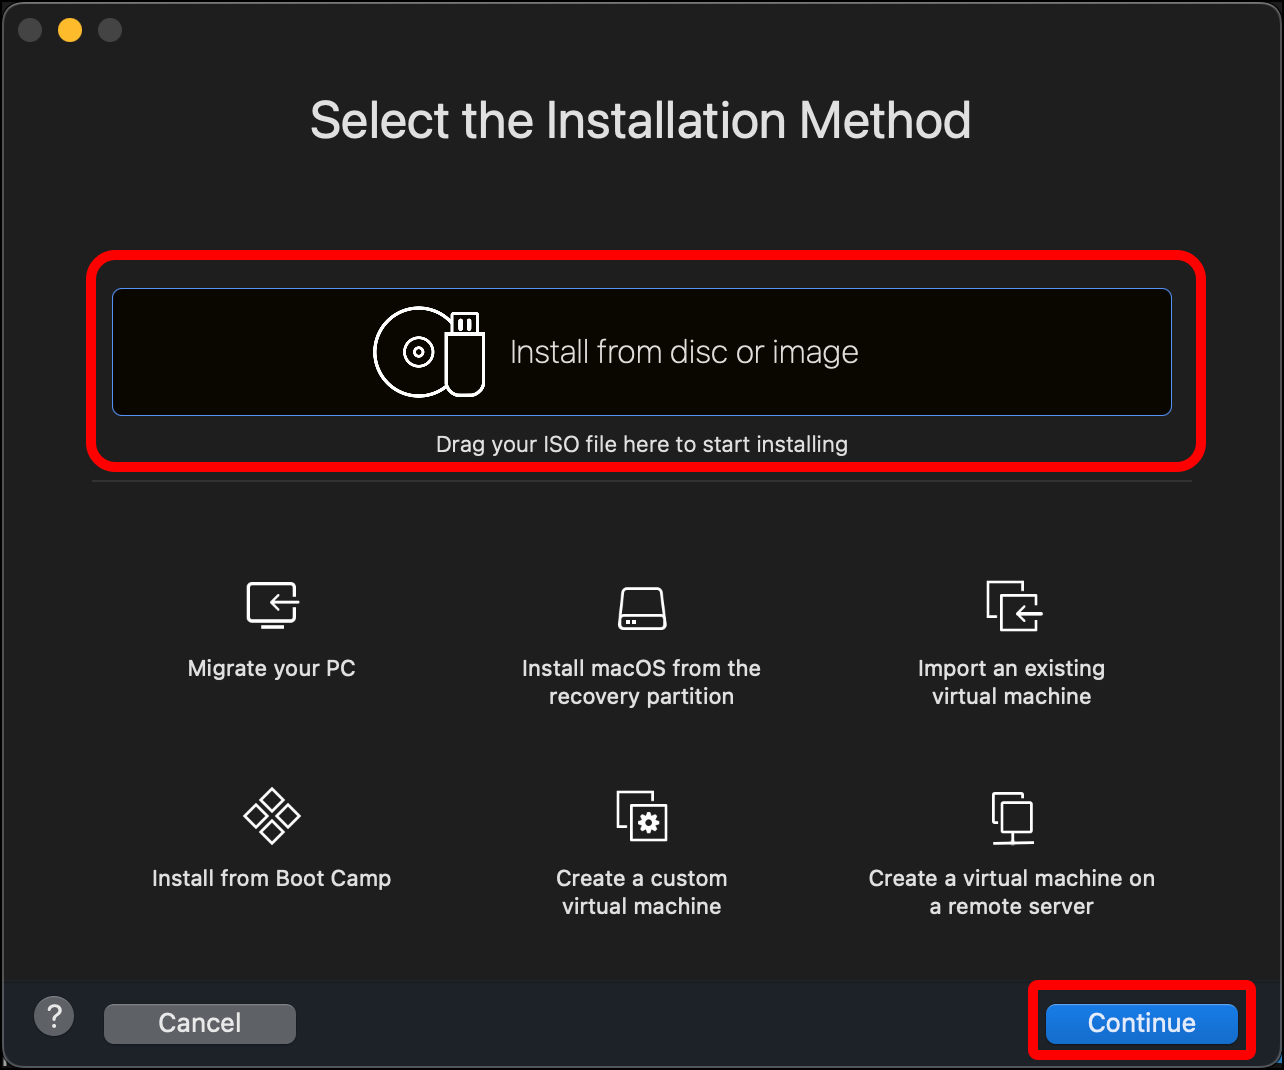
- Click Install from disc or image on the Select the Installation Method pane, then click Continue.
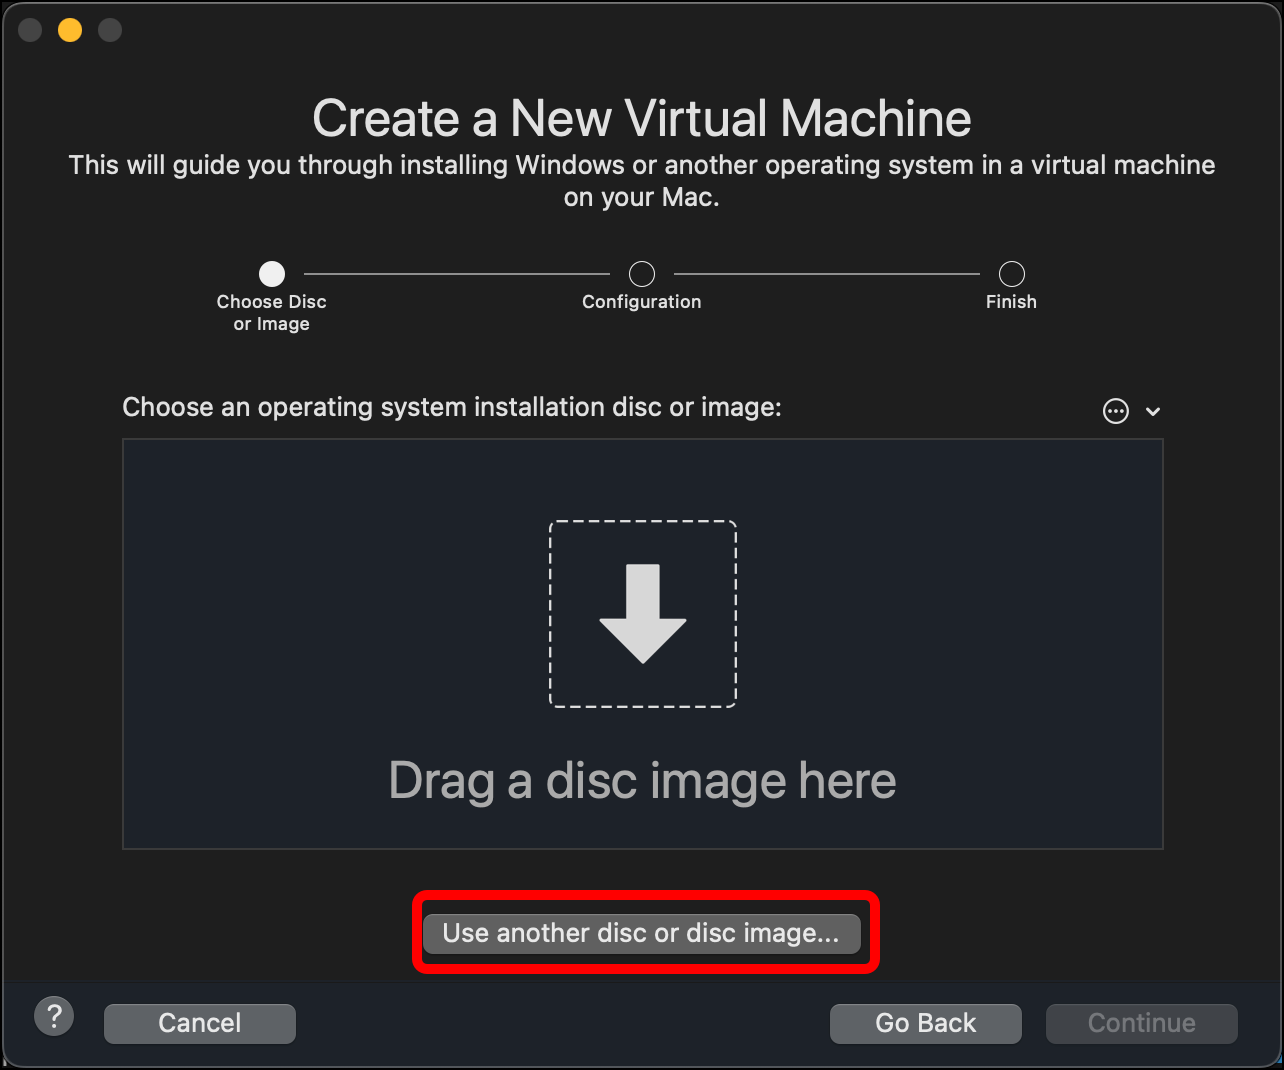
- Click Use another disc or disc image….
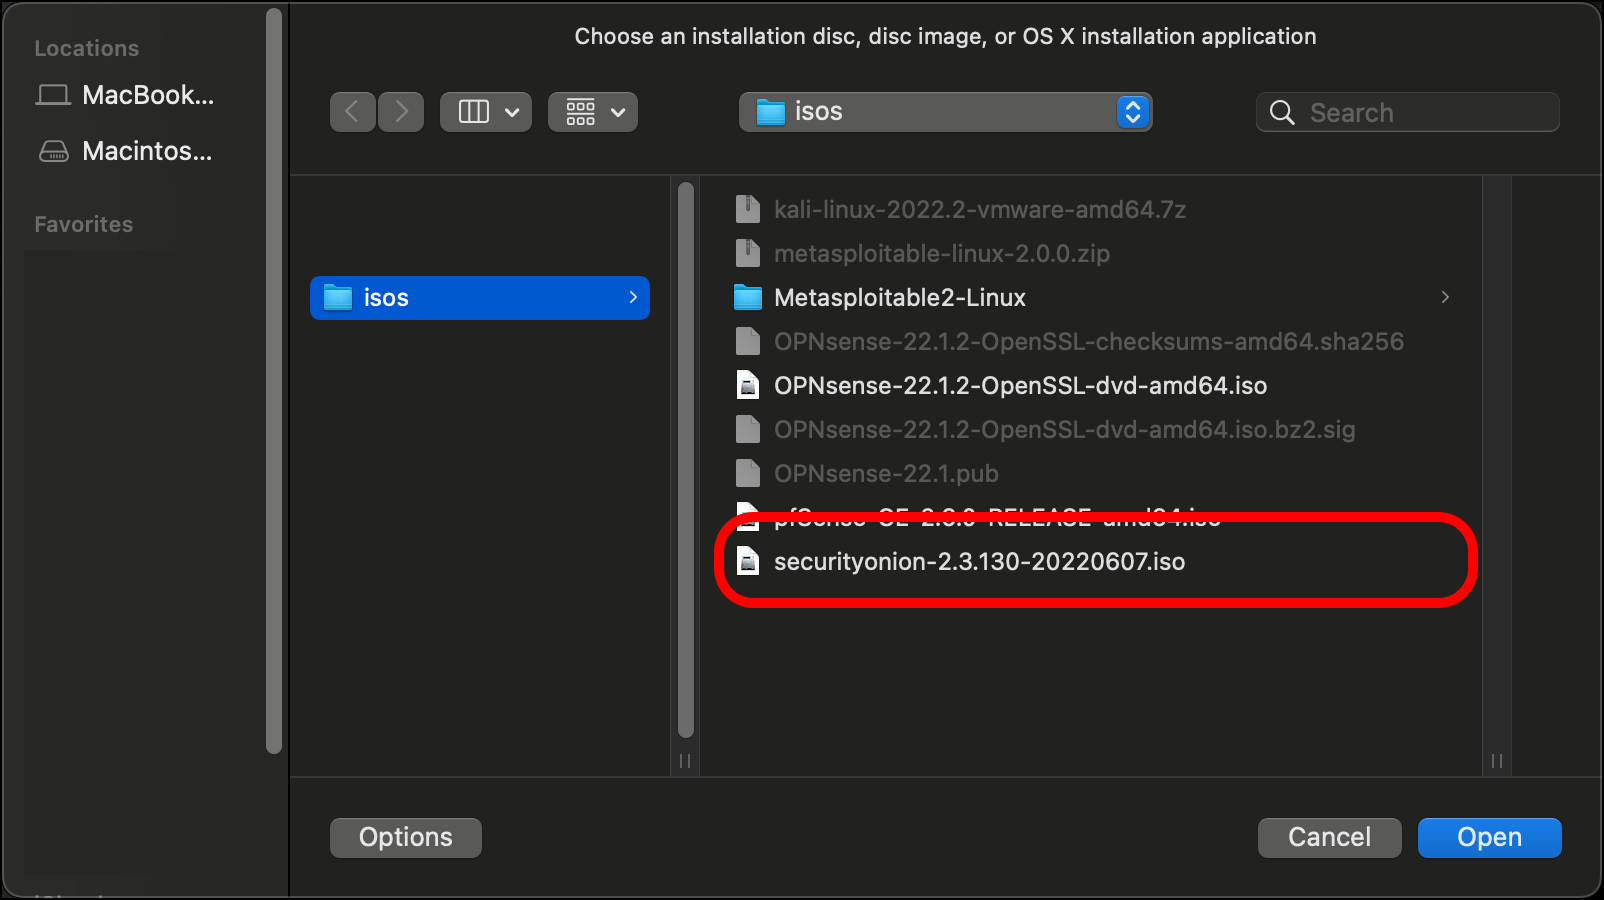
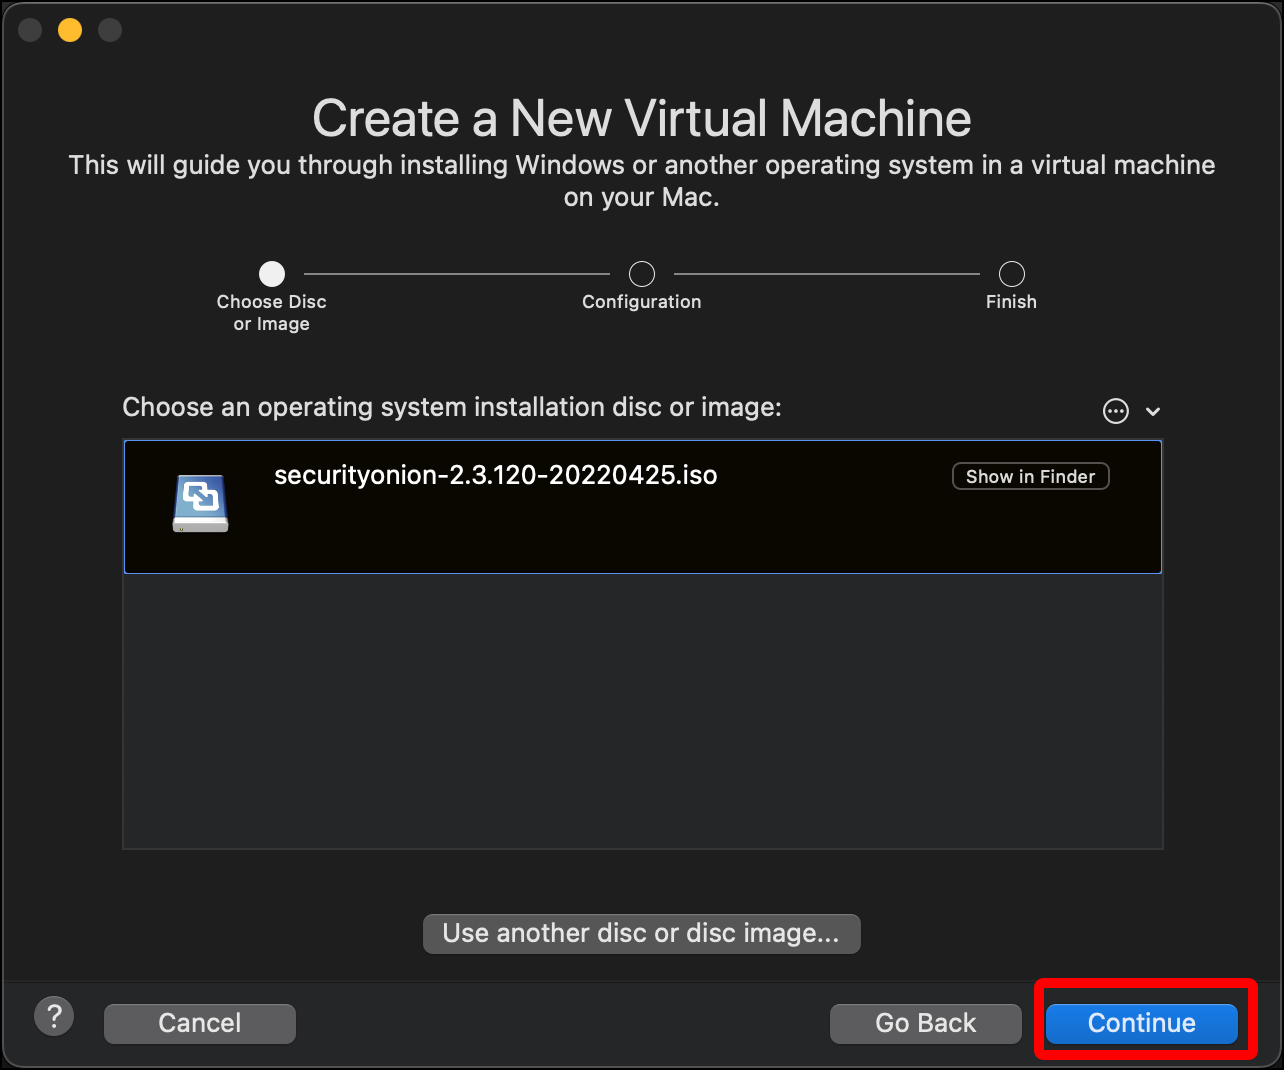
- Use Finder to select the Security Onion ISO you downloaded and click Open.
- In the Create a New Virtual Machine pane, click Continue.
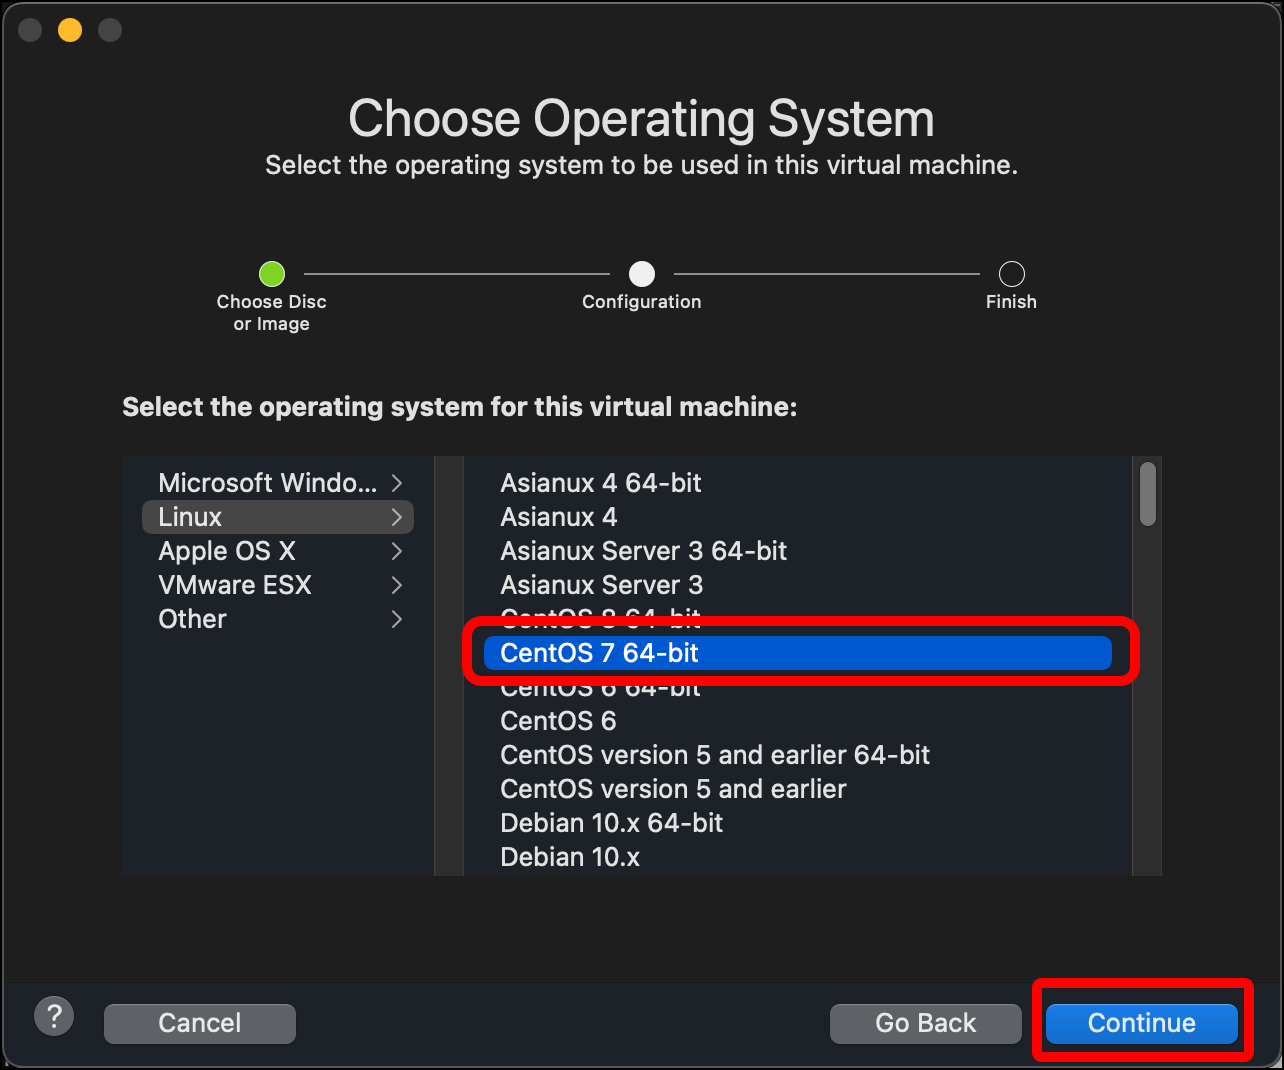
- In the Choose Operating System dialog, select Linux and Centos 7 64-bit and click Continue.
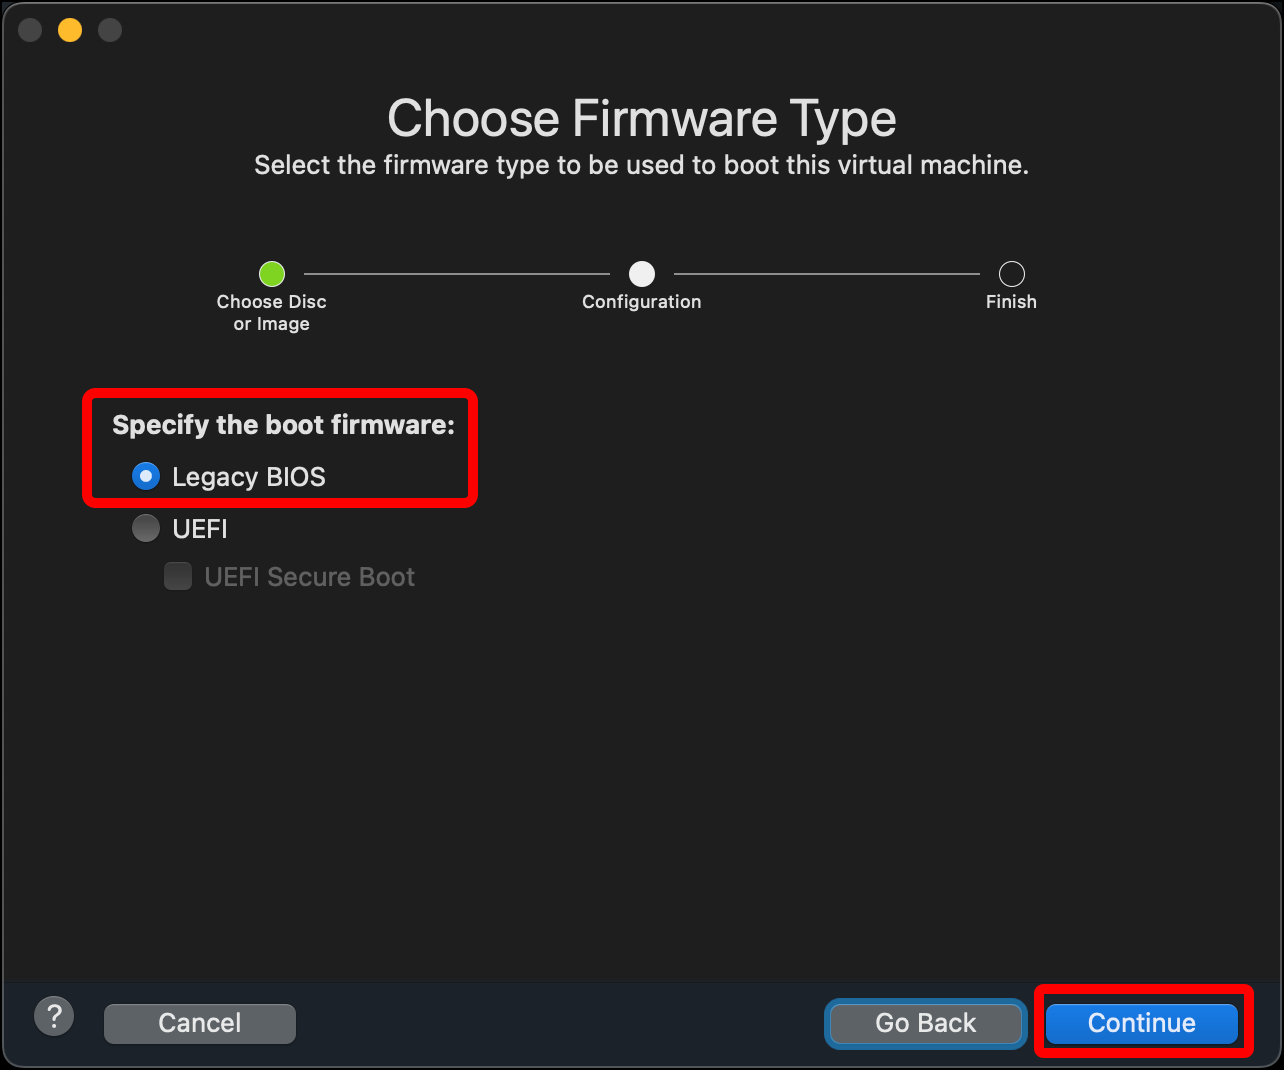
- For Choose Firmware Type, leave the default Legacy BIOS and click Continue.
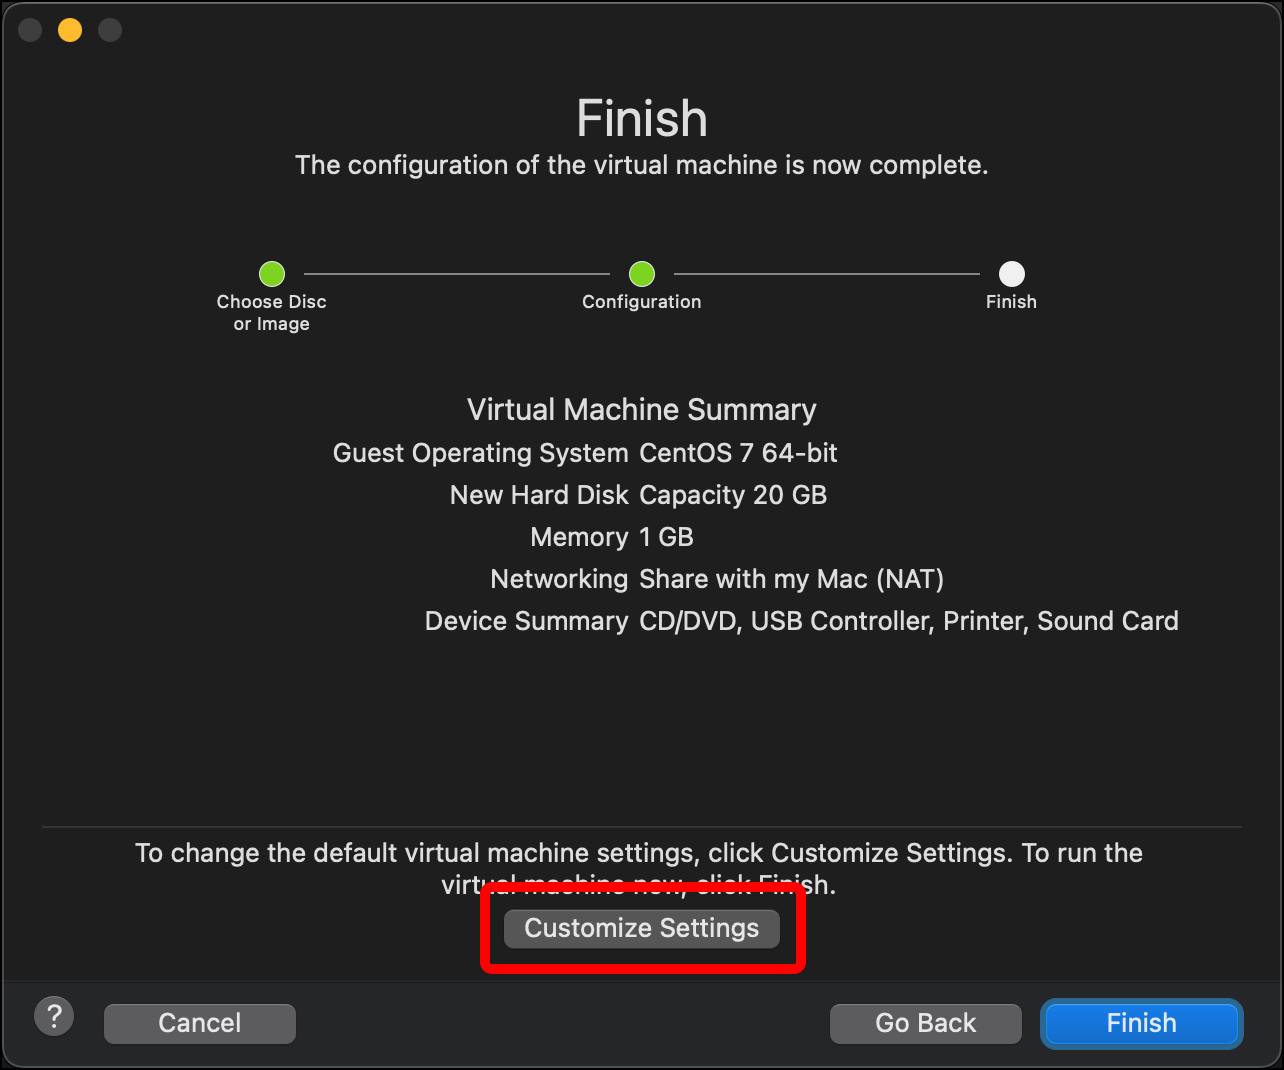
- On the Finish dialog, click Customize Settings.
- Change the name of the virtual machine file to something that indicates what it is (such as
Security-Onion-2022) and click Save to save it with your other VMware Fusion virtual machines.
- A window for the VM itself and its Settings window should open. Click Processors & Memory. (If the Settings window does not open, open it with
Command + E.)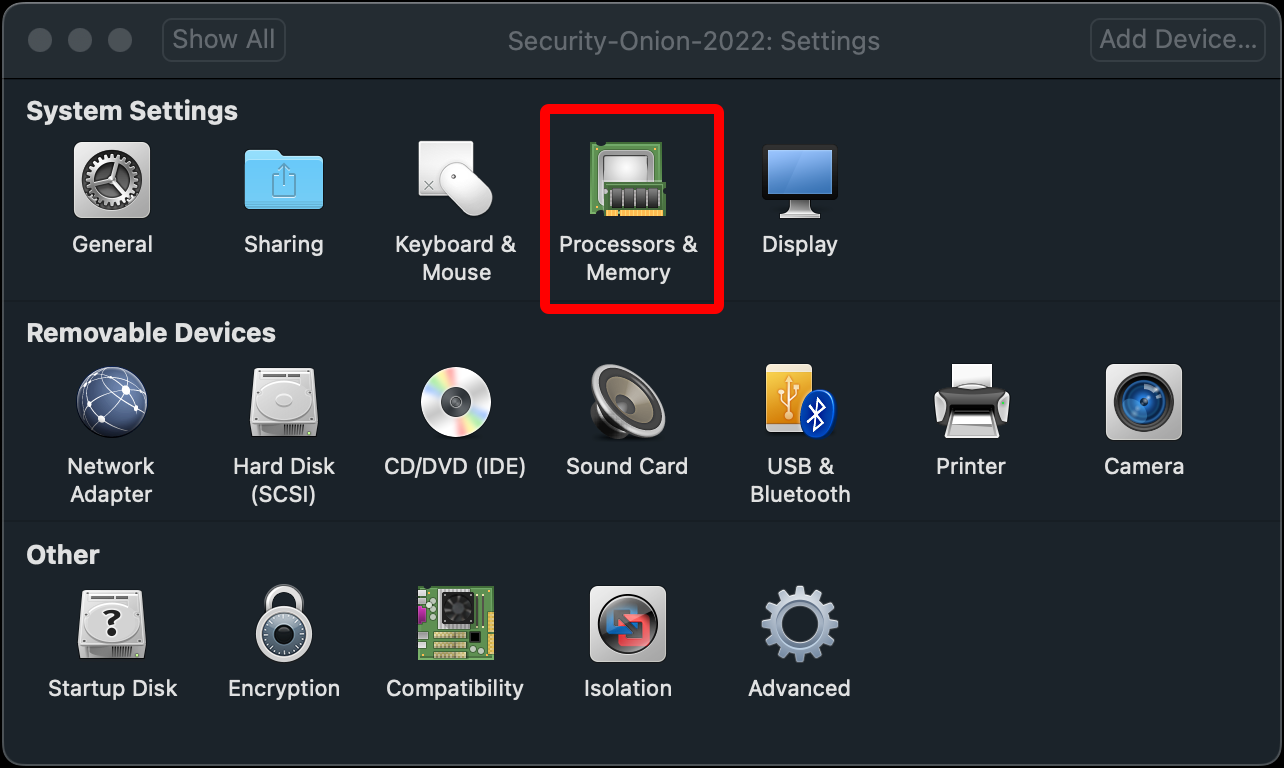
-
Click the Processors drop-down and select 4 processor cores.
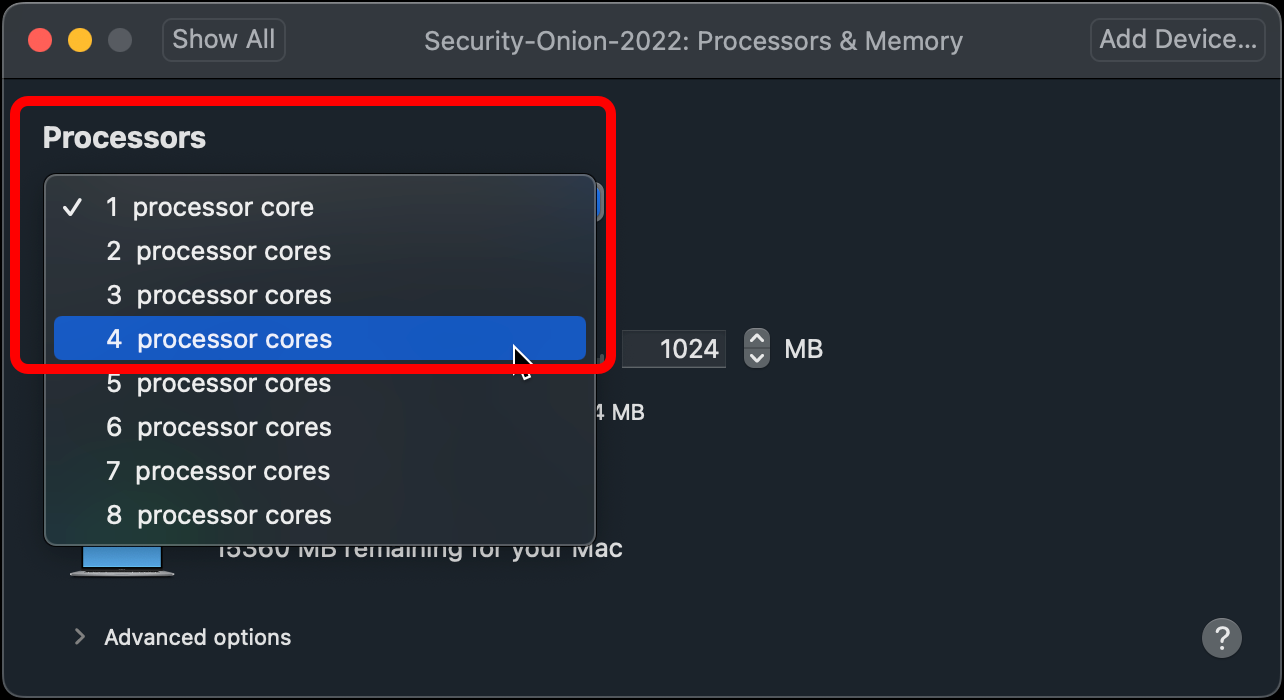
- Note: Four cores is the minimum requirement for Security Onion. If your setup allows you to assign more to Security Onion, consider doing so.
-
Change the memory to 12288, representing 12GB of RAM, then click Show All.
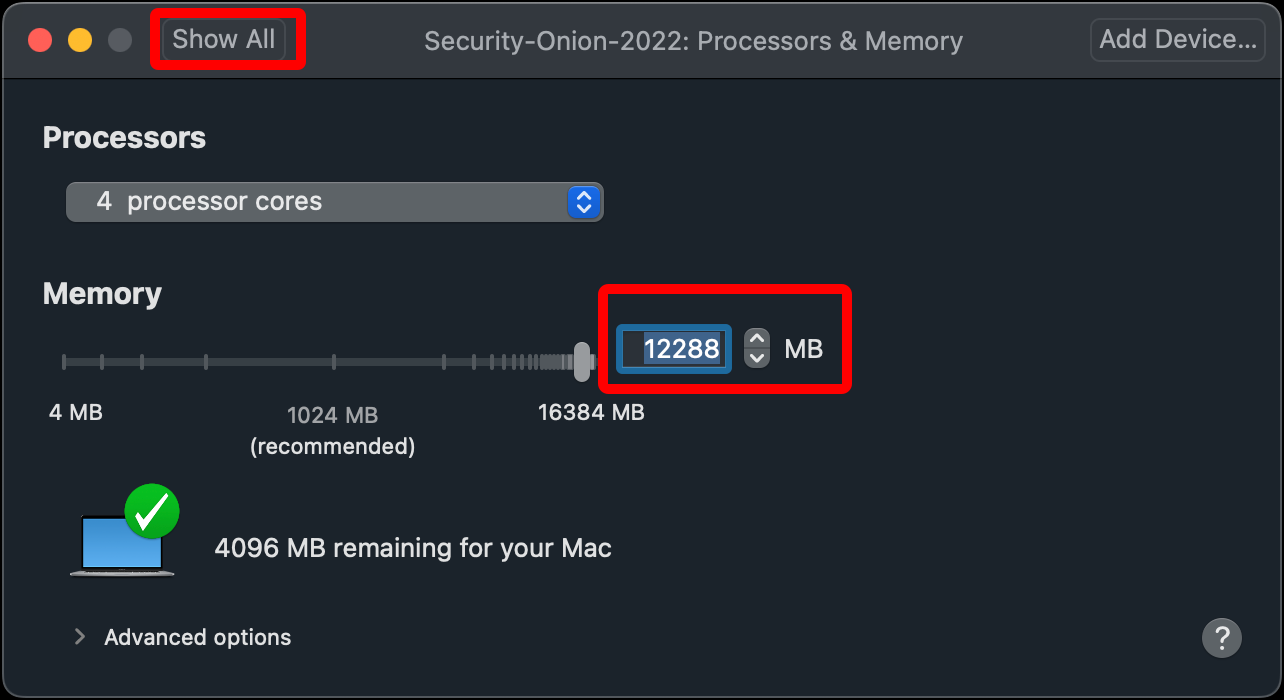
- Note: Twelve gigabytes of RAM is the minimum requirement for Security Onion. Realistically you will want more. With my current computer, this is pretty much the maximum I can allocate to the Security Onion VM. After installation and configuration I may even draw down some of the RAM allocation. If your setup allows you to assign more RAM to Security Onion, consider doing so.
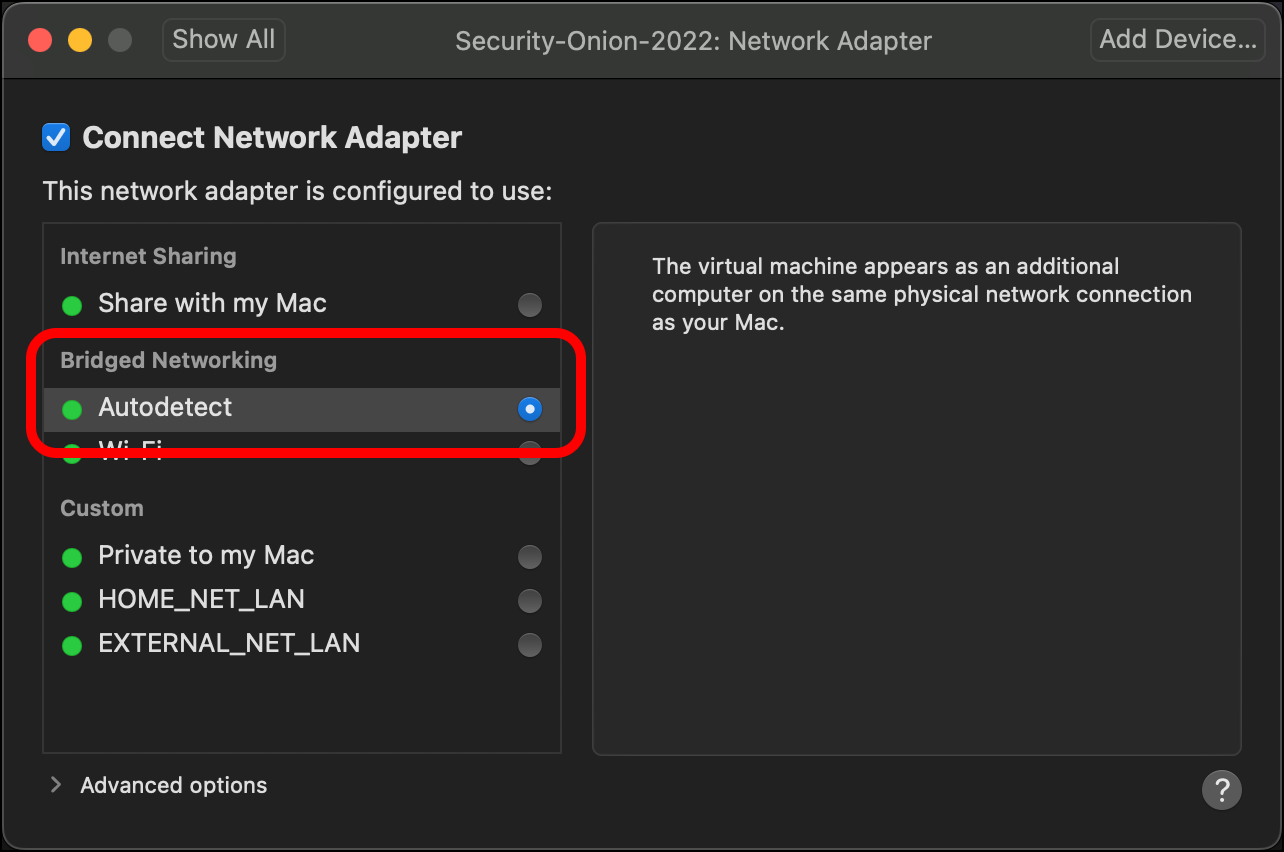
- Click Network Adapter.

- This is the Security Onion VM’s first network adapter. This should be attached to the management network, where users (security analysts) can access and manage Security Onion using its web interface, the Security Onion Console, or using the command line via SSH. My environment doesn’t have a management network, so for now I will select Bridged Networking > Autodetect. This option adds the VM to my home network with its own IP address so that my host system Mac can reach it, though it is really sharing the Mac’s network connection.
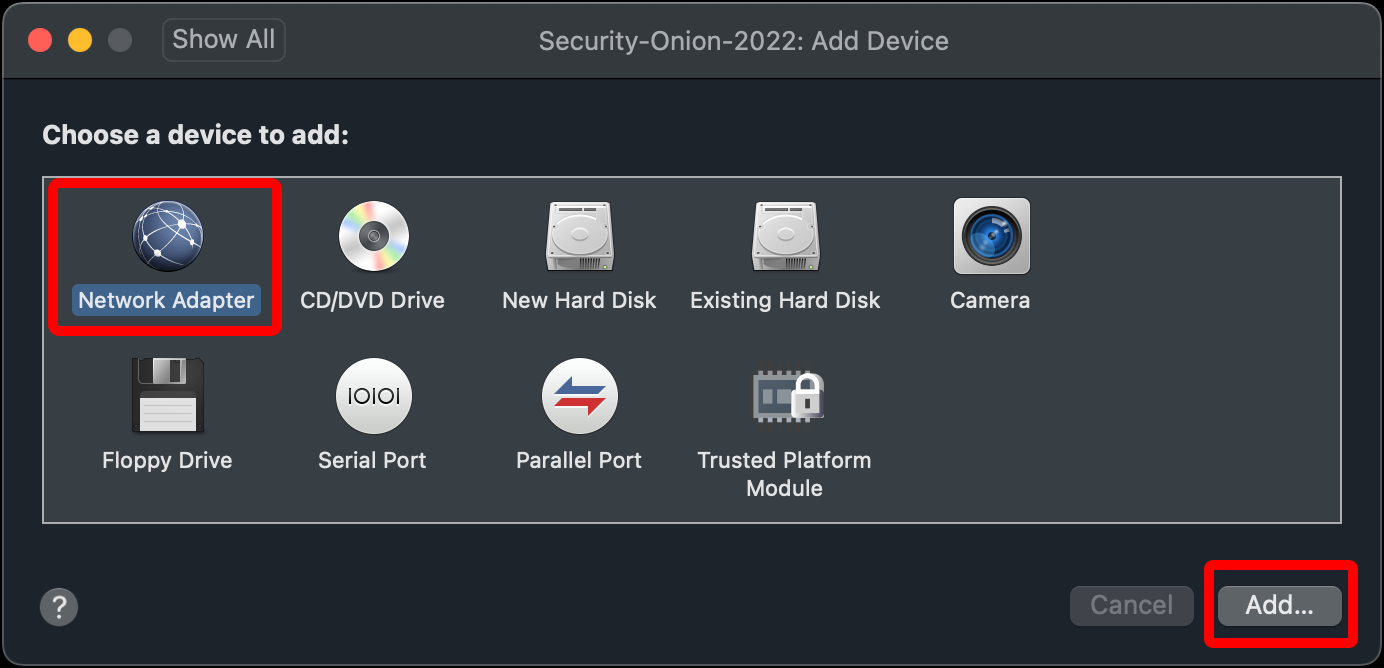
- Security Onion requires another network adapter, so click Add Device….

- Click Network Adapter and click Add….
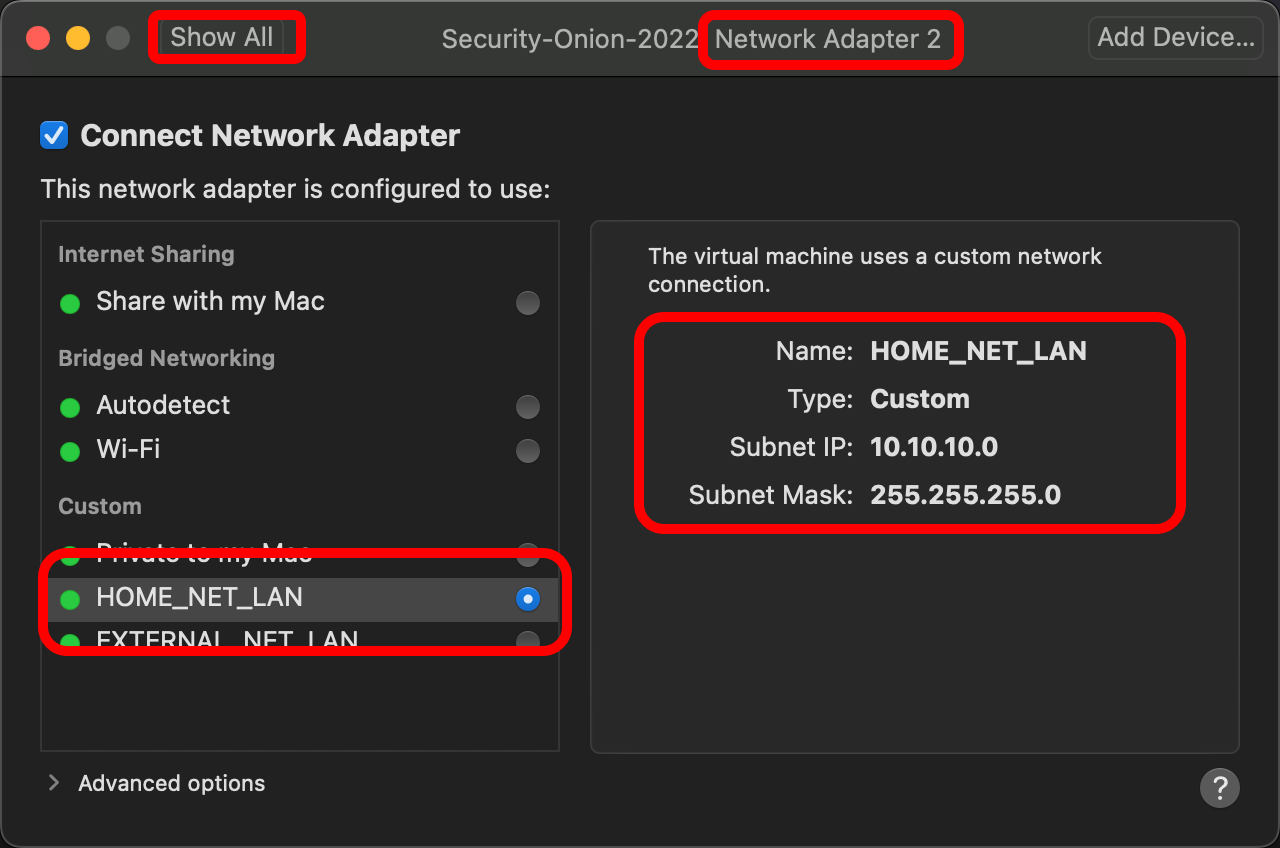
- A dialog for Network Adapter 2 displays. Under Custom, select HOME_NET_LAN. This will allow Security Onion to “sniff traffic” on our LAN we created for the lab. When you are done, click Show All.
- Click Hard Disk (SCSI).
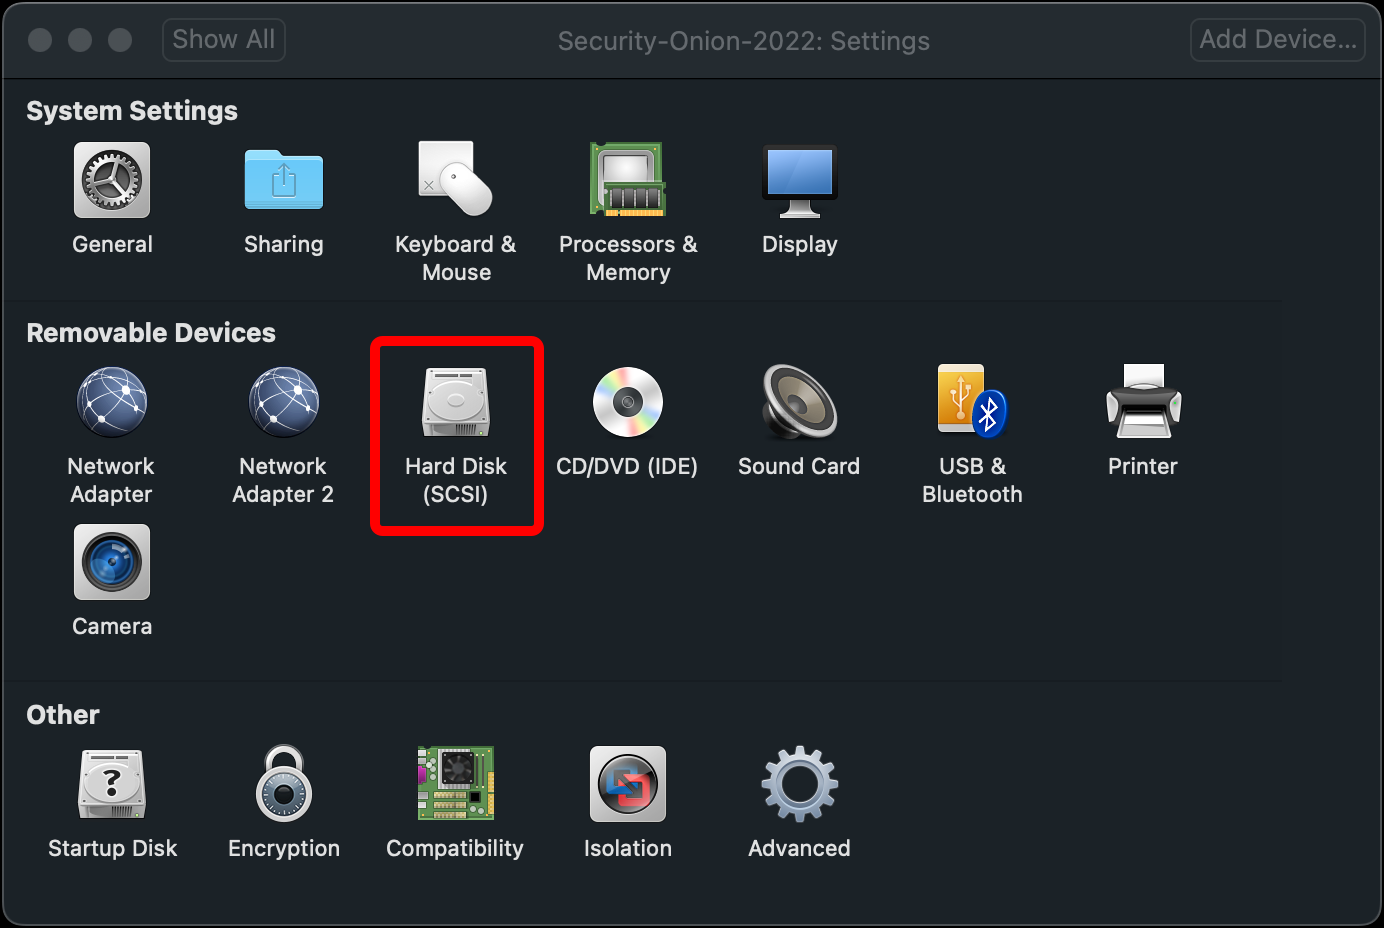
- Set the Disk size to 200.00 GB and click Apply.

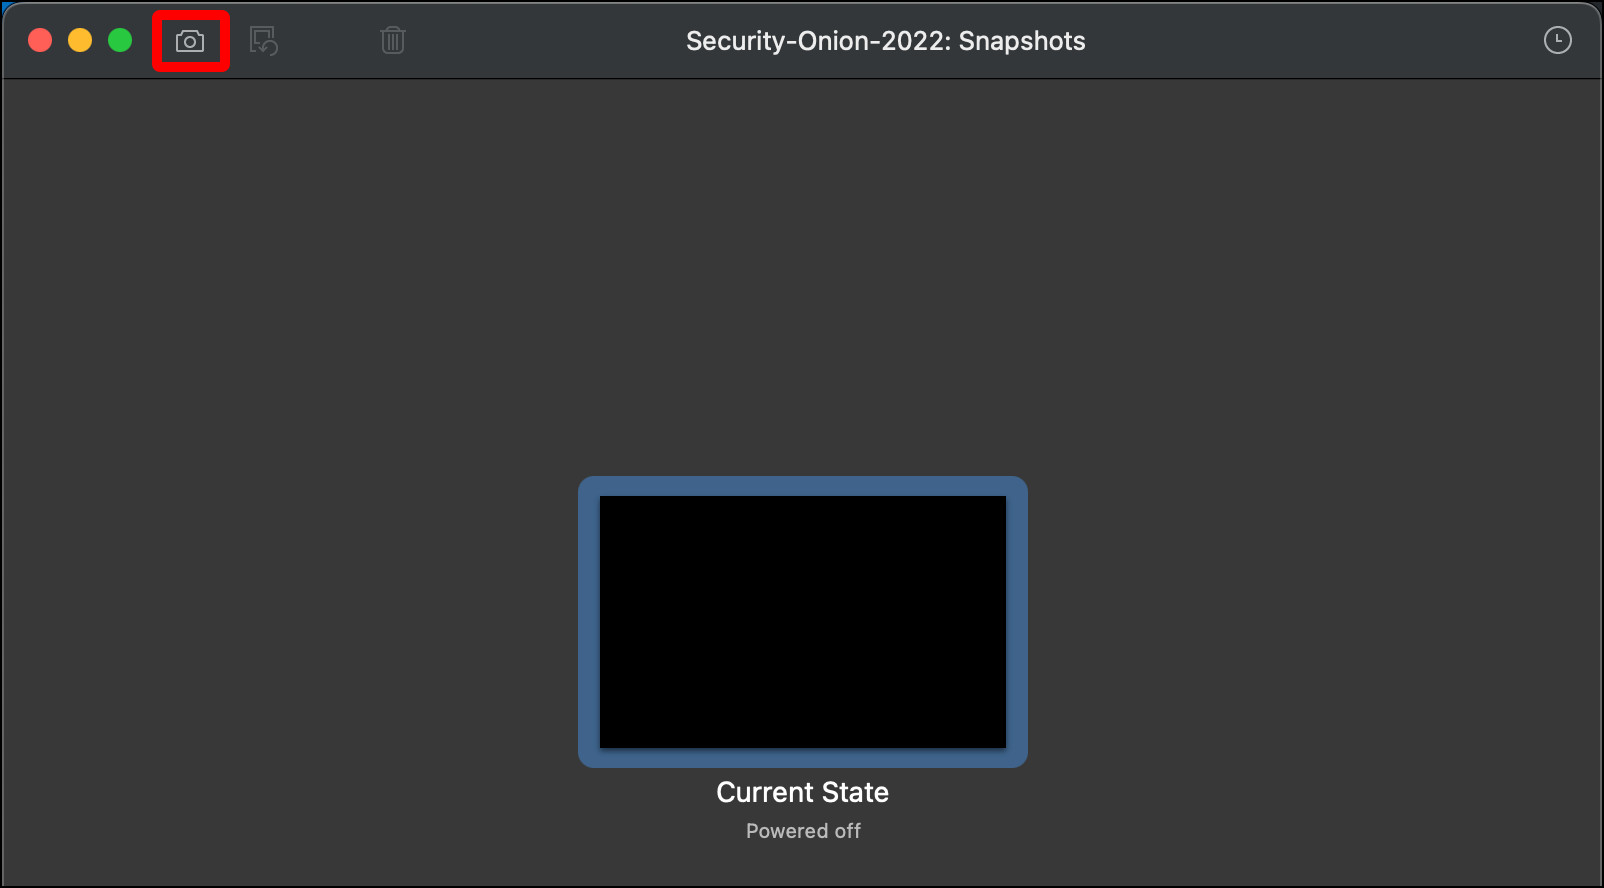
- You are done configuring your Security Onion VM. You can close the Settings window and open the Snapshots window.
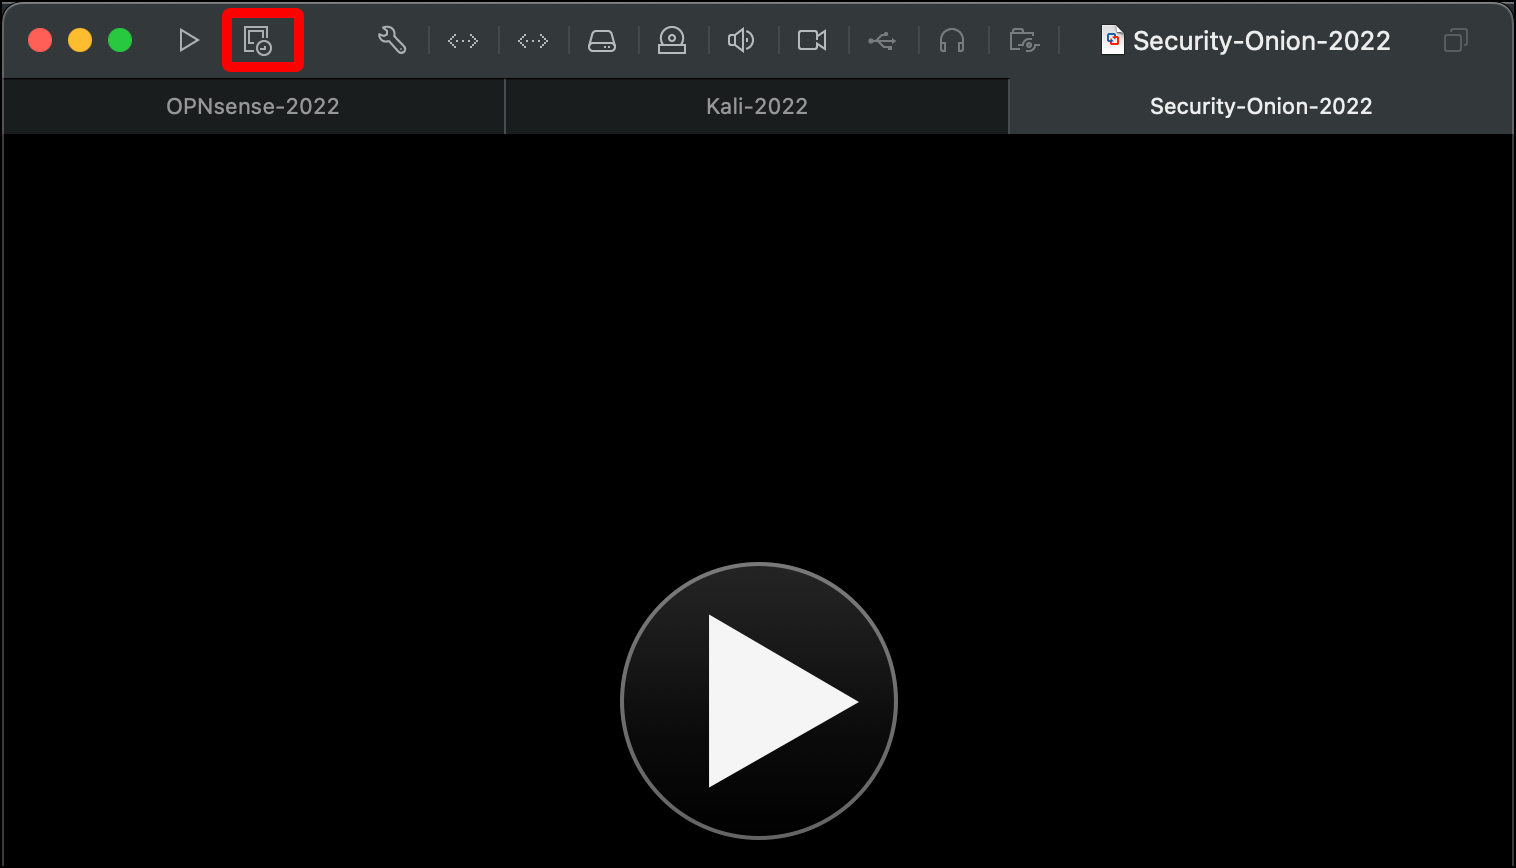
- In the Snapshots window, click the camera icon in the top-left corner.
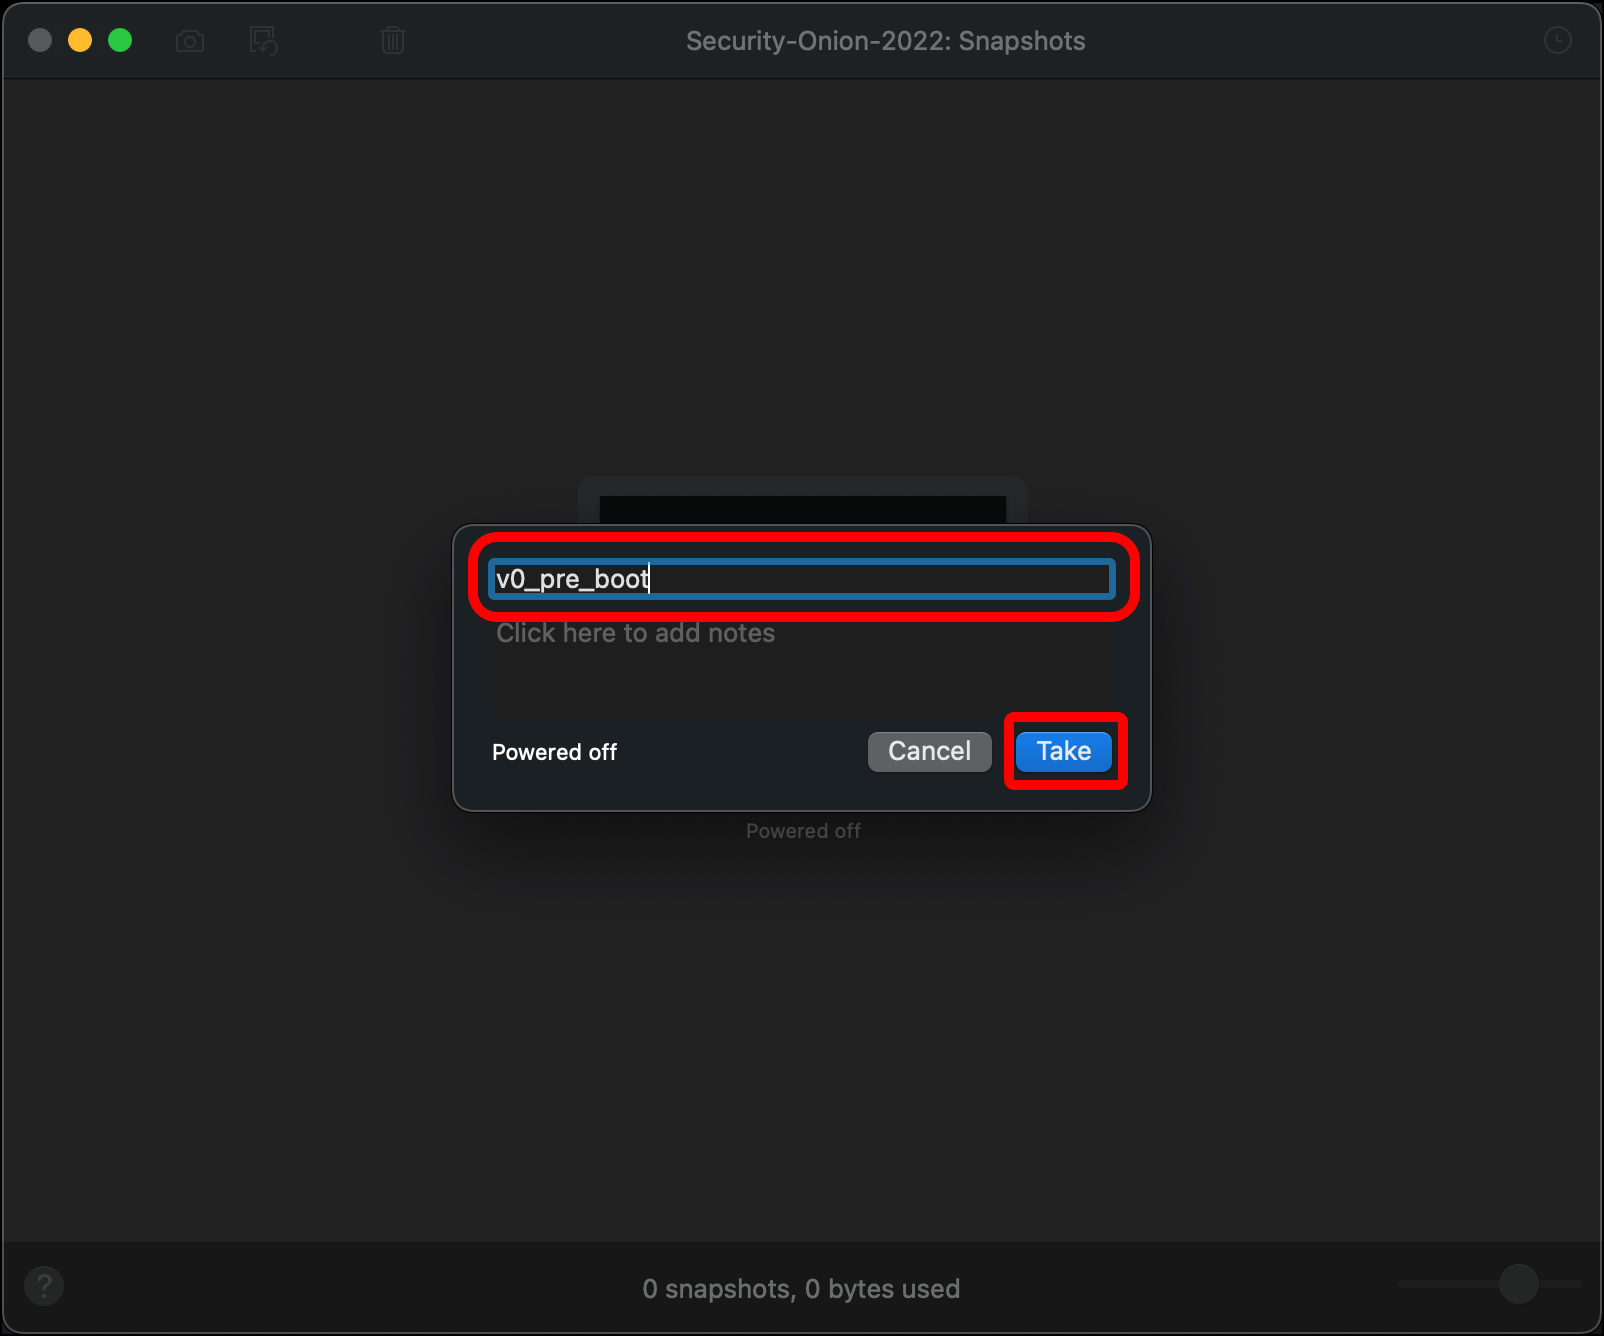
- Give your snapshot a name (such as v0_pre_boot) and click Take. If anything goes wrong, you can roll back to this snapshot and start over while skipping the VM creation steps. When you are done close the Snapshots window.
In the next section you will boot the Security Onion VM, install the operating system and Security Onion, and configure Security Onion.